Jump to content


Photo
- - - - -

A Little Different Camper Build

Flatbed ATC Propex ENO Rheimo westfalia winch curtains

  • Please log in to reply
46 replies to this topic

#21 Basin Deranged

Basin Deranged

    Senior Member

  • Members
  • 166 posts
  • LocationPoint Reyes Station, California

Posted 09 September 2015 - 02:17 AM

Nice work on the cabinets, skills I wish I had.


Edit: thought it was odd you have moisture problems in CA. I looked up your location; yes you do get some moisture.  Also I have been guilty of riding my motorcycle to fast on Sir Francis Drake Blvd. ;-)

Yes, Sir Francis Drake from Lagunitas to Olema is one of those roads that seems to bring out the throttle twister in some and the looky-loo in others: Highway 1 too.


  • 0

#22 Basin Deranged

Basin Deranged

    Senior Member

  • Members
  • 166 posts
  • LocationPoint Reyes Station, California

Posted 09 September 2015 - 02:22 AM

We Interrupt This Program...


N and I just got word that we have 10 days in front of us with no obligations.  We're taking off on a spur-of-the-moment camping trip to Nevada!  This will be the first chance we've had to spend more than two nights in a row in our new camper.


So I will not be posting the next installment until after Sept. 19.


Thanks again for all the nice comments, questions, and suggestions. Keep 'em coming: I'll reply upon our return.


  • 0

#23 ski3pin

ski3pin

    Belay On

  • Site Team
  • 15,336 posts
  • LocationSierra Nevada Range

Posted 09 September 2015 - 04:25 AM

Have fun in Nevada. Travel safe and happy camping! :)


  • 0

2003 Ford Ranger FX4 Level II 2013 ATC Bobcat SE "And in the end, it's not the years in your life that count. It's the life in your years."- Abraham Lincoln  http://ski3pin.blogspot.com/


#24 jackattack

jackattack

    Advanced Member

  • Members
  • PipPipPip
  • 43 posts
  • LocationWenatchee, WA

Posted 18 September 2015 - 04:14 AM

This is fantastic. My wife and I are sold on the slide-in campers, but not at all interested in the American style finishes. I may contact you in the future for information regarding your parts supplier.


-Kai


  • 0

Alaskan 8.5'CO | F250


#25 Basin Deranged

Basin Deranged

    Senior Member

  • Members
  • 166 posts
  • LocationPoint Reyes Station, California

Posted 22 September 2015 - 03:02 AM

Thanks for the good wishes ski3pin.  We had a fine trip!  I'll post a trip report after I finish this build thread.


Thanks Kai.  Feel free to ask any questions.


  • 0

#26 Basin Deranged

Basin Deranged

    Senior Member

  • Members
  • 166 posts
  • LocationPoint Reyes Station, California

Posted 22 September 2015 - 03:15 AM

Interior Layout


We went with a forward dinette with large benches on both sides.  As mentioned earlier we often camp with friends, so it's nice to be able to accommodate a couple others around the table.  Also this allows us to have the option of a "grandchild bed."


gallery_5833_931_11091.jpg


The narrow storage beneath the sliding bed is a benefit of the taller area above the cab.  We store the slide-out bed cushions, auxiliary solar panel, and table in there.


The table mounts to a home-made swiveling aluminum bracket.


gallery_5833_931_79651.jpg


With the table bracket removed the table drops onto two ledges built into the benches and the seat-back cushion is put on top for the aforementioned "grandchild bed."


gallery_5833_931_12642.jpg


A tall storage cabinet, a tiny storage cabinet, and the galley are at the rear of the camper.


gallery_5833_931_37988.jpg


  • 0

#27 Basin Deranged

Basin Deranged

    Senior Member

  • Members
  • 166 posts
  • LocationPoint Reyes Station, California

Posted 22 September 2015 - 03:43 AM

Various Fixtures


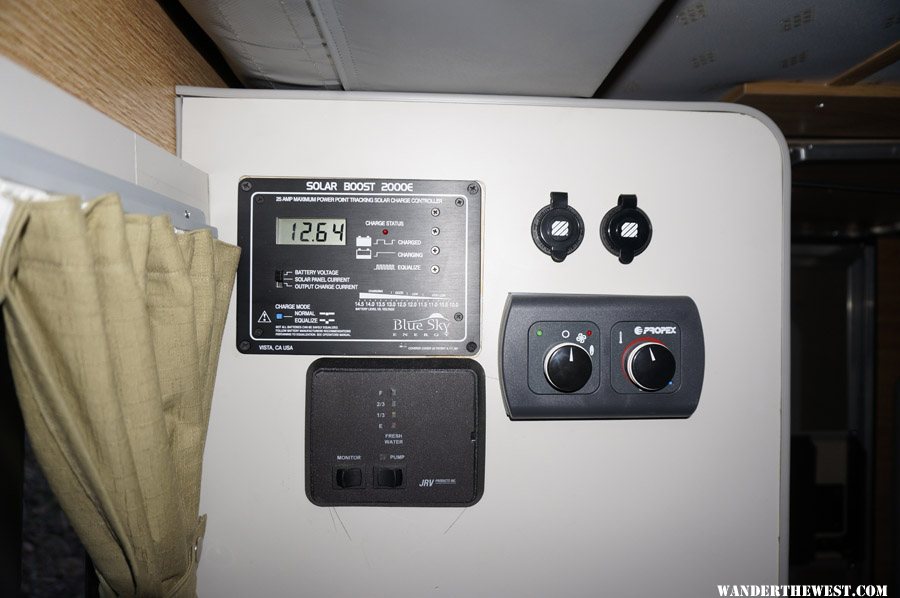
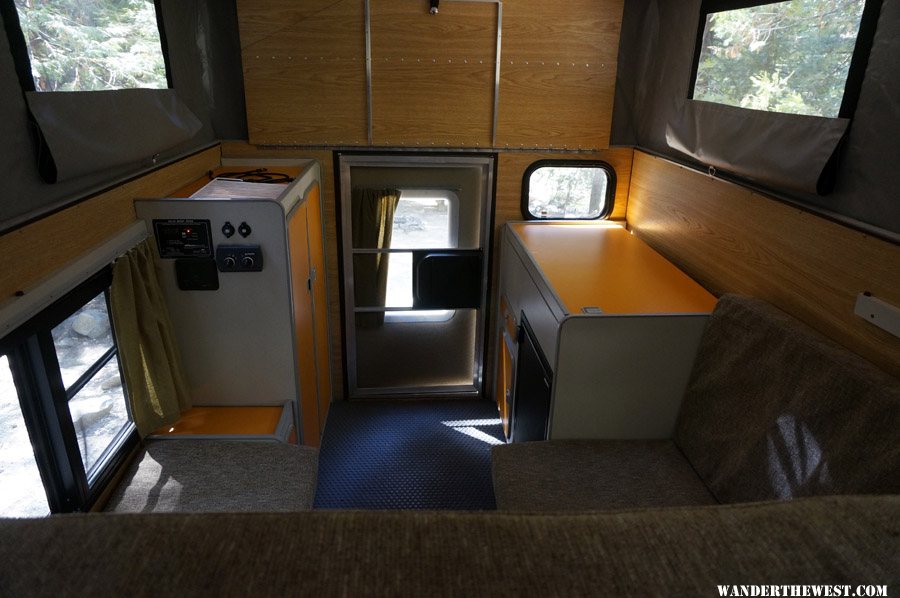
The Renogy flexible solar panel is attached to the roof with 3M tape and a second panel, with a 30-foot detachable cord, resides below the bed when not in use.  The solar controller, water level indicator, Propex heater controls, and 12v outlets are mounted to the tall storage cabinet.


gallery_5833_931_55711.jpg


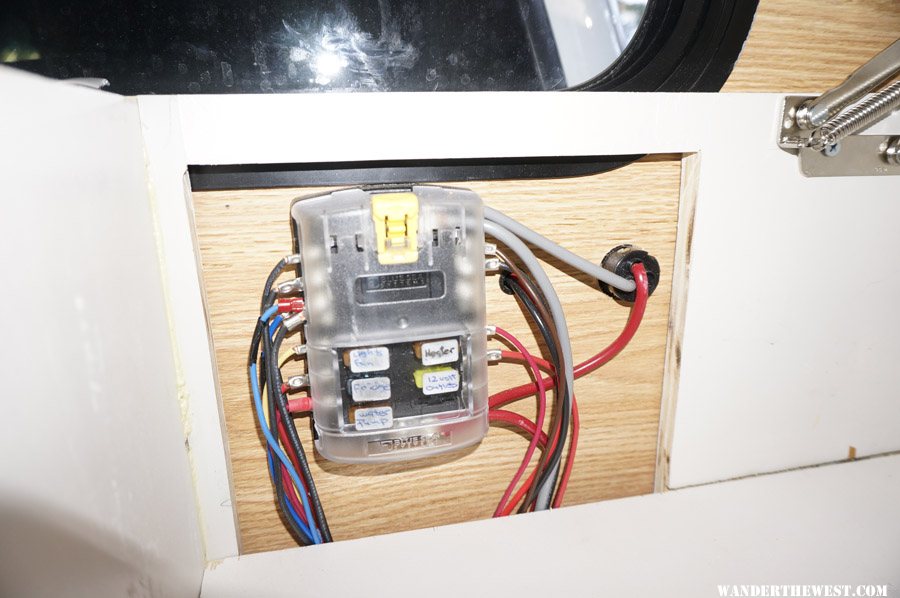
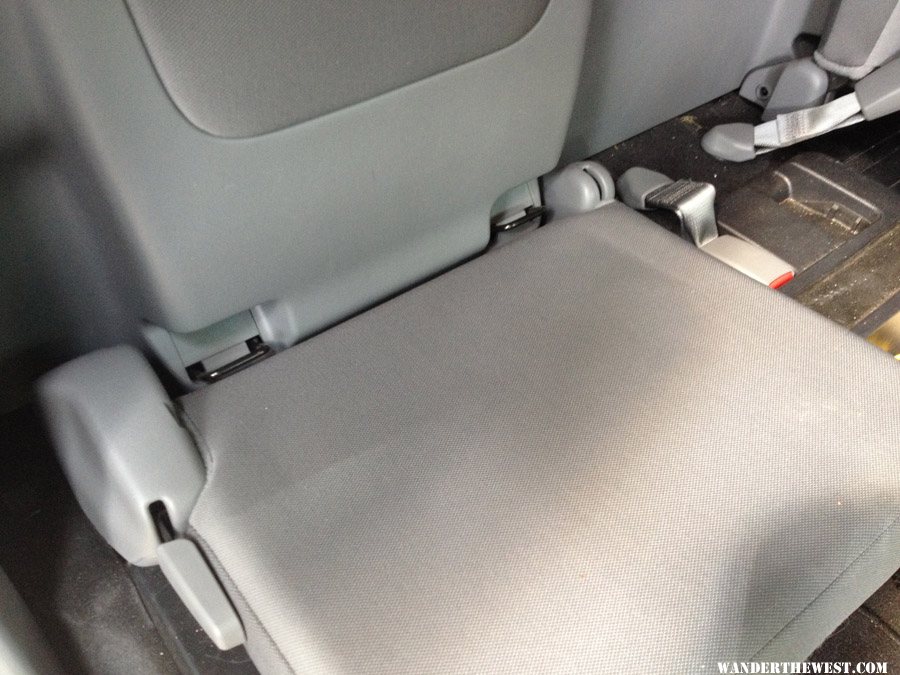
The Blue Seas fuse panel lives under the passenger-side bench. 


gallery_5833_931_73832.jpg


The Propex heater is installed under a false floor in the same cabinet. We chose the Propex because it is relatively quiet and quite efficient.  It came from another of my Vanagon sources, Westy Ventures.


gallery_5833_931_82467.jpg


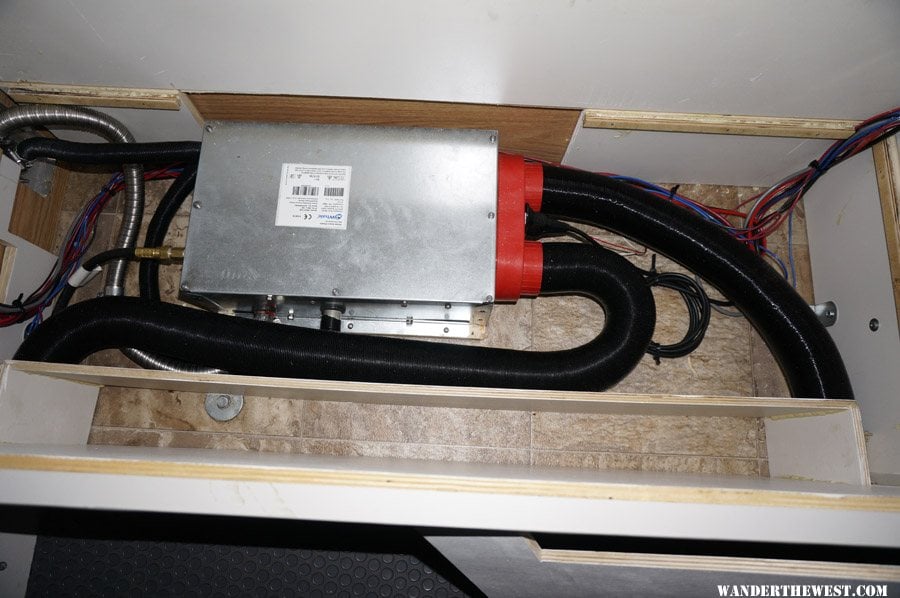
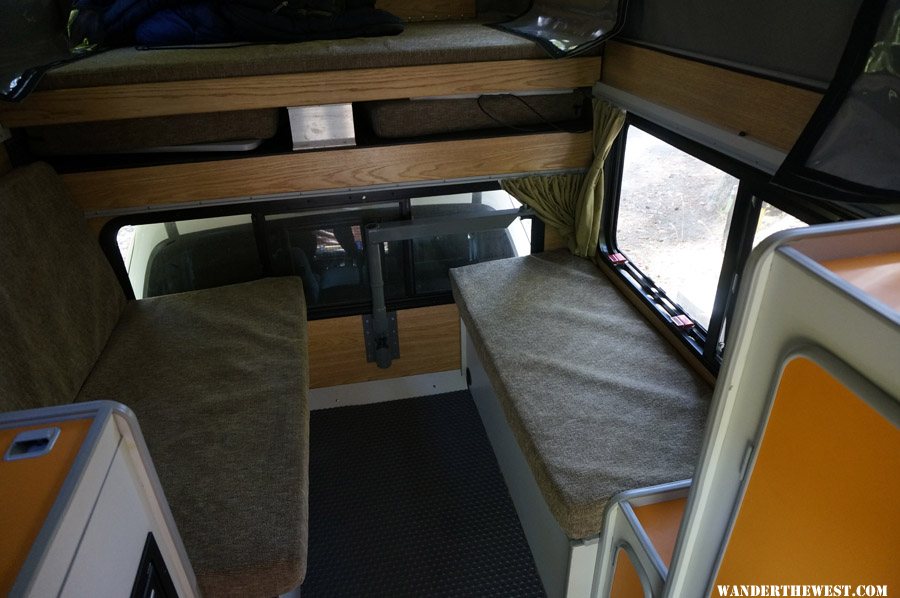
Combustion air comes from the outside and the exhaust gasses are vented to the outside.  Two vents on either end of the bench provide the hot air source and the cold air return. The false floor allows us to use the area above for storage. 


gallery_5833_931_31296.jpg


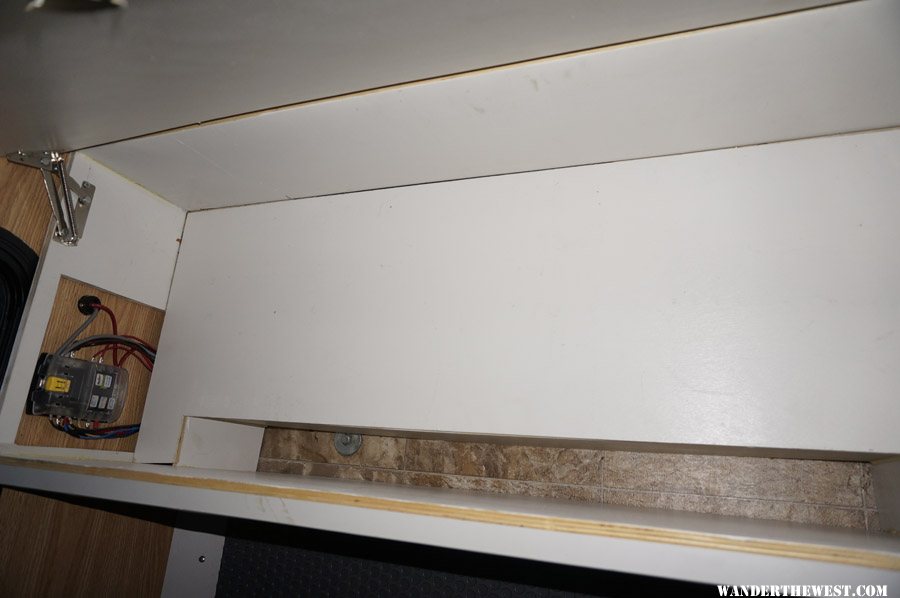
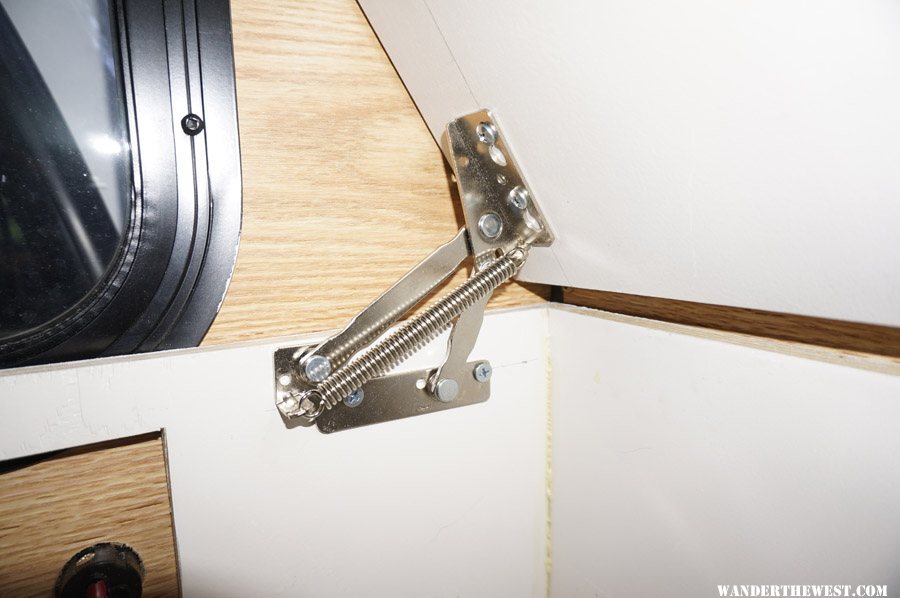
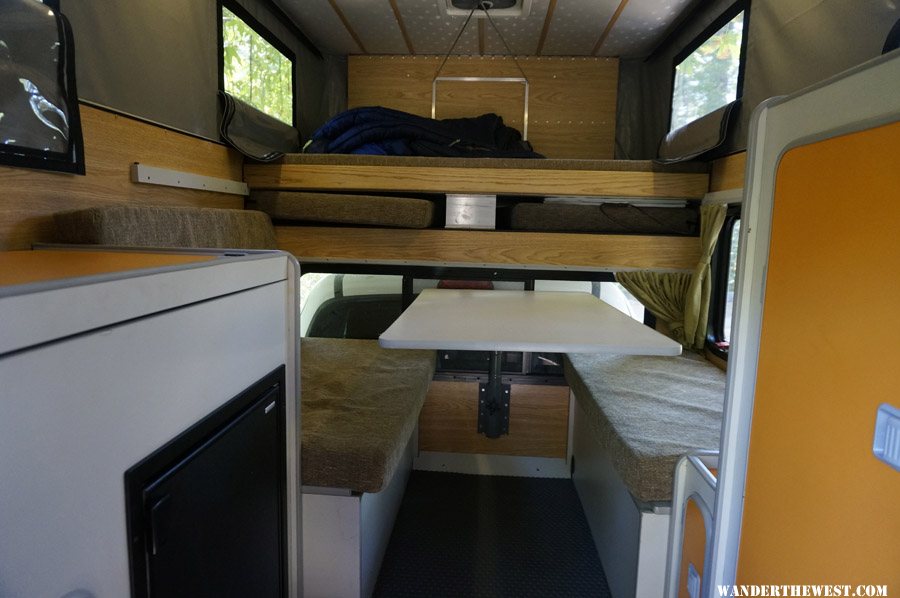
Spring loaded "toy-chest" hinges keep the bench lid up or down.


gallery_5833_931_15983.jpg


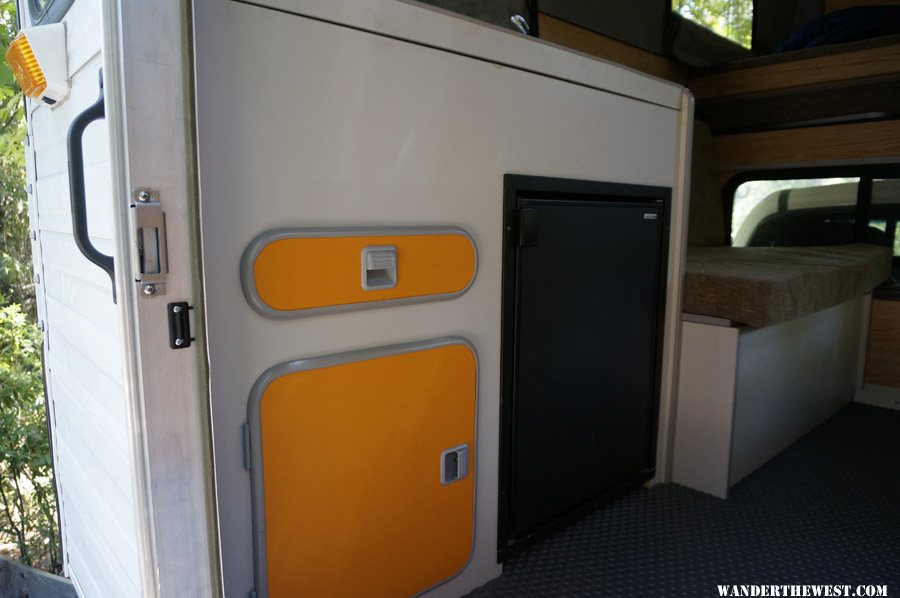
The 12 volt fridge installed in the galley cabinet is a Truckfridge  also from Westy Ventures.  I should mention here that the customer service from Westy Ventures is first rate.


gallery_5833_931_4473.jpg


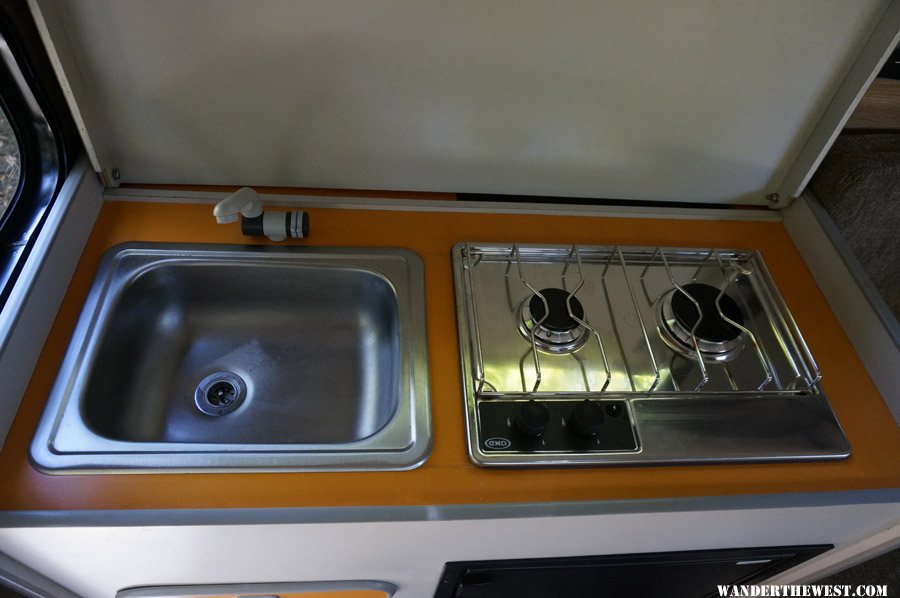
The galley cabinet top swings up to reveal the stovetop and sink.  The stovetop is from ENO and available through West Marine and other marine suppliers.  Nice hot burners!  (Though the lowest setting is not quite low enough to keep a small pot of rice from burning when cooked in a thin-walled stainless pot.  I'll need to either get a thicker pot or a flame diffuser.)


The sink is one that I purchased from All Terrain and the faucet is a Shurflo purchased from GoWesty.


gallery_5833_931_95559.jpg


  • 0

#28 Basin Deranged

Basin Deranged

    Senior Member

  • Members
  • 166 posts
  • LocationPoint Reyes Station, California

Posted 22 September 2015 - 04:01 AM

Curtains


The curtain fabric is a Japanese cotton from the local fabric store.  The curtain hardware is from Curtaintracks.com.


First I cut the curtains to size, double-folded the edges, and seamed all the way around.  Next I sewed on the shirring tape and installed the curtain hooks into every other loop in the tape.


gallery_5833_931_41322.jpg


Next I cut the plastic curtain track to length and installed the gliders and end stops.


gallery_5833_931_24395.jpg


I attached the hooks to the gliders...


gallery_5833_931_187424.jpg


and installed the tracks.


gallery_5833_931_62111.jpg


Snaps and curtain ties were next.


gallery_5833_931_105089.jpg


gallery_5833_931_40519.jpg


This makes for a nice low profile installation that even fits with room to spare between the door and the screen door.


gallery_5833_931_37707.jpg


  • 0

#29 takesiteasy

takesiteasy

    Senior Member

  • Members
  • 2,588 posts
  • LocationMinnesota

Posted 22 September 2015 - 01:33 PM

Professional looking result- nice work!


  • 0
2011 Tacoma AC TRD
ATC Custom Shell

travelswithrockythedog.blogspot.com

#30 Basin Deranged

Basin Deranged

    Senior Member

  • Members
  • 166 posts
  • LocationPoint Reyes Station, California

Posted 23 September 2015 - 03:47 AM

Finishing Touches


Once the camper was completed I weighed the truck so I could replace the hopelessly overloaded rear springs with something more stout.  The camper will seldom if ever come off the truck.  I contacted Deaver Spring in Southern California for a set of their heavier springs.  This photo shows the stock spring on the left and the new spring on the Right.


gallery_5833_931_62231.jpg


I also installed taller tires with an E load rating for increased load range and ground clearance.  The tires are Cooper Discover AT3 in size 235/85 R16 which fits very nicely into the Tacoma front wheelwells without rubbing on full compression.


gallery_5833_931_523482.jpg


On the left side of the photo above you can see the base of the hi-lift jack hanging from the brackets that I built for it.


I attached the bracket for the Brophy folding aluminum steps to an angle iron which I mounted to the bottom of the camper shell.


gallery_5833_931_194367.jpg


gallery_5833_931_96912.jpg


I was happy to discover the zero-cost, zero-effort, guitar mount modification. It holds the instrument nice and snug.


gallery_5833_931_113643.jpg


I made a pair of strap brackets to attach to the passenger seat mounting bolts for strapping the removable winch into the back of the cab.


gallery_5833_931_2109.jpg


gallery_5833_931_74751.jpg


The existing child-seat attachment points that you can see protruding between the seat cushion and backrest in the photo below worked perfectly for holding the straps at the rear of the cab.


gallery_5833_931_131263.jpg


That wraps it up for now.  I'll report back in the future as we find out how this all works out and make the inevitable modifications and additions.


See you on the road...


gallery_5833_931_112479.jpg


  • 0


Also tagged with one or more of these keywords: Flatbed, ATC, Propex, ENO, Rheimo, westfalia, winch, curtains

0 user(s) are reading this topic

0 members, 0 guests, 0 anonymous users