Looking good and kudos for finding/using discarded products!


84 Fleet - 09 Tacoma - Project
Started by
Living The Dream
, Mar 07 2016 07:29 AM
420 replies to this topic
#51

ski3pin
-

- Site Team
- 15,333 posts
Belay On
- LocationSierra Nevada Range
Posted 20 June 2016 - 05:01 PM
2003 Ford Ranger FX4 Level II 2013 ATC Bobcat SE "And in the end, it's not the years in your life that count. It's the life in your years."- Abraham Lincoln http://ski3pin.blogspot.com/
#52
takesiteasy
-

- Members
- 2,588 posts
Senior Member
- LocationMinnesota
Posted 21 June 2016 - 02:00 AM
Your project is looking great!
#53
longhorn1
-

- Members
- 2,826 posts
Ouch, that stings!
- LocationCarmel, Indiana
Posted 21 June 2016 - 10:43 AM
Great job. jd
Sent from my SM-G900V using Wander The West mobile app
Sent from my SM-G900V using Wander The West mobile app

#55
Living The Dream
-
- Members
- 464 posts
Senior Member
- LocationFront Range, Colorado
Posted 03 November 2016 - 04:03 PM
Catchup
Hi Everyone,
I want to thank everyone that has been supportive of my project so far. Many of you have really helped a ton. I really let the reporting on the project drift away. This past summer completely ran away from me. I did not get nearly as much work on the camper done as I had hoped, I feel like that is probably every project. But not to worry, I am back working hard on the camper and want to do some catch up of the past few months of progress.
PanelsWhen I last reported I was working on the panels, I spent a lot of time planning all this and I am happy to report they seem to have come out pretty well!
1st thing I did was grab the graph paper and sketched out the entire camper, checking everything twice or three times. I made two sets of sketches, on3 of the frames and one of the panel dimensions.
I would like to share these sketches with you now, maybe you will find them useful. I make no promises that these are 100% accurate (as I know there are a few mistake) but for people trying to run wires or find studs behind their panels maybe you will find these useful.
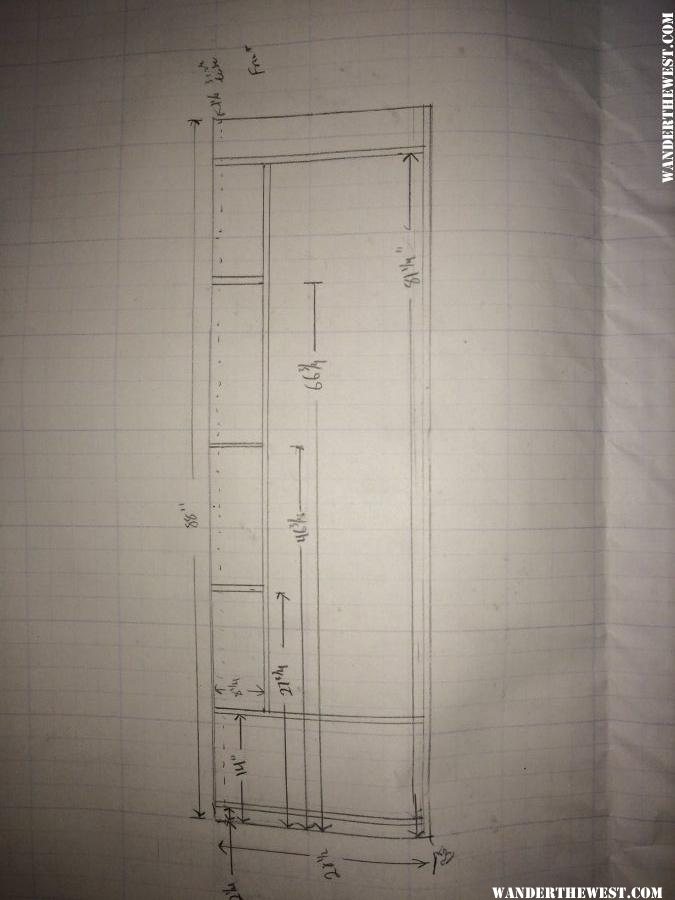
The 1st set is the frame of the camper. Each tube is 1” I tried to draw double tubes when there is either 2 1” tubes butted together, or a full 2” tube.
Again this is for an older style Fleet Camper 7 Foot model, manufactured mid 80s.
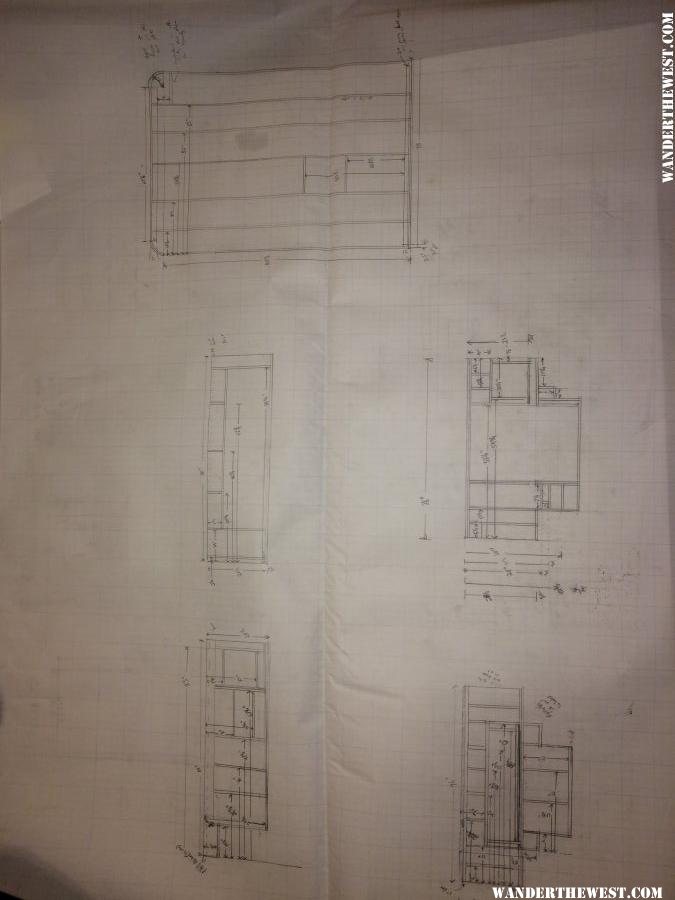
Overview
Driver Side Frame

Front Frame
Passenger Side Frame
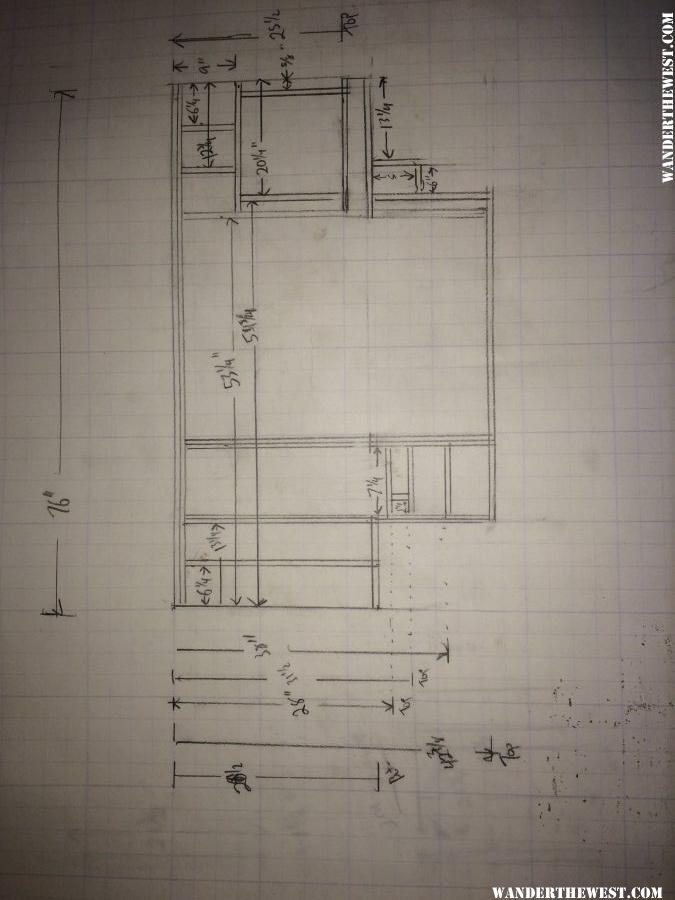
Rear Frame

Roof Frame

Floor
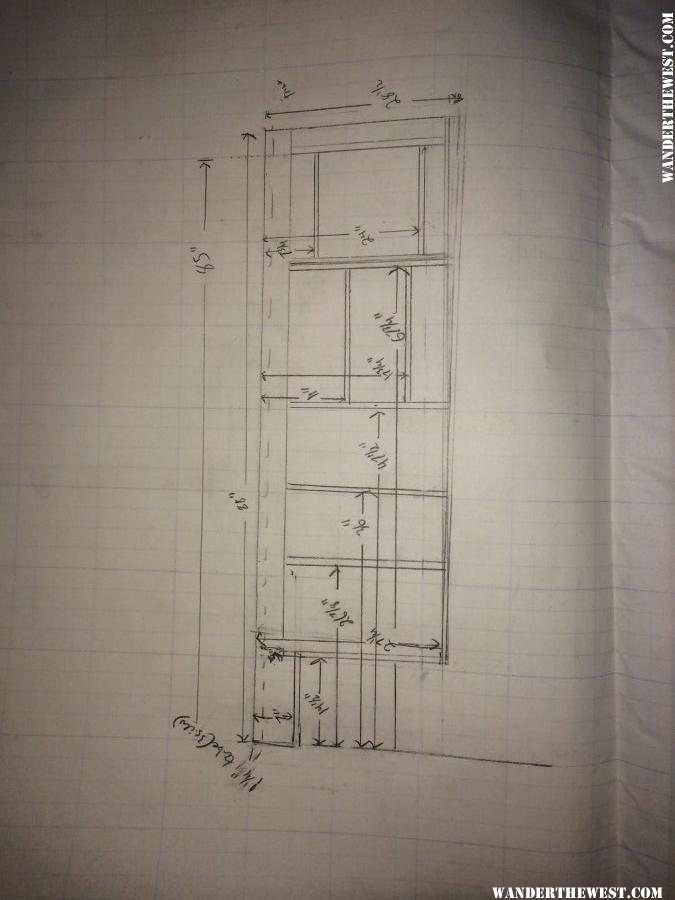
Below are the second set of sketches of the panels. These measurements are from a mix of measuring the original panels and measuring the actual gap on the camper. HOWEVER, I suggest you take an ⅛ inch off of all perimeters measurements here. I did not take into account the trim I added and had to sand down/dremel many edges to get them fit. It did work in the end but these dimensions are truly the dimensions of the max gap that could fit on these walls, do yourself a favor and leave some room to wiggle them in. Plus there will be the volume two of the panels take up on the wall. Use these sketches as a reference, but I would suggest you redo these yourself.
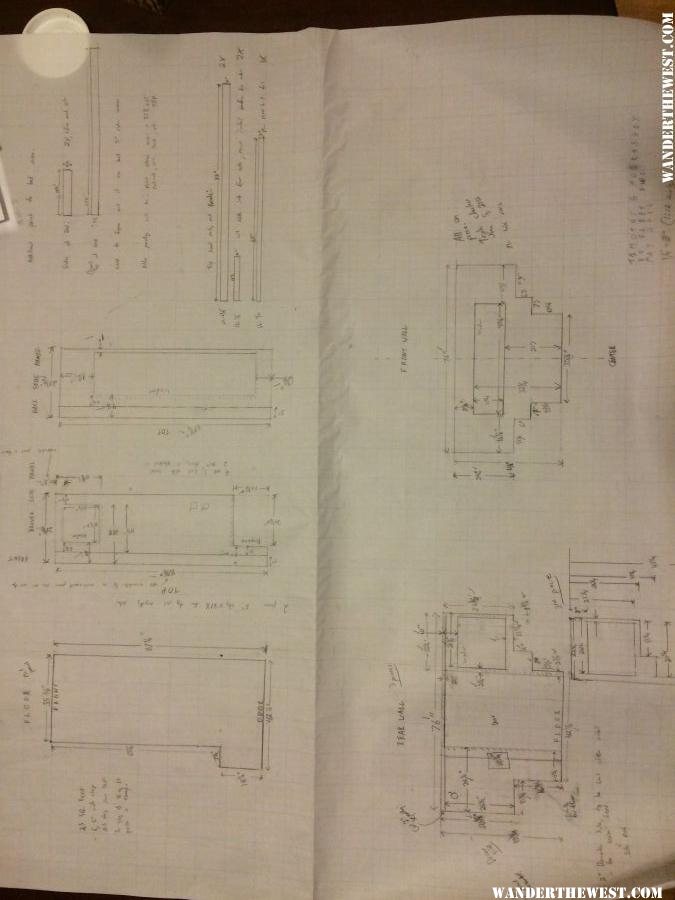
Overview. The extra straight pieces on the side are for some wood runner supports I will write up later.
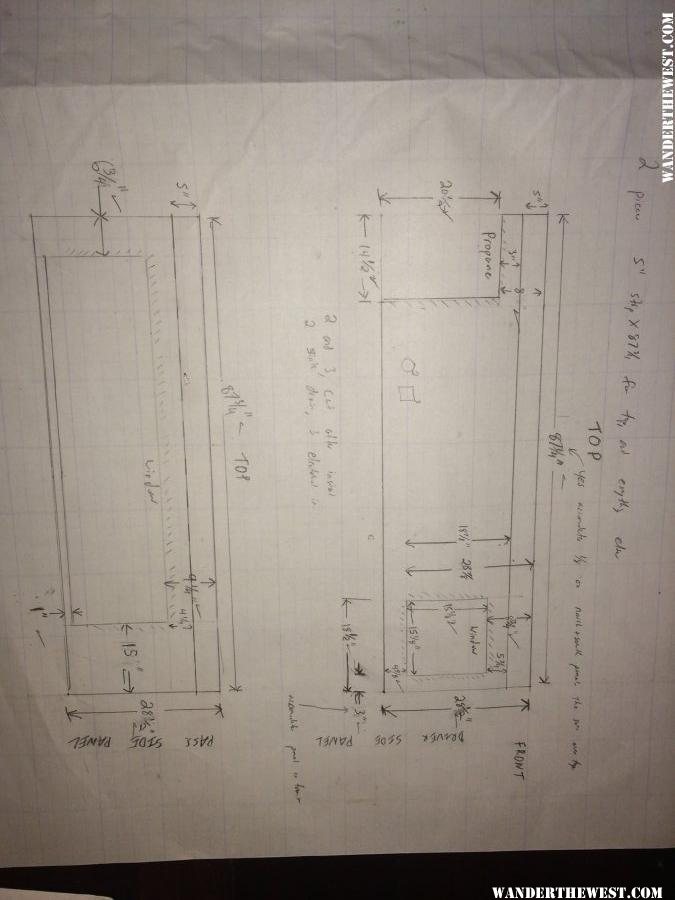
Passenger and Driver side panels. Notice on the driver side I spilt the panel into two. I did this so I could remove the top of the panel without removing all the cabinets. I originally planned to run my wires behind the top region which would allow me to easily remove that piece and fix the wires if need, I have since decided against this but still have the split in the panels.

Rear Panel. I decided to spit this wall in three separate pieces; left side, right side, and a small runner on top that the roof mechanism will be overlapping. That was should I ever need to take these panels off again, I would not need to remove the lifting mechanisms which will overlap.

Front panel. The most complex panel to cut.
Hope some people find these drawings helpful. I had aspiration of putting together a CAD model for fun, but at this point in time I am just focusing on physical work instead. For date reference this work was done in June/July 2016.
My youtube channel about my Four Wheel Camper - https://www.youtube.com/c/timmorrissey
All about my camper - https://www.tgmorrissey.com/camper
Item I used in my build- http://bit.ly/TGMorrisseyParts
#56
Living The Dream
-
- Members
- 464 posts
Senior Member
- LocationFront Range, Colorado
Posted 04 November 2016 - 12:02 AM
Wood Runners

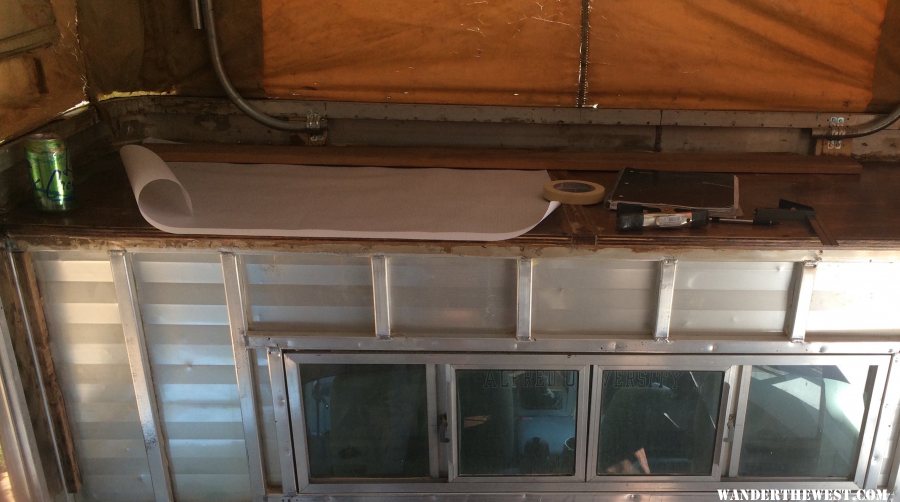
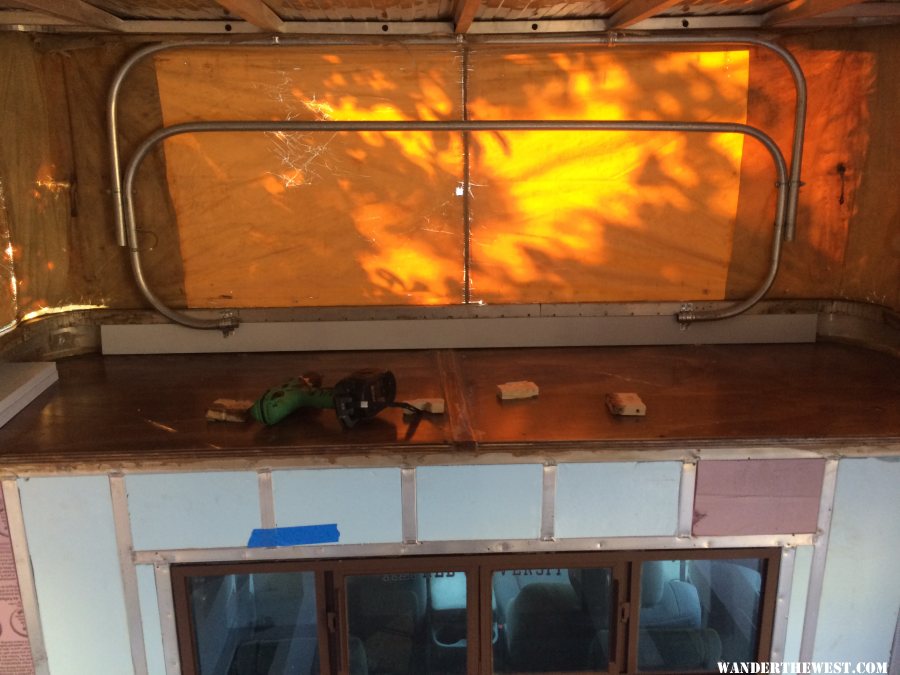
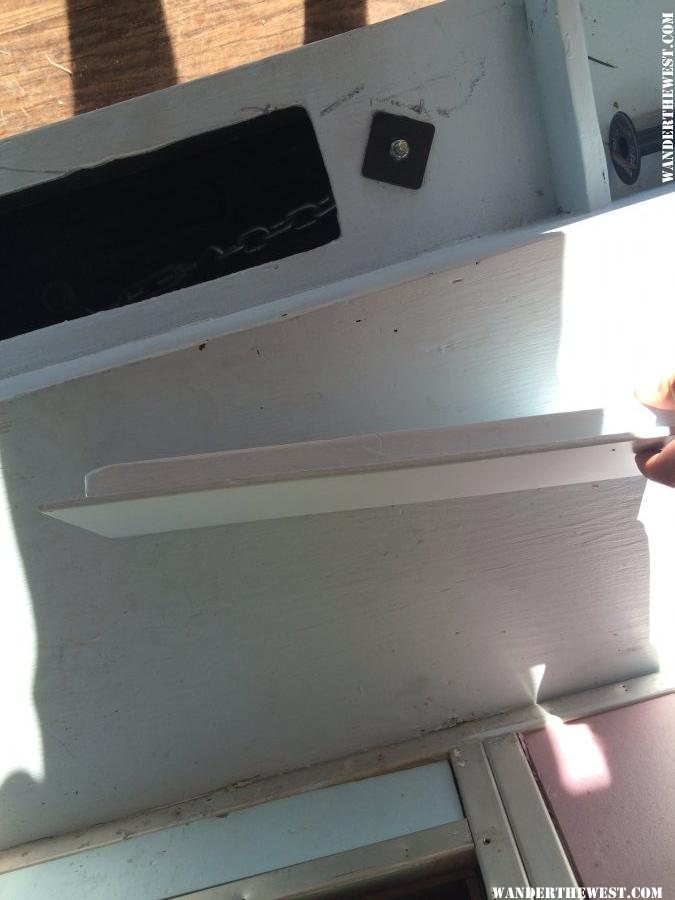
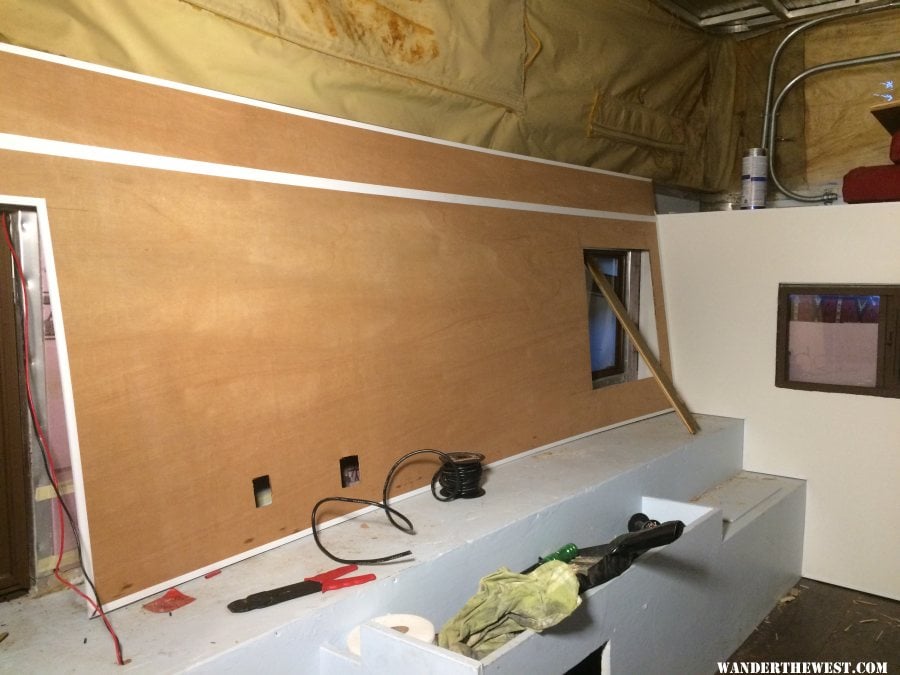
White I got to work on the panels, I also had another small project I wanted to get done before putting panels on. On the driver and passenger side of the camper, along the top, there was wood planks between the panels and the aluminum skin, where the insulation would normally go. You can see it pretty clearly here:
I am not sure if that was factory item or not, nor if FWC continue to do this, but I liked the idea, so I wanted to keep it. I was also going to expand on this and add one of these runners to the front cabover too. To give something sturdy to mount into not only for the lifter mechanism, but for anything down the road. I am thinking these wood pieces would be good for mounting interior D-ring for hanging items on, or exterior cleat to tying things to the roof. I understand it adds just a touch of weight up high, but I think it is pretty minimal.
Anyways, I made quick work of this one afternoon, simply cutting wood to length, a couple of coats of paint just to protect the wood and they went in without a hitch.
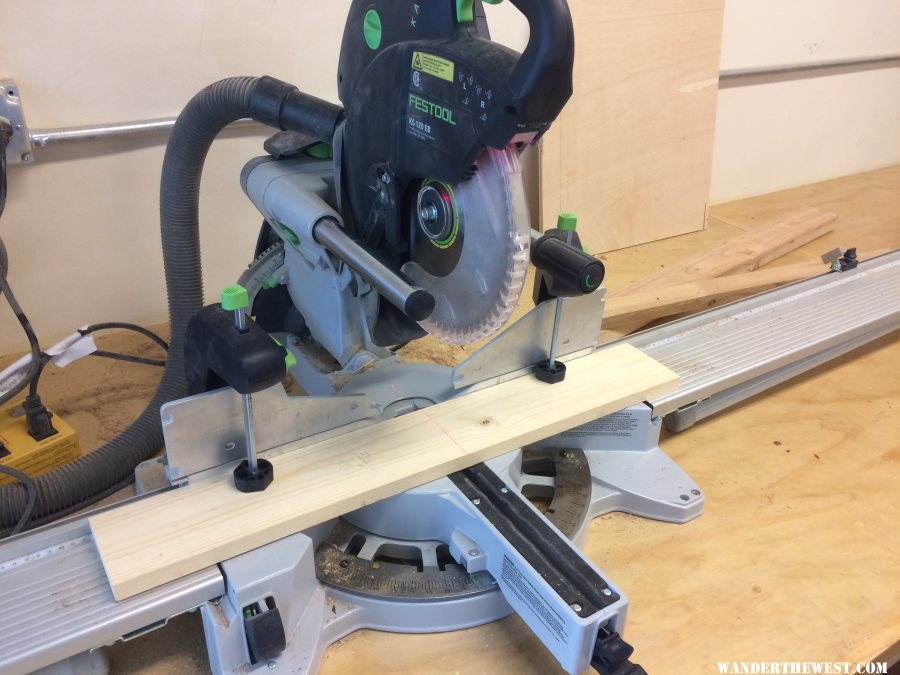
I did need to take out all the screw that hold the top railing on, but that was fine. It did take some harming to finesse the planks in. I guess I forgot to grab a photo of the finished product on the inside. But once these were mounted I was able to add the roof latches back on and did reinstall my front lifting mechanism.

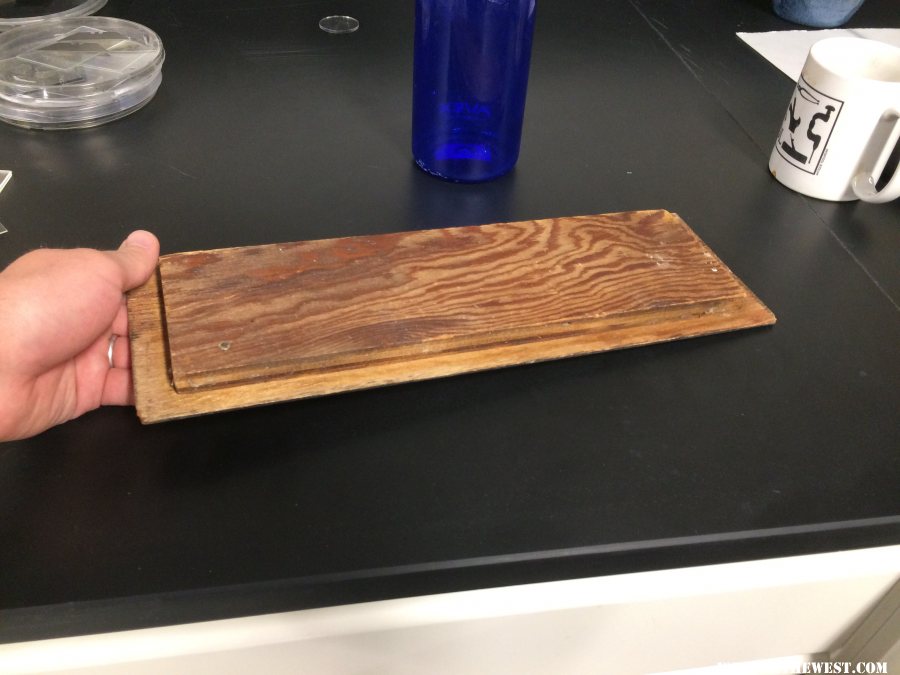
While I was at it, I also made fresh lids for for the passthroughs. Simple, to the point, and will help keep cold air out.
For reference this work was performed in June 2016.
My youtube channel about my Four Wheel Camper - https://www.youtube.com/c/timmorrissey
All about my camper - https://www.tgmorrissey.com/camper
Item I used in my build- http://bit.ly/TGMorrisseyParts
#57
Living The Dream
-
- Members
- 464 posts
Senior Member
- LocationFront Range, Colorado
Posted 04 November 2016 - 12:28 AM
Moving
What really slowed down my truck camper progress this summer with a move in the end of June. Where I live is very expensive and our landlords got greedy, so we said, fine we will move. But with that came something awesome, finally a home for my truck camper! A nice attached garage just steps from my kitchen! It was a great decision. And it was only a two block move so all is good!

The camper needs to come off the truck outside the garage, then on to two small furniture dolly, and roll it right in. Not perfectly ideal but it works just fine. The new neighbors get a kick out of my project so all is good to continue to move forward with the full refurb.

Now I can tackle real refurbish jobs like taking of the roof, etc.
And I know it is not truck camper related but I figured I would just share. A friend's company was getting rid of this awesome electronics table so now I have a proper work bench too. It has been night and day difference to finally have a work space compared to slumming it in the parking lot.
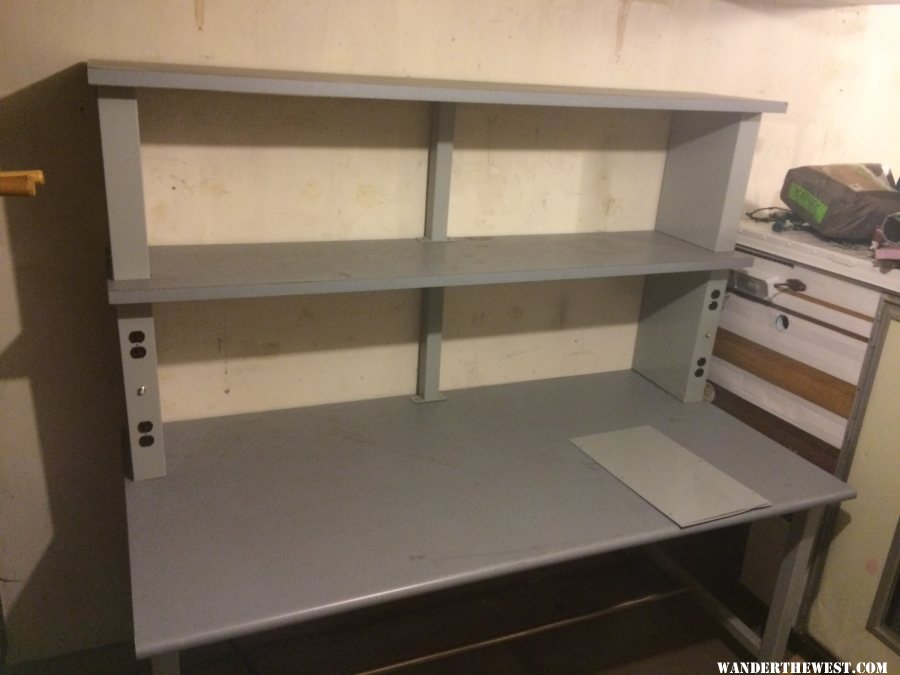
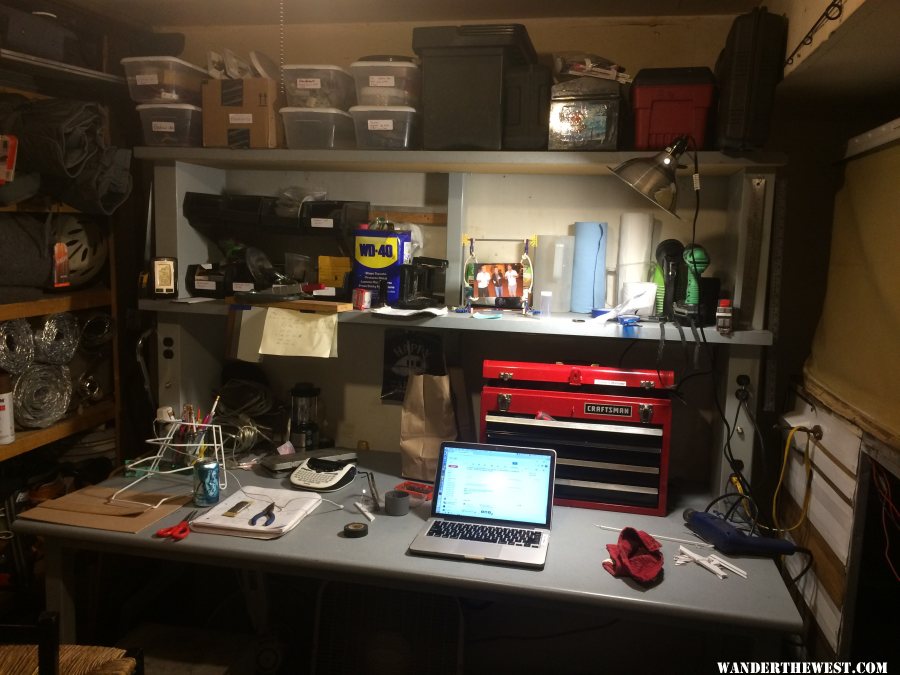
For reference this work was performed in July 2016.
My youtube channel about my Four Wheel Camper - https://www.youtube.com/c/timmorrissey
All about my camper - https://www.tgmorrissey.com/camper
Item I used in my build- http://bit.ly/TGMorrisseyParts
#58
Living The Dream
-
- Members
- 464 posts
Senior Member
- LocationFront Range, Colorado
Posted 04 November 2016 - 12:51 AM
Panels 2
Back in June I purchased Lauan from Austin’s Hardwood in Denver. I went with the Lauan because when I called FWC this is what they claim they are using today. The 4X8 sheets were $15 a piece, I got four of them. The camper is a utility vehicle too!
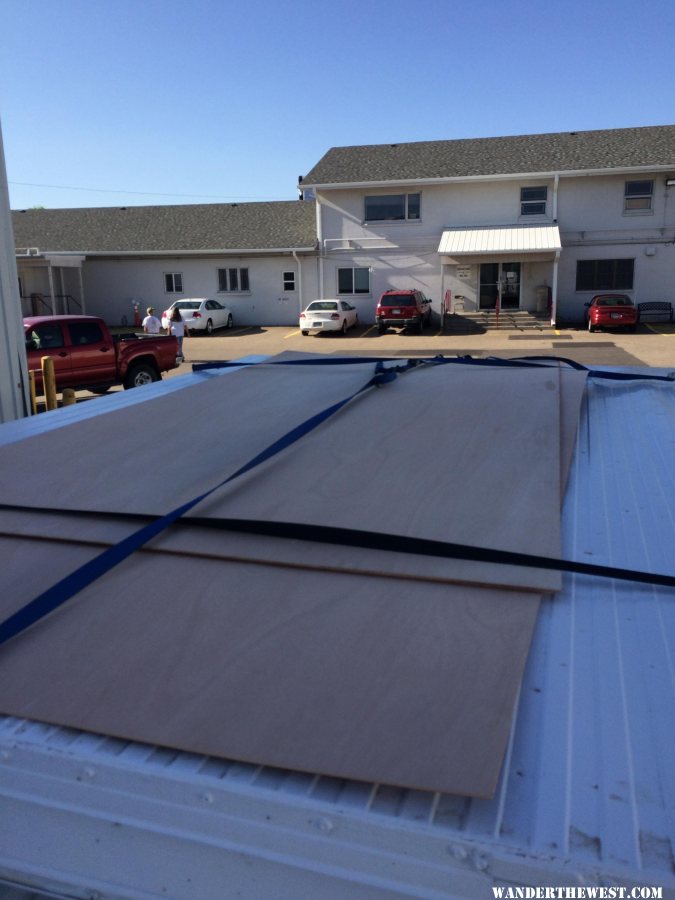
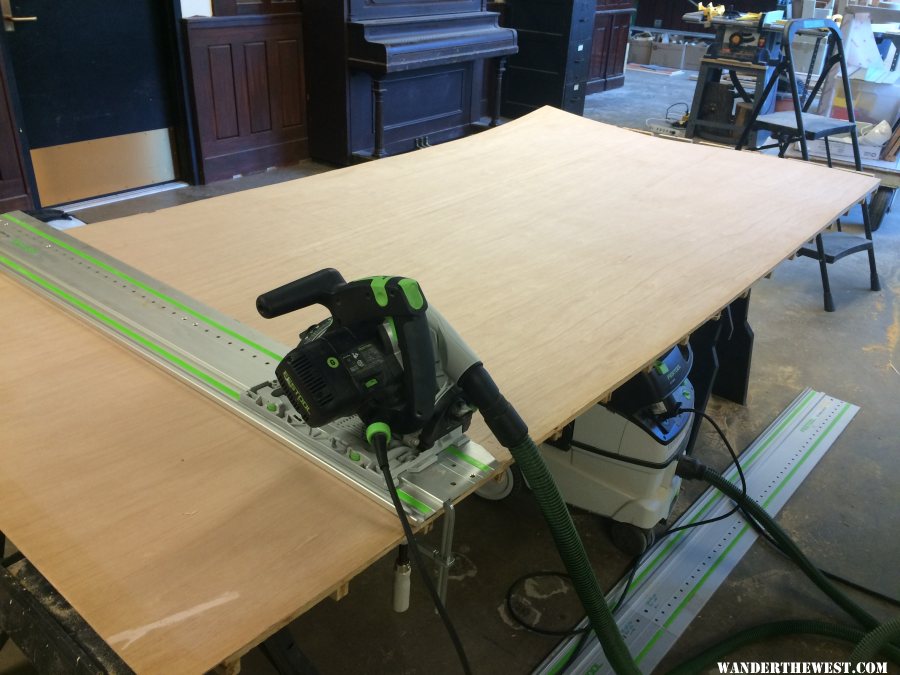
Then the panels sat in the shop for a really long time but when I did finally get to them things went relatively smoothly. I have access to a fantastic shop since I am a graduate student. Almost every tool you can think of which makes all the difference for a job. This was my first time using a track saw, really the perfect tool for cutting out the panels.
Measure twice cut once.


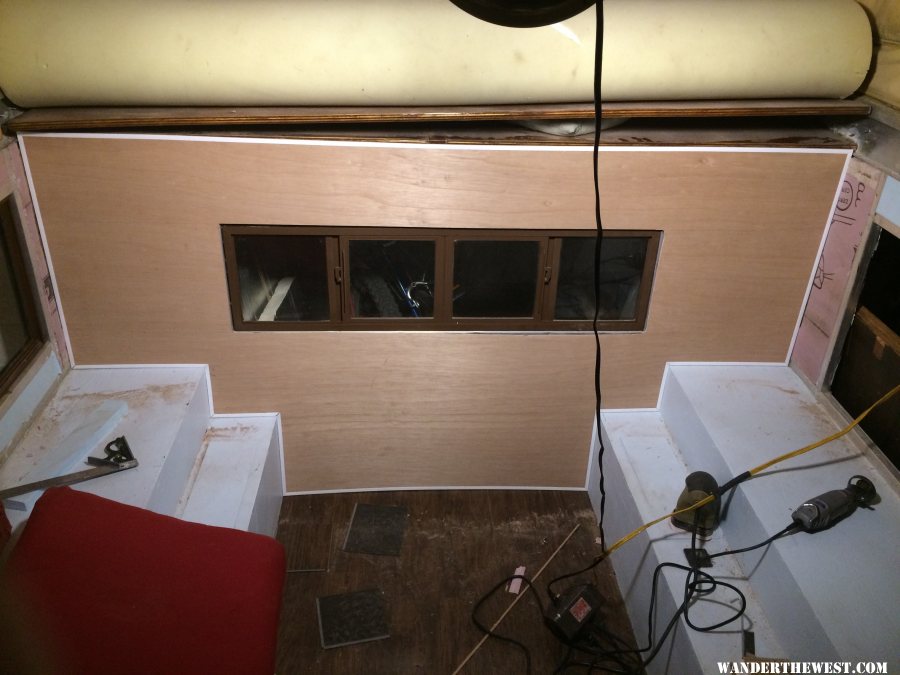
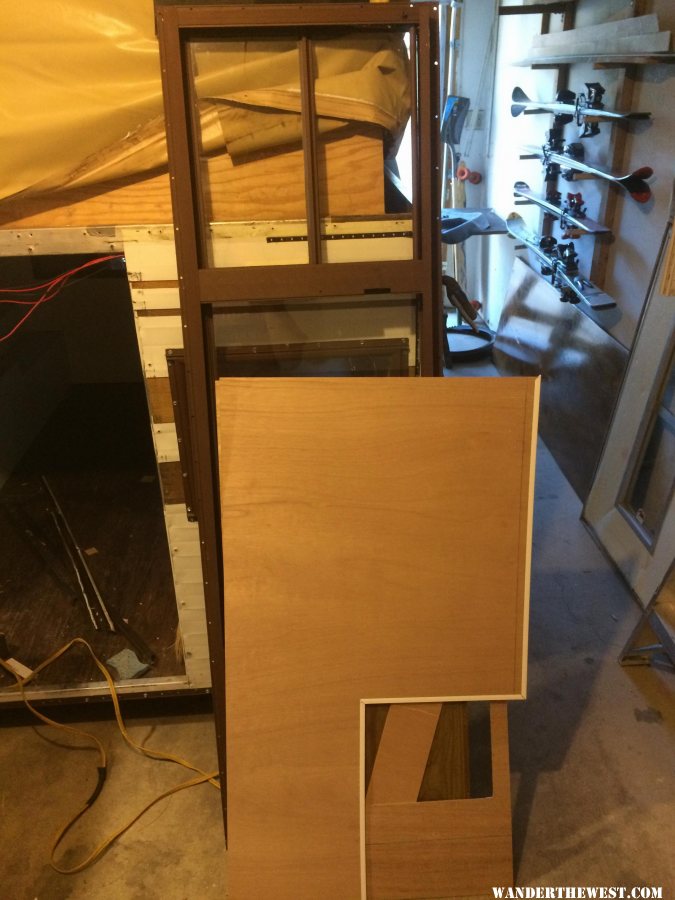
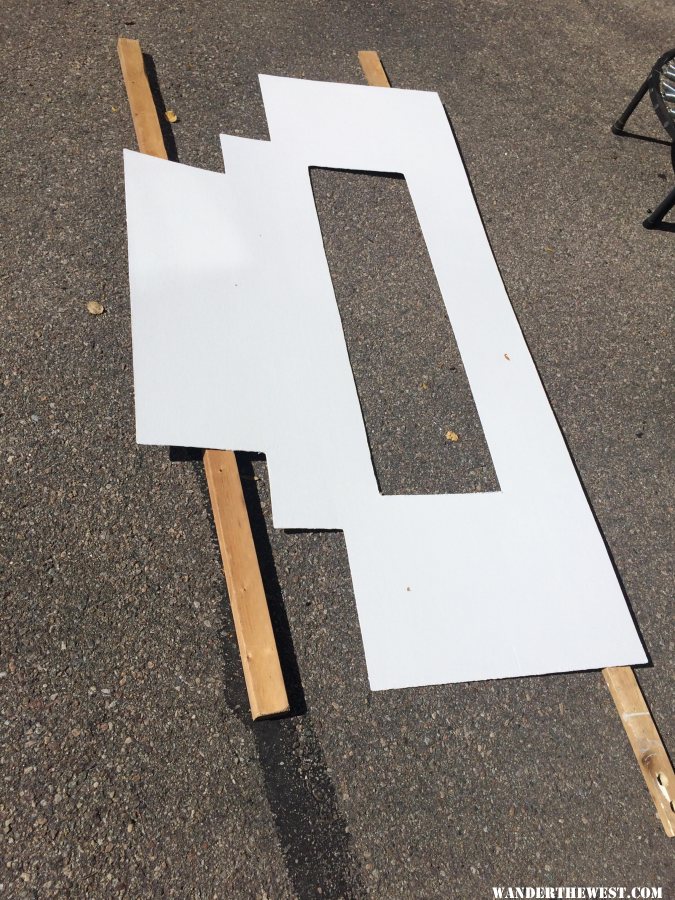
This front panel was by far the most difficult to cut. But all of it went smooth enough. For the corners I cut most of the cut with the track saw, then finished the last inch with a jig saw free hand.
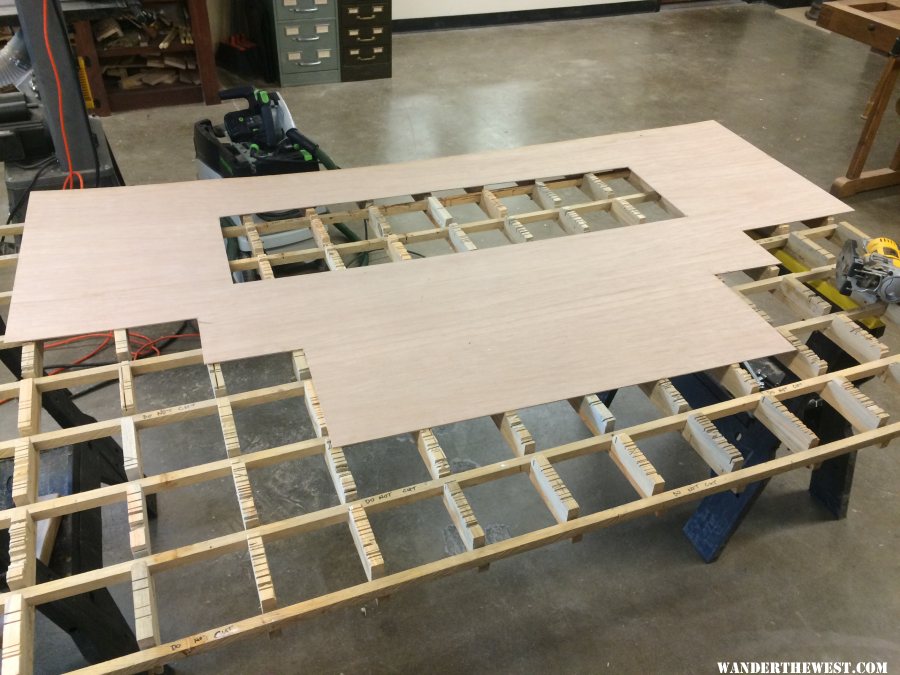
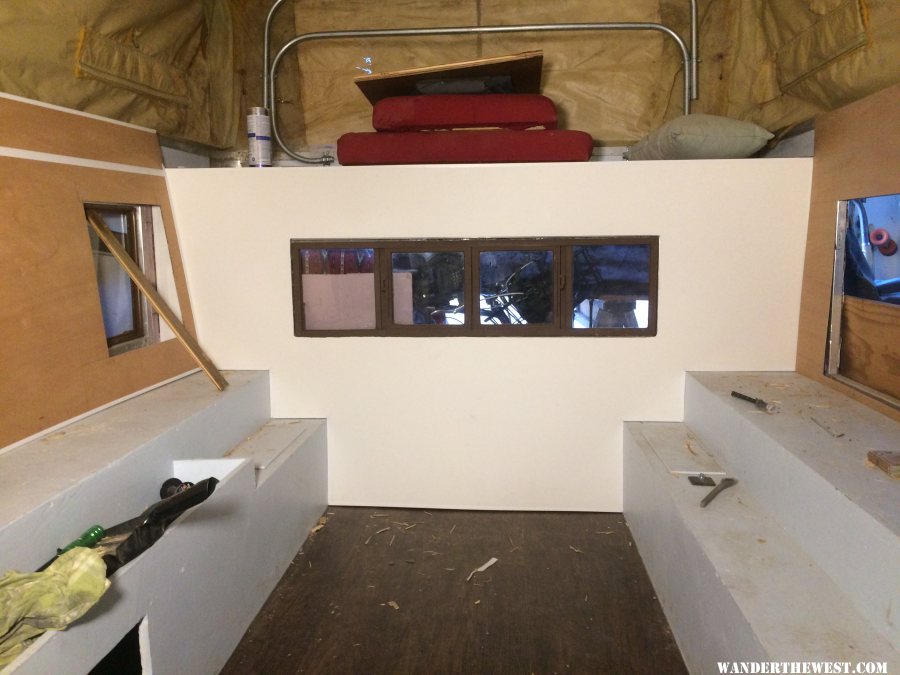
It was a good feeling when the piece fit in the puzzle properly!

For trim I just went to Home depot and picked up this molding cap
Cheap and just what I needed. I used a little razor saw miter box to cut the angles. It took a little back and forth but everything lined up pretty well.
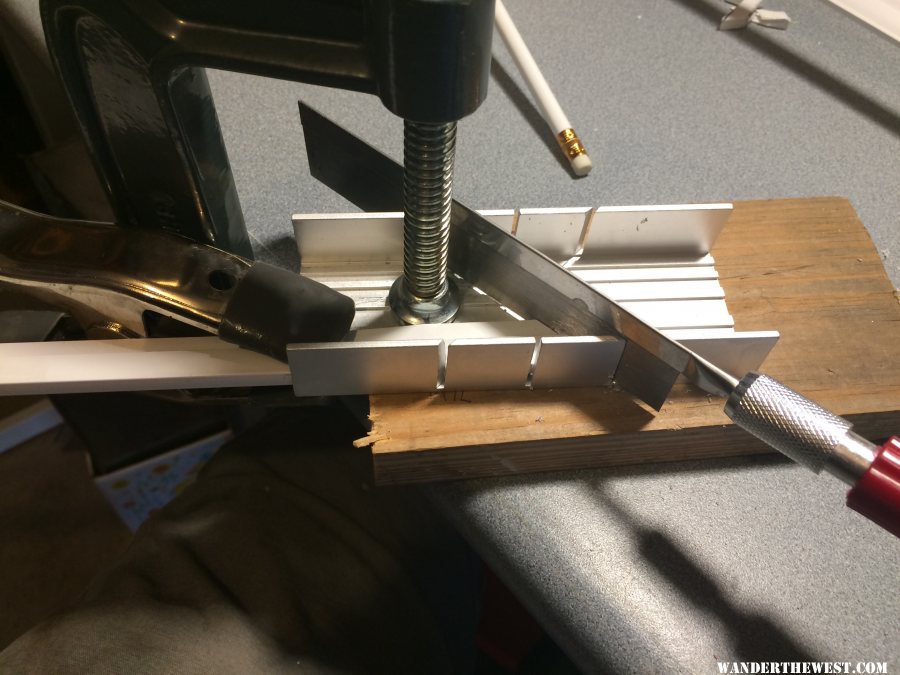
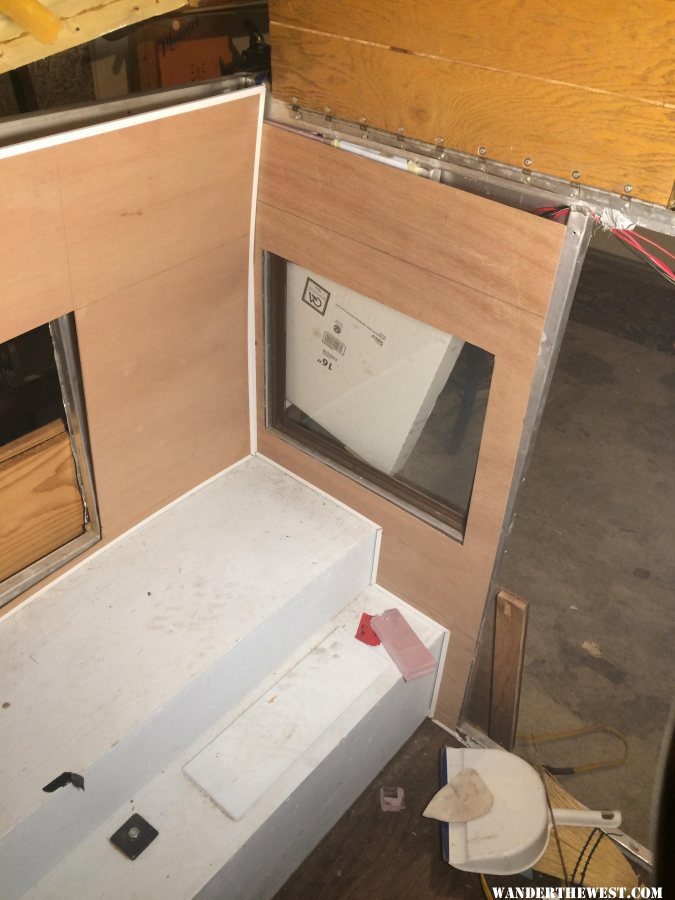
I knew I needed to account for the thickness of the trim and I thought I did when cutting to the inside line with an ⅛ inch blade. But it was not enough. I ended up needing to use the dremel to get these pieces to fit just perfectly. But also I do not think everything in the camper is truly square. In the future I would just give myself a ¼ all the way around. It would still look 100% fine with the small gap. But the good thing is it does fit extremely well.
Next up will be paint for these panels and trim.
For reference this work was performed in August 2016.
My youtube channel about my Four Wheel Camper - https://www.youtube.com/c/timmorrissey
All about my camper - https://www.tgmorrissey.com/camper
Item I used in my build- http://bit.ly/TGMorrisseyParts
#59
Living The Dream
-
- Members
- 464 posts
Senior Member
- LocationFront Range, Colorado
Posted 04 November 2016 - 01:12 AM
Panels 3
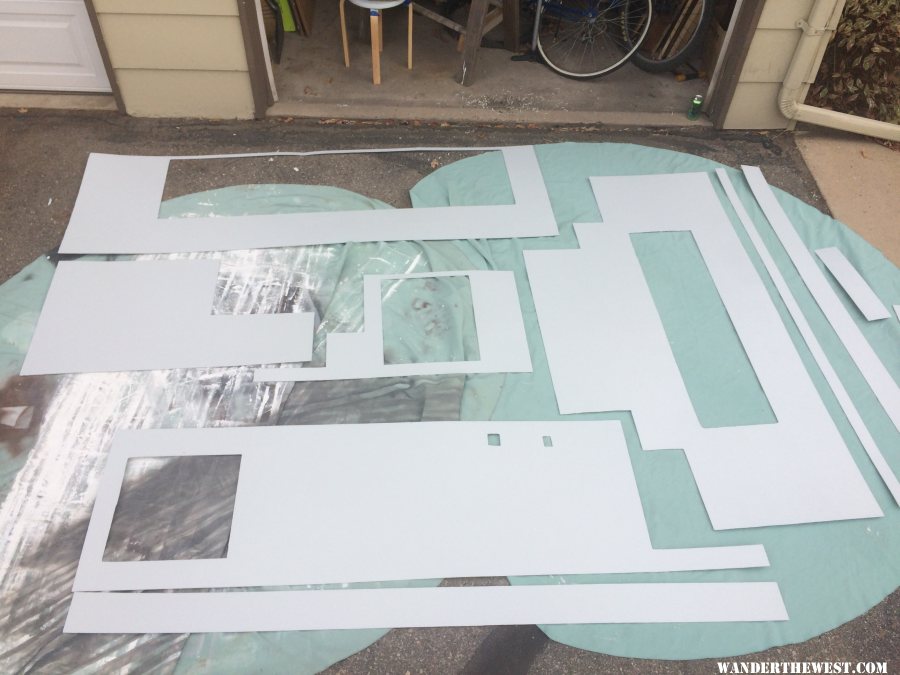
The work on the panels progressed very smoothly. I primed some pieces while cutting trim and getting the right fit with other pieces. I went with three coats of primer on both sides. Really want to make sure these are sealed fully.
I only made one cutting mistake on the panels but luckily it was the easiest piece to redo.
The Colorado fall is perfect project weather.

For reference this work was performed in September 2016.
My youtube channel about my Four Wheel Camper - https://www.youtube.com/c/timmorrissey
All about my camper - https://www.tgmorrissey.com/camper
Item I used in my build- http://bit.ly/TGMorrisseyParts
#60
Living The Dream
-
- Members
- 464 posts
Senior Member
- LocationFront Range, Colorado
Posted 04 November 2016 - 01:24 AM
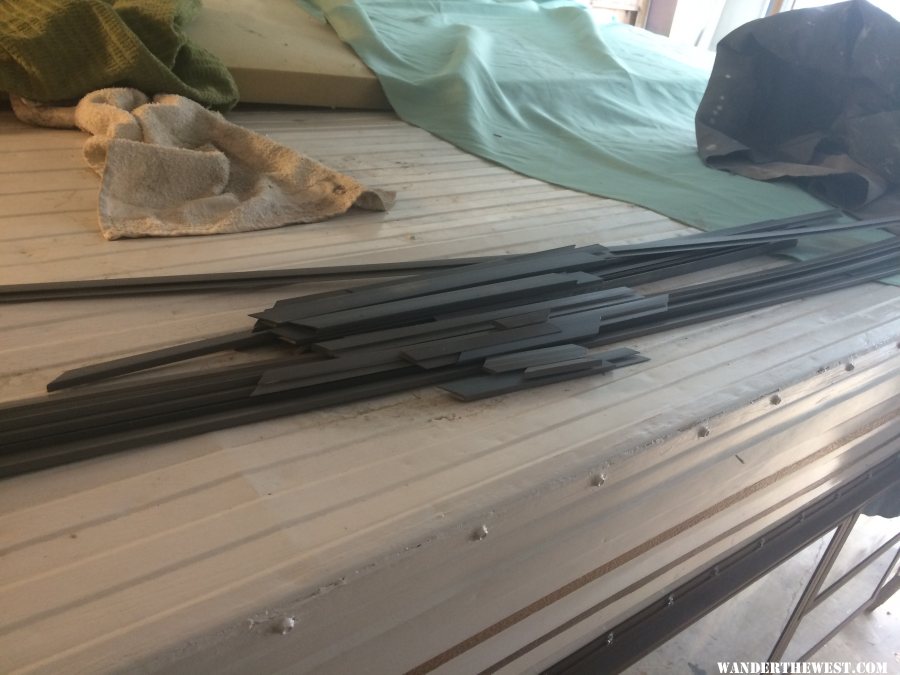
Trim
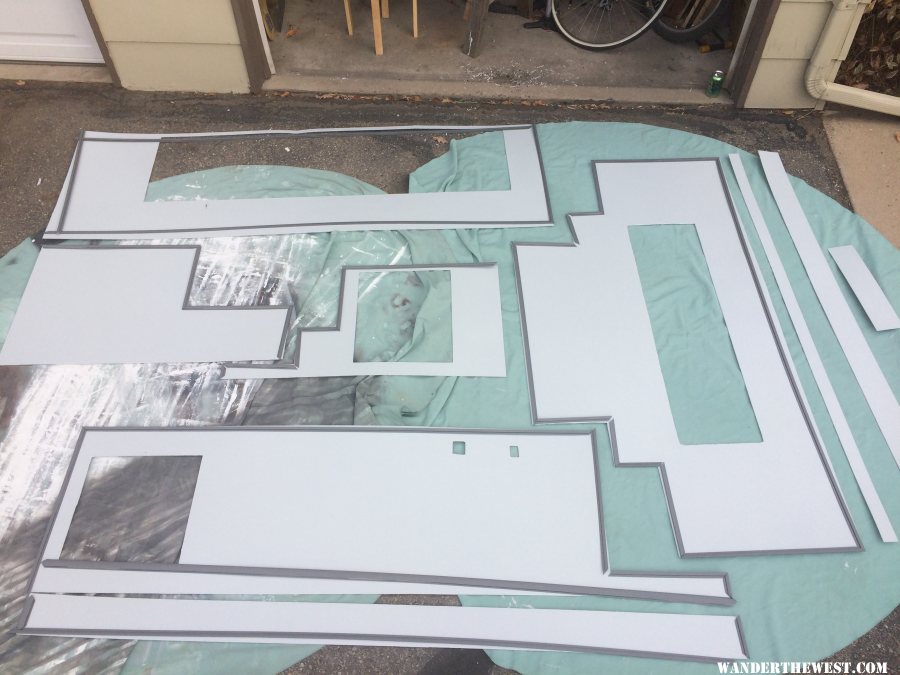
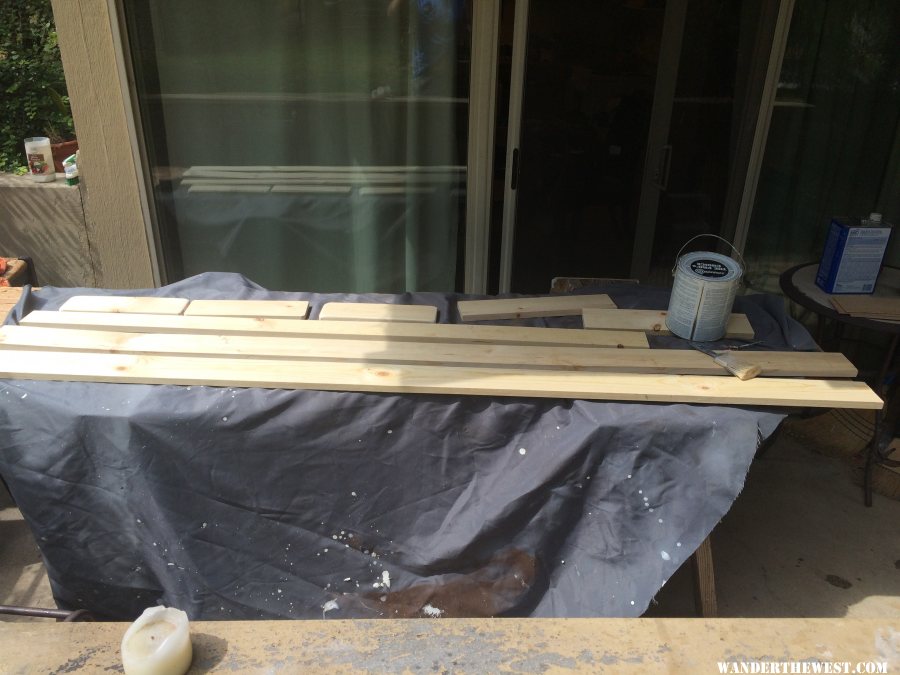
I mentioned earlier where I got the trim from. But we picked out a great color palette of light gray, dark gray, and brown so the trim needed to be painted. All this painting was with spray paint. Two coats of primer, three light coats of paint. I am nearly certain the primer and the paint are the same color 
My neat set up.
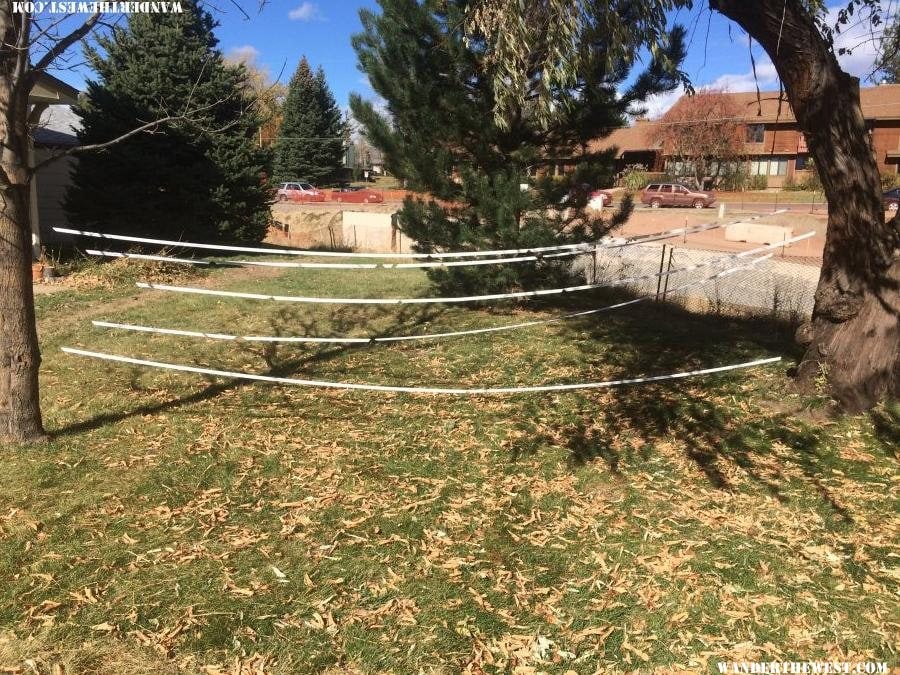
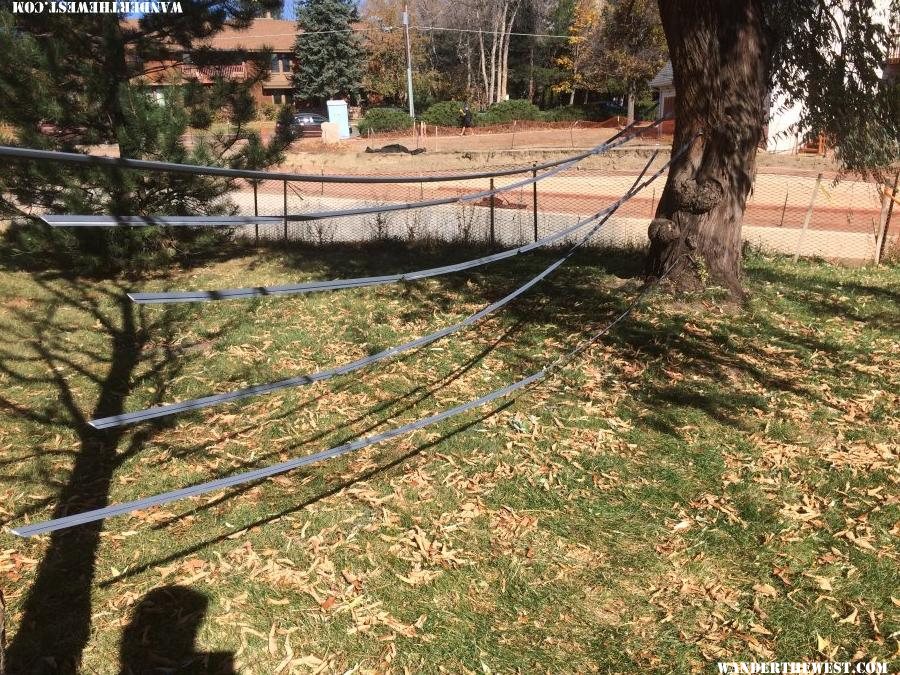
But the front range wind had other plans, so it was back to a table for final coats.

I am really happy with how the paint on the panels turned out. Three coats of color with light sanding in between. It is a very light gray color.
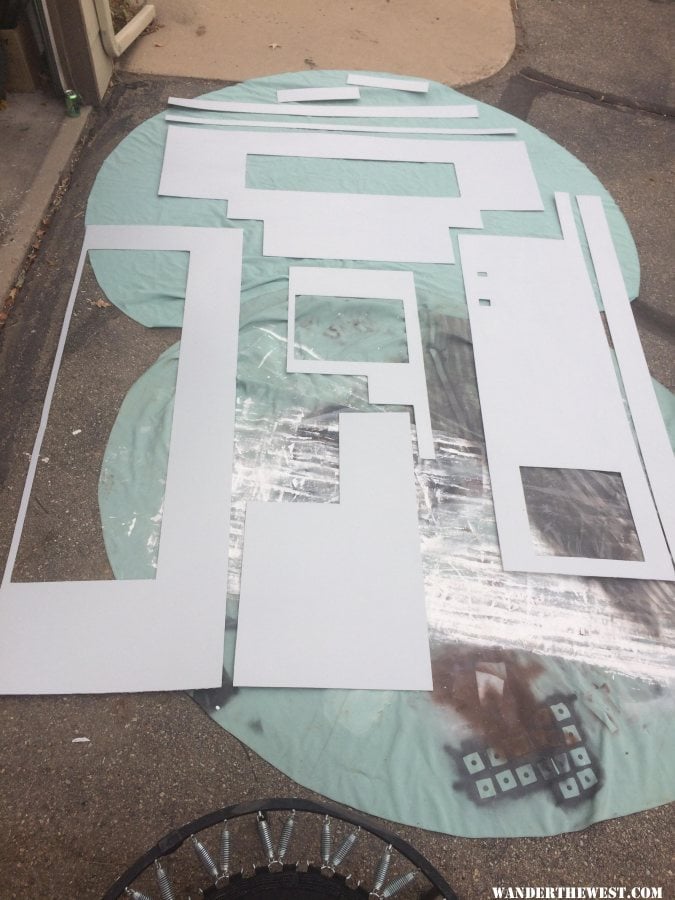
It was a fun little puzzle to get all the pieces to match back up..
For reference this work was performed in October 2016.
My youtube channel about my Four Wheel Camper - https://www.youtube.com/c/timmorrissey
All about my camper - https://www.tgmorrissey.com/camper
Item I used in my build- http://bit.ly/TGMorrisseyParts


1 user(s) are reading this topic
0 members, 1 guests, 0 anonymous users

