Hello and welcome to my build page.
This page covers the complete rebuild of a 1984 Four Wheel Camper - Fleet. I purchased this camper in Fall 2016 and spent the next ~2 years completely rebuilding almost every part. Another member recently suggested a make a table of content to help navigate the many topics I cover so this edit reflects that. Also, since starting the build I have gotten into making videos, you will see a transition from written to video build reports. I hope you enjoy both. Please do not hesitate to reach out to me with many questions. I hope more story is both informative to your build, but more importantly, motivational to create something yourself!.
Thanks for following along. -
Tim - November 2017
youtube.tgmorrissey.com
%%%%%%%%%%%%%%%%%%%%%%%%%%%%%%%%%%%%%%%%%%%%%%%%%%
%%%%%%% %%%%%% Table of Contents %%%%%%%%%%%%%%%%%%%%%
%%%%%%%%%%%%%%%%%%%%%%%%%%%%%%%%%%%%%%%%%%%%%%%%%%
Last updated Nov 2017.
Introduction and before shots - Post 1 (scroll down)
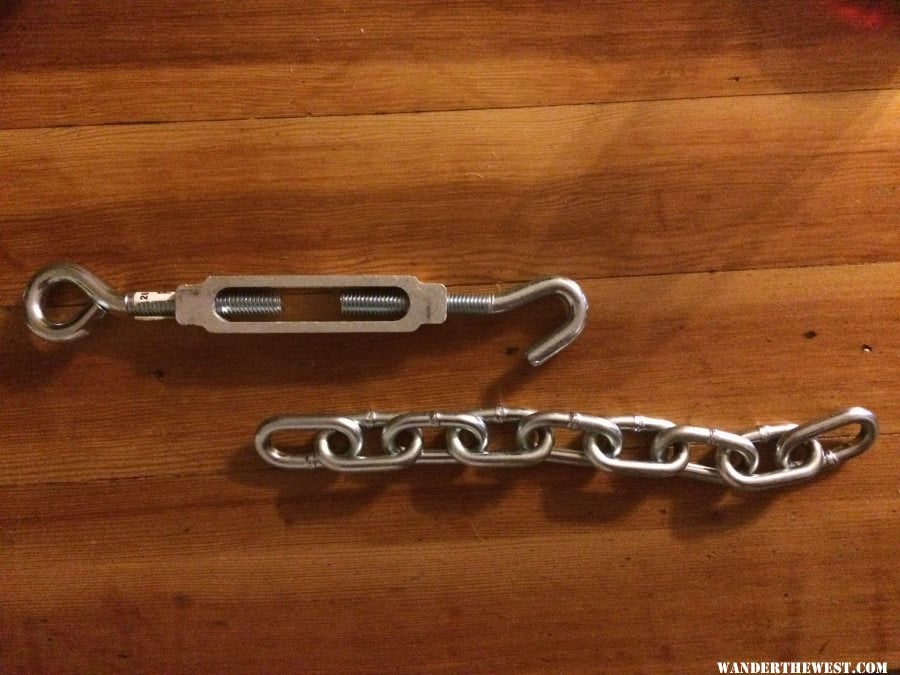
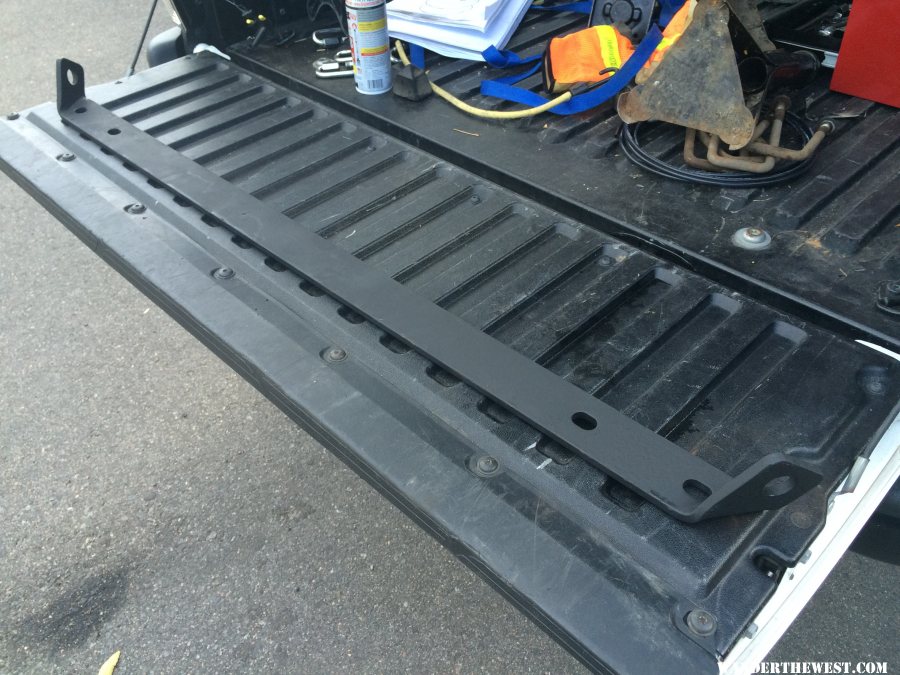
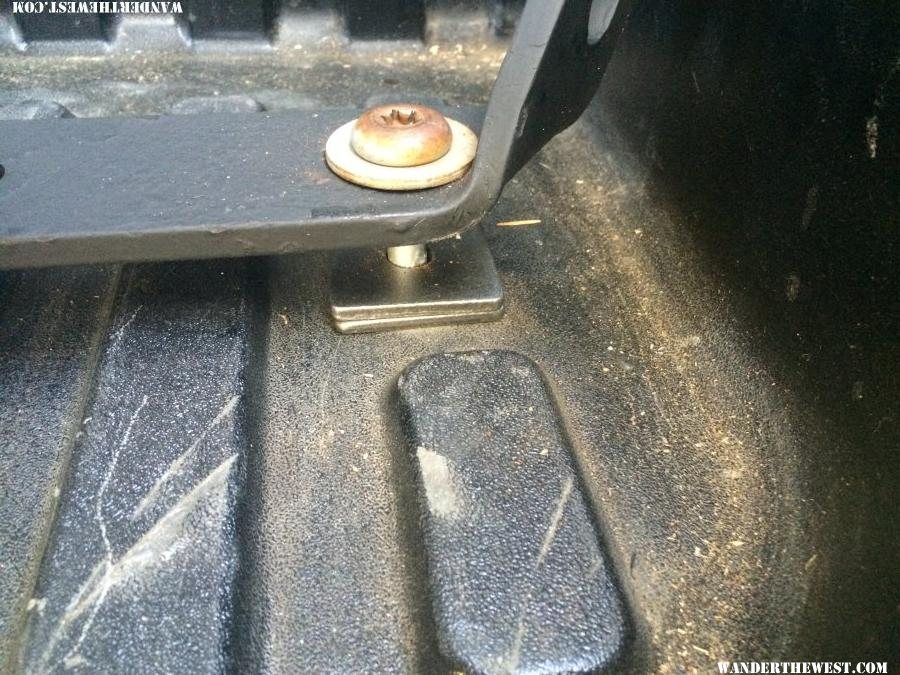
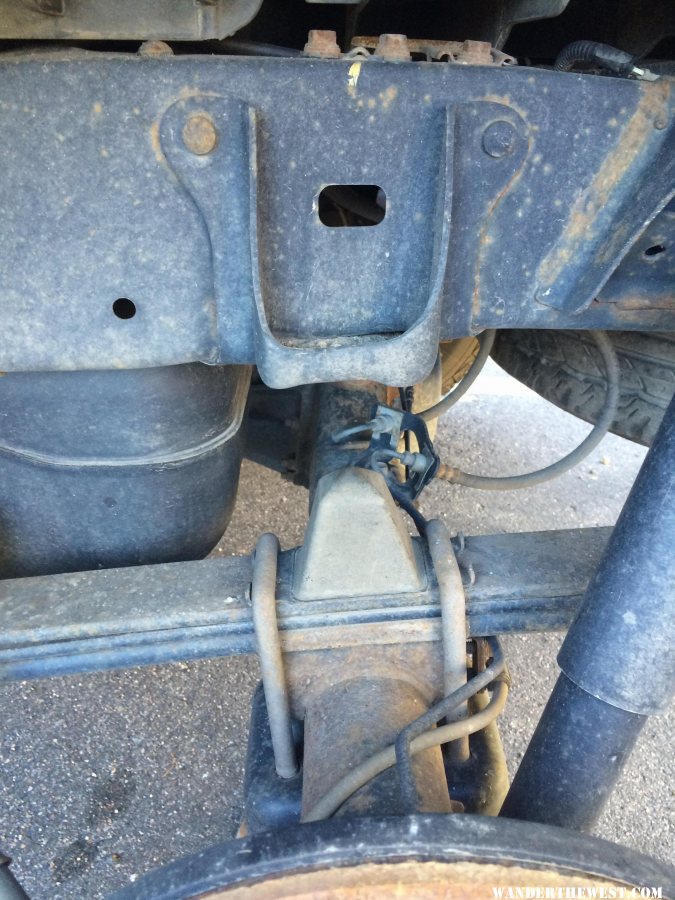
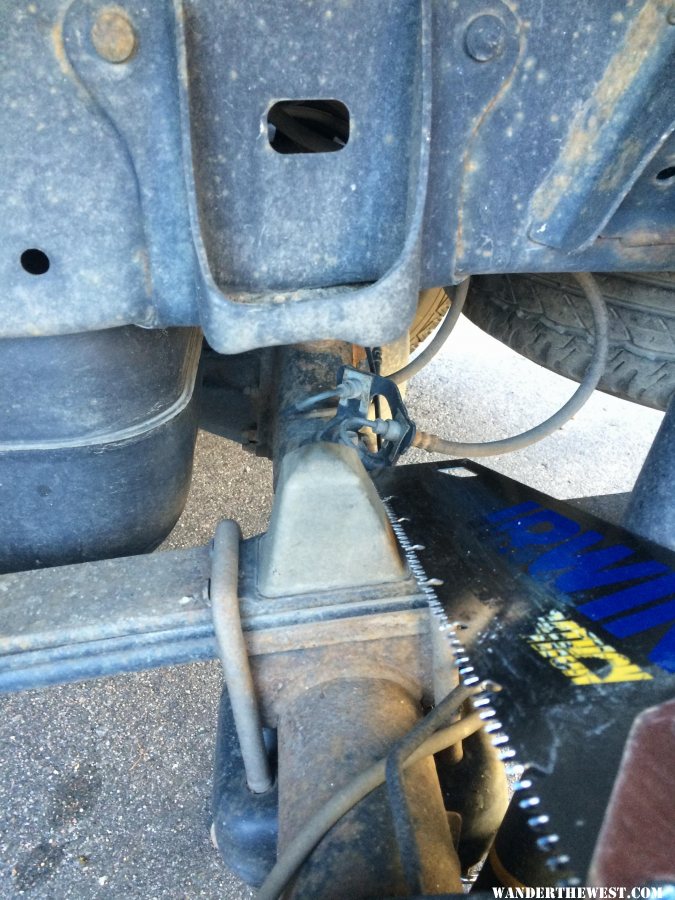
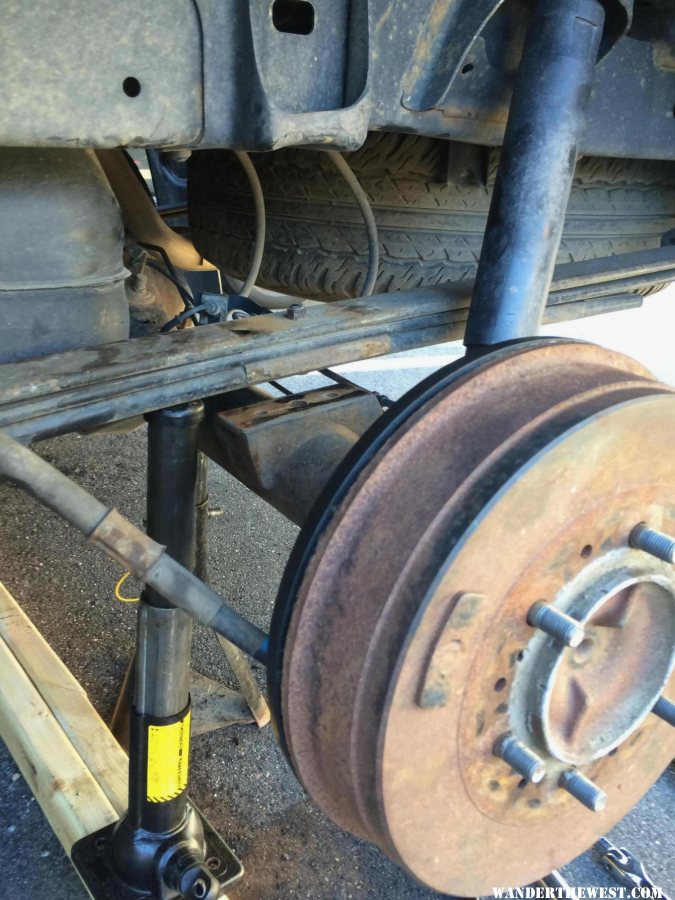
Four Wheel Camper tie down brackets for Tacoma - Post 3
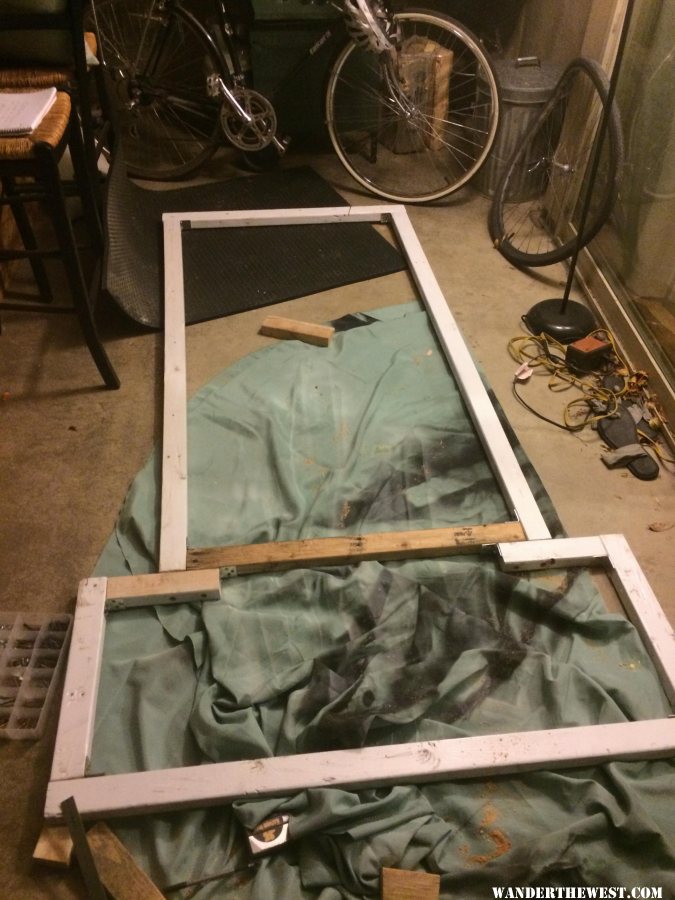
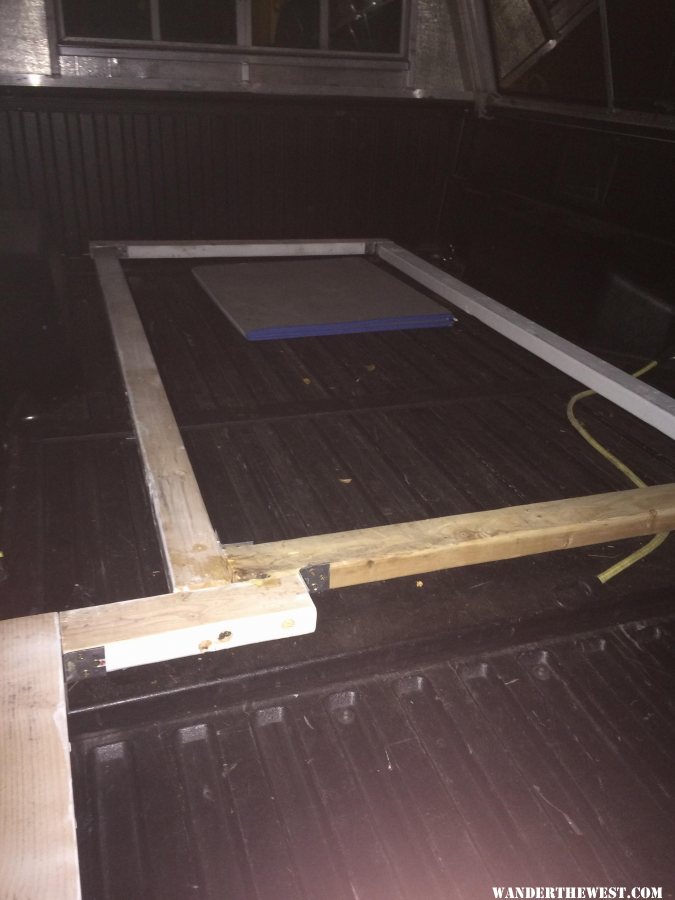
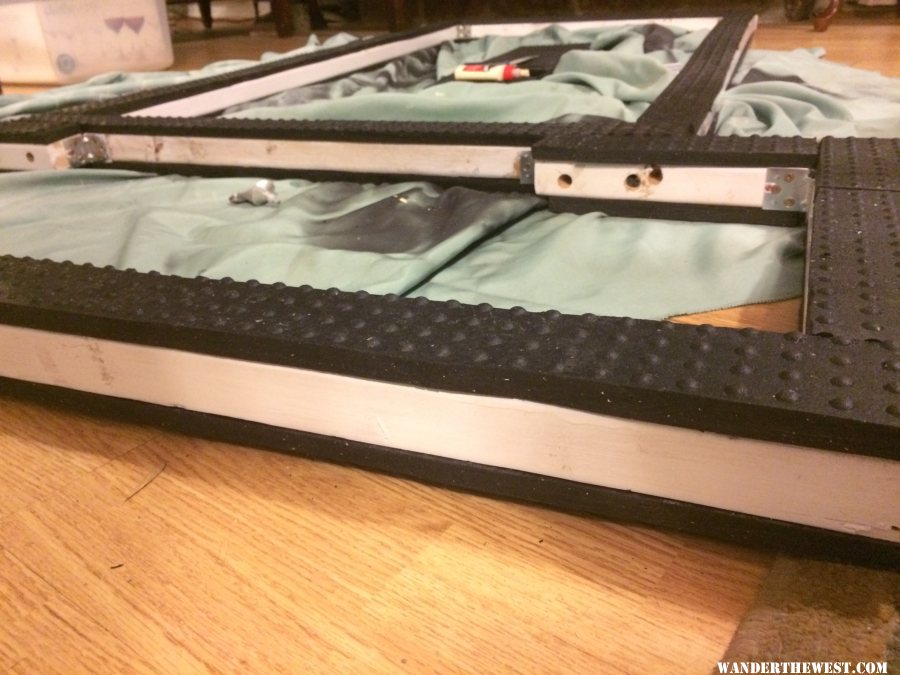
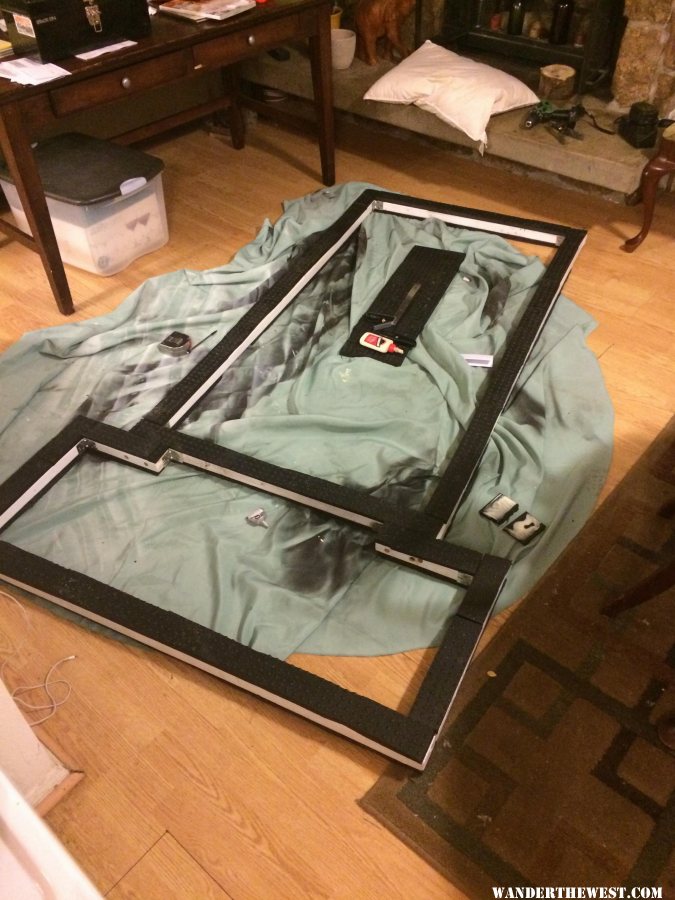
Floorpack support to fit old fleet into new Tacoma - Post 3
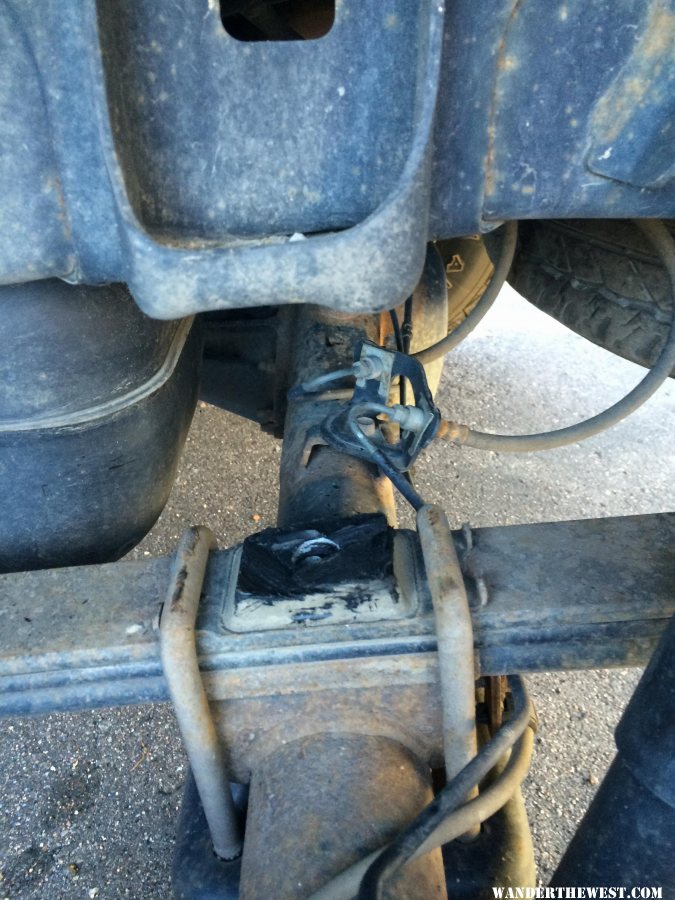
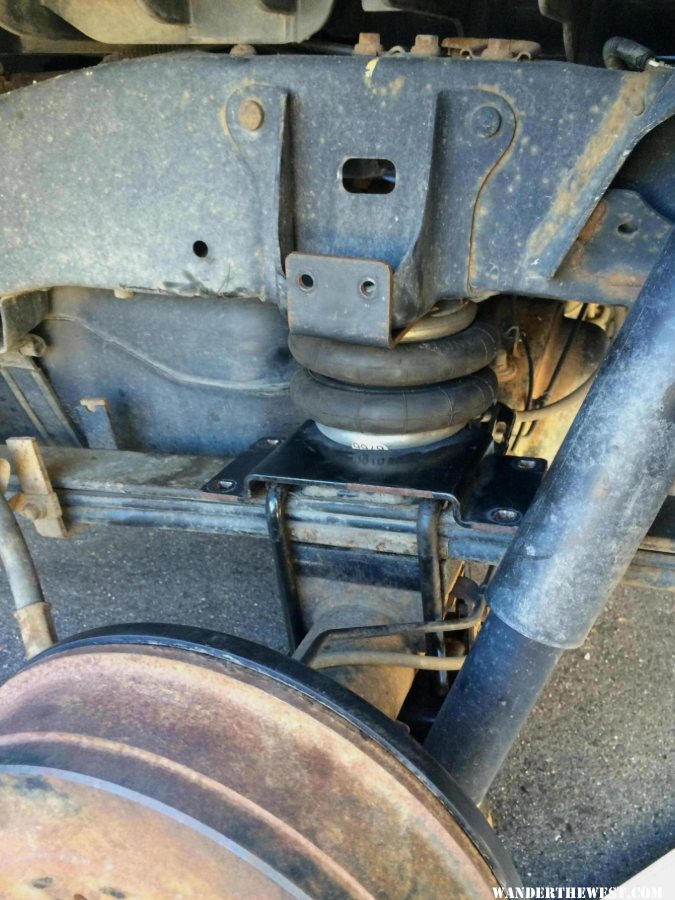
Installing Ride rite airbags on Tacoma - Post 3
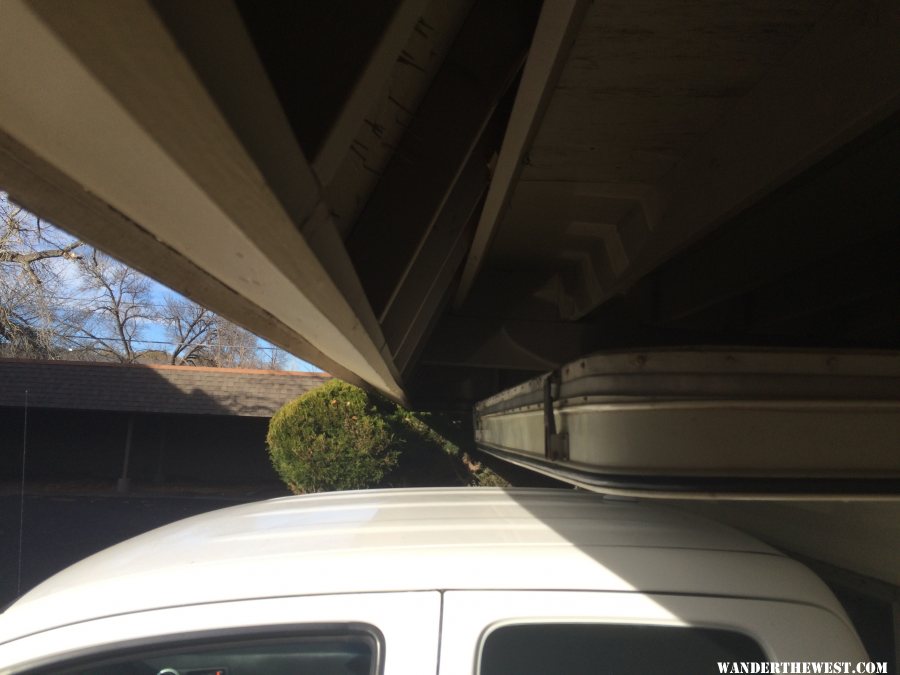
Mounting Four Wheel camper on Tacoma - Post 3
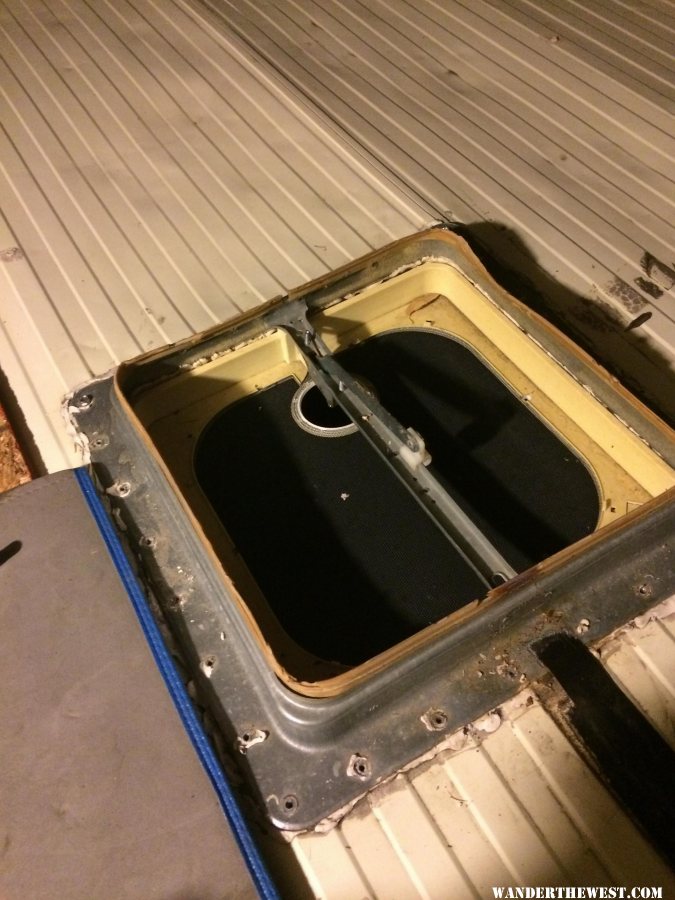
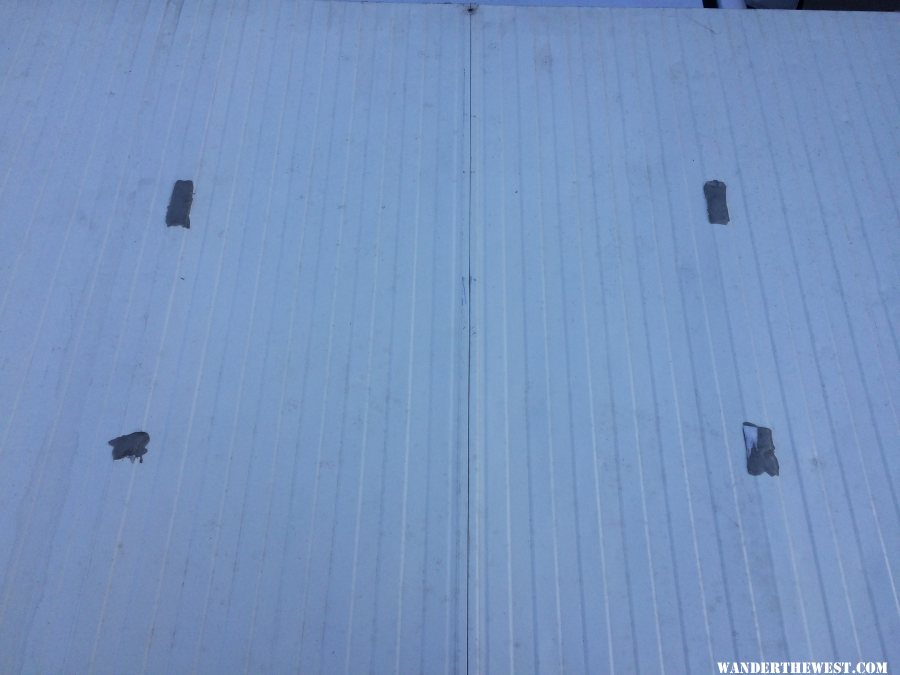
Installing Roof vent and painting roof - Post 4
EMT Lifter Panel - Post 12, Post 31, Post 92
Plumbing propane - Post 13
Tearing down roof - Post 18
Gutting interior - Post 20, Post 23
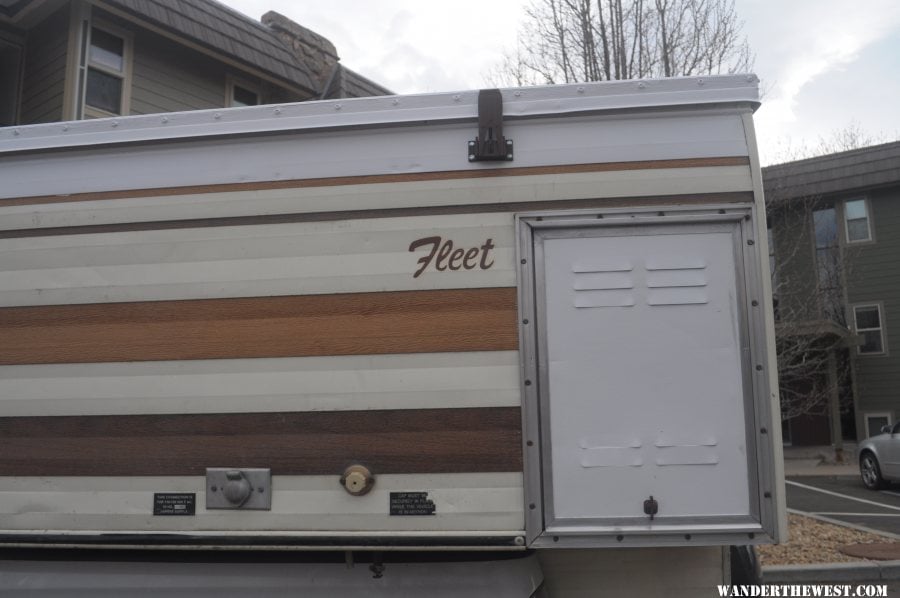
Exterior paint - Post 19, Post 38, Post 48
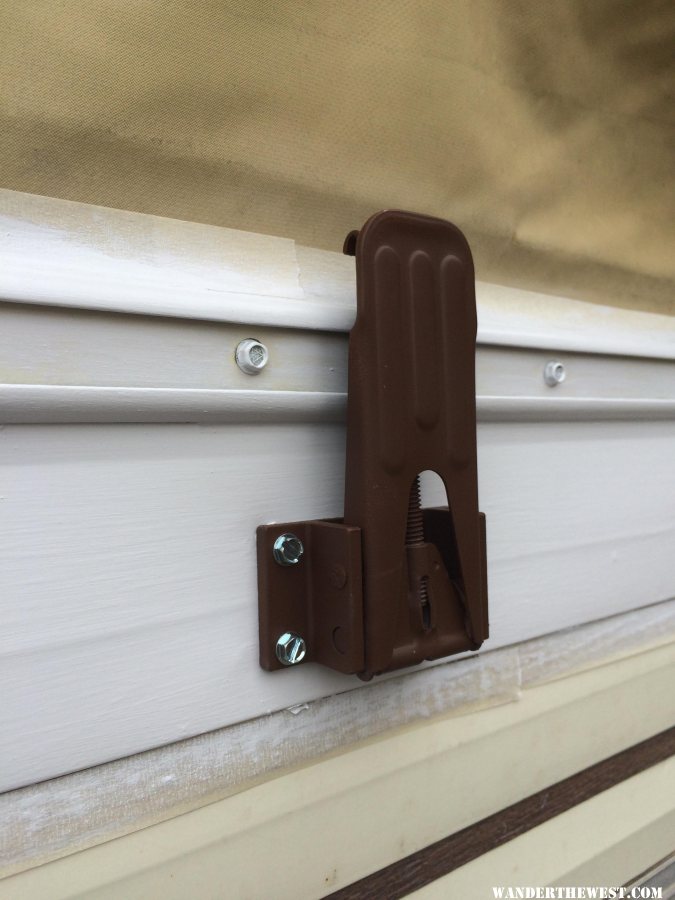
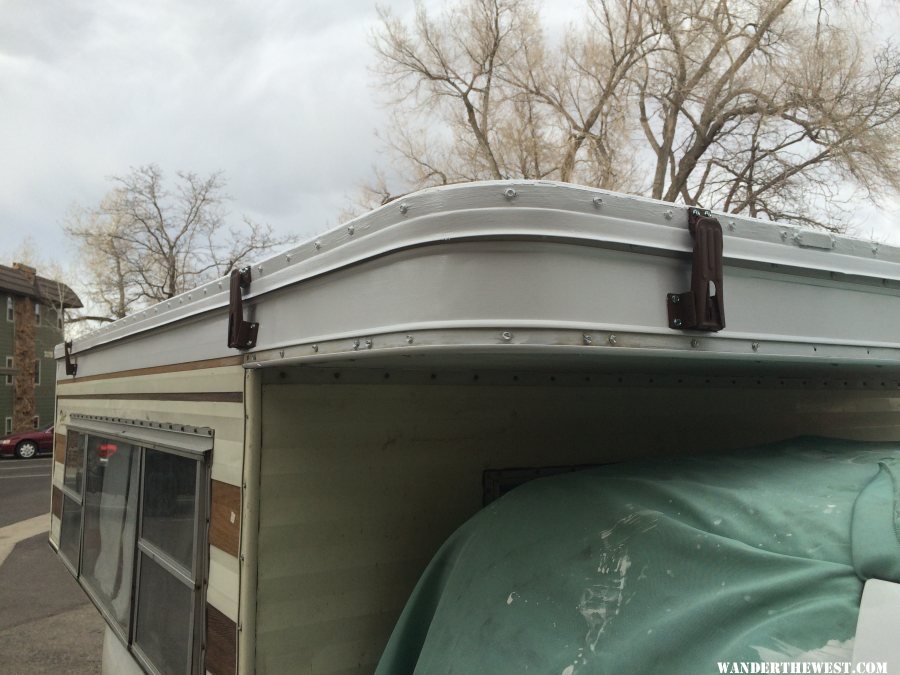
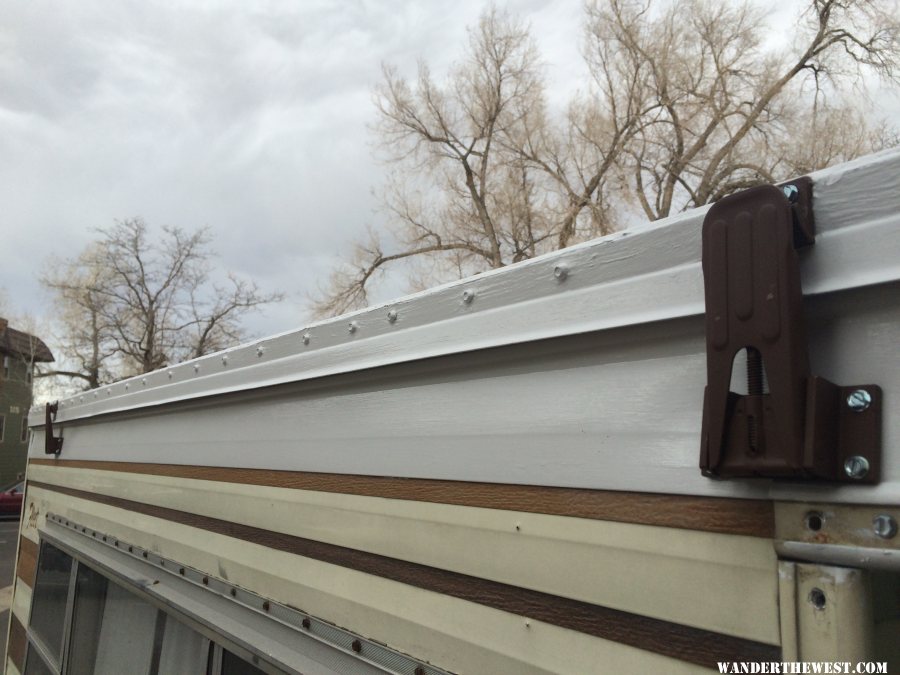
Exterior trim - Post 49, Post 72
Painting floorpack - Post 36
Interior overhead bed - Post 37, Post 93
Porch Light - Post 49
Third brake light - Post 49
Interior flooring - Post 50
Insulation - Post 50
Interior sketches and panels - Post 55, Post 58, Post 59, Post 60, Post 61, Post 73
Interior carpets - Post 73
Passrough lids - Post 56, Post 91
Painting windows - Post 66
Solar install - Post 73, Post 89
Rebuilding roof - Post 89, Post 90, Post 99 (lights)
Rebuilding door - Post 94
Sewing pop-up material - Post 102, Post 147, Video 1, Post 158, Video 2 (most important)
Rebuilding Interior - Post 122, Video 1, Post 132, Video 2
Actually using the camper 
Above Winter Park Colorado - Post 111, Video
Poudre Canyon - Post 140, Video
%%%%%%%%%%%%%%%%%%%%%%%%%%%%%%%%%%%%%%%%%%%%%%%%%%
%%%%%%% %%%%%% Oringial 1st post below %%%%%%%%%%%%%%%%%
%%%%%%%%%%%%%%%%%%%%%%%%%%%%%%%%%%%%%%%%%%%%%%%%%%
Hello All,
This past Fall I became the proud owner of a Four Wheel Camper - Fleet, ce 1984. I have been wanting a pop up truck camper for a few years now, but always waiting for one reason or another. As a student. new is out of the question, so I was on the hunt for a nice used project. I want a FWC the same reason everyone wants one, their awesome, capable campers that can get to a lot of places. But my main desire is as a base camp for skiing. Front range traffic is a beast and the camper is way to avoid all that. Wife and I drive up at night when everyone else is drinking or whatever, and a quick comfy nap and we get fresh tracks.
This page will act as my build page to document for myself but also hopefully for others. Wander the west has been indispensable as I have been fixing up the FWC. I will continue to rely on this site as my project continues and hope my contribution provides answer to others too.
Maybe this project should be called - Three Fours
Four cylinders
Four wheel drive
Four wheel camper
A bit about me: Tim- PhD student in mechanical engineering/material science. I'm not too much of a motor head but like wrenching and projects. Like I said I really want a FWC for ski base camp but also for adventures all year round. Something that is comfortable the night before heading deeper into the wilderness.
Truck: 2009 Toyota Tacoma, 4 cylinder, 4 wheel drive, base model, access cab. Simple but capable. I love my truck because it is modest but useful. I bike commute so it is not my daily driver, pretty low miles and very well maintained.
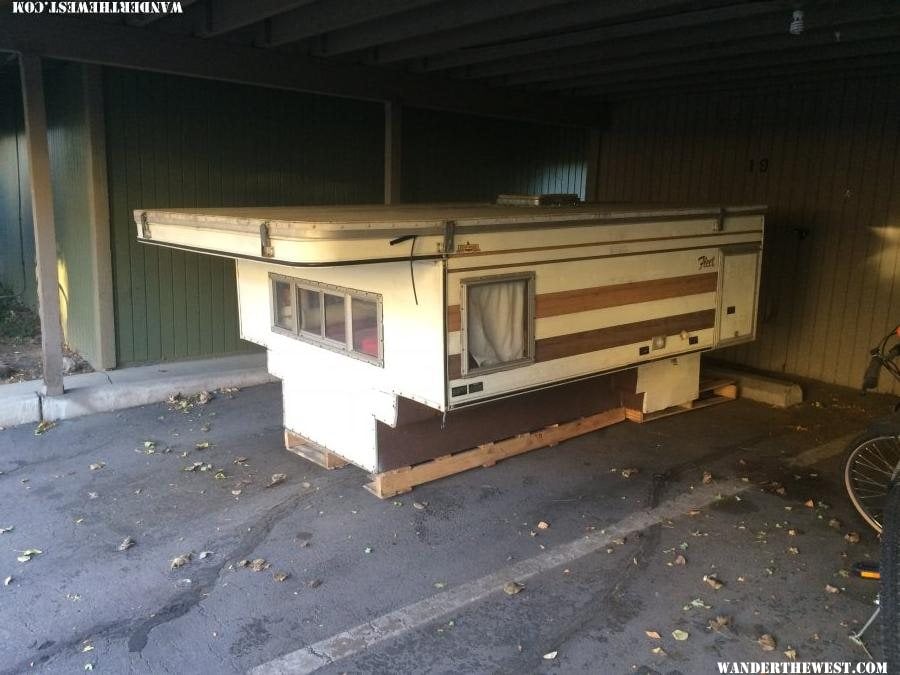
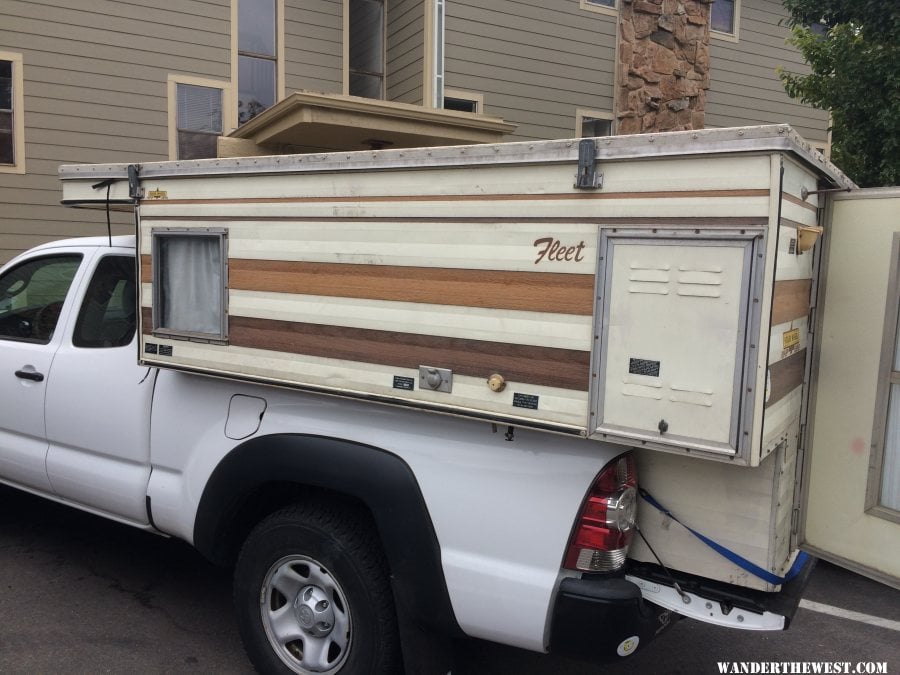
Camper: It is the old 7 foot fleet. Stan thinks it should be about a 1984. I picked it up from my new friend, Jose, in Denver not too far from where it was built. It certainly needs some work, but the price was right, far south of $1000. I don't think Jose really knew what he had. Or maybe I was just blinded by how awesome it was and didn't see the imperfections. Either way I was extremely excited to be its new owner.
I picked it up labor day weekend, 2016.
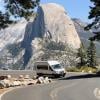
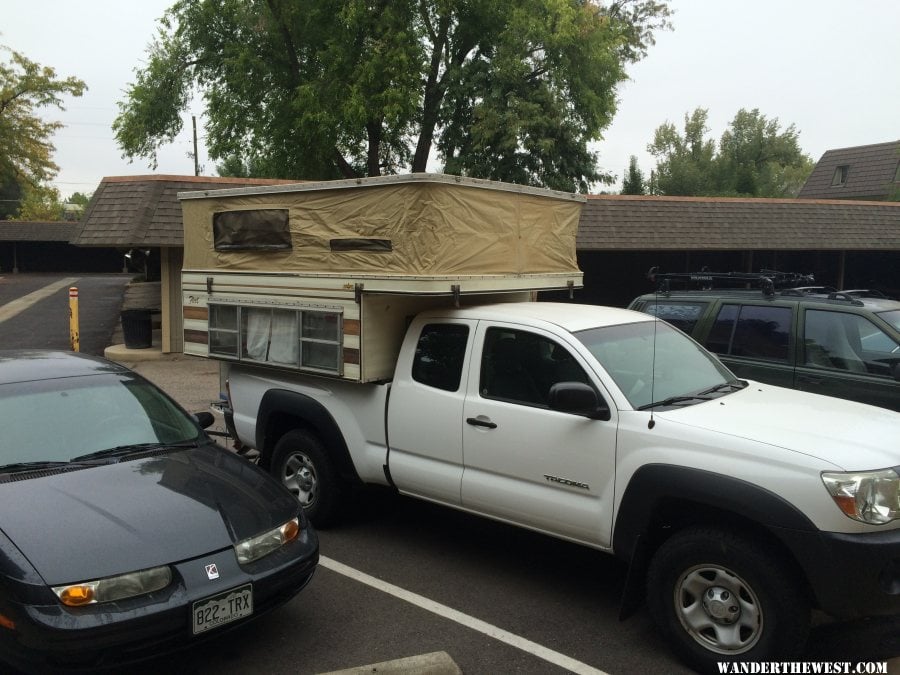
Here is a photo of it on its old owner truck:
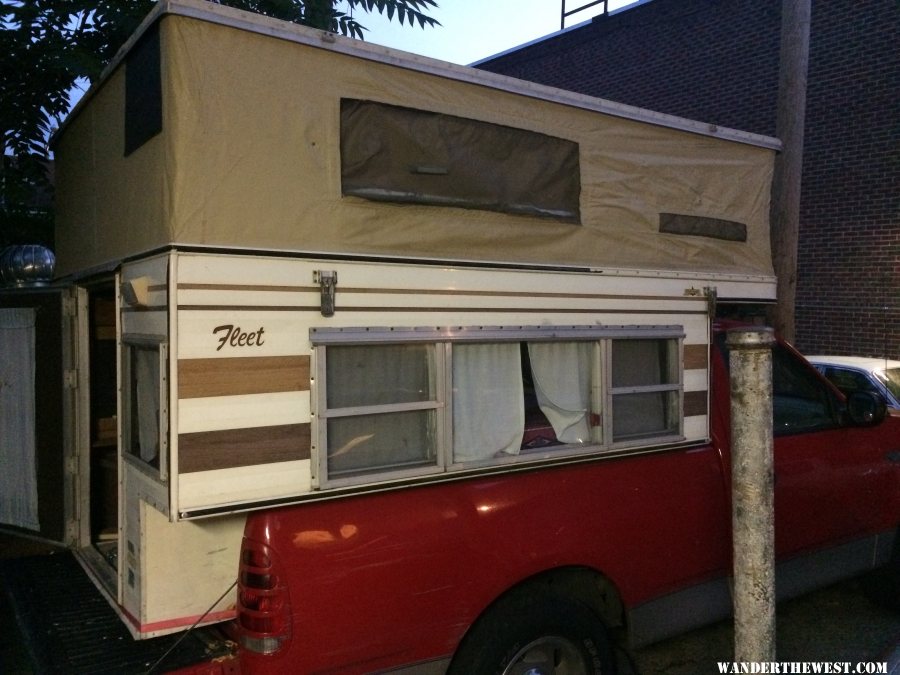
And here it is mounted for the first time on the tacoma. Notice the amateur hour single strap to the tailgate bracket. I took it nice and slow to start:
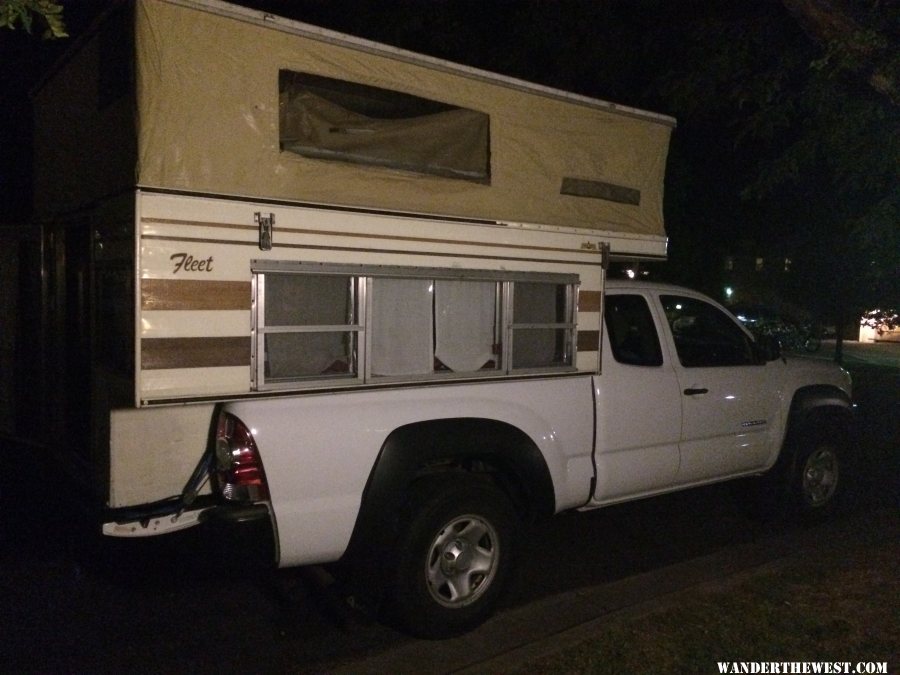
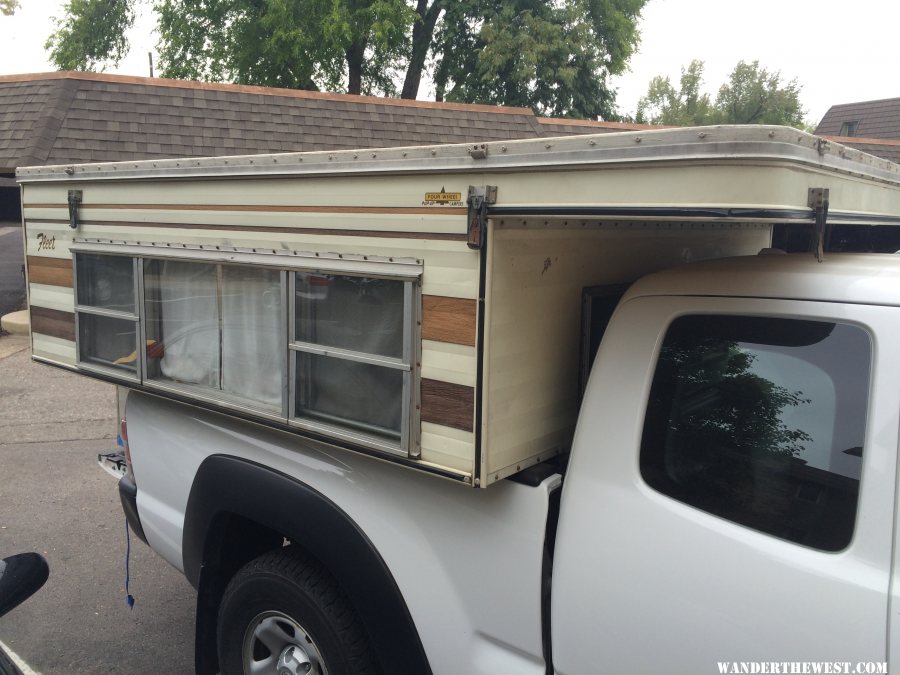
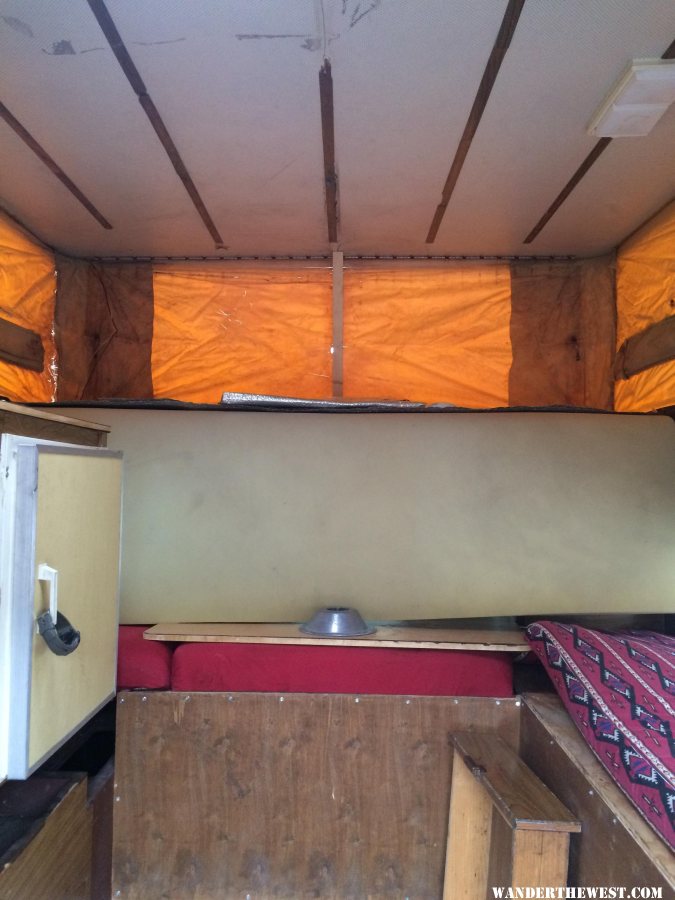
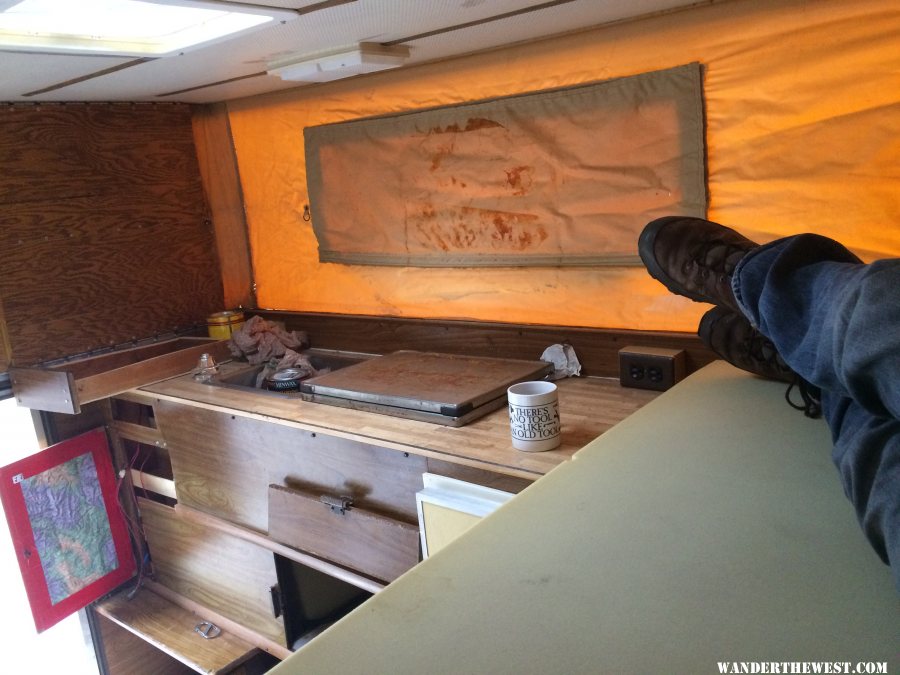
And back at home, really exploring the camper for the first time:
The good:
no major exterior or interior damage
canvas intact
deep cell battery
solar panal
rear lifter panel in good shape
came with two old school jacks
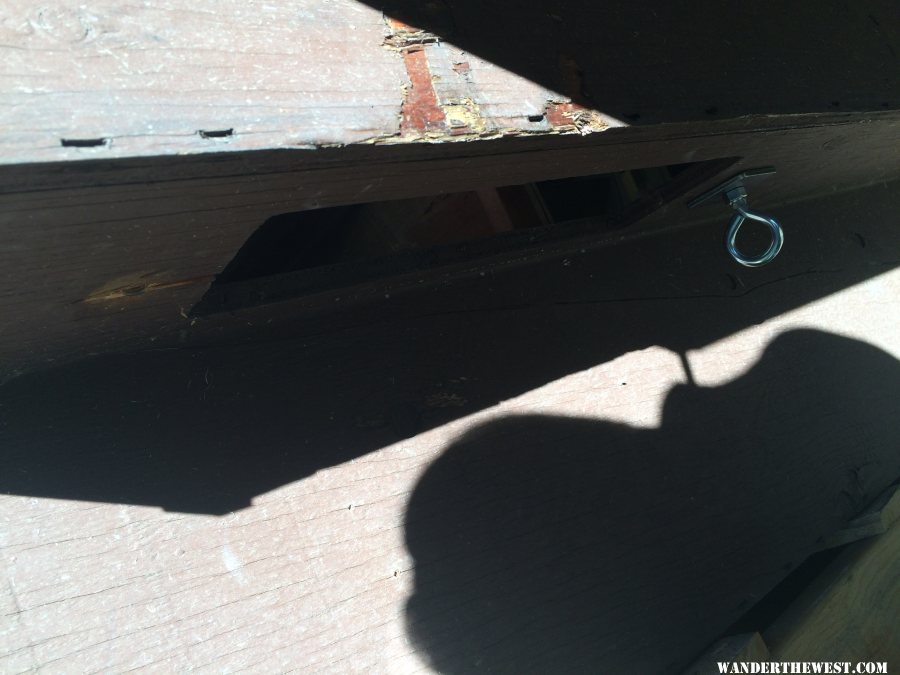
no water damage
new wood at cabover
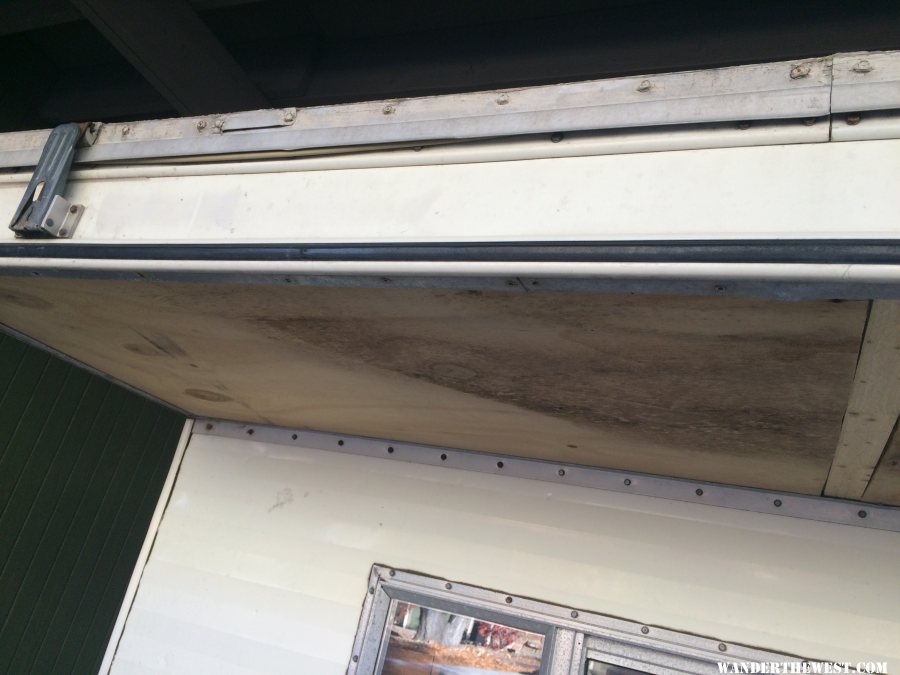
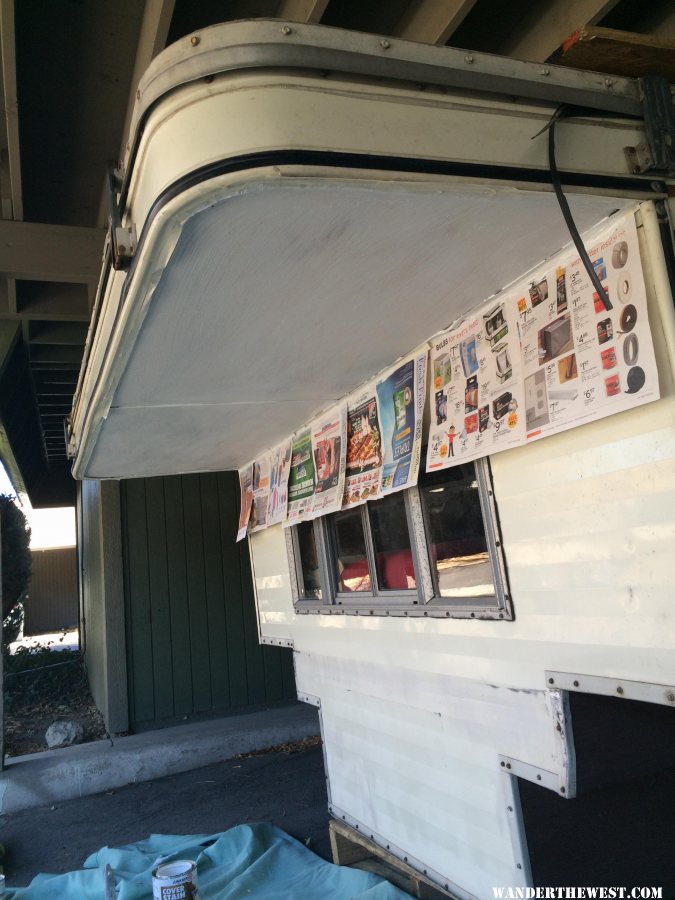
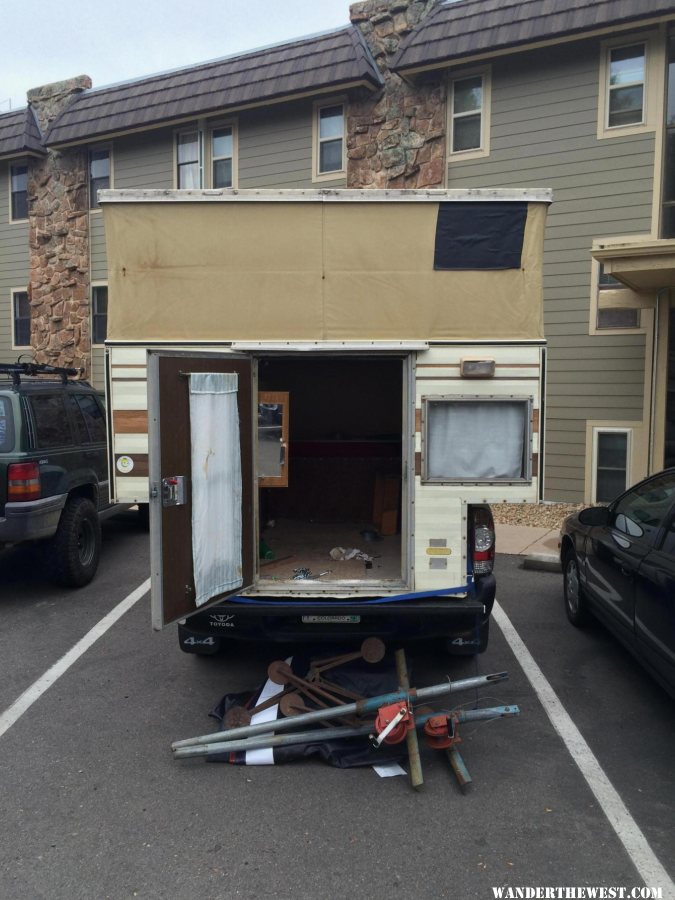
The bad:
no front lifting panel (old owner was using 2x4)
no roof vent (not sure how no water damage but their wasn't)
very dirty
electrical was a mess
on second through, canvas is a bit tough
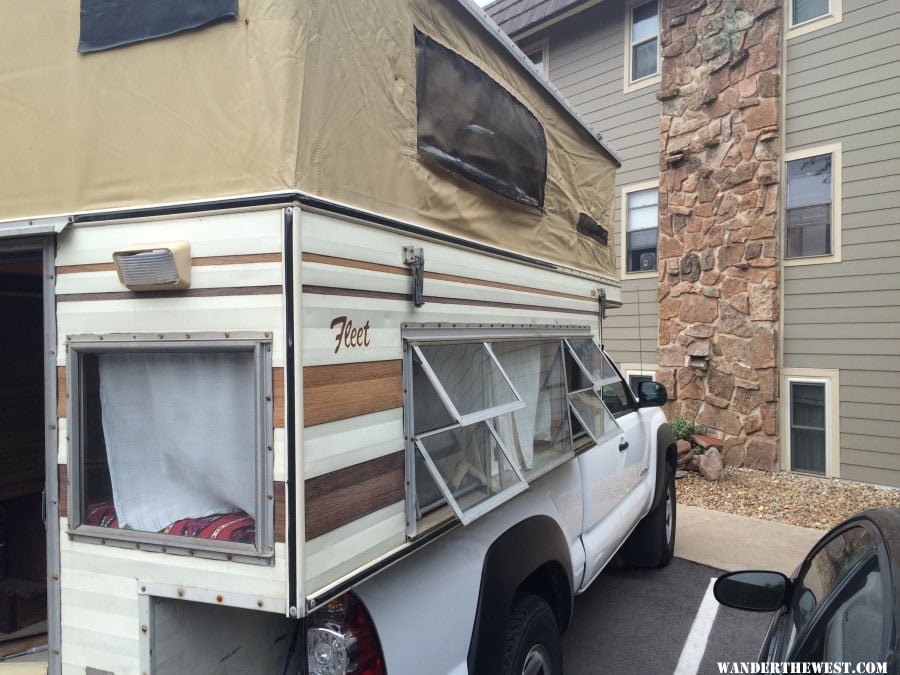
I don't know quite how far this project will go. The camper needs to more or less remain on my truck at all times (HOA). Plus all work is done in a parking lot. I am somewhat capable with a wrench but have limited tools. Although work does have access to almost every tool, still not the same. My goal is to get it looking on par with the truck (so just not like a piece of junk) and for it to be comfortable, clean, and generally fun to be in. Warmth in the winter is ultimate goal. But after I got it in the fall there were some inital projects that needed taken care of before anything else.
Here are the before photos:
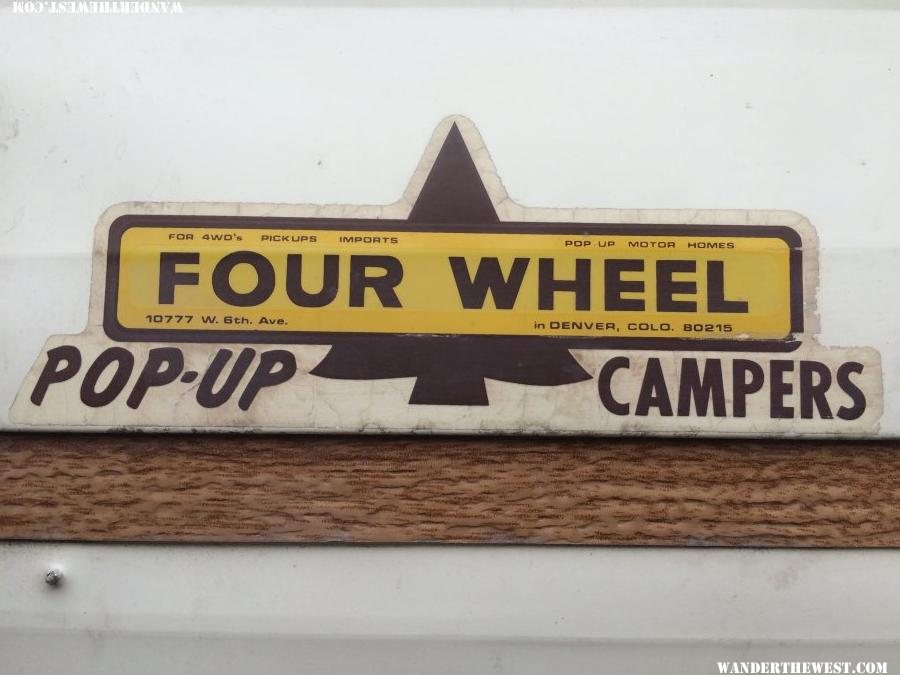
Made in CO:
Dreaming about the possibilities:
Ill update as regularly as possible. I don't have much time or money for this, but i do enjoy working on the camper almost as much as using it so hopefully it cleans up pretty nice.
An initial thank you too all those that have helped me already, and I hope this is helpful to those that come after.
- Tim
Edited by Living The Dream, 19 November 2017 - 04:34 AM.


 and more then I bought the cap for 4 years ago. Colorado is a sellers market for all things Tacoma. The cap served me well and I hope to get another down the road when the FWC does not have to be full time on the truck.