Jump to content


Photo
- - - - -

Hawk solar upgrade


  • Please log in to reply
49 replies to this topic

#1 fatmab

fatmab

    Advanced Member

  • Members
  • PipPipPip
  • 43 posts

Posted 14 July 2016 - 06:54 PM

Hi all.  I've never been much of a poster on forums unless I can help answer a specific question for somebody.  Over the years I have gained so much valuable information here and other forums.  This is my attempt to give back a little and possibly help others who, like me, are wanting a little more out of their solar system.


I think I have read most of the solar build threads here by countless posters and I poured over Handy Bob's pages before coming up with my plan.  The thing that finally pushed me into action is, the factory 100W Zamp panel was no longer functioning at 100%, leaving me with even less solar power for an already marginal output to run a compressor fridge.  


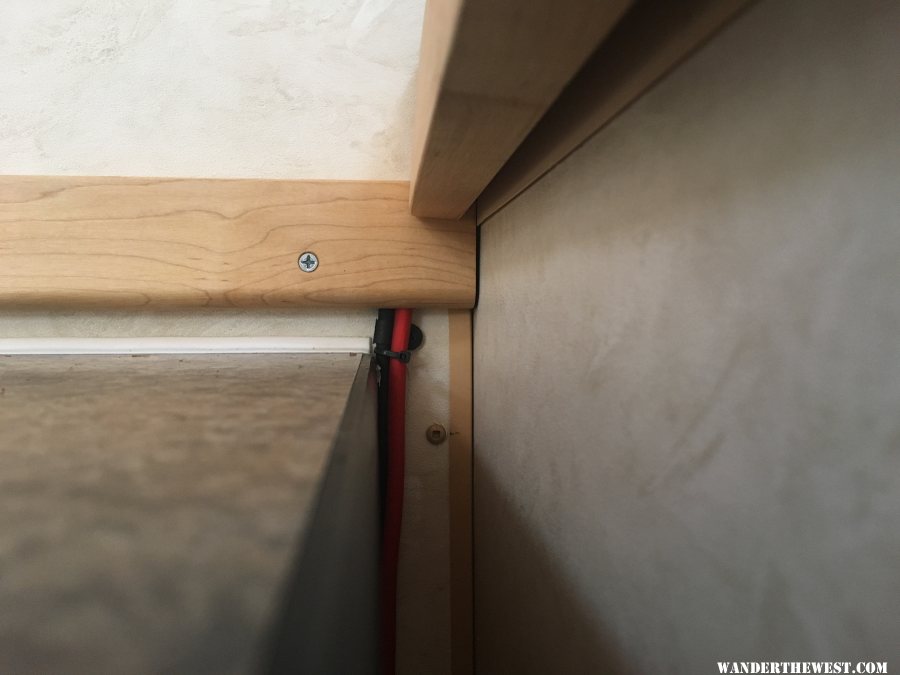
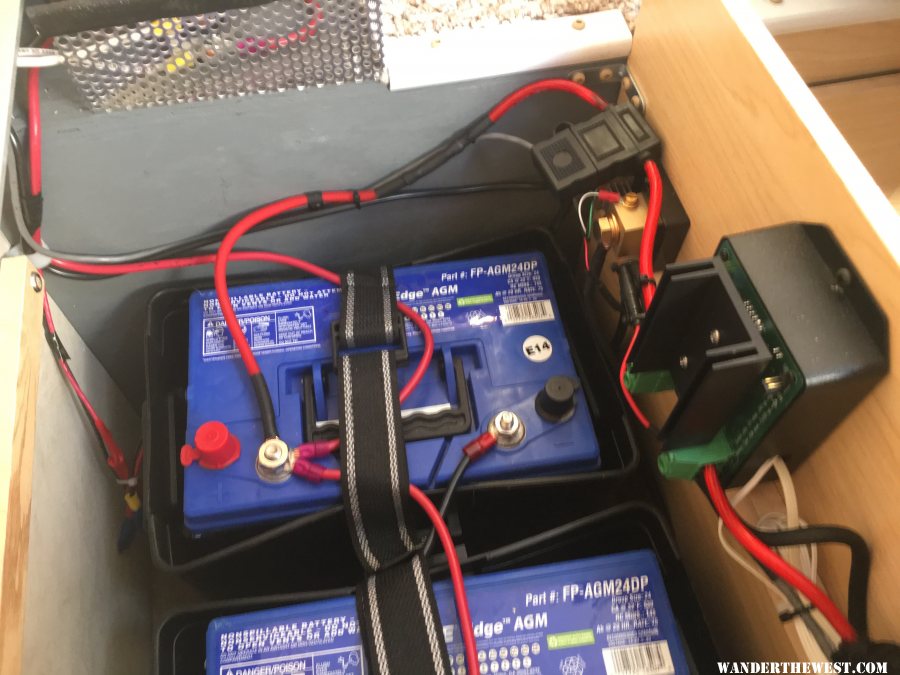
My Zamp panel has what looks like burn lines across many of the solar cells.  On my last trip in the best conditions, I was getting just 4 - 4.5 amps from solar, down from 5 - 5.5 in the past.  This, combined with the undersized factory wiring between truck and battery separator, almost left me with cold food and beer problems.  I had to manually bypass the separator during the trip to allow the truck to charge the camper batteries just enough to keep me going for the week.


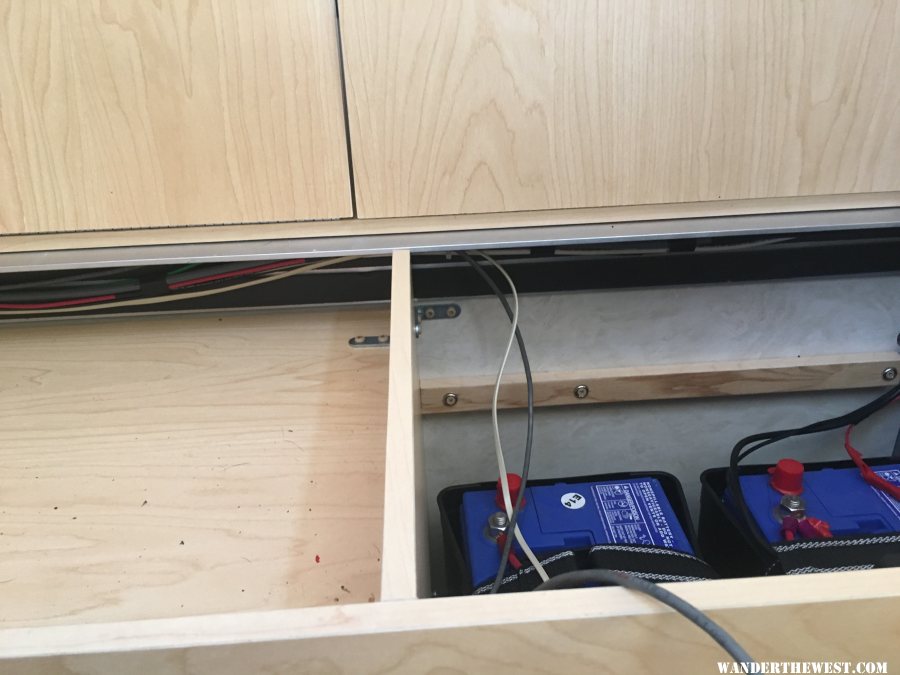
Camper - 2014 Hawk front dinette with factory 100W solar, 2 batteries, 80L compressor fridge

gallery_5229_1044_399559.jpg


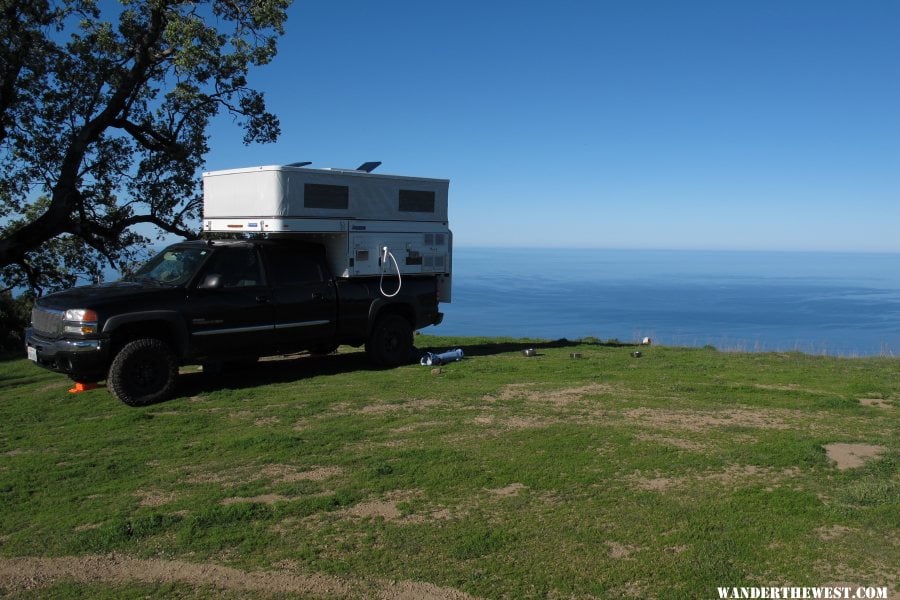
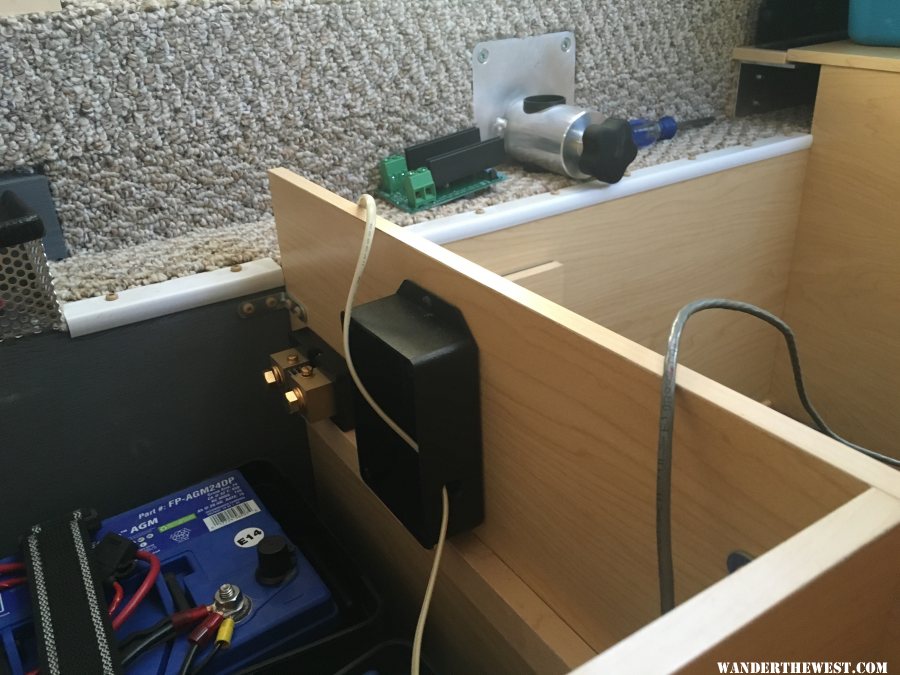
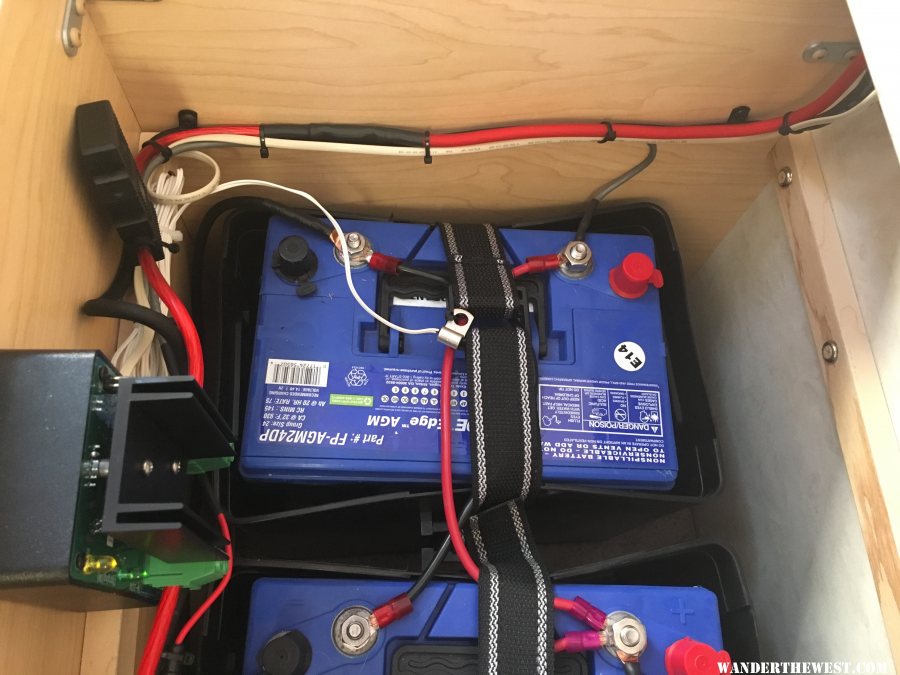
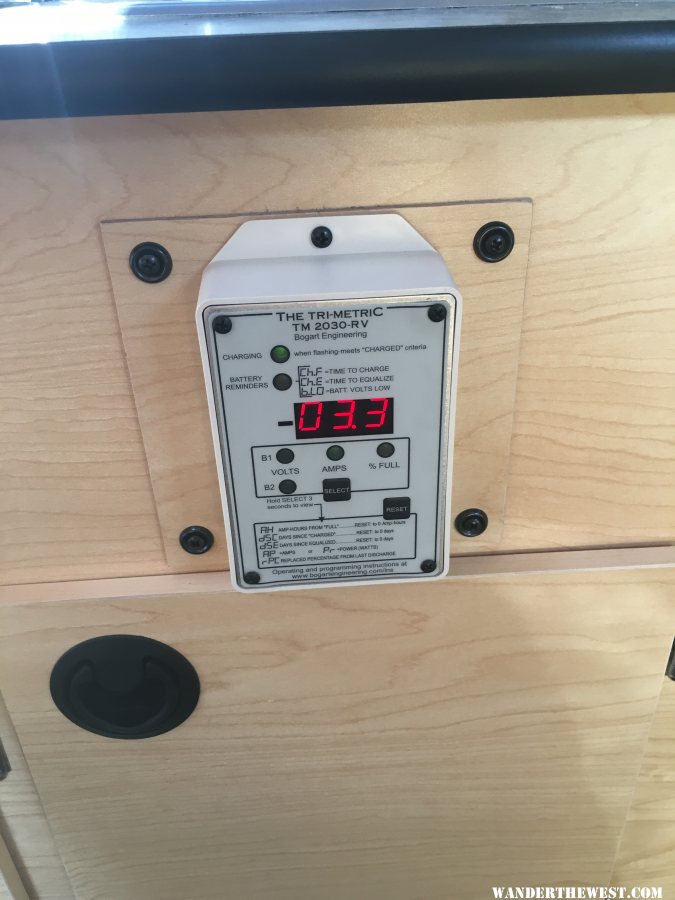
Added - additional Renogy 100W panel, Trimetric SC 2030/TM 2030RV combo.


I kept the Zamp panel for now, but I may upgrade in the future if I find I need more juice, or if the panel continues to output less and less.


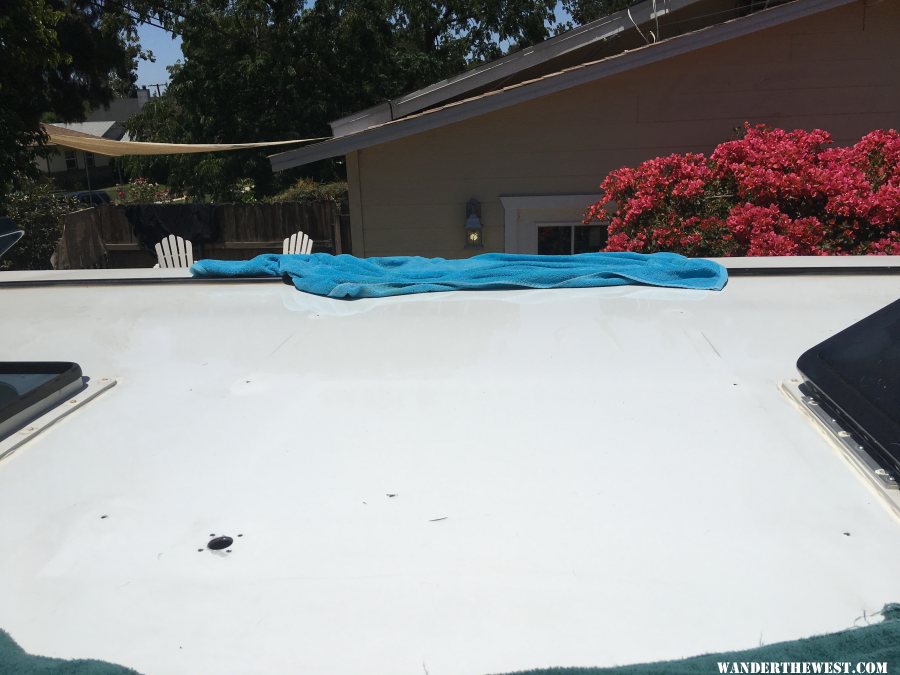
First, I removed the factory panel to access the wiring.
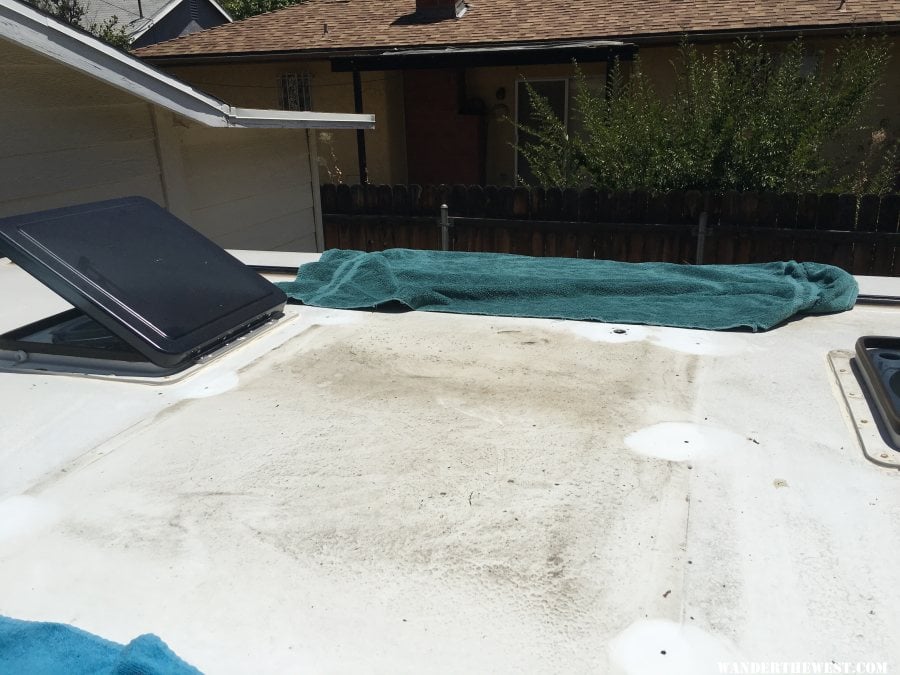
gallery_5229_1043_1517288.jpg


Cleaned and prepped

gallery_5229_1043_1483293.jpg


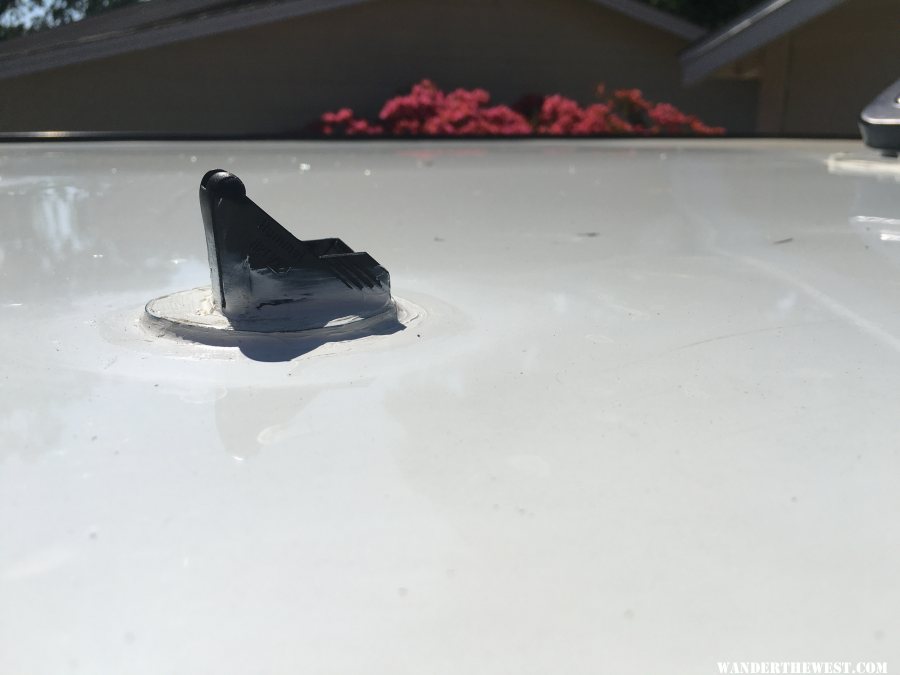
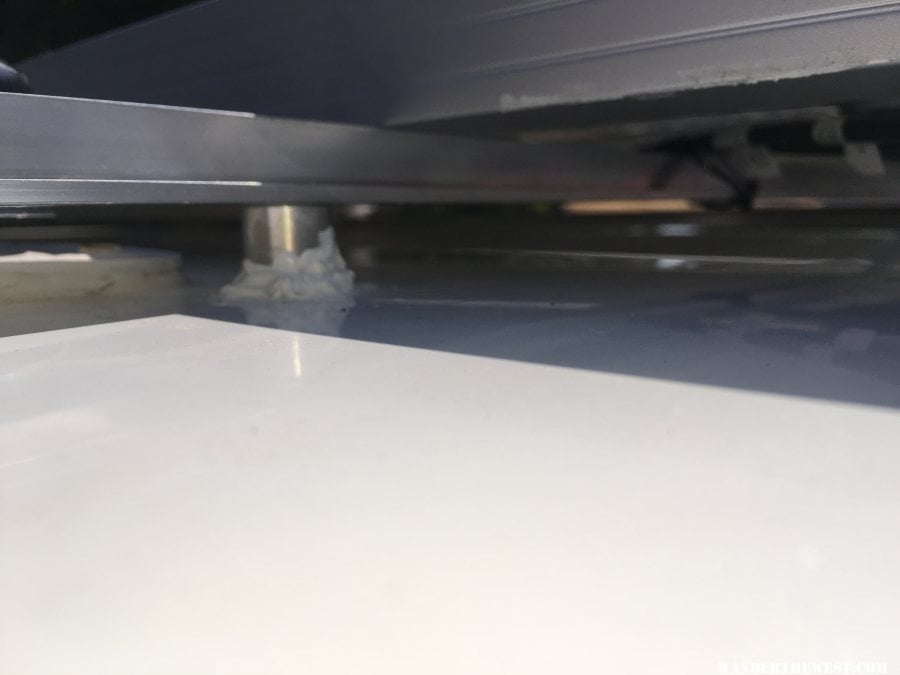
This is what you're left with after removal of the factory solar connector in case you are curious, I was.  I did have to enlarge the hole just a little with a unibit to fit the pass through connector.

gallery_5229_1043_161738.jpg


Installed the same McMaster Carr 90 degree elbow and epdm washer that deethe did.  I probably went overboard with my usage of sealant here and elsewhere, but this area is not visible and I really wanted to ensure no leaks.

gallery_5229_1043_1164959.jpg


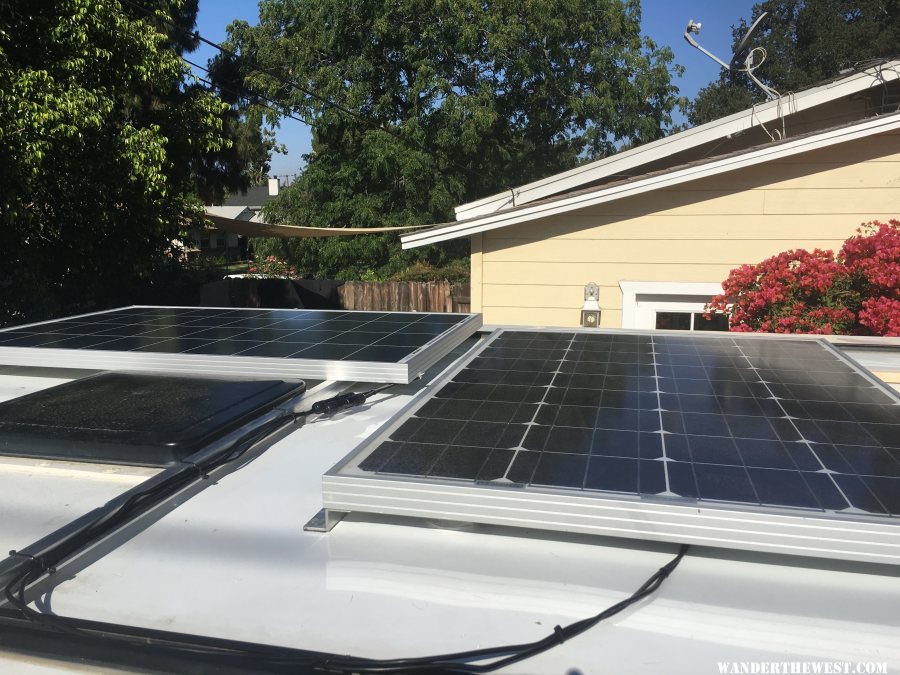
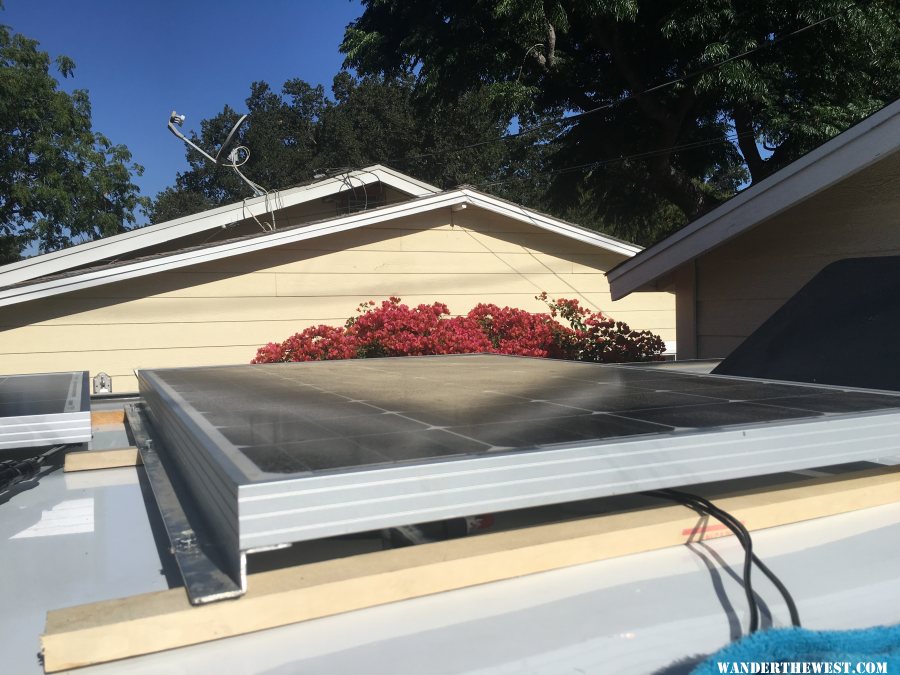
Mounted new 100W Renogy panel to the Yakima tracks using aluminum z bar

gallery_5229_1043_2201546.jpg


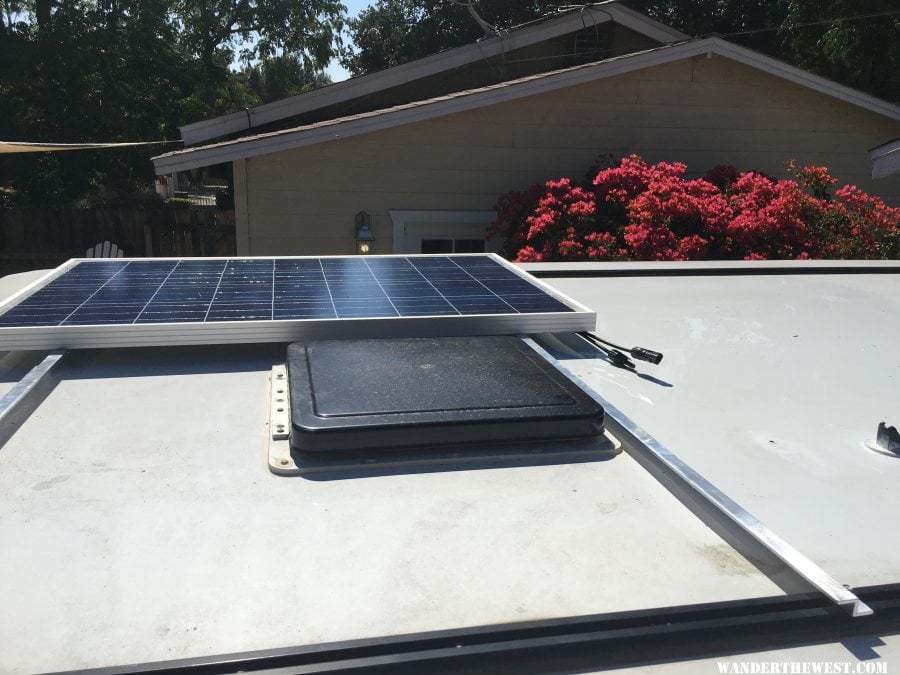
A couple of makeshift spacers to fix the sag in the z bar.  I attached these with sealant to the roof, and JB Weld to the aluminum so I didn't have to put a new hole in the roof.  If I later find that this is not solid enough, I will screw down through some c channel brackets or other method.

gallery_5229_1043_88366.jpg


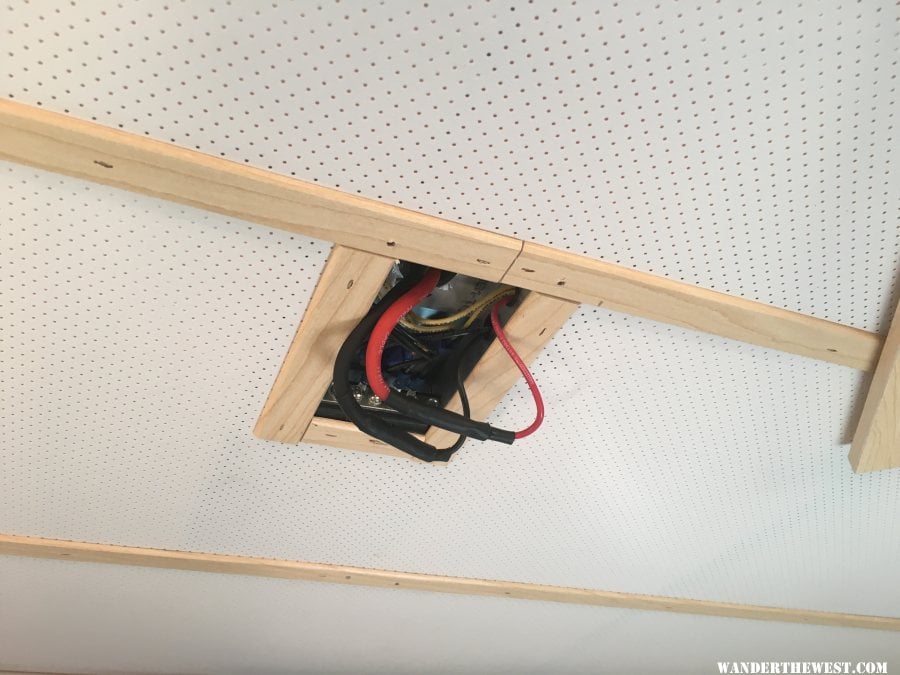
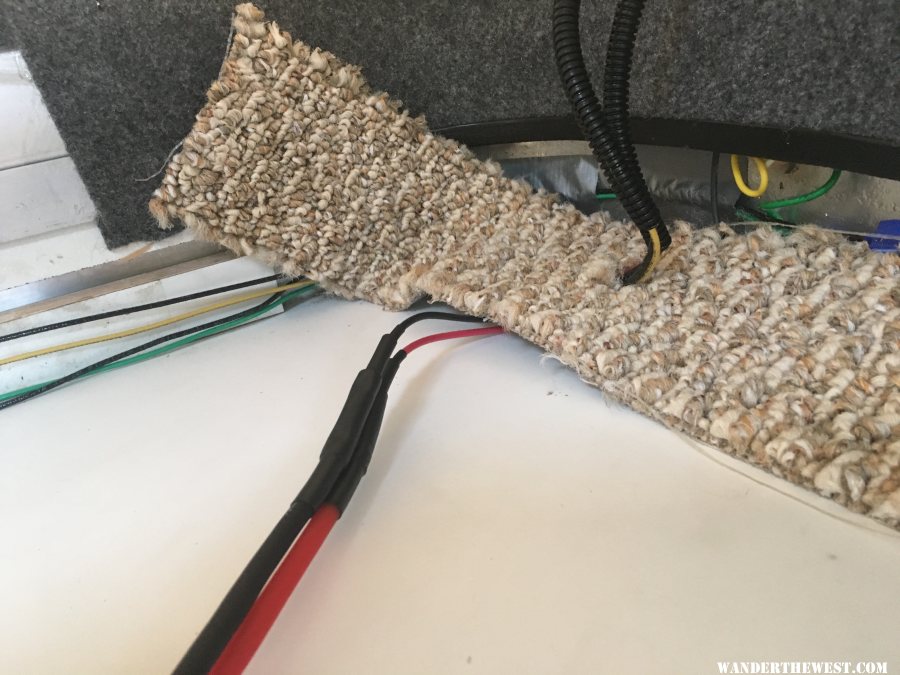
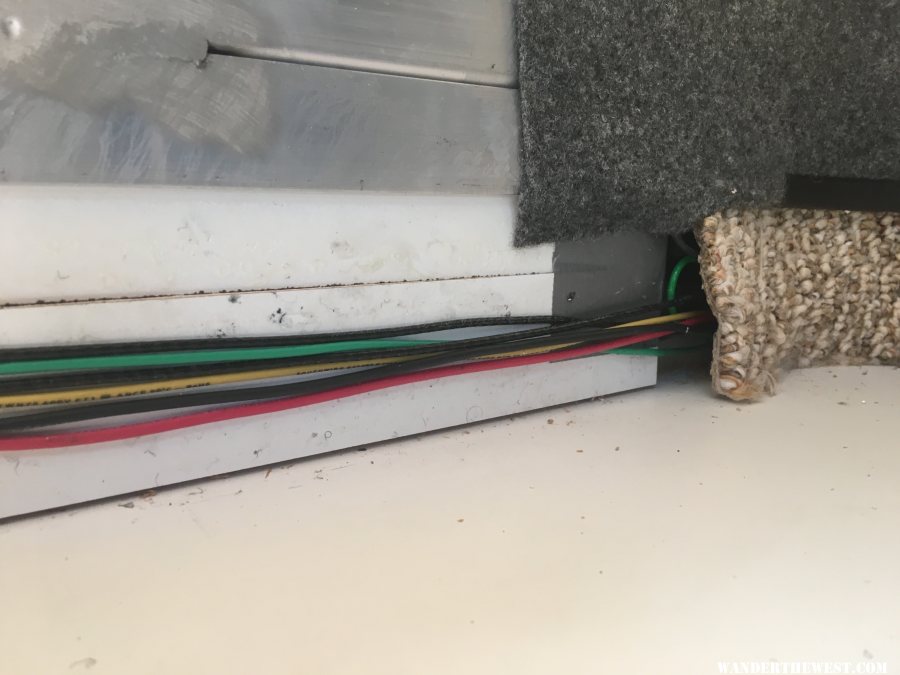
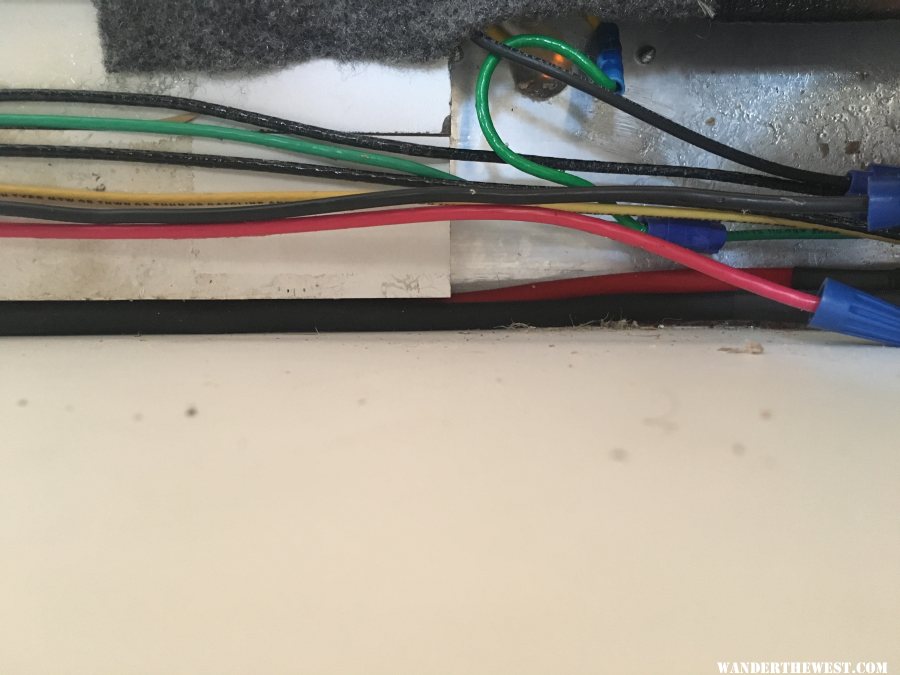
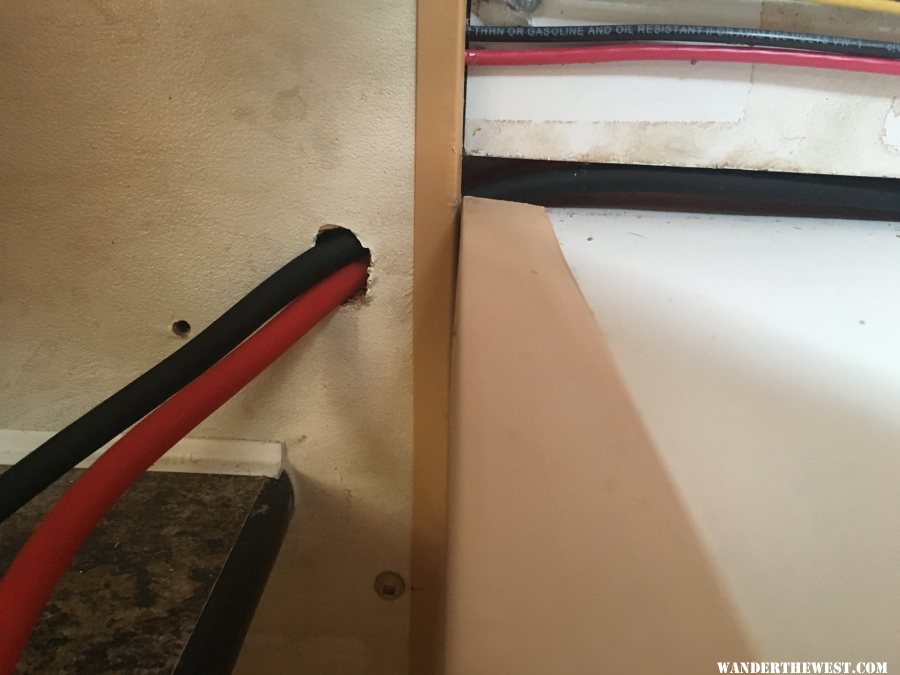
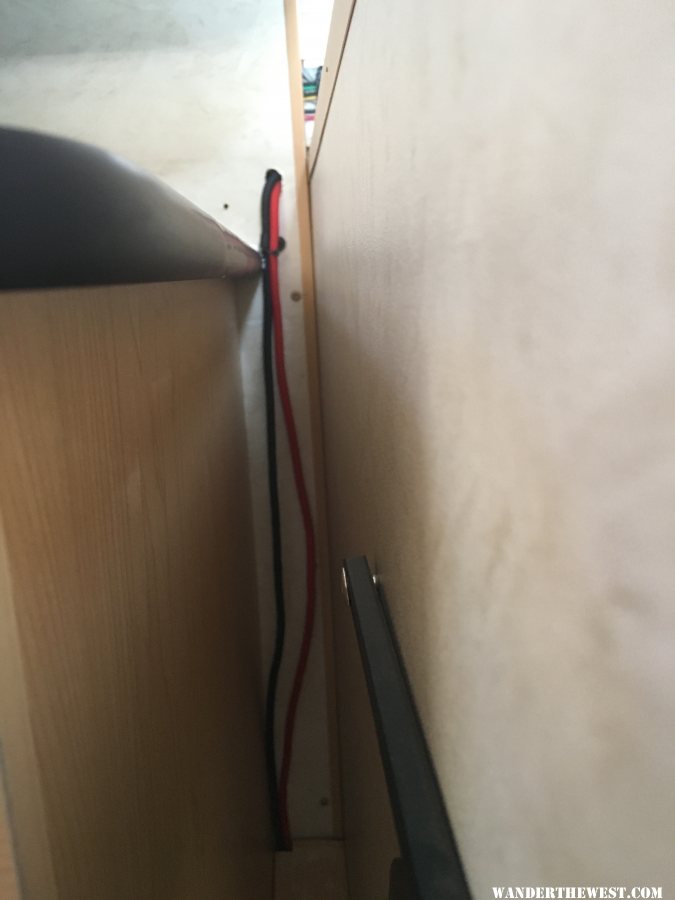
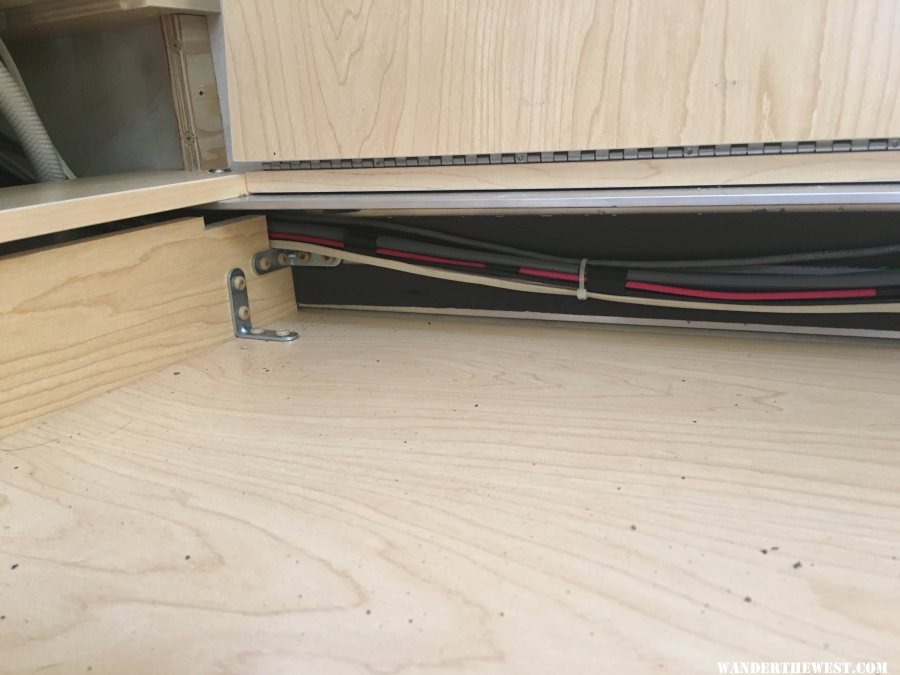
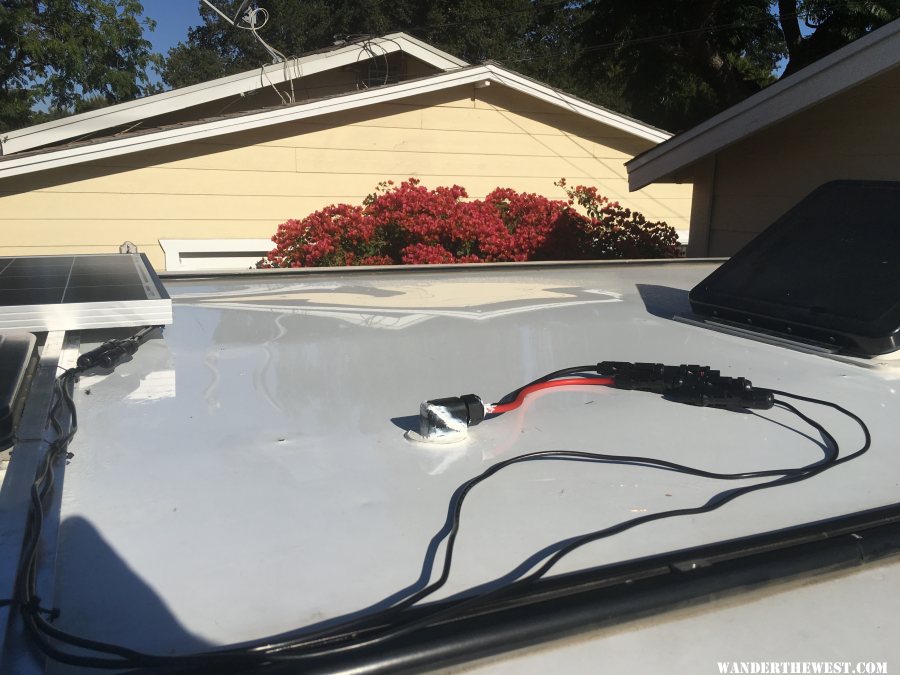
New wire through the roof to MC4 connectors and Ys.  I used 8awg here because I had this great plan to replace all of the 12awg for the entire run to provide for future expansion if needed.  This proved to be too difficult for me, so you will see later that I did what kmacafee did, and only replaced the easier section from the front lift panel to the controller.

gallery_5229_1043_1099457.jpg


Preparing to re install Zamp panel.

gallery_5229_1043_2342863.jpg


Roof install complete

gallery_5229_1043_987412.jpg


  • 0

#2 fatmab

fatmab

    Advanced Member

  • Members
  • PipPipPip
  • 43 posts

Posted 14 July 2016 - 06:56 PM

Splice at the junction box

gallery_5229_1043_20591.jpg


Splice after the lift panel

gallery_5229_1043_1663585.jpg


I removed the bottom section of particle board filler and ripped about 3/8" off of the bottom to make room for the new 8awg

before

gallery_5229_1043_217559.jpg

after

gallery_5229_1043_487450.jpg


Drilled a hole in the paneling right behind the support for the bed slide and to the right of the cabinet

gallery_5229_1043_1337304.jpg


Cable running down the void between the cabinet and front camper wall

gallery_5229_1043_49375.jpg


Used a Dremel to notch out a portion of the slide out support to fit over the cable

gallery_5229_1043_1343447.jpg


Slide out support re installed over cable

gallery_5229_1043_1000908.jpg


Cable path behind the storage area above the water tank and into the battery box

gallery_5229_1043_174993.jpg

gallery_5229_1043_1514303.jpg


  • 0

#3 fatmab

fatmab

    Advanced Member

  • Members
  • PipPipPip
  • 43 posts

Posted 14 July 2016 - 06:56 PM

Shunt and box for SC 2030 controller mounted

gallery_5229_1043_875300.jpg


Wired and installed

gallery_5229_1043_1303655.jpg


Other side of battery box

gallery_5229_1043_474933.jpg


Mounting box for TM 2030RV.  I used a piece of the thin plywood battery cover to patch over the hole left by the Zamp charge controller.

gallery_5229_1043_1123762.jpg


Functioning monitor

gallery_5229_1043_203099.jpg


Initial driveway tests are very positive.  Saw 9 amps of solar at about 12:30 yesterday.  I switched on the fridge, fantastic fan on high, LED lights in the ceiling and floor and was still showing a current surplus.  I only ran into a deficit when I switched the heater on too.  I don't think I will never use that much power at once.


If I decide that I do need more, I will just upgrade the Zamp panel to a 160W or add another 100A


I hope somebody may find this useful


Matt


  • 0

#4 Squatch

Squatch

    Senior Member

  • Members
  • 1,281 posts
  • LocationOn the wrong side of the mountains!

Posted 14 July 2016 - 09:06 PM

Looks great.


You just gave me a great reminder with that 90*. I have a small 90* thru hull fitting for a boat that is just laying around. It's made to seal watertight with large flanges. And it's made to be exposed to UV. A couple of 8gauge wires would pass through that just fine and I could then seal it. Just saw this silly thing the other day while doing some maintenance on my bass boat. I'll have to dig that back out this evening. It might be a doable. 


  • 0

#5 DrJ

DrJ

    Senior Member

  • Members
  • 514 posts
  • LocationSouthern Idaho

Posted 14 July 2016 - 10:01 PM

Matt,

That looks great. Nice work!

I like it.


Did you buy the Trimetric 2030 that has the solar controller too?


I really wanted to do that one, but needed a MPPT controller to handle my 24 volt panel.


  • 0

2015 Silverado Crew Cab Duramax and 2015 Front Dinette Grandby

One can change the world, it only requires kindness

http://www.truckcamp...g-family-earth/


#6 fatmab

fatmab

    Advanced Member

  • Members
  • PipPipPip
  • 43 posts

Posted 14 July 2016 - 10:02 PM

Thanks Squatch


I almost went with a couple of different marine products that are meant for through deck wiring but this fitting was a whole lot cheaper and will work fine.  If you've got one sitting around, I'd use it


  • 0

#7 fatmab

fatmab

    Advanced Member

  • Members
  • PipPipPip
  • 43 posts

Posted 14 July 2016 - 10:02 PM

Thanks Squatch


I almost went with a couple of different marine products that are meant for through deck wiring but this fitting was a whole lot cheaper and will work fine.  If you've got one sitting around, I'd use it


  • 0

#8 fatmab

fatmab

    Advanced Member

  • Members
  • PipPipPip
  • 43 posts

Posted 14 July 2016 - 10:05 PM

Matt,

That looks great. Nice work!

I like it.


Did you buy the Trimetric 2030 that has the solar controller too?


I really wanted to do that one, but needed a MPPT controller to handle my 24 volt panel.

Thanks DrJ


Yes, I bought the SC 2030 controller too


  • 0

#9 DrJ

DrJ

    Senior Member

  • Members
  • 514 posts
  • LocationSouthern Idaho

Posted 14 July 2016 - 10:19 PM

You've done some great posts - keep it up!


I would love some updates on the Trimetric solar charge controller too. I think that is a great option if you are already doing the monitor too.


  • 0

2015 Silverado Crew Cab Duramax and 2015 Front Dinette Grandby

One can change the world, it only requires kindness

http://www.truckcamp...g-family-earth/


#10 RC Pilot Jim

RC Pilot Jim

    Senior Member

  • Members
  • 1,544 posts
  • LocationSan Diego Calif

Posted 14 July 2016 - 11:04 PM

Great job and pictures Matt.

Your going to love the Trimetric.
  • 0

Jim

Retired from truck camping June 2021

Our Basic Eagle/Fleet Shell Build


0 user(s) are reading this topic

0 members, 0 guests, 0 anonymous users