Sounds familiar.  At least when you are done it will be YOUR truck, and you will know each bit intimately.

92 Jayco Sportster 8' rebuild in the States with support from Deutschland
Started by
corybrown50
, Apr 19 2019 07:59 PM
92 Jayco Sportster rebuild slide in camper truck camper
135 replies to this topic
#41

Vic Harder
-

- Site Team
- 4,962 posts
Doctor Electric
- LocationCalgary, Alberta
Posted 31 May 2019 - 04:27 AM
2015 Silverado 3500 crew cab 8' bed Diesel
2012 ATC Puma Shell build - https://www.wanderth...012-puma-build/
Power considerations thread - https://www.wanderth...e-power-scotty/
Building out an electrical system - So, you want to setup a good electrical system in your camper? - Electrical, Charging, Solar, Batteries and Generators - Wander the West
#42
corybrown50
-
- Registered (Tapatalk)
- 182 posts
Senior Member
- LocationCincinnati, OH
Posted 01 July 2019 - 04:55 PM
Well FRIENDS!!!! I"M FINALLY BACK!!!
After a month of struggles with trucks, refrigerators, and life.....I've finally been able to spend some time with the old girl!!
I have a new deadline....the family wants to go camping the first full week in August....We went to a place called Long's Family Retreat here in Ohio last year and LOVED IT! We want to be able to go before both kids head off to school.
So, with rain seemingly gone for the weekend, I took off the tarps and got started....Step 1 was finally getting back in the passenger side seat. If anyone does this themselves......PUT IN THE PASSENGER SEAT BEFORE PUTTING IN THE PASSENGER SIDE SHORT WALL!!!! Trying to wedge the seat in between was a real pain!

Sikaflexed all around and screwed her in....went with some longer screws but I will cut those off when I install the insulation

With the seat in, I was able to reinstall the lifting mechanisms...... and with the help of some temporary bracing.....IT RISES

#43
corybrown50
-
- Registered (Tapatalk)
- 182 posts
Senior Member
- LocationCincinnati, OH
Posted 01 July 2019 - 05:19 PM
That was Friday night.....now for the part I've been putting off.....re-imagining and re-engineering the bed so I can put a queen mattress in East/West style.....I've been afraid of this because honestly....putting 600+ pounds of flesh, mattress, and the possibility of kids climbing up there as well really scared me....
One major consideration I plan on doing is having support externally on the cabover area when camping. I do not plan on camping with the whole family with the camper in the bed of the truck, and will add supports once we set up.
Well.....here's what I came up with....
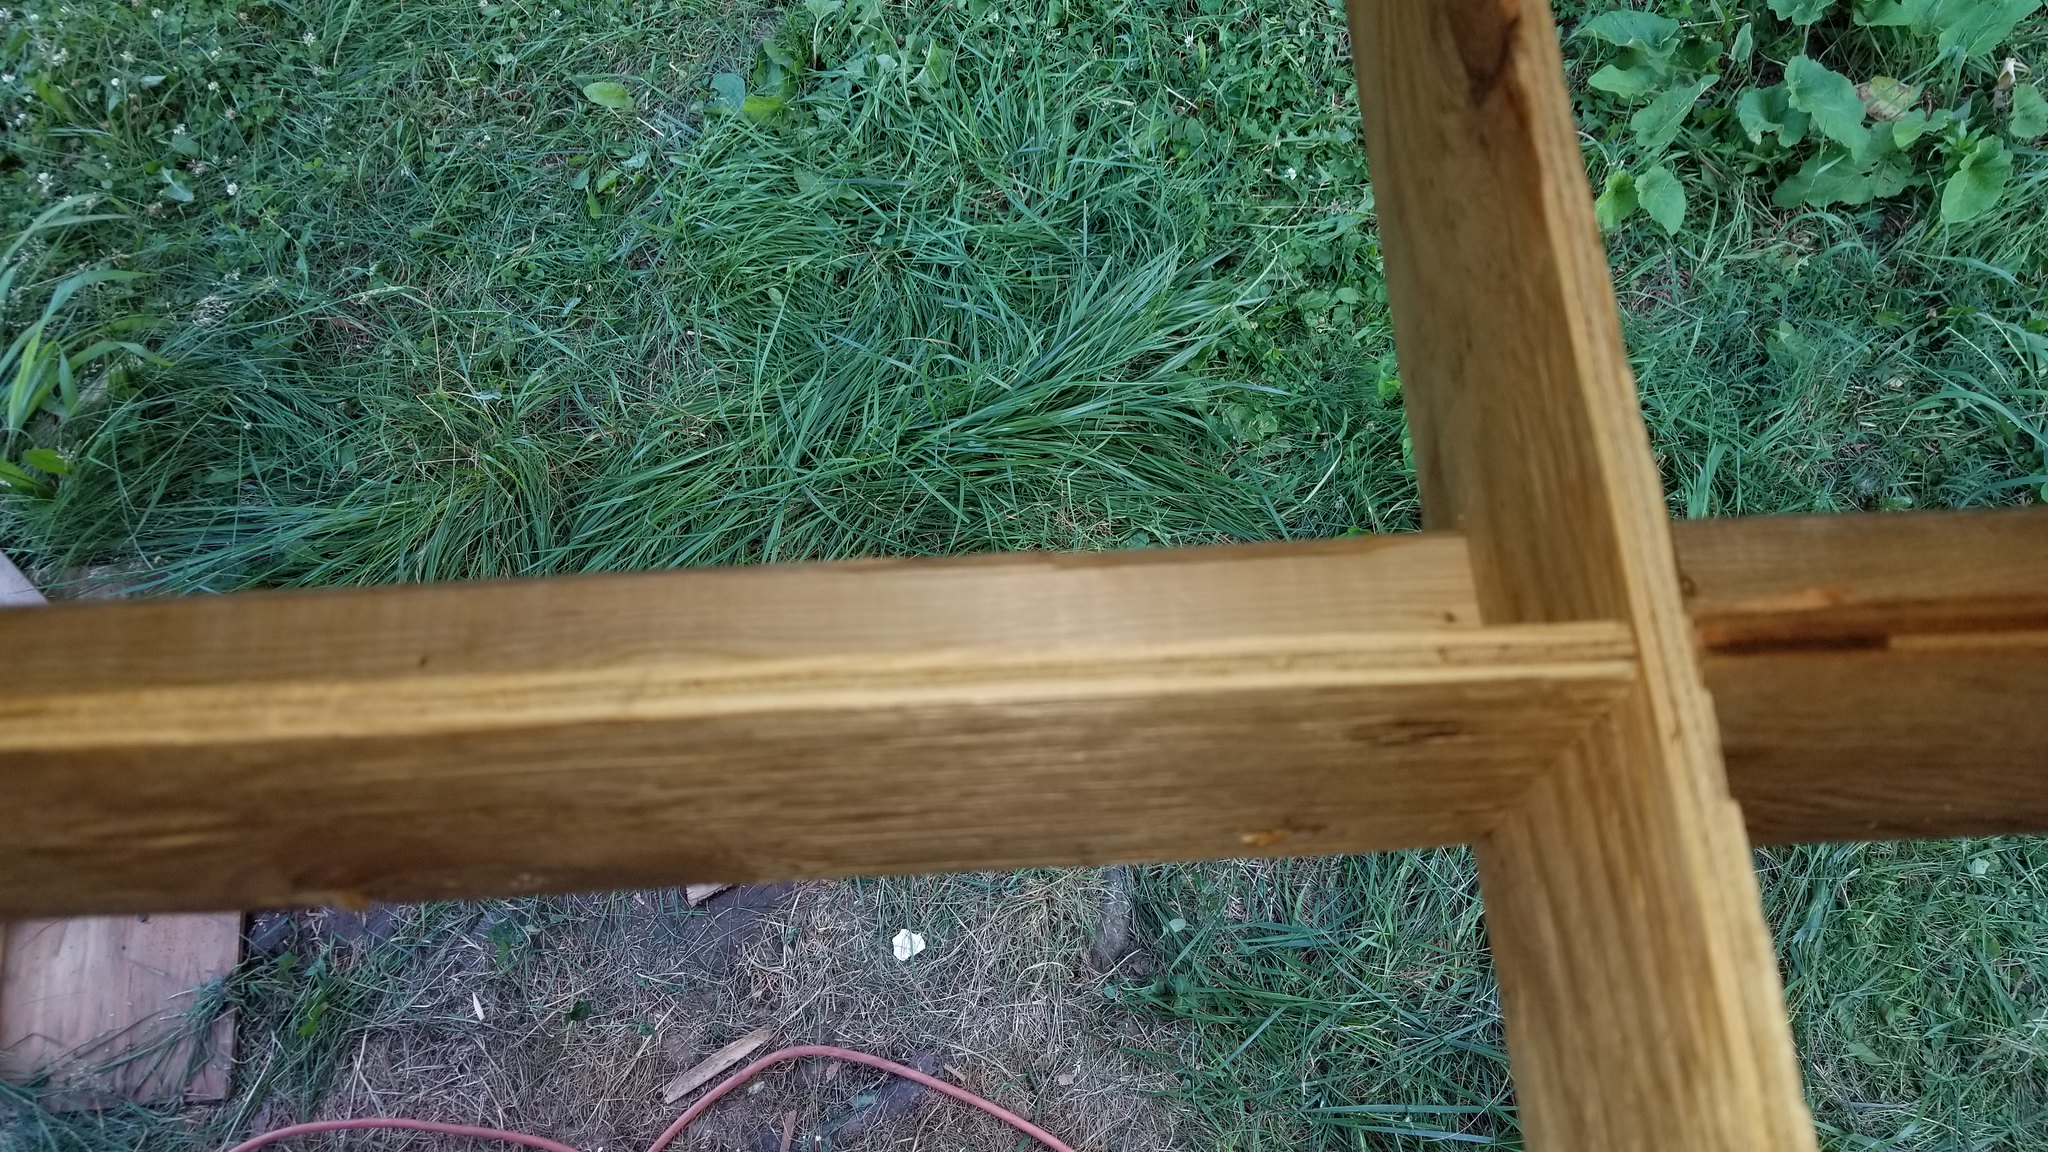
First, some 2x3 across the cabover area

Next, I went with 1 stringer N/S in the middle of 3/4" ply and 2 stringers equidistant between of 1/2" ply. You can't see it in this picture, but these stringer were trimmed to go over the 2x3s. They are "free floating" but secured on the camper inside. Then I wedged them in place with E/W stringer sections of 19.25" and 19.5" 1/2" ply.....the 1/2" E/W ply is glued and screwed into the 2x3s, making the 2x3s a sort of I beam.

Then I covered the area with a temporary piece of 1/4" ply to give her a test.....and, well.....SHE HOLDS ME!!!!

A funny thing happened on the way in though......obviously I was rather timid climbing in the first time. Well, climbing in VERY SLOWLY....I did kind of a roll to get in. Well, in rolling, my pocket knife fell out of my pocket with a really loud THUD....I froze!!! It took me a second to realize what happened, and a nice chuckle was had......
Honestly, this was definitely the part that has been holding me back the most. The fear of having that area fail scared me a lot. Now that it is done, my brain can rest a bit and I can get back to just simply putting things back on. Next steps are going to be insulation, re-cladding the outside, and putting the metal back on. I had a plan of mounting the LP on the outside of the camper, but recently found out that this would be illegal for travel, so I will have to re-install the LP tank closet, but I am looking at possibly moving it to the driver's side. This would put all connections on one side. I'm not sure yet if it will work, this is still in the planning stage.
LET THE SNOWBALL OF REBUILDING GAIN MOMENTUM!!!
#44
corybrown50
-
- Registered (Tapatalk)
- 182 posts
Senior Member
- LocationCincinnati, OH
Posted 07 July 2019 - 02:00 PM
Well, it's time for an update....I took off work Wednesday and have worked on the camper for 4 days straight now. With thinking, trips to the hardware store multiple times to get what I forgot, trips back to the hardware store to fix mistakes in what I got, and some great blessing from above, I think I've made a pretty good jump in progress.
Wednesday I started working on the passenger side wall and getting that connected to the bunk wall. I didn't really see a good connection from the factory with the metal angle that was install, and I wanted to beef it up a bit as that is the side with only 1 lift for support in putting it on the truck. I decided to take some 3/4" bias ply and make a 6' wide strip that I could screw into from the inside and outside, raising it enough in the front so when I build my seating in the area, the lift mechanism for the roof will be fully under the cushions. This will also be a small bit of storage area once finished.

Screwed from the outside, you can also see the spacers installed for the jack support and end area to secure the metal over the insulated area.

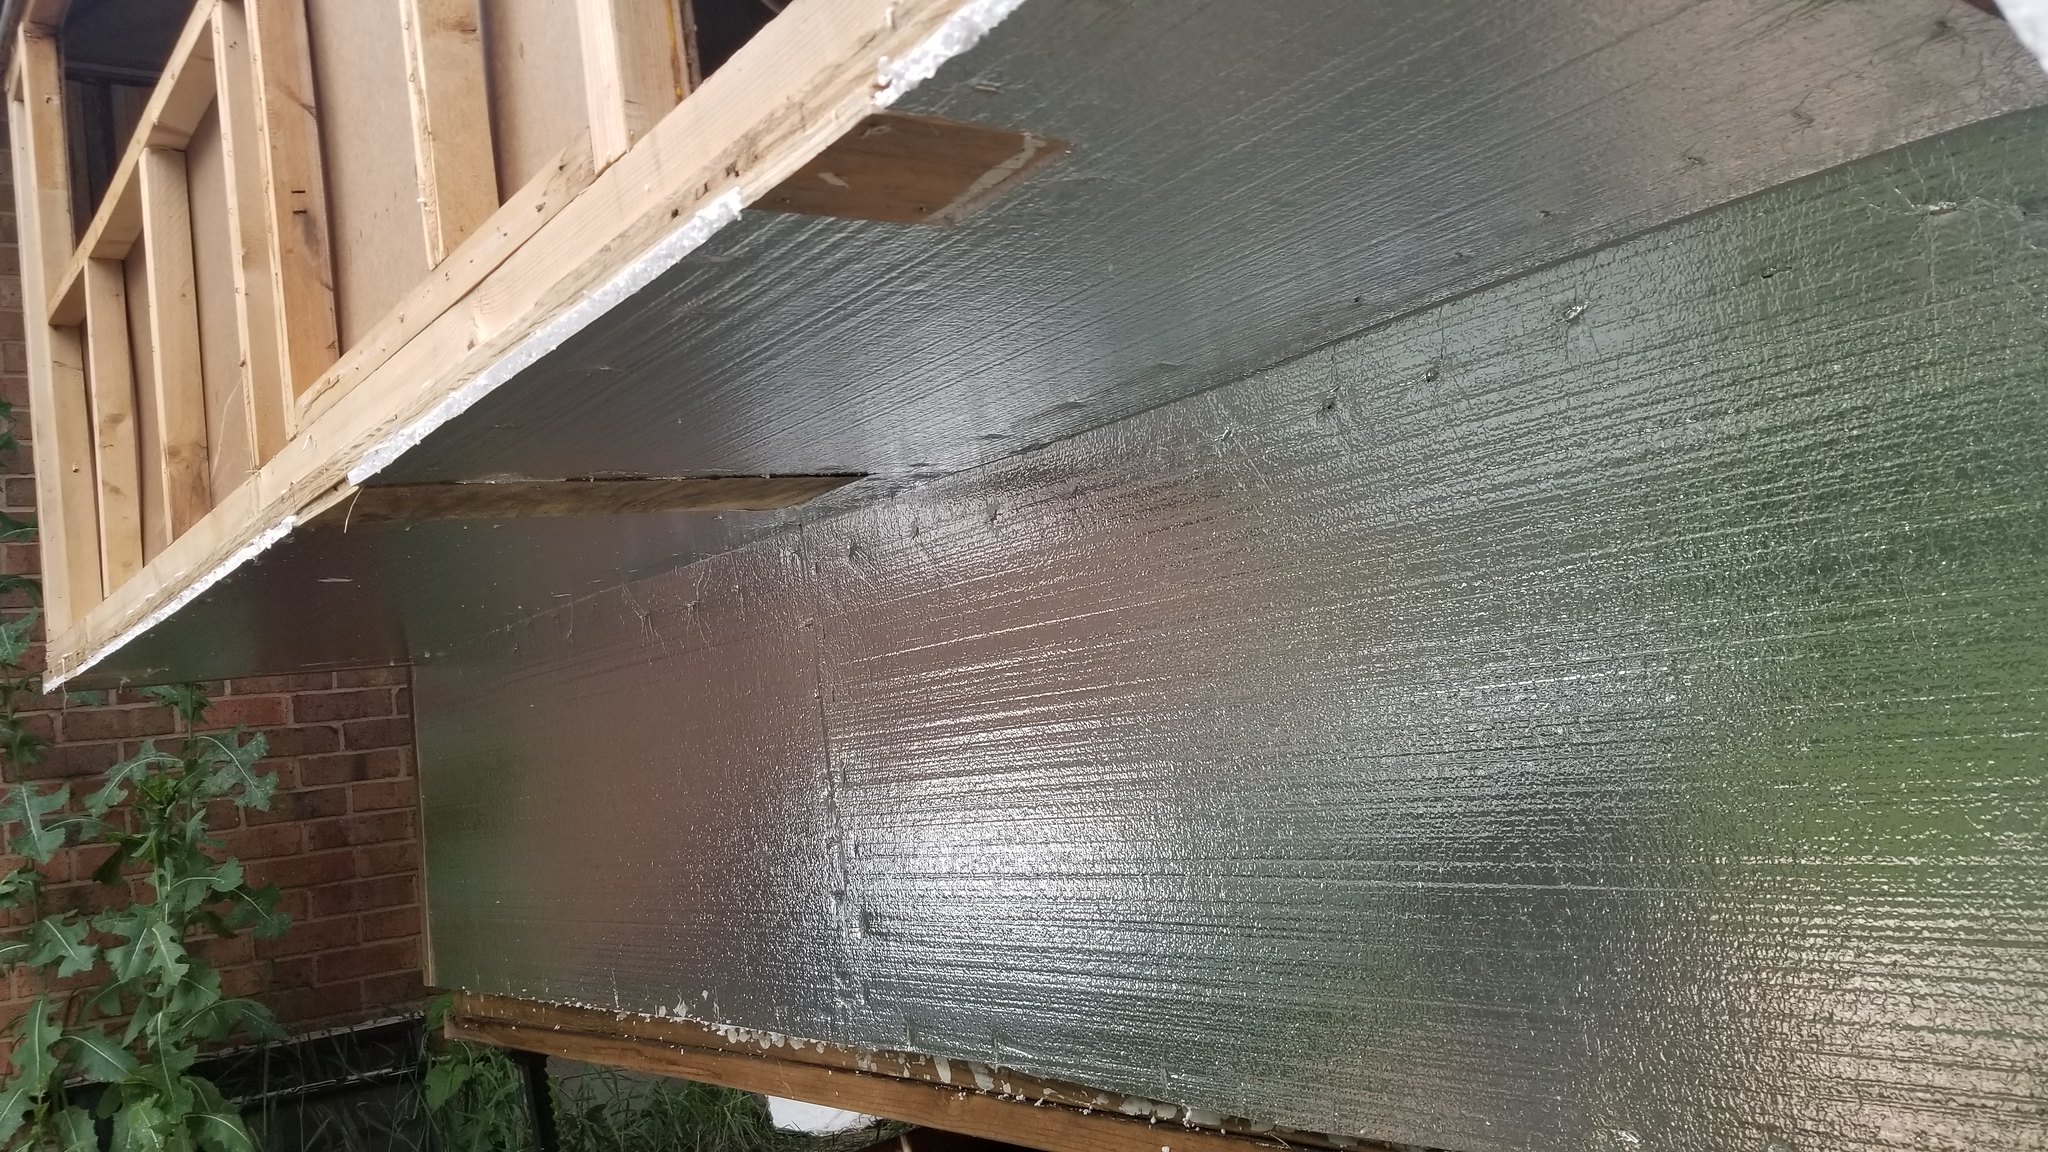
I next installed the insulation. I went back and forth with reflective side in, reflective side out, reflective side in.......I finally chose reflective side out as this will be primarily used in fair weather with the family and we will want to keep heat out, not in.....I made be wrong, but, I had to make a decision and I'm sticking with it.
IT"S SO PRETTY THAT WAY TOO
And now for the metal.....this was a big step for me, having metal finally start going on!!!

#45
corybrown50
-
- Registered (Tapatalk)
- 182 posts
Senior Member
- LocationCincinnati, OH
Posted 07 July 2019 - 02:06 PM
Once the metal was back on, I went ahead and drilled the holes for the jack support and tie down with the metal as a template for location.
I may have gone a bit overboard with the size of the tie down bolt length......

Jack support bolts and t nuts, they look flush but they are just not screwed in all the way. I have 3" below deck.......
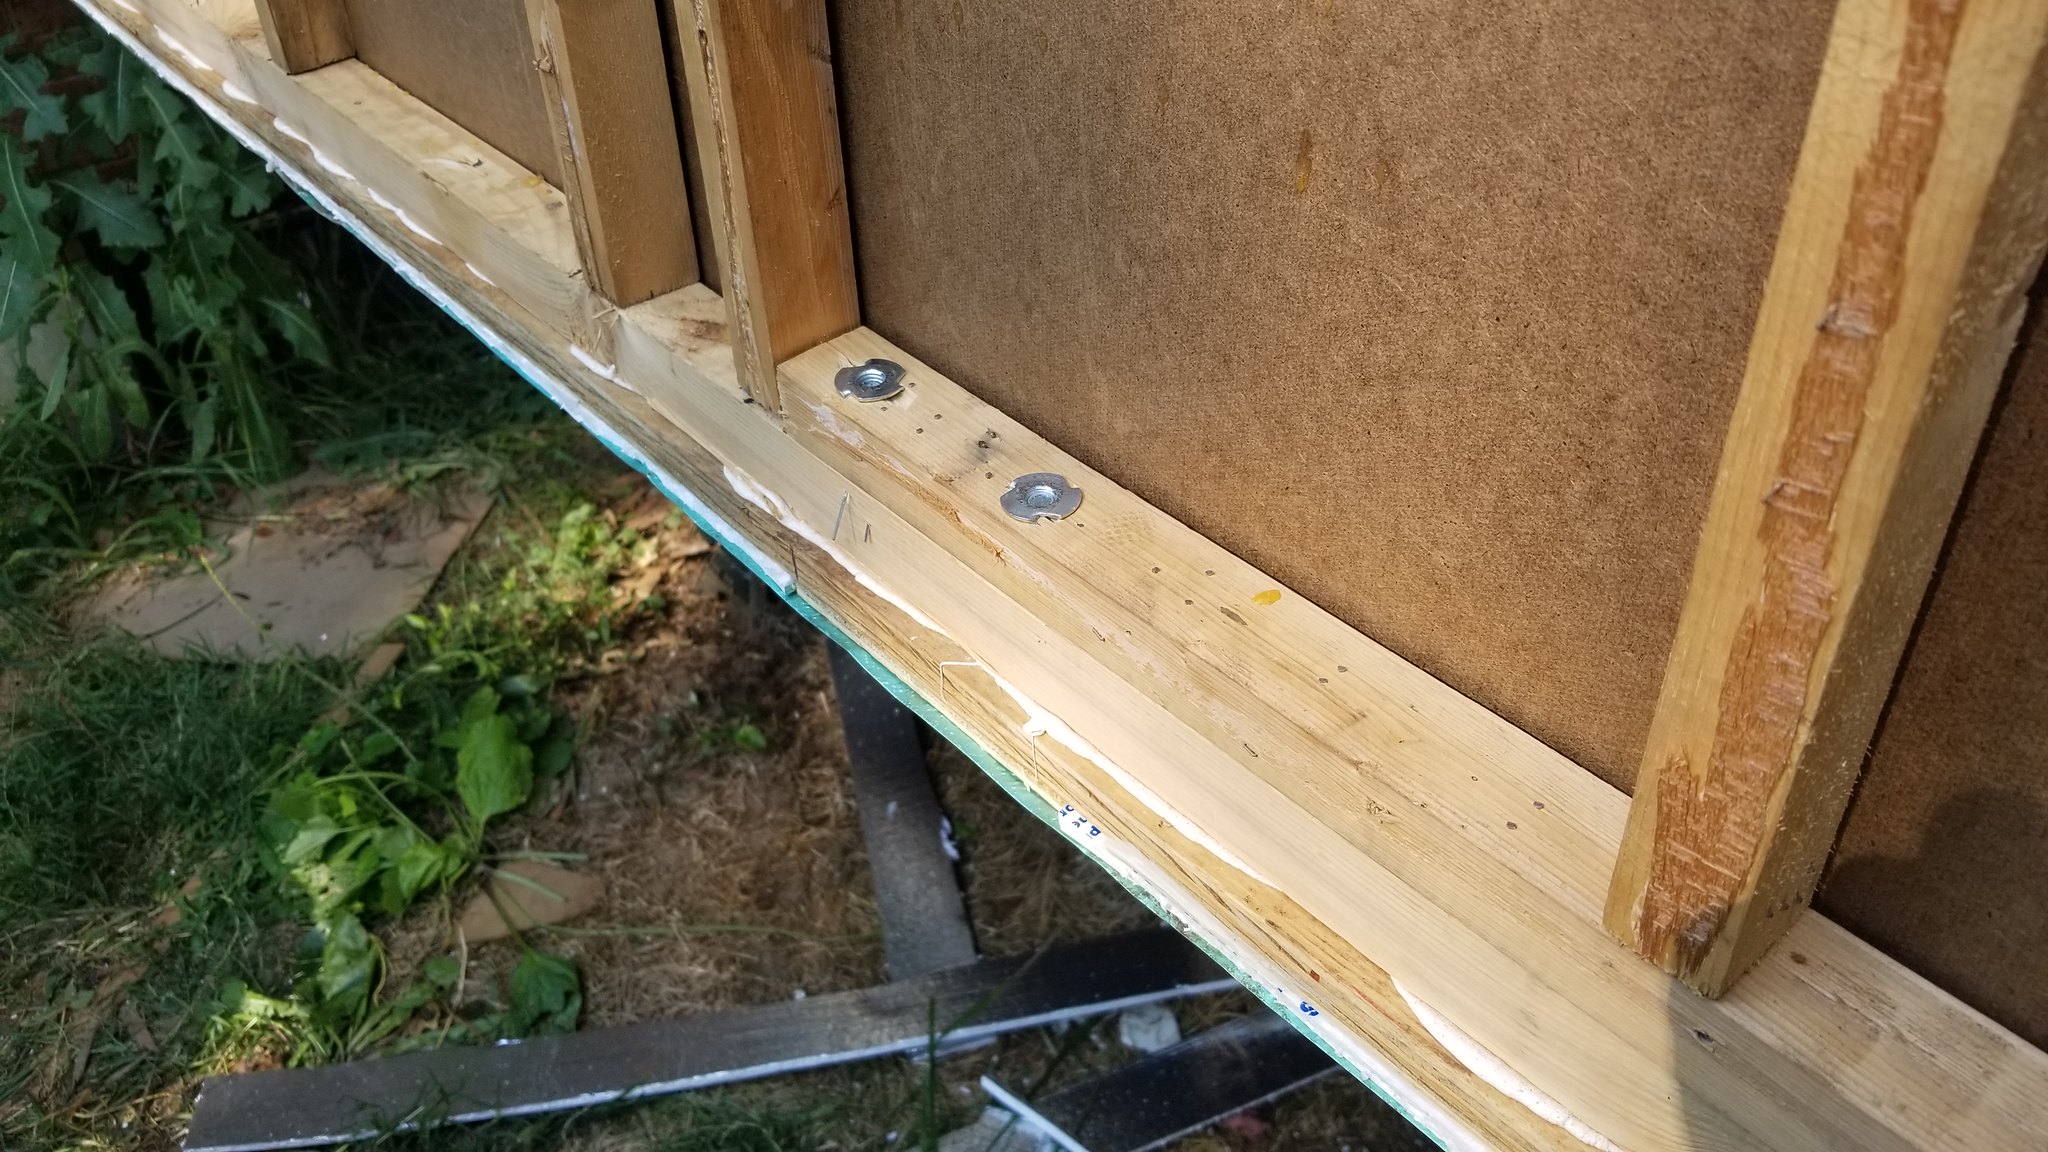
I added an extra nut over the t nut on the tie downs as a locking nut and cut of the "overboard" excess

#46
corybrown50
-
- Registered (Tapatalk)
- 182 posts
Senior Member
- LocationCincinnati, OH
Posted 07 July 2019 - 02:10 PM
I switched gears at this point as it was getting late in the day and wanted to finish up some bunk support areas. I had some scraps of wood and I added the around the "i beams" I created to support the bed.


Manfred's suggestion of an oscillating tool was AWESOME!!
Flush cuts for the finish....


#47
corybrown50
-
- Registered (Tapatalk)
- 182 posts
Senior Member
- LocationCincinnati, OH
Posted 07 July 2019 - 02:15 PM
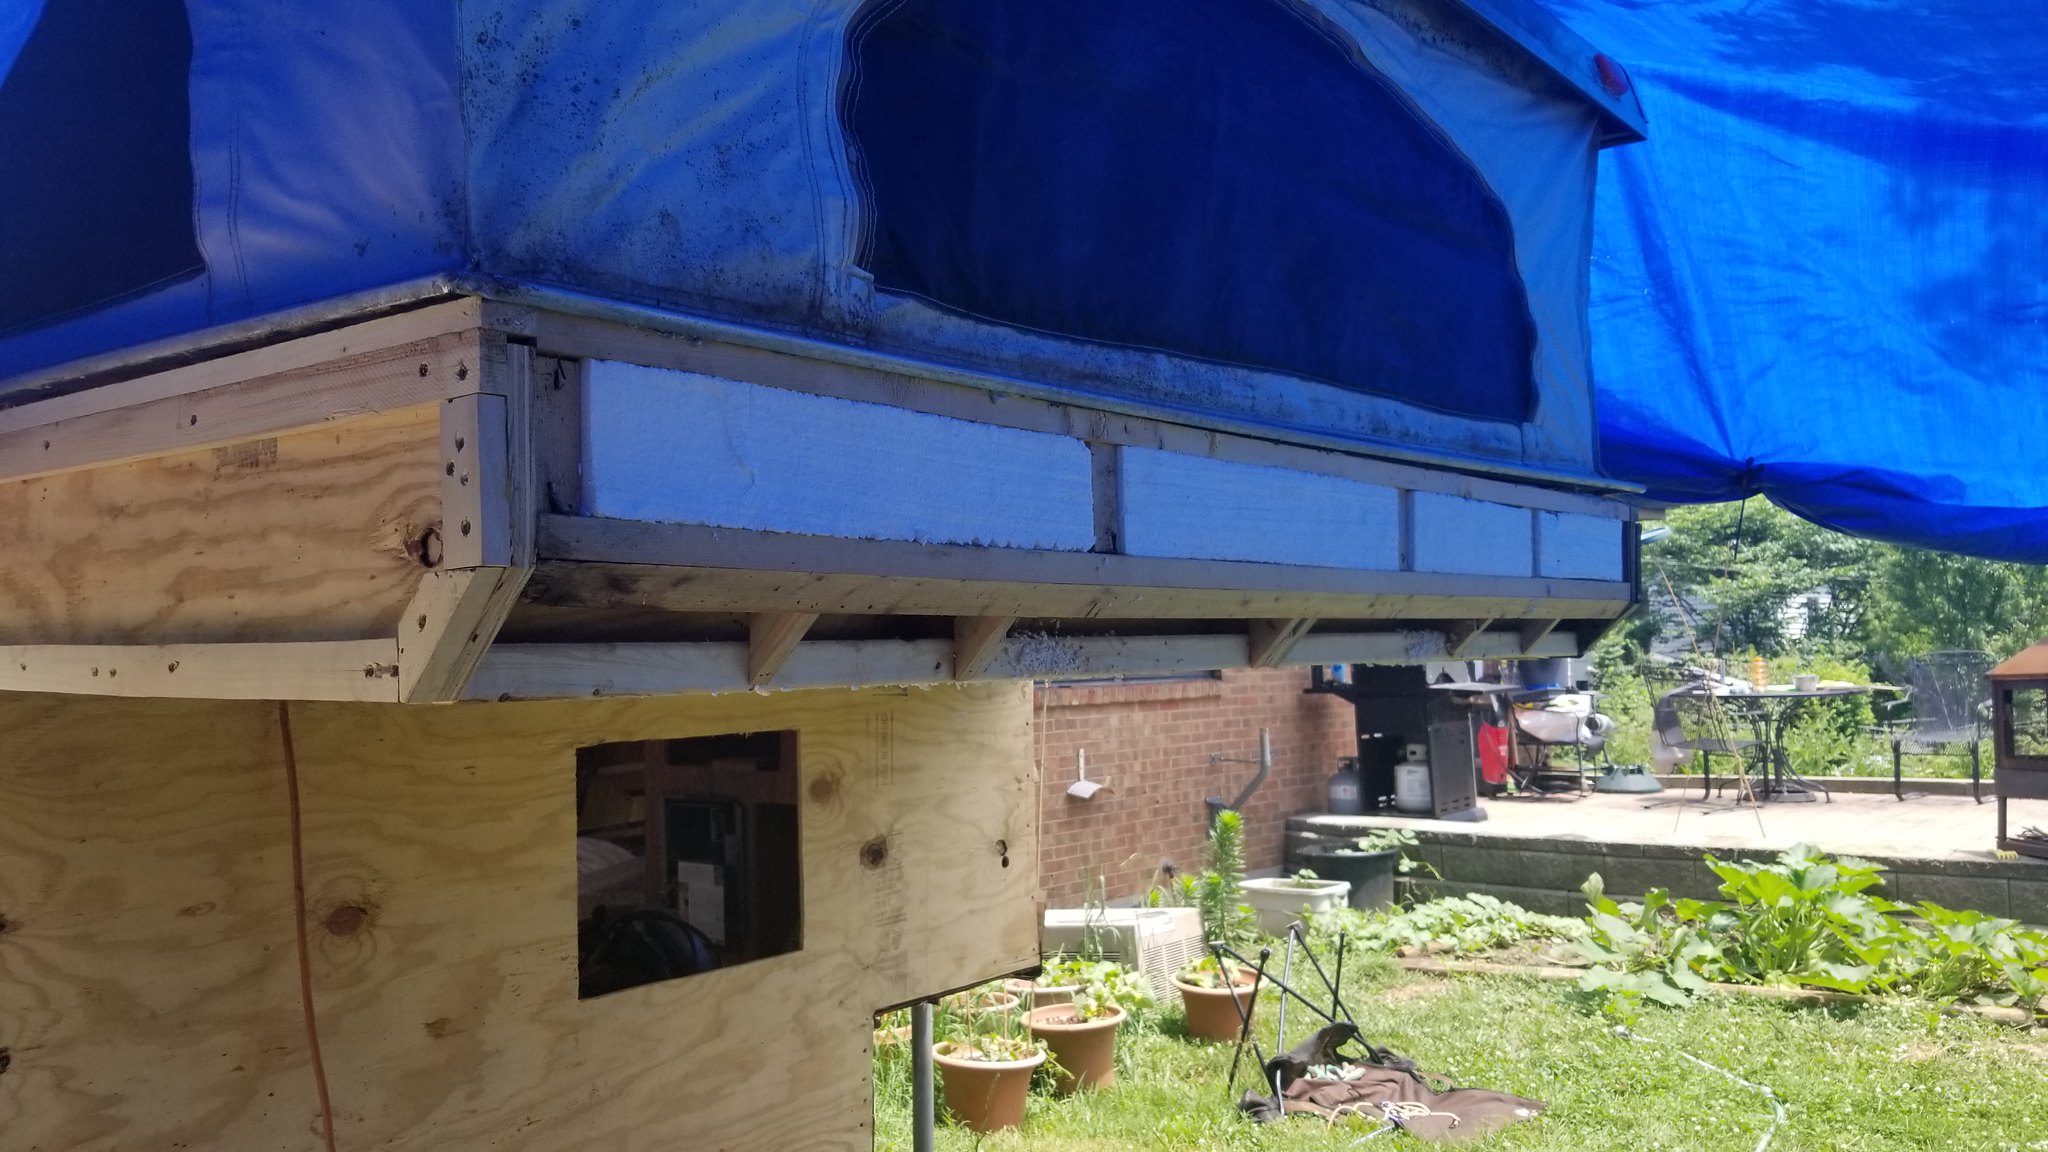
Next day....insulating the side. I was amazed that I was able to get all the 1 1/2" insulation I needed out of 1 4'x8' sheet, I had bought 2. One of the trips back to the hardware store to return that and get 1" for the top area.
It's pretty!!


Edited by corybrown50, 07 July 2019 - 02:16 PM.
#48
corybrown50
-
- Registered (Tapatalk)
- 182 posts
Senior Member
- LocationCincinnati, OH
Posted 07 July 2019 - 02:17 PM
One more of the insulation passenger side.

Edited by corybrown50, 07 July 2019 - 02:17 PM.
#49
corybrown50
-
- Registered (Tapatalk)
- 182 posts
Senior Member
- LocationCincinnati, OH
Posted 07 July 2019 - 02:21 PM
NOW FOR SOME CLADDING!!!! Big steps always make people feel good!!
I wanted to use a full sheet to get as much support for the cab over area as possible. It felt like I may be wasting a lot, but I felt the support was worth the waste.


Tacked her in place, and ran the flush router around everything to get THIS!!! So PRETTY!!

#50
corybrown50
-
- Registered (Tapatalk)
- 182 posts
Senior Member
- LocationCincinnati, OH
Posted 07 July 2019 - 02:34 PM
So, after getting the excess cut off, I thought, hmmmm.....let's try to use that piece for the back.....guess what.....NO WASTE!!! IT FITS ALMOST PERFECT!!!!

Tacked in place again, and ran the flush router around.

And once for for the LP area

And on to the other side.
This may be where I get a little emotional for some.....I'm getting a growing connection to this camper from a spiritual level. The camper was gifted to me from a Brother in Christ in my men's group. The camper used to be his father's. I never knew him, but I am told regularly that he would really appreciate the work and craftsmanship that is going into it, as he was one as well. Last weekend at church service during worship, we had a song and the lyrics were "It may look like I'm surrounded, but I'm surrounded by You." During that time, I felt surrounded by God, and the members of my family that I knew that have gone on to Glory....It was a great peace given to me. Many of the tools that I am using for this project were my grandfather's, including the router and jigsaw, which you can imagine are used extensively. As I use them, I feel surrounded by that Glory and love from them. I don't like the word "proud", but I can say I am enjoying the sense of accomplishment I am getting of a "job well done" in this endeavor.


Also tagged with one or more of these keywords: 92 Jayco Sportster, rebuild, slide in camper, truck camper


0 user(s) are reading this topic
0 members, 0 guests, 0 anonymous users

