On to the other side.
Adding a full sheet again...

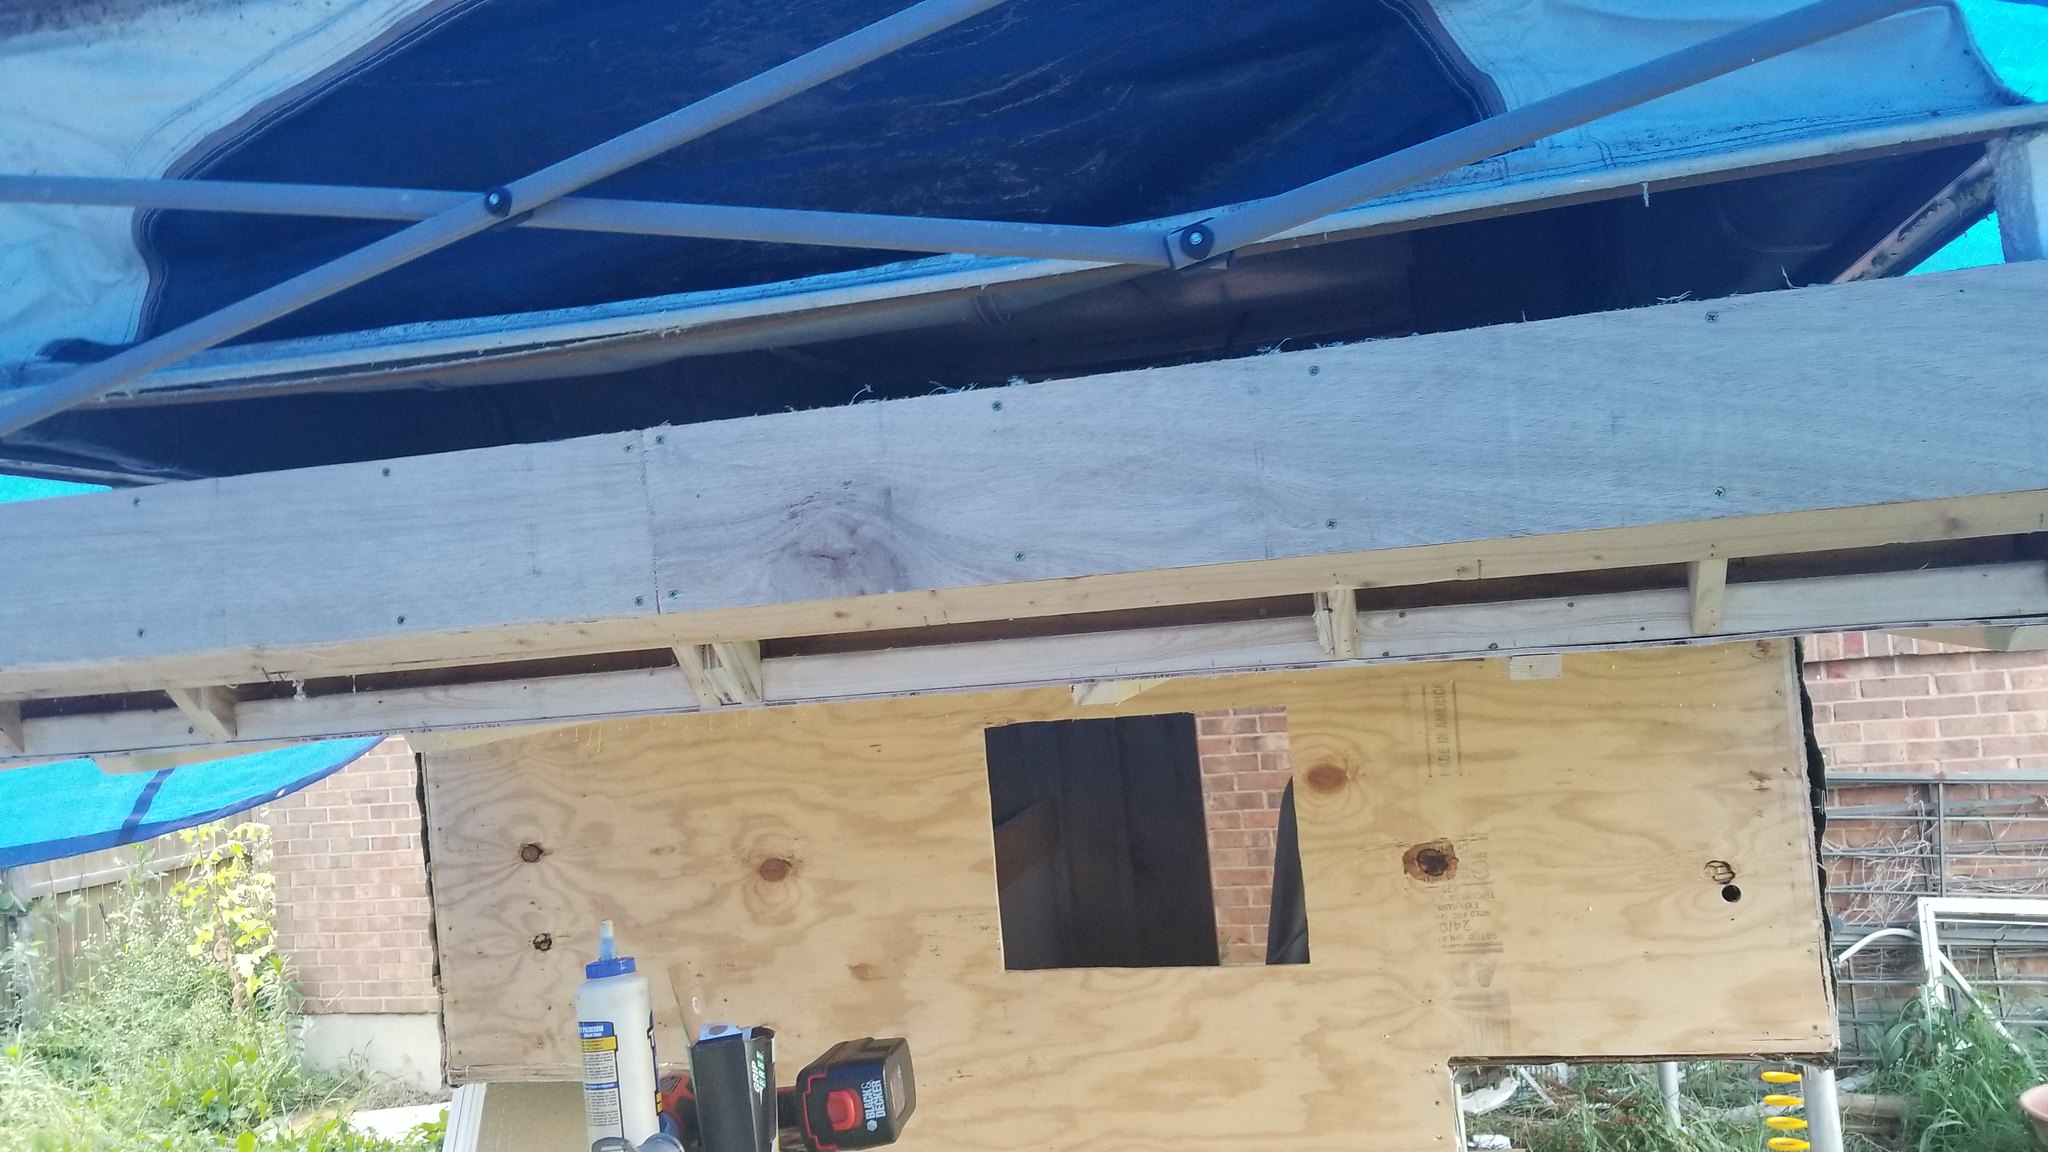
Tacked and routered....

And some holes so I can router out the openings.


Senior Member
Posted 07 July 2019 - 02:38 PM
On to the other side.
Adding a full sheet again...
Tacked and routered....
And some holes so I can router out the openings.
Senior Member

Posted 08 July 2019 - 11:37 AM
Hi Cory,
Great Progress. I love to see your Jayco coming together!
I think it is much more stable than ours! Ok, may be a few pounds more but we also used thicker wood frame.
We covered our´ s with some Melamin ( or similar moisture resistant stuff) outside. So i would recommend to paint the plywood outside with some wood protect.
Isn´t it possible to keep your propane Tank ( may e a horizontal one ) inside Truckbed? I saw some older campers in the USA with the propane tanks outside on the back. I would not recommend this because i think it is not a good idea to have the propane as first point in the crash zone, but i saw this and wondered if this is legal.
2000 Ford F-250 SuperDuty SC LB 7.3 Lariat
1992 Jayco Sportster 8ft Popup
http://www.wanderthe...8ft-renovation/
BundutecUSA, TravelLite and Palomino TruckCamper Sales in Germany and Europe
Senior Member
Posted 08 July 2019 - 03:43 PM
Yeah, my buddy that works as a tech for campers told me of the law, and I had to look it up just to be sure that it wasn't something that was a factory thing. It actually is a law for transporting and storing portable LP tanks.....kind of stinks. I thought I could have transported in the bed, then moved to the side and connected when set up. I'm still back and forth on it as if it is in the bed, who could tell that it was done incorrectly?
I also went back and forth on the exterior wood. I went with what I chose as it is exterior grade, and has a bit of water proofing in it. Again, I went back and forth on this as well, as it was almost exactly the same price as the melamine. Hopefully I'm not wrong on it, but I will SEAL THE BITS AND PIECES OUT OF IT.....as my buddy said to me this weekend....by that time I will have moved on to something bigger and better I guess....but I think my choice is right...hopefully.
Senior Member
Posted 08 July 2019 - 03:49 PM
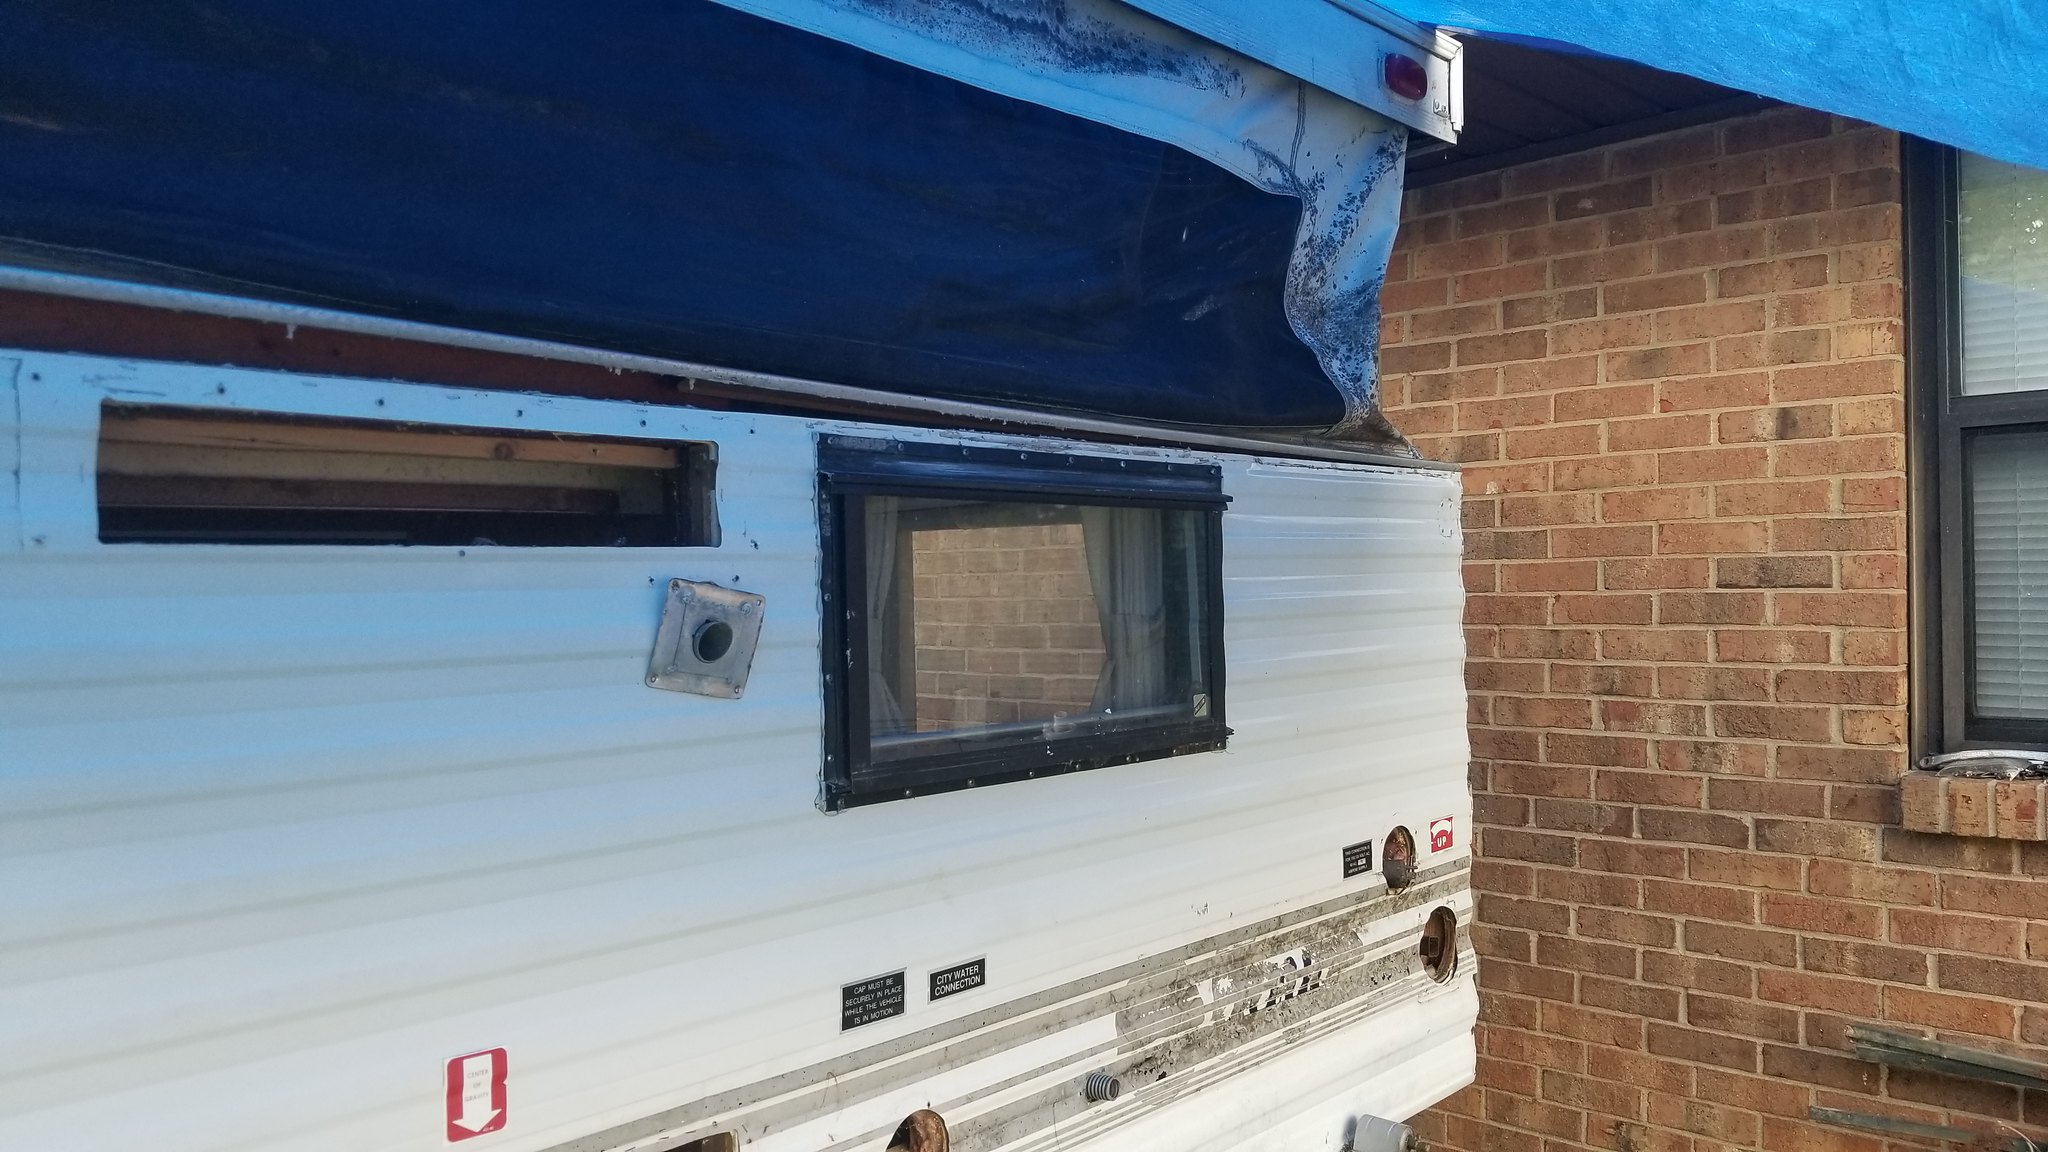
Now on to cleaning up the aluminum. I pressure washed the whole set up. I didn't worry about the decals, as I plan on rebadging the whole thing for a better match with the truck. I'd like to get hold of the stickers that Manfred has, as they will match my new truck better.

And putting everything back on.....for those that do not know, start at the top, and work your way down.


While putting on the aluminum, my wife blessed me with some hand work. She came out and used a magic eraser on the siding.....Good night it looks fantastic!!! Shiny!!!

Edited by corybrown50, 08 July 2019 - 03:49 PM.
Senior Member
Posted 08 July 2019 - 03:50 PM
Well, as I willing to admit mistakes....here is one.....I forgot to add a hole for the fresh water tank fill.......I'll add it later with a hole saw.....

Senior Member
Posted 08 July 2019 - 03:55 PM
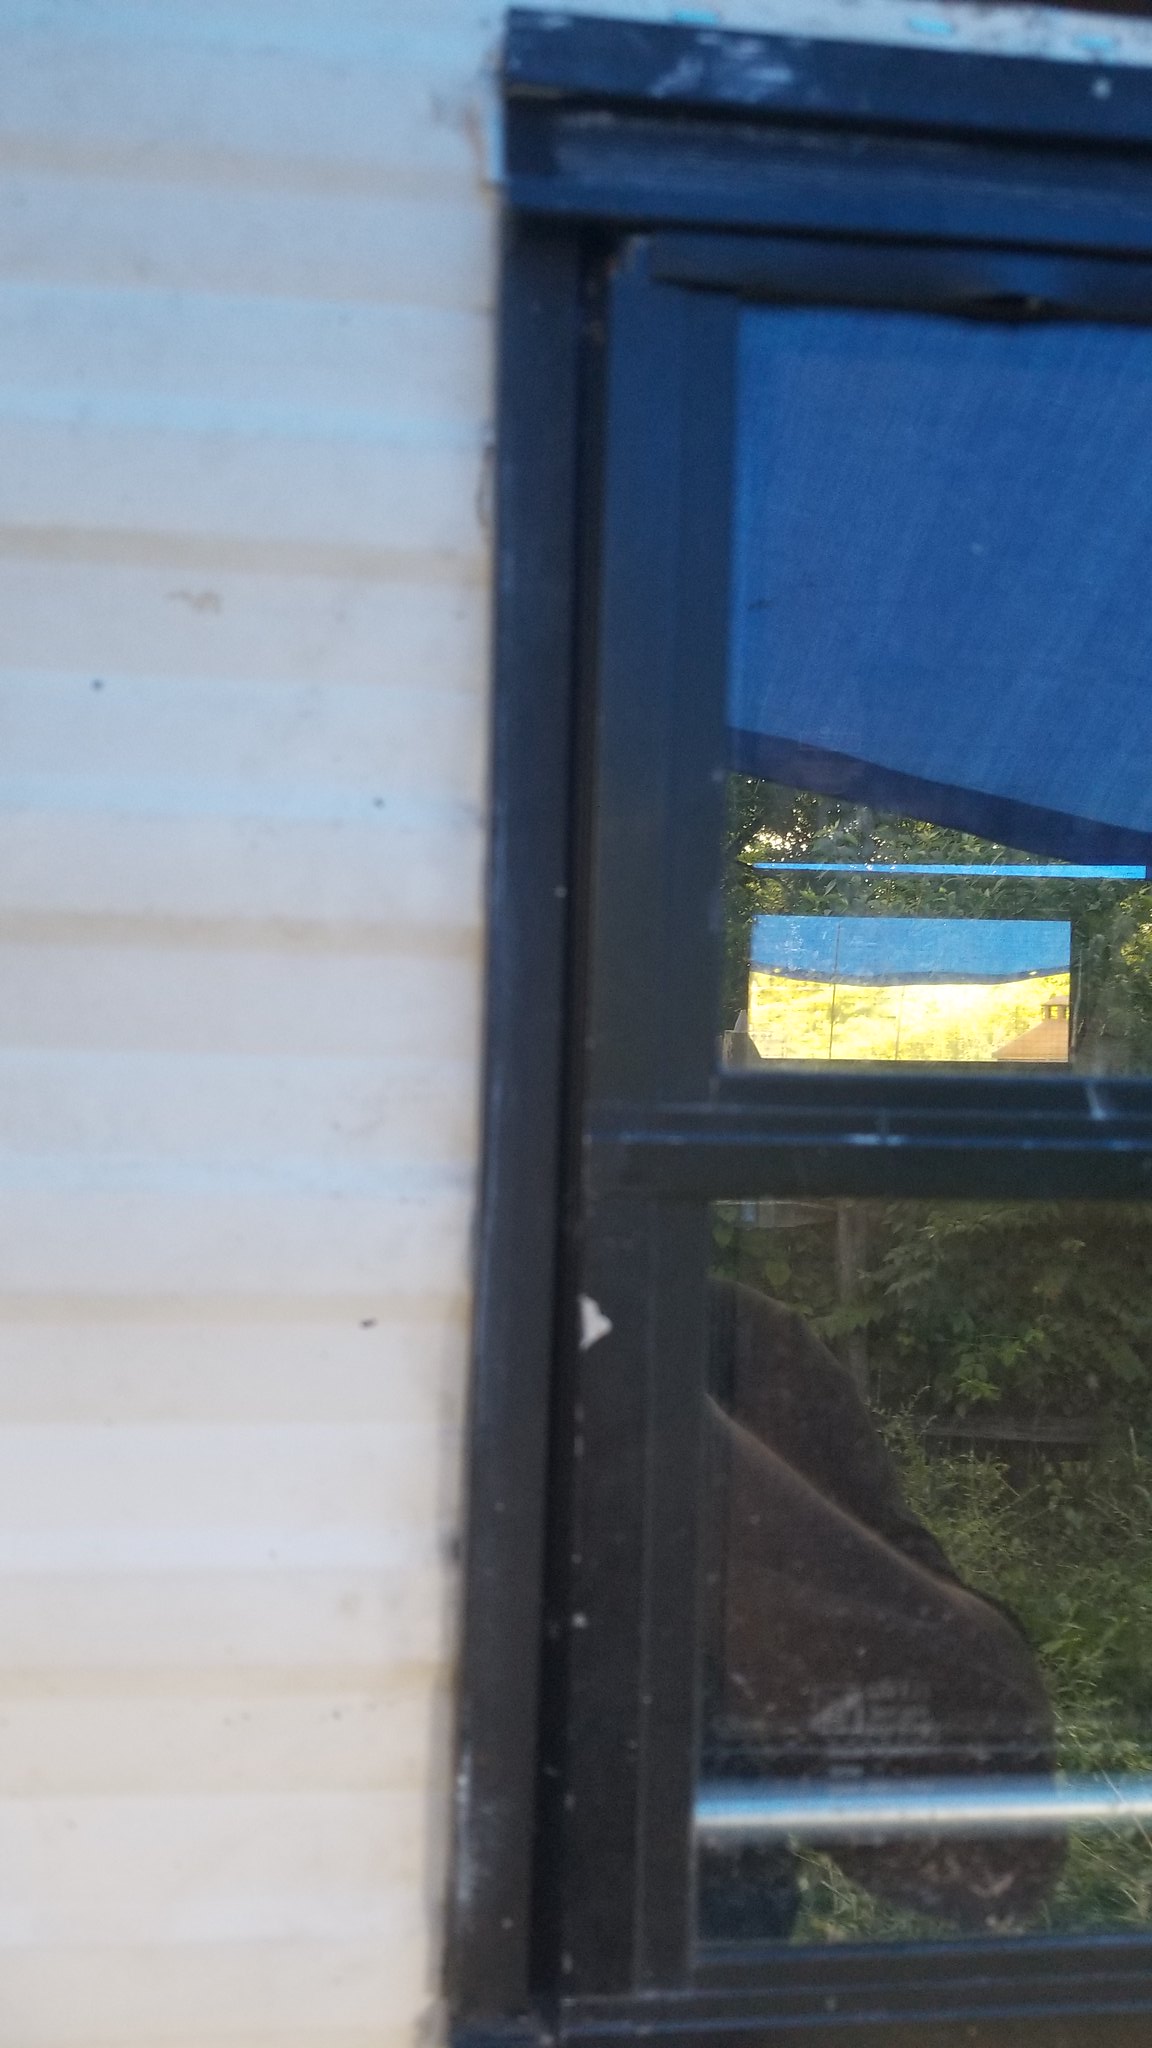
My goal for the long holiday was to get everything dried in.....so next step was adding the windows back in.....and I found the PERFECT TOOL for getting the old butyl tape off. A small grill cleaner!! It had the perfect sizing to scrape the tape off, and the groove was able to clean in the tight bits. The brush was also useful for cleaning everything else up.

I found a buddy trying to grow in my window.....it may have been the heat getting to me, but I thought this was humorous......
"I AM GROOT!!!"

Senior Member
Posted 08 July 2019 - 03:58 PM
All cleaned up with new butyl tape

And on the passenger side installed
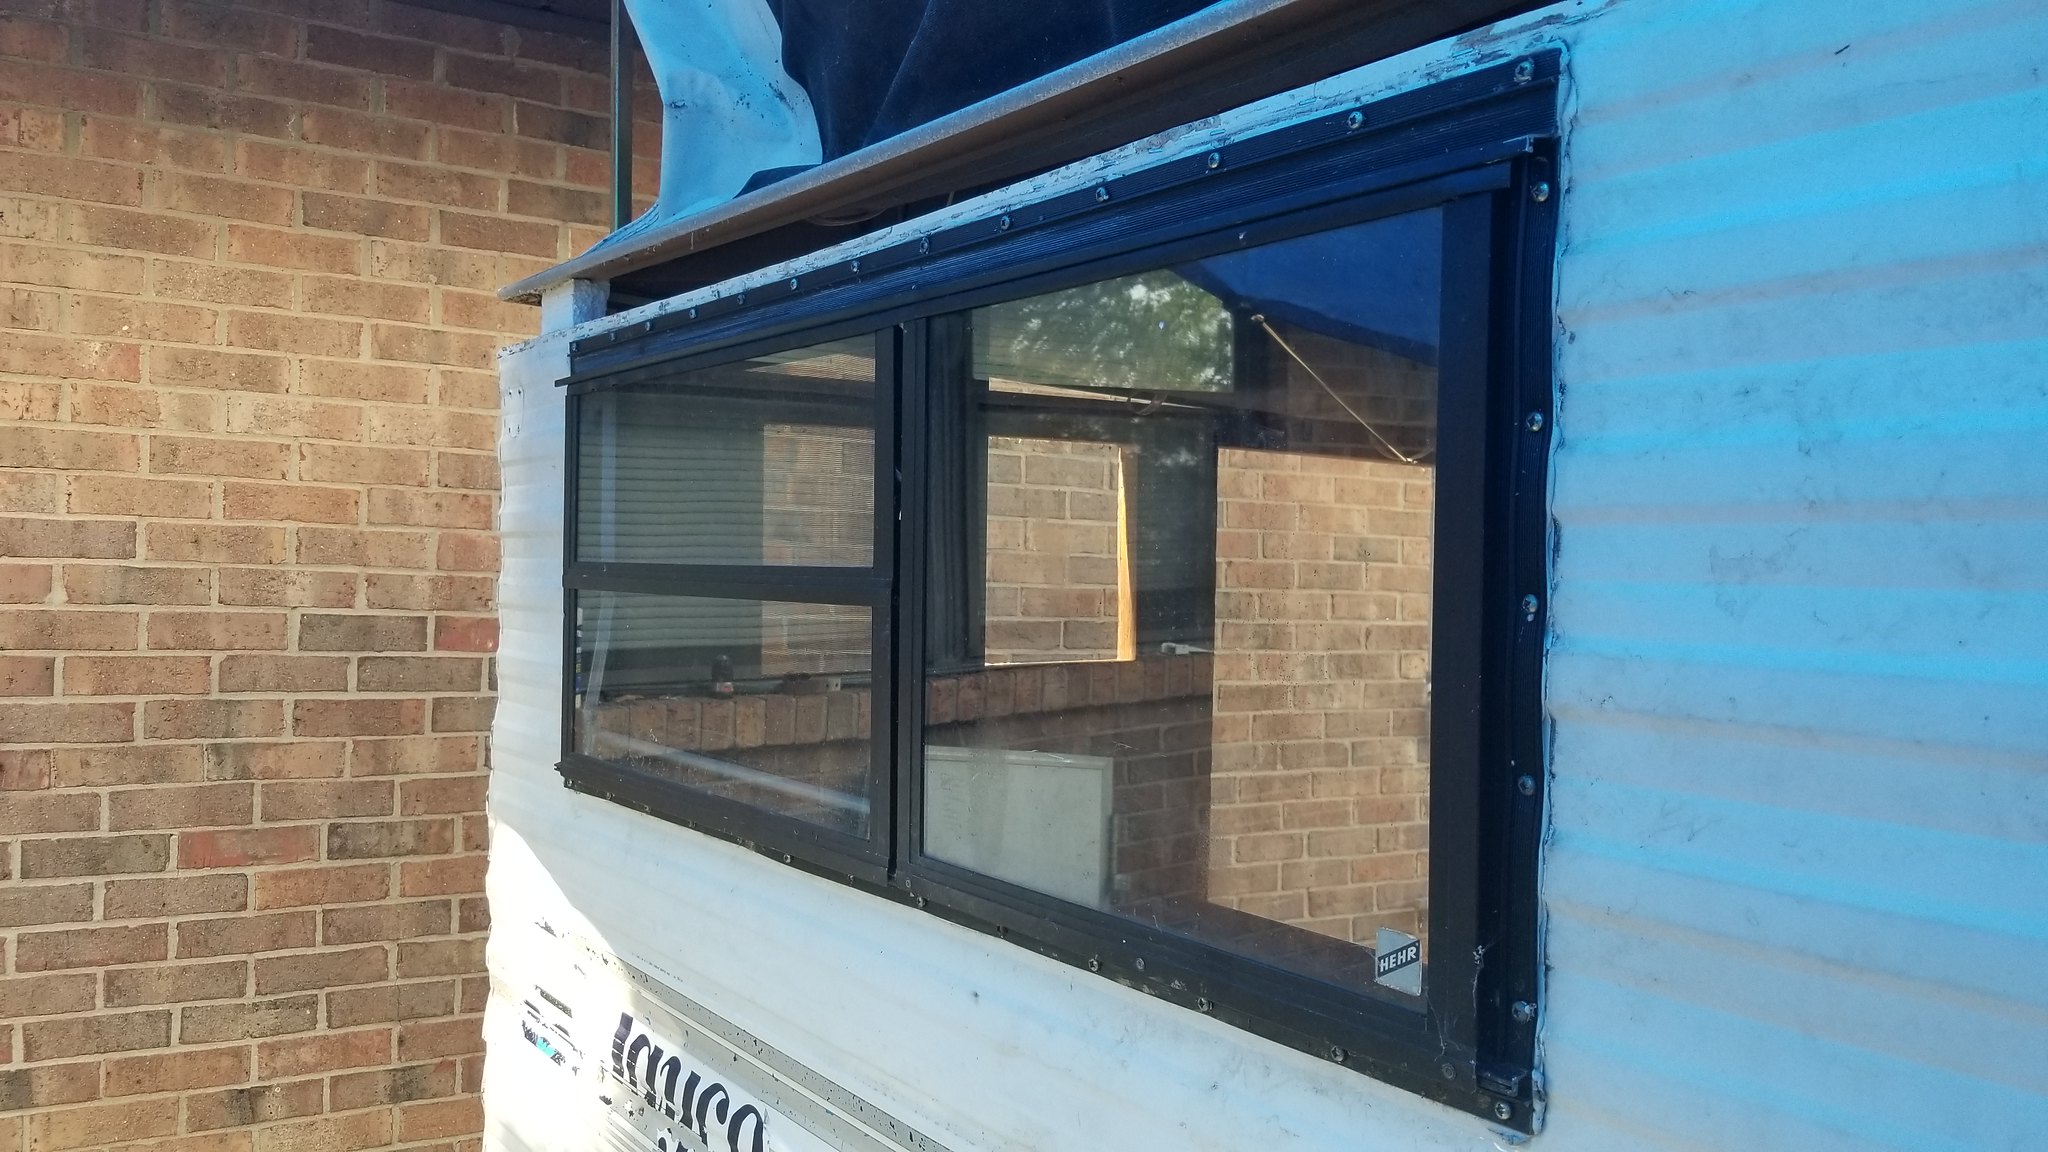
Another mistake.....looks like a screw underneath had the same idea for location.....can't screw through a screw.....

Senior Member
Posted 08 July 2019 - 04:00 PM
The driver side as well.....
Can't forget to add the "beauty" covers for the screws!!!
Senior Member
Posted 08 July 2019 - 04:06 PM
Next I added in the bottom cover for under the bed. I didn't take a picture of it before installing, but I had a piece of 48"x84" wide to start with. Then I cut into it 2" on each side 15.5 inches so I had a space 15.5"x80" to slide into the camper. Slid in and secured from the outside and inside. This is where the storage area will be inside.....


And finished with another piece to the end.....

Senior Member
Posted 08 July 2019 - 04:23 PM
Adding on was I can best describe as strapping to support the outer skin and the insulation over the cab area. 1"x1.5" wood was the best fit here.....This will also help support the storage area under the bedding..... I also added a strap "East/West" on the facing wall for further support. Don't forget......glue until it drips!!!!

And adding across the front to "seal in" the areas

I leave the weekend with these words.....Proverbs 14:23 All hard work brings a profit, but mere talk leads only to poverty.
The hard work of this project is overwhelming at times....but the enjoyment that our family can get from the future of it is my guiding light... While I didn't get "dried in" this weekend....The snowball of progress is growing.
Edited by corybrown50, 08 July 2019 - 04:24 PM.


0 members, 0 guests, 0 anonymous users