Jump to content


Photo
- - - - -

Rebuilding a Granby


  • Please log in to reply
56 replies to this topic

#1 bell4

bell4

    Member

  • Members
  • PipPip
  • 24 posts
  • LocationDenver, CO

Posted 28 March 2012 - 03:08 PM

Hello WtW! I'm a long time lurker who finally made the jump(s). In the last 2 months I bought a 2004 Dodge 2500 quad cab short bed and a 1980-ish FWC Granby. The plan is to do a staged rebuild starting with narrowing the camper to fit in my truck and then redesigning the interior. I figured what better way to join a new community than with a build thread.

Quick background on myself, I live in the western foothills of Denver CO and moved here for the mountains. I ski inbounds and backcountry, ice climb, rock climb, mountaineer, backpack, mountain bike,.... about the only thing I stay out of is water. Boaters are nuts that water is cold!

Yes my basement looks like an outdoor gear store between all the climbing gear, ropes, tents, backpacks, stoves, and sleeping bags. So why add a camper? My wife and I have lived here in CO for 6 years now and we've hit a lot of what the front range has to offer and decided it's time to extend our range. We've come to learn Rocky Mountain National Park like our own back yard and want to start getting to more of the parks out west. Carrying our home on our back so we could get in more long weekends seemed like the next logical step.

So on to the build!

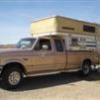
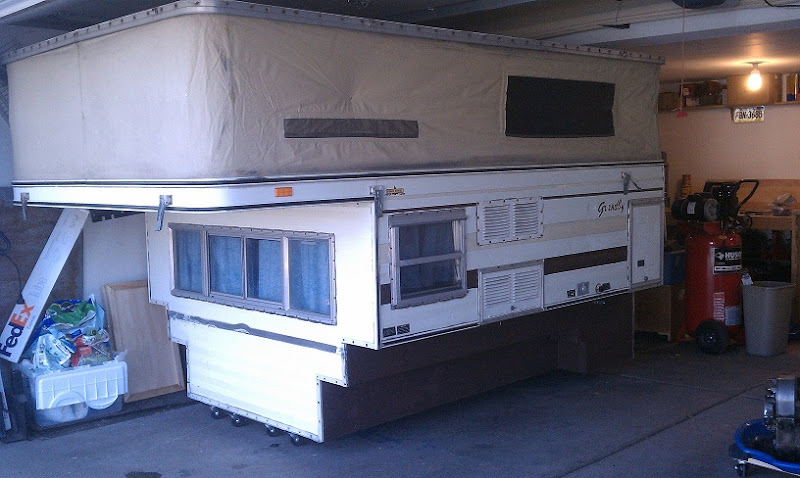
Here is what I brought home. A friend with a 96 F250 long bed was kind enough to lend me his truck for the transport. After a near death experience with a pair of rental cable camper jacks I got it safe and sound on some furniture dolly's and wheeled into the garage.

Posted Image

Posted Image

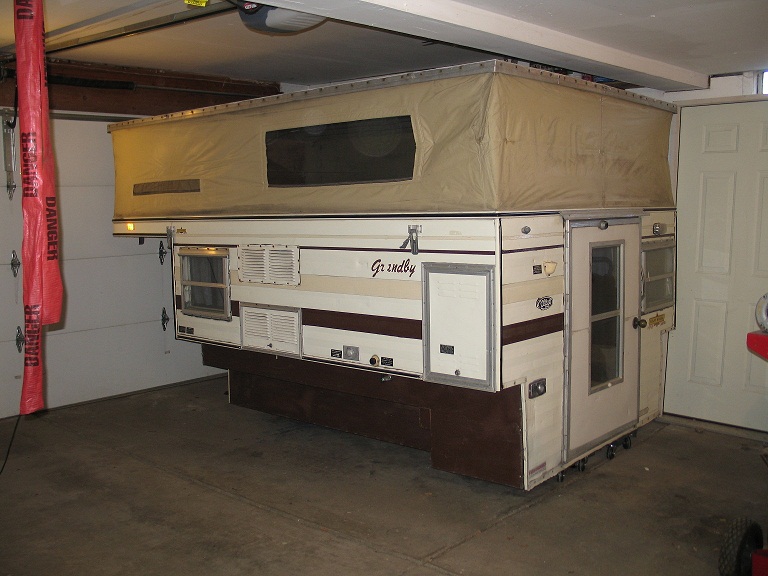
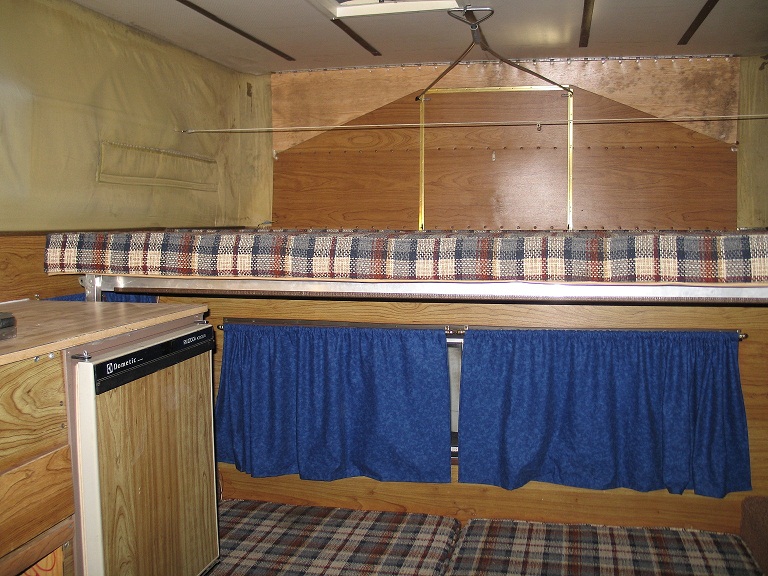
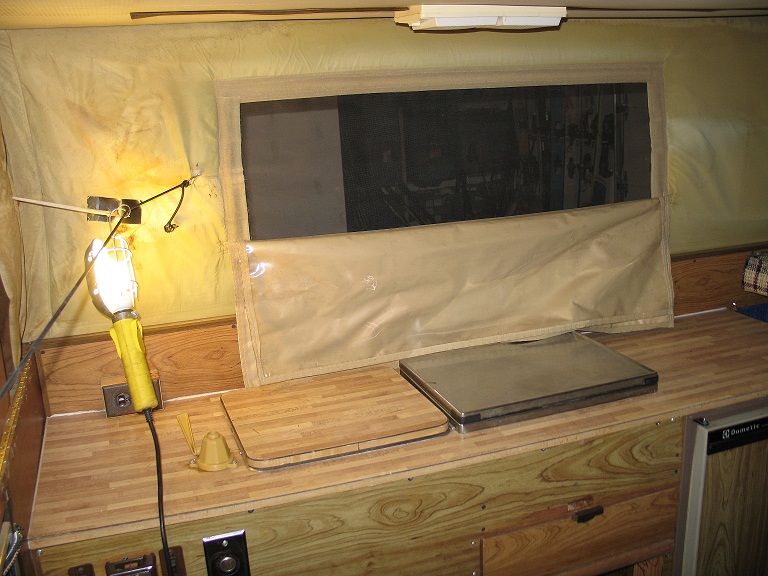
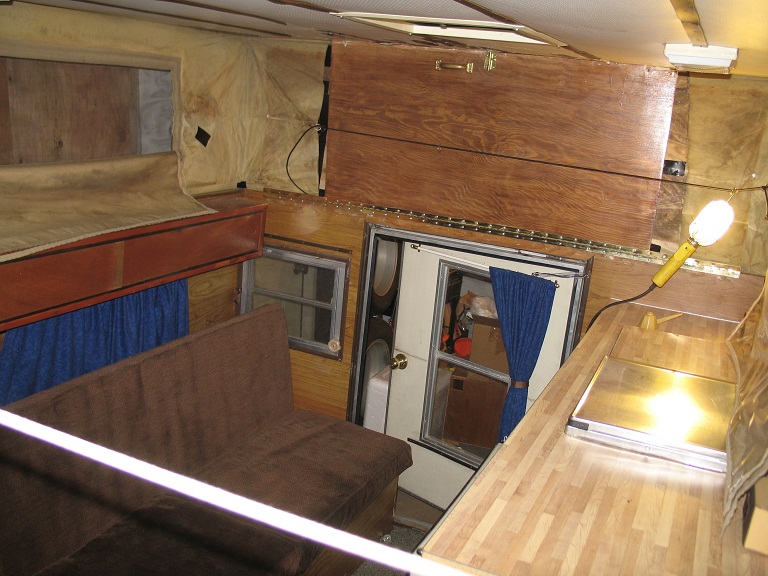
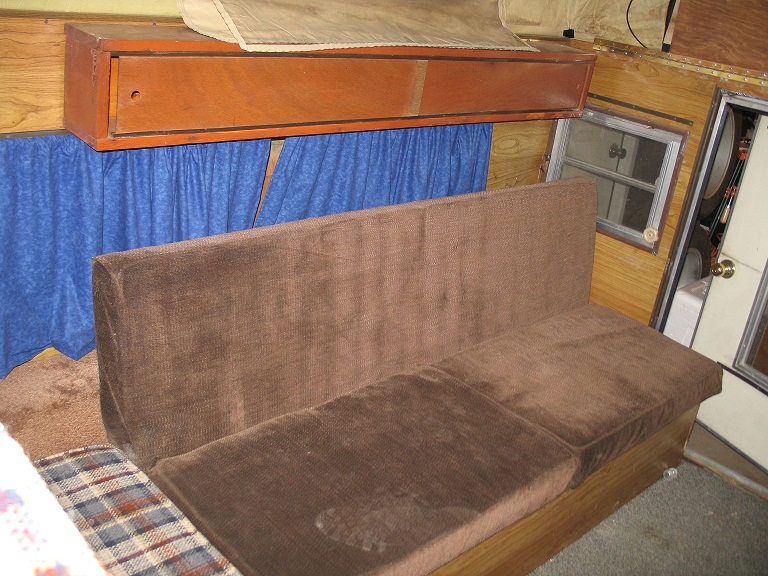
The interior was clean and well taken care of but I have an aversion to dark wood paneling so that’s going to have to go. Can't explain it. The interior doesn't have any smell to it but there's definitely a little mold on the side liner that I'll need to address:

Posted Image

Posted Image

Posted Image

Posted Image

Posted Image

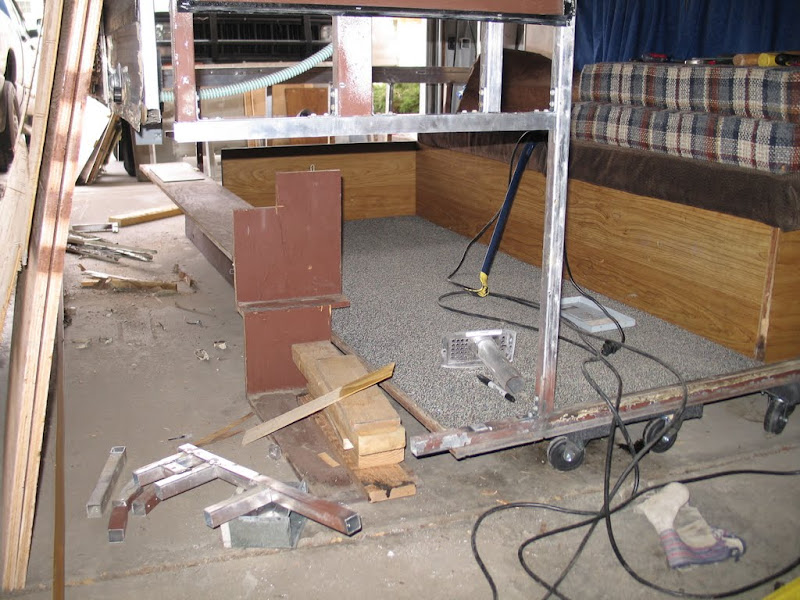
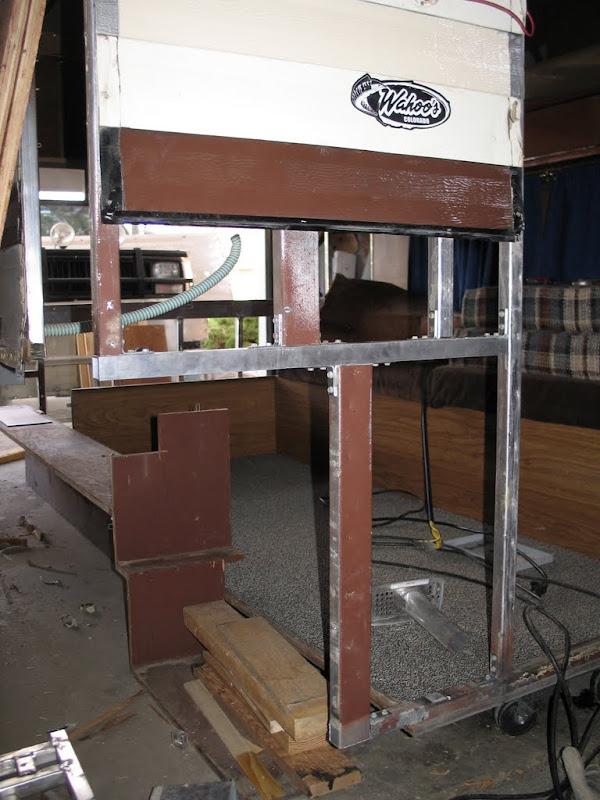
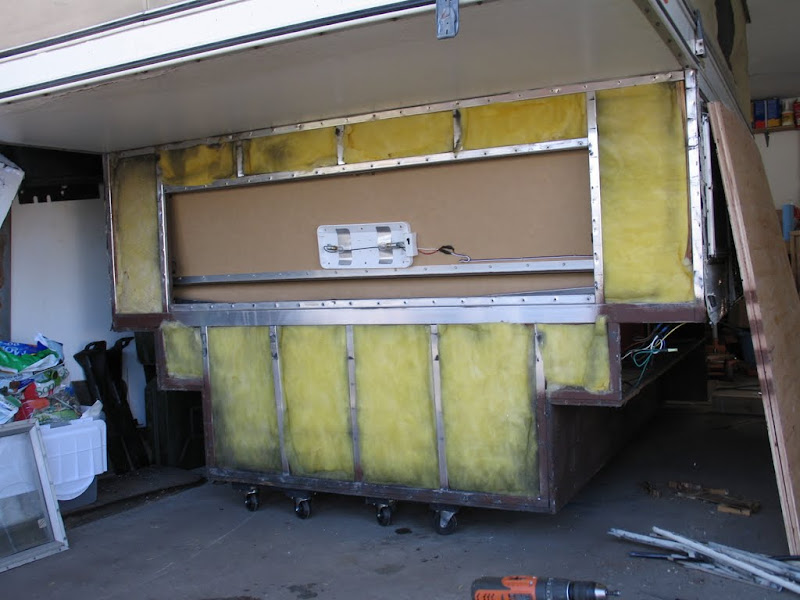
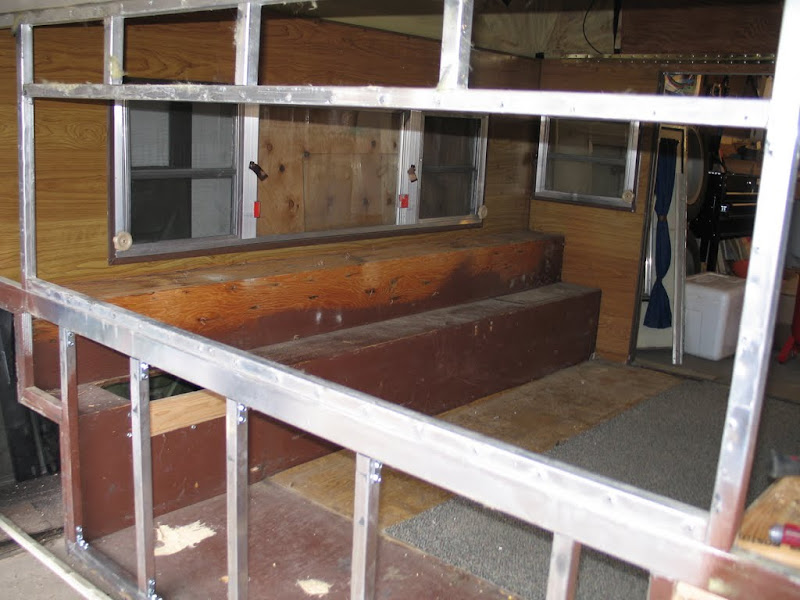
On to the de-construction! Time to see what this FWC is made of and just how will I be spending my evenings after work.

First up the drivers side rear corner. I very quickly came to love my 1/4" hex driver in my cordless drill. The screws came out easy enough but the corners were held on with a combination of butyl tape and caulk. It comes apart easy enough but cleanup is a pain:

Posted Image

A little help from the persuasion bar
Posted Image

then a lot of screw removal and staple prying later voila!

Posted Image

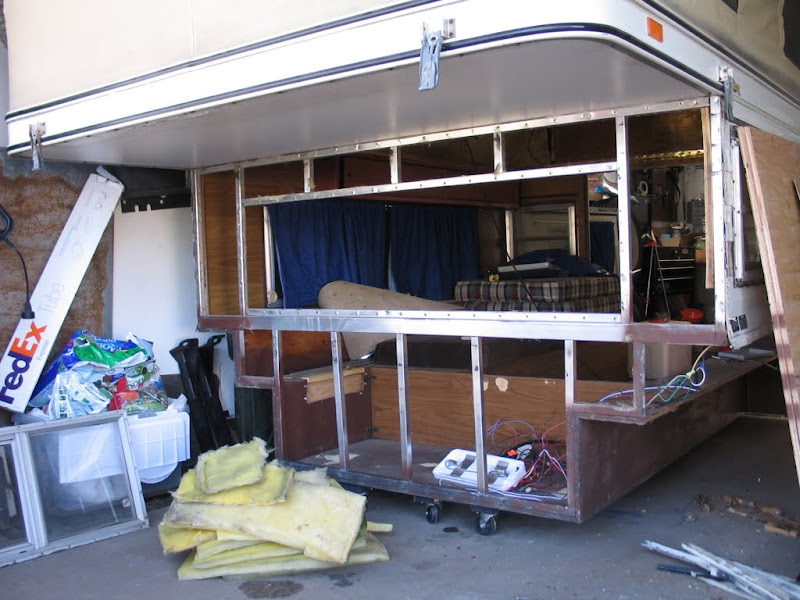
a little siding removal and hmm this is going to take more cutting than I first thought

Posted Image

I want to keep the furnace so got to figure out what to do with that vent too

Posted Image

Of course no work can be done without a supervisor and I've got mine. She is always curious as to what I'm up to (just in the off chance what I'm doing involves dog food). This time she was happy to not have to take a spot on the concrete to watch

Posted Image

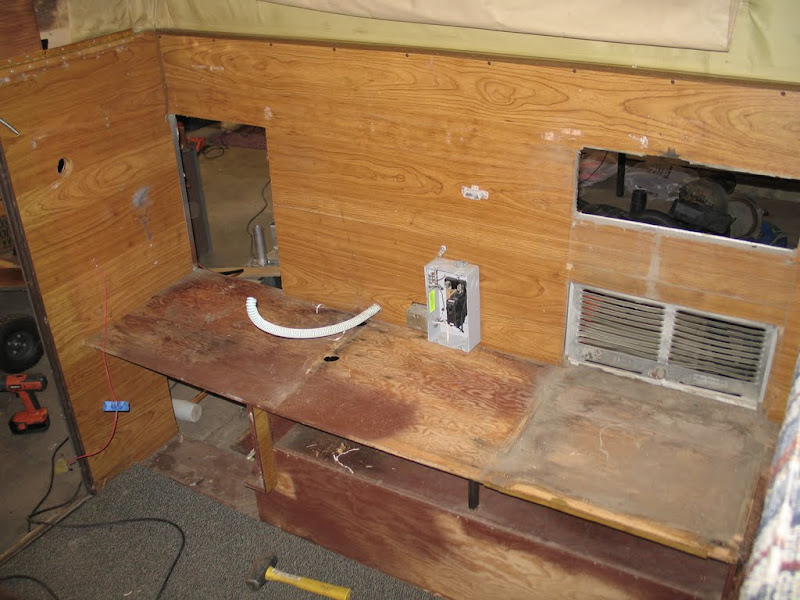
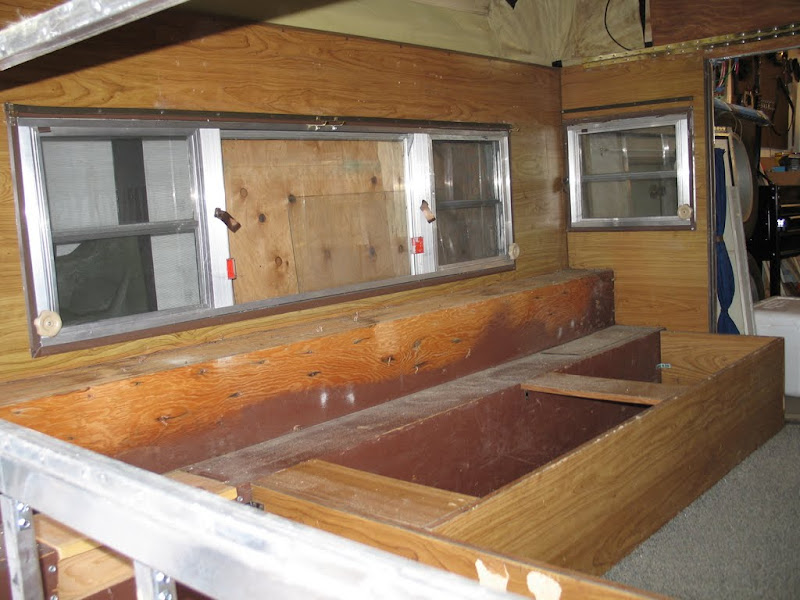
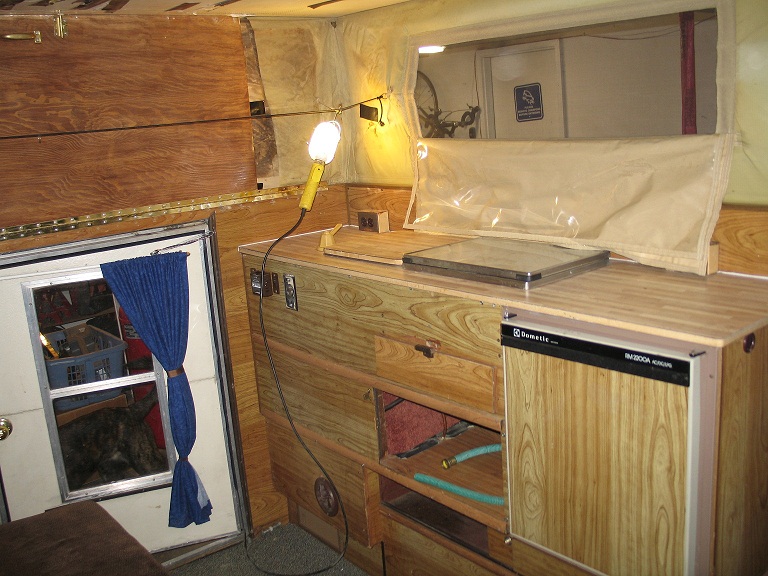
Since everything in the kitchen depended on what I was narrowing it all had to come out. Stove, sink, furnace, water tank, and fridge.

Posted Image

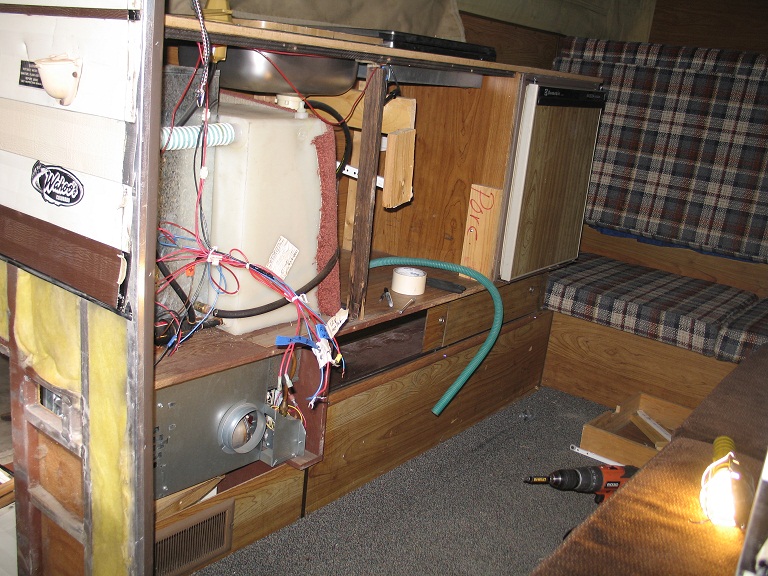
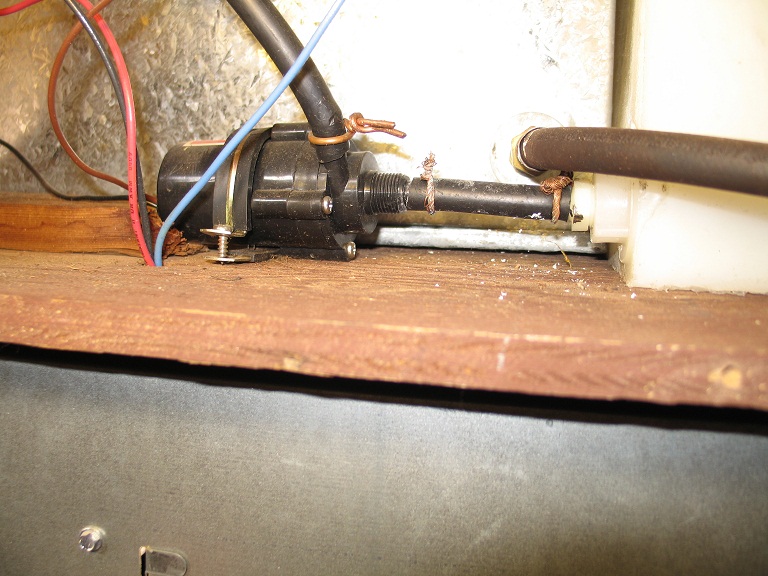
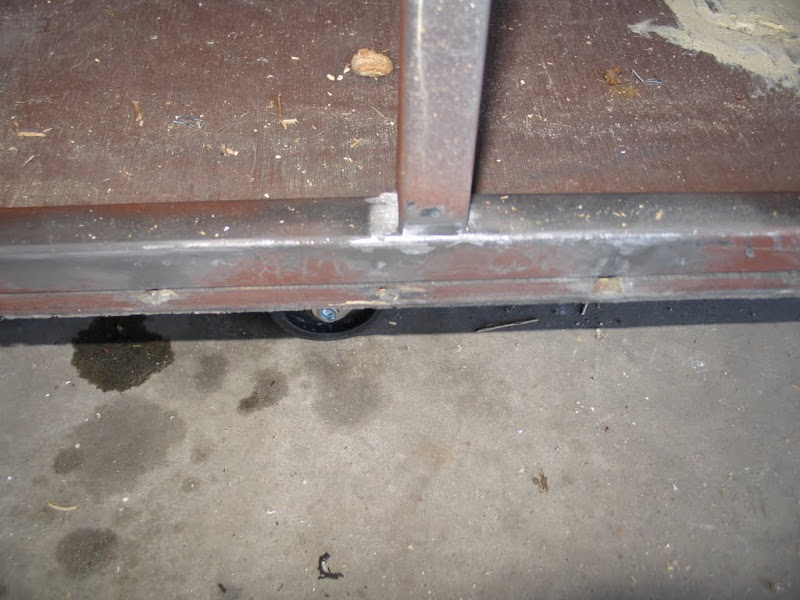
Hose clamps? We don't need no stinking hose clamps! How this was not surrounded by copious water damage will remain a mystery.

Posted Image
  • 0

#2 bell4

bell4

    Member

  • Members
  • PipPip
  • 24 posts
  • LocationDenver, CO

Posted 28 March 2012 - 03:12 PM

more interior de-construction

Posted Image

all gone

Posted Image

counter gone too

Posted Image

back to the corner. Time to get to work

Posted Image

A little time with the hack saw and angle grinder and here is what you get

Posted Image

more cutting and a little test fitting to figure out how the furnace will still fit here.

Posted Image

I went out and got some new 1x1 16 gauge square aluminum and cut it to size. I attached everything with 'L' brackets and lots of screws

Posted Image

I trimmed all the pieces off the 3" wide piece of aluminum tube I cut out originally and re-used it. You may notice a 'L' bracket attached to the door frame as it turns out the weld was broken. This quickly turned into a theme as I disassembled the front.

Posted Image
  • 0

#3 Desert Rancher

Desert Rancher

    Senior Member

  • Members
  • 514 posts
  • LocationSocal desert

Posted 28 March 2012 - 03:34 PM

Wow, you are ambitious! Others have done re-builds with good results so hang with it.

I have the exact same camper, an '86 Grandby (even the plaid upholstery) in very good condition. If there is anything I can offer as to pics, details or mods, let me know.

Have fun!

~DR
  • 0
Granbaby ridin' on an F250HD 4x4, International Diesel powered T444E "And camping will grant each man new hope...as sleep brings dreams of home"

#4 MarkBC

MarkBC

    The Weatherman

  • Site Team
  • 6,600 posts
  • LocationBend, Oregon

Posted 28 March 2012 - 03:46 PM

Welcome to WTW, bell4!
Wow -- what a great first post! Great documentation of your ambitious project! :)
  • 0

FWC Hawk (2005) on a Ford F250 Supercab, 6.8L V10 gas (2000)


#5 bell4

bell4

    Member

  • Members
  • PipPip
  • 24 posts
  • LocationDenver, CO

Posted 28 March 2012 - 04:13 PM

It's been a fun project and something both my wife and I are excited about. It helps when the boss isn't questioning every purchase "But it's for the camper" :lol: .

I'm going to do my best to document every step of the way so hopefully it'll be a help to anybody else who decides to go down this path. Thankfully the design of the camper is pretty simple between the aluminum frame and plywood floors. I've got the front done as well but I still need to get those pictures off the camera and uploaded.

Luckily my wife has been letting me spend most of my evenings and weekends in the garage instead of doing other stuff around the house so I've been able to hit this project pretty hard.

Thanks for the kind words and I'm open to ideas and suggestions that anybody has as it's easier to make changes now than it will be a month from now. I've done a lot of reading and tried to plan out as much as I can but I'm sure I'll be back in there with the drill and sawzall again sooner or later!
  • 0

#6 craig333

craig333

    Riley's Human

  • Members
  • 8,022 posts
  • LocationSacramento

Posted 28 March 2012 - 09:11 PM

Looks like you got a good base to start on. Twisted wire for hose clamps? Maybe in desperate emergency. Some people. Thanks for the pics. Keep em coming.
  • 0

Craig K6JGV_________________________ 2004 2500 CTD 4X4 FWC HAWK 1960 CJ5


#7 White Dog

White Dog

    Senior Member

  • Members
  • 164 posts
  • LocationNiverville, Manitoba, Canada

Posted 28 March 2012 - 09:36 PM

Great start! Two things I find particularly interesting. The first is how the until looks in pretty good overall shape for 25+ years old. The second is the broken welds. I guess I'm a little surprised. How many have you found and any idea why the broke?
  • 0
2011 Toyota Tundra with a FWC Grandby

#8 pods8

pods8

    Senior Member

  • Members
  • 2,555 posts
  • LocationThornton, CO

Posted 28 March 2012 - 10:00 PM

About time you came outta the wood work. :P Good progress. Have you sketched out the dinette you hashed out with the wife? Still thinking of doing a plate over the bracketed connections?
  • 0

2022 F350 7.3L; family trailer at the moment and some aluminum stuck together to eventually form another truck camper


#9 bell4

bell4

    Member

  • Members
  • PipPip
  • 24 posts
  • LocationDenver, CO

Posted 29 March 2012 - 02:37 AM

Looks like you got a good base to start on. Twisted wire for hose clamps? Maybe in desperate emergency. Some people. Thanks for the pics. Keep em coming.


I laughed when I saw that one. As you can see in the pictures the wiring was a bit of a rats nest too but the braided wire hose clamps were my favorite.

Great start! Two things I find particularly interesting. The first is how the until looks in pretty good overall shape for 25+ years old. The second is the broken welds. I guess I'm a little surprised. How many have you found and any idea why the broke?


I was surprised by the broken welds myself based on what I found on the outside. Total I found about a dozen broken welds. The front 3 vertical supports under the window were completely free but didn't move easily as they were held in tight from the compression. They all had that polished look on the floor support where the vertical support had obviously walked around a bit. The failures were all along the edges of the weld which makes sense as that's the weakest point in any weld. The breaks were all clean crack like breaks too not the rip style I've seen in aluminum before from fatigue. Other than those there were the 2 at the passenger side front corner which I had to remove anyway to narrow, and the other 2 were along the floor for the 2 verticals that make up the rear door frame.

Best guess as far as what caused them to break is a twisting or racking force as I can't find any evidence of a force trauma such as dents or crushed pieces from being dropped. Again how this happened without any other signs of exterior abuse or breakage is beyond me.

About time you came outta the wood work. :P Good progress. Have you sketched out the dinette you hashed out with the wife? Still thinking of doing a plate over the bracketed connections?


yea yea yea :P I didn't want to start a thread and drag everybody along for the full ride. I'm not quite to the interior yet. Trying to get the exterior completely back together before I start rebuilding the cabinetry and dinette inside.

We are definitely going to do a dinette. Right now the thought is to make a bench along the passenger side wall that's 3/4 the length of the camper, a bench along the front window, and a single seat towards the rear leaving room for a cabinet between the rear seat and the back wall. The table will be rectangular with hopefully enough room to seat 4 in camper comfort. At least that's the idea. We'll see what it takes to make that a reality and how it turns out.
  • 0

#10 bell4

bell4

    Member

  • Members
  • PipPip
  • 24 posts
  • LocationDenver, CO

Posted 29 March 2012 - 02:47 AM

Ok, got the rest of the photos off the camera and sorted out so on to the front!

LOTS of screws and butyl tape scraping later I had the siding off the front.

Posted Image

cleared out and ready to get to work.

Posted Image

Though a problem quickly arose. Both the top and bottom welds on all 3 of the aluminum posts under the window were broken. All that was hold them in place was the pressure between the window rail and the bottom frame rail. You can see here the shiny metal to the left where it had walked around

Posted Image

Back to the front corner. Measure twice, cut once.

Posted Image

and the finished product. You can see I put brackets on all of the vertical supports as well to re-attach them. That was a slow process but had to be done. you can also see I finished pulling the plywood off the floorpack on the drivers side.

Posted Image

Time to start rebuilding. I was able to pry the plywood side off the floorpack and keep it intact so I could use it as a template. This is the piece that needs to be narrowed. I got some ⅝ CDX and got to work. The stock camper is 64” wide and I needed it to be 58” so I took 3” off. Here is the result, clamped, glued, and screwed. The old one is slightly out of the photo to the left.

Posted Image

On a side note I don’t know where they find ‘C’ shaped trees that they must use to cut CDX from to get it to bow like that but once I have this camper operational I’m going to try and find that forest as it must be a sight to see.

So nice new and narrowed CDX on the camper frame

Posted Image

Attached along the full length. I didn’t have the staples originally used to attach the side to the floor pack so I used 3” screws.

Posted Image

and the big side piece cut out using the old one as a template and on the frame

Posted Image

Again the wonderful curvature of the CDX made this an entertaining job.

Posted Image

Done and installed. Also started replacing all of the fiberglass insulation with 1” rigid foam.

Posted Image

Posted Image

One side down so onto the other side. After doing the drivers side the passenger side took me a third the time.

Posted Image

Posted Image

Posted Image
  • 0


0 user(s) are reading this topic

0 members, 0 guests, 0 anonymous users