Jump to content


Photo
- - - - -

Round hole voltmeter


  • Please log in to reply
3 replies to this topic

#1 bfh4n

bfh4n

    Senior Member

  • Members
  • 235 posts
  • LocationLovingston, Virginia

Posted 09 August 2014 - 02:19 AM

Hi Folks,


I’ve seen several threads and comments here about small digital LED voltmeters that have been installed in campers. These are popular because, while they aren’t super accurate, they are somewhat better than the FWC 4-step monitor at providing a quick check of battery status.


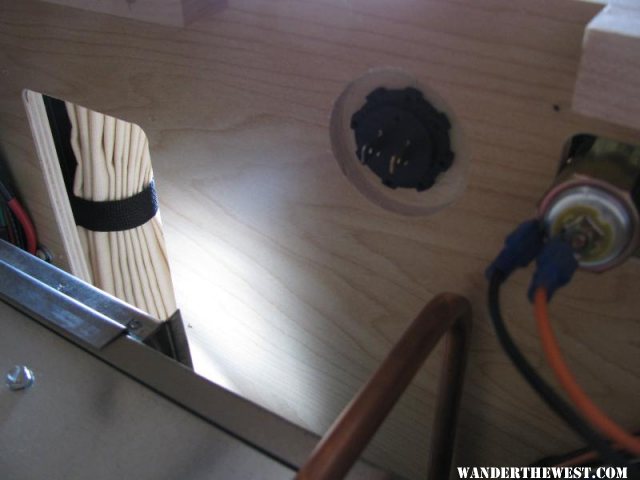
I recently found one that has a big advantage over the others that have been mentioned: It installs in a round hole. The same size - 1 1/8” - hole that a cigarette-lighter-type outlet uses. I got it on eBay for about $17:


http://www.ebay.com/...e_Tools&vxp=mtr


Look around a little and maybe you can find it for less or free shipping.


I tested the accuracy by comparison to a pretty-good digital multimeter (alleged accuracy of about 1/10%) at nine voltages in the range from 11.5 to 14.5 Volts and found the little meter to be dead-on. It only has 3 digits (resolution of 1/10 of a Volt), but that’s good enough for our purpose. It draws less than 9 milliamps.


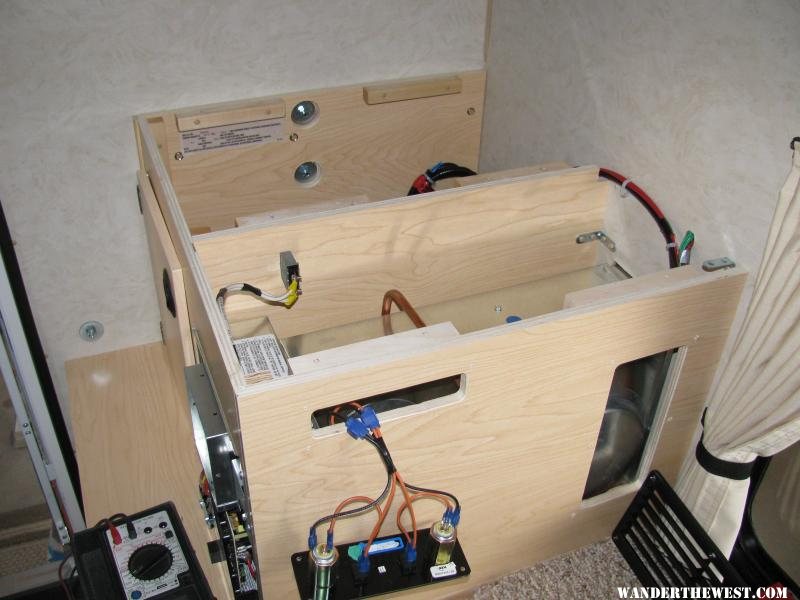
The meter displays red, plenty bright to see in full light, especially when viewed at a slight angle. It may be too bright at night (or it could serve as a handy night light), so you may want a switch or push-button. The simplest install would probably be to put it in the existing FWC panel, between the 2 power outlets and hook it to one of those switches.


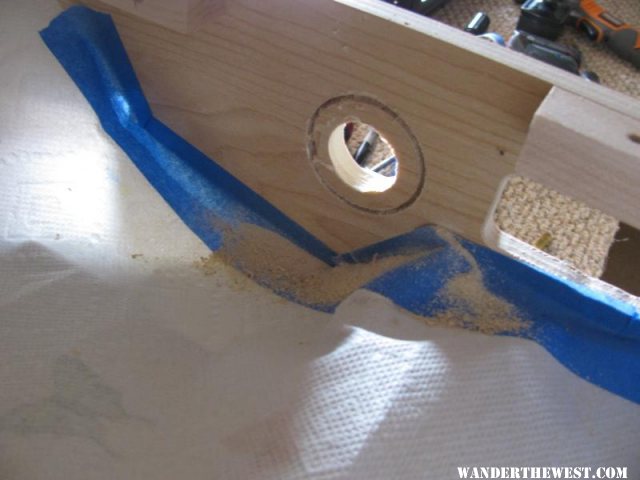
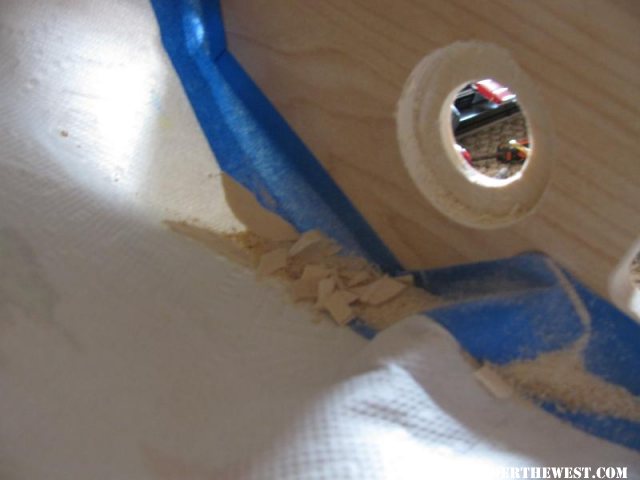
The meter mounts with a nut from the back in thin panels. It’s too short to mount with the nut in plywood, but it comes with a rectanguler bezel that mounts with two screws from the front. You don’t have to use the bezel. If you don’t have the means to make an exact 1 1/8” hole (with a chassis punch, Forstner bit or whatever) and have to settle for a hole saw or some other means, you may end up with a hole that is too big or ragged. In that case, use the bezel, mounted with a couple of black screws. The bezel can hide holes up to 1 5/8”. If your hole is bigger than the flange on the meter, glue the meter into the bezel with a few drops of super glue.


- Bernard


  • 0

2014 silver Fleet front-dinette

2007 Tacoma Access Cab 4WD TRD V6 6-speed


#2 RC Pilot Jim

RC Pilot Jim

    Senior Member

  • Members
  • 1,544 posts
  • LocationSan Diego Calif

Posted 16 August 2014 - 01:29 PM

Nice - price and red numerals.
Suggestion Bernard- also put it in " low cost mods" in the Truck section.
  • 0

Jim

Retired from truck camping June 2021

Our Basic Eagle/Fleet Shell Build


#3 jcfly

jcfly

    Senior Member

  • Members
  • 209 posts

Posted 17 August 2014 - 07:08 PM

I like the look of that - yet another task to be done !  Thanks for posting.


  • 0
Jim 2009 Chevy 2500 HD / 2004 FWC Hawk

#4 RnK

RnK

    Advanced Member

  • Members
  • PipPipPip
  • 37 posts
  • LocationMontana

Posted 18 December 2014 - 07:19 PM

Saw this topic soon after we bought our new Hawk shell (yes bfh4n, thanks for posting!).  In the interest of skinning a cat one more way, here's how I did it.
 
Removed the countertop - I was going to do it anyway to replace it or I probably would have gone for the bezel option as I think that can be done from the outside.
 
gallery_5403_824_41404.jpg
 
The top was not easy to remove as it is held down by 12 screws (from below).  You either have to remove the heater, or take out the 12v outlets (if you have them) and also remove the return air grille. Then you can use a small right-angle screwdriver to get the screws out.  The battery compartment screws were more straightforward but like I said, not easy.


Since the voltmeter was not long enough to reach through the plywood and still have room to screw on the nut I decided to drill halfway through the plywood from the inside with a larger hole saw and then all the way through from the outside with the 1 1/8" hole saw.


med_gallery_5403_824_31285.jpg


I chiseled out the inside half of the hole,


med_gallery_5403_824_29395.jpg


and was able to attach the nut.


med_gallery_5403_824_17780.jpg


As suggested in another topic, I pulled power from the adjacent 12v outlets (after the switch so it can be turned off if too bright) and that was about it.


gallery_5403_824_42739.jpg


A nice clean way to do it if you opt for the round voltmeter - thanks for the idea, Bernard!


Robert


  • 0

2004 Tundra 4x4 Dbl. Cab

2014 Hawk Shell


0 user(s) are reading this topic

0 members, 0 guests, 0 anonymous users