
Link to report on my BLOG May read better I copied below over and lost some formatting.
Solar on the roof.
SEPTEMBER 18, 2014
SOLAR ON THE ROOF.
After using the solar in a bag for a while I saw we were missing out on times we could be charging the batteries. If we are in a campground for a few days the solar in a bag worked great. If we were traveling each day the truck kept the batteries up. If we were stopping and looking at things, or touring a museum etc the batteries were not getting charged. I had been looking at a roof top solar panel. I got Amazon gift cards from my two daughters for my birthday, enough to buy the panel I was looking at.
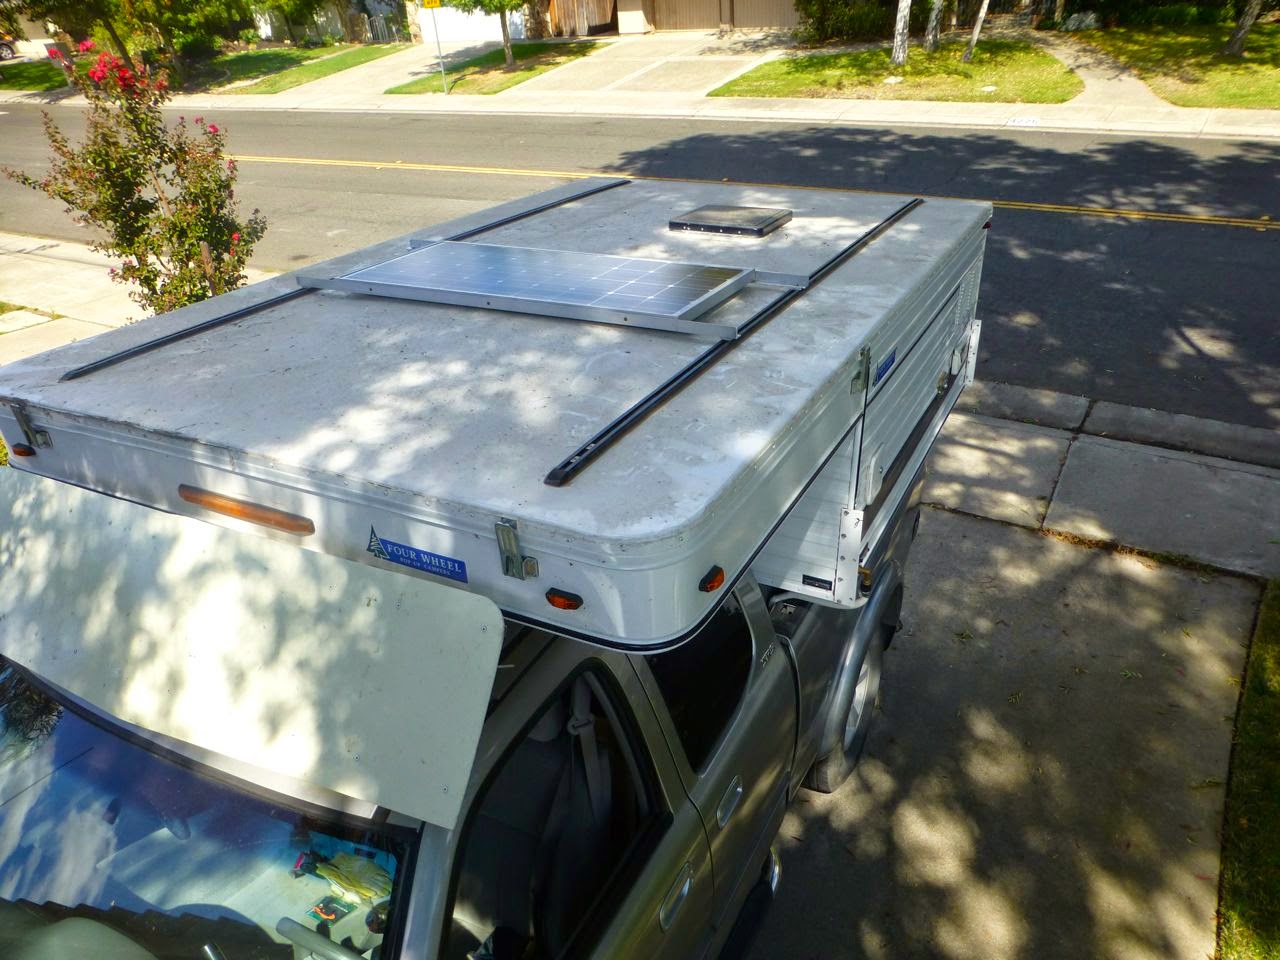
Total time of install was about 4 hours. I looked at the new flex panels, they are light but need to be glued down or screwed down. I did not want to put any holes in the one piece roof and not sure about the glue. I purchased a 100w Renogy panel kit that came with a 30 amp controller. My camper had a factory installed solar plug on the roof. It also had Yakima track and nuts so it made it a simple mount.
Thursday, September 18, 2014
Solar on the roof.
 First step was two five foot alum angles. Home Depot wanted $60 for two 8 foot lengths. I went to a local steel supply and got two lengths cut to 5 foot for $20. It was structural angle so it had a radius on the inside corner. Had to space out the screws so the panel set flat. Used brass screws as I had some, stainless would have been nicer but the brass will not rust.


Used a brass nut to space the panel over.

Angles attached to the panel, 6 1/2 inches on each side. Total weight completed was around 18 pounds.

Had to space the panel up so it could be set over the solar plug. Made the spacer out of some 1/4" alum stock I had. Screws and washers are stainless.


Could not find a 90 degree plug anywhere. Made a small 90 degree bracket, held in place with tie wraps. This will keep the plug from rubbing the panel.


The cushion now fit. Veronica tested and seating and said the controller was not in the way.


Pictures showing the inside radius.
Used a brass nut to space the panel over.
Angles attached to the panel, 6 1/2 inches on each side. Total weight completed was around 18 pounds.
Had to space the panel up so it could be set over the solar plug. Made the spacer out of some 1/4" alum stock I had. Screws and washers are stainless.
Panel ready to mount.
Could not find a 90 degree plug anywhere. Made a small 90 degree bracket, held in place with tie wraps. This will keep the plug from rubbing the panel.
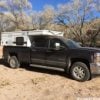
Panel mounted all wires out of sight.
View from the back.
With the roof done it was time to mount the controller inside and wire everything up.
First item was unwiring the small controller on the solar in a bag. I can now plug it in and send the full voltage to the 30 amp controller.
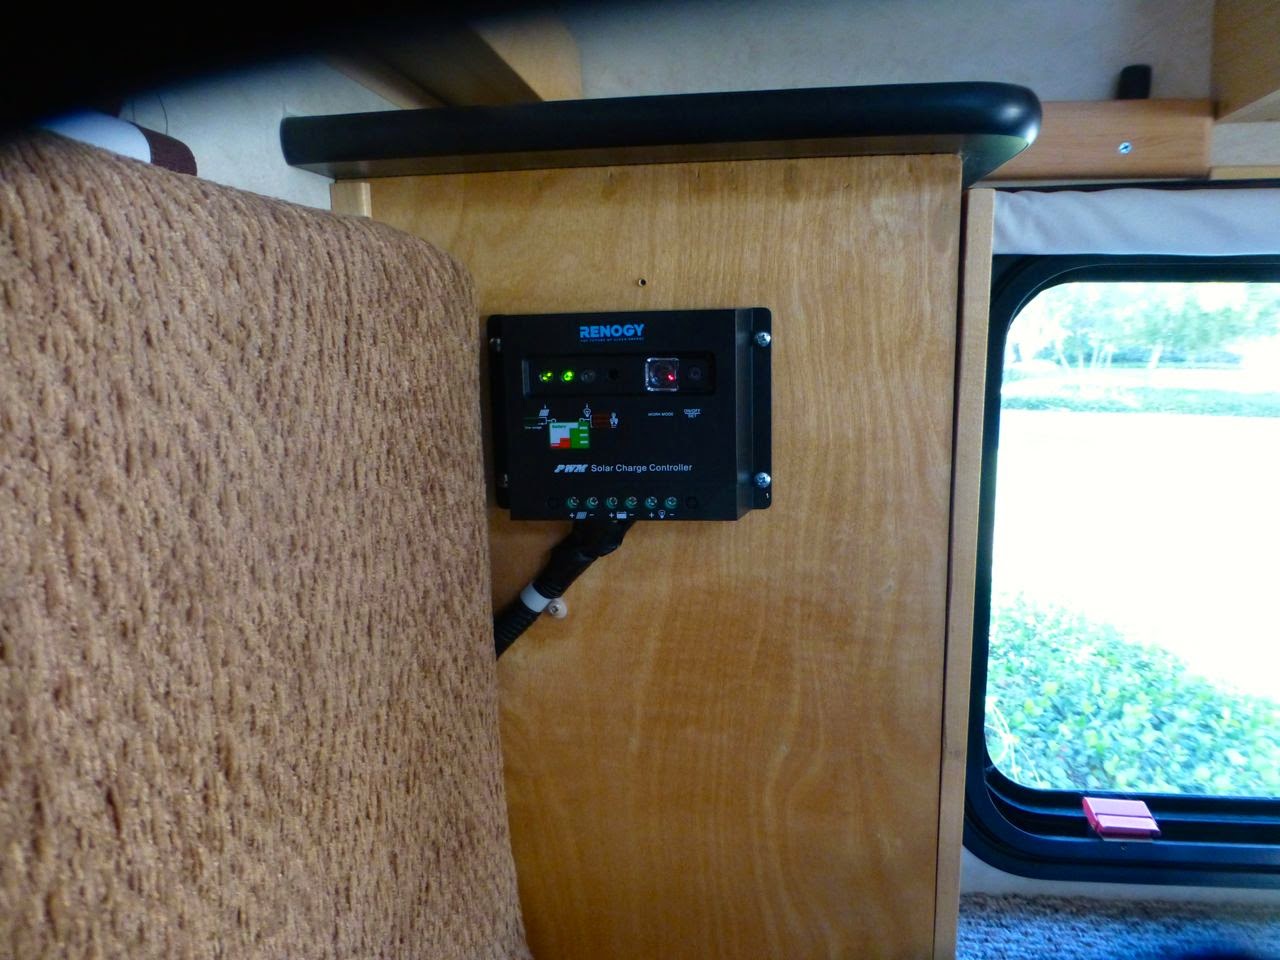
Mounted the controller next to the front dinette seat. Enough out of the way but still able to check the LED's to see if charging.
This was the one error I made on the install. the back cushion hit the controller. Had to move it forward.
The cushion now fit. Veronica tested and seating and said the controller was not in the way.
I used 10 gage wire from the controller to the battery. 12 gage is what FWC used on the solar from the roof so I used the same size to the controller. Battery voltage went up to 14.6 volts as soon as I put in the fuses. This will keep the batteries up all the time. Next project may be a Trimeteric meter more a want that a need.
Edited by billharr, 19 September 2014 - 01:58 AM.
 Ain't solar grand.