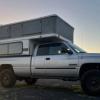

Renovating Sköldpaddan
EPISODE IV: REFRIGERATOR CABINET AND THRESHOLD
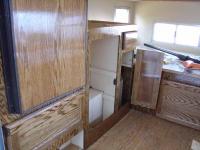
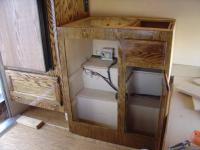
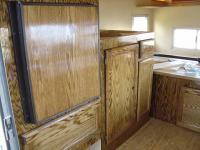
This is where my lack of experience finally snuck up and bit me. Up until the refrigerator cabinet, all the construction was straightforward. I was building it in place using flat slabs, temporarily held with picture frame clamps, screwed together with angle brackets; simple construction that was easy to hold at right angles. Refrigerator cabinet would not go together square. I am using the back and left sidewalls as two of my sides. If I leveled the top, the sides weren’t square, square the walls, walls aren’t vertical, push walls vertical, top not level. After disassembling and reassembling a number of times, it is kind of, sort of OK. Front wall is not quite vertical and the corner angles are not quite 90°. I’ll live with it for now (trim strips can cover a multitude of errors) and in the future I will be upgrading the refrigerator, so will rebuild the cabinet (in the garage, keeping everything square, adding shims and trim strips to fit to the camper).

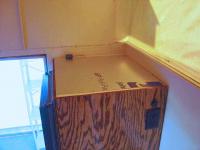
I designed the cabinet with 3” of space around the refrigerator that I stuffed with Formular and Isopoly for ~R15. I replaced the rattling tin face on the door with 1/8” plywood that matches the woodwork.
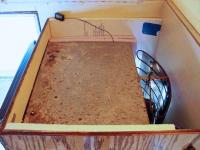
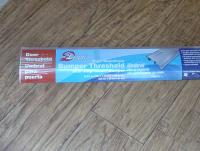
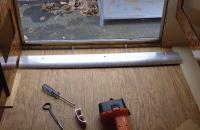
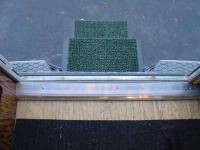
While the refrigerator cabinet kabuki was going on, I was taking my frustrations out on the threshold, which was really beat up. The bottom of the doorframe is not well supported; it deforms and stretches when stepped on. I first straightened the horizontal part, found a piece of wood that fit tight between the frame and bottom doorframe for support. The vertical back that holds the inside weather stripping was of course stretched and wavy. After about five hours of heating, shrinking, hammer and dolly work I got things pretty straight. Didn’t want to do that again so I found a high aluminum threshold at Menards to protect it. Two angles hold it on top of the bottom frame rail. The mating crease might be a dirt catcher, but so far it has worked well: threshold is still straight (and I have stepped on it a lot).
Edited by JaSAn, 28 February 2015 - 06:39 PM.