EMT roof lifters
I put this project off as I was a bit afraid to tackle it. It took me quite a few weekends but in the end came out great!
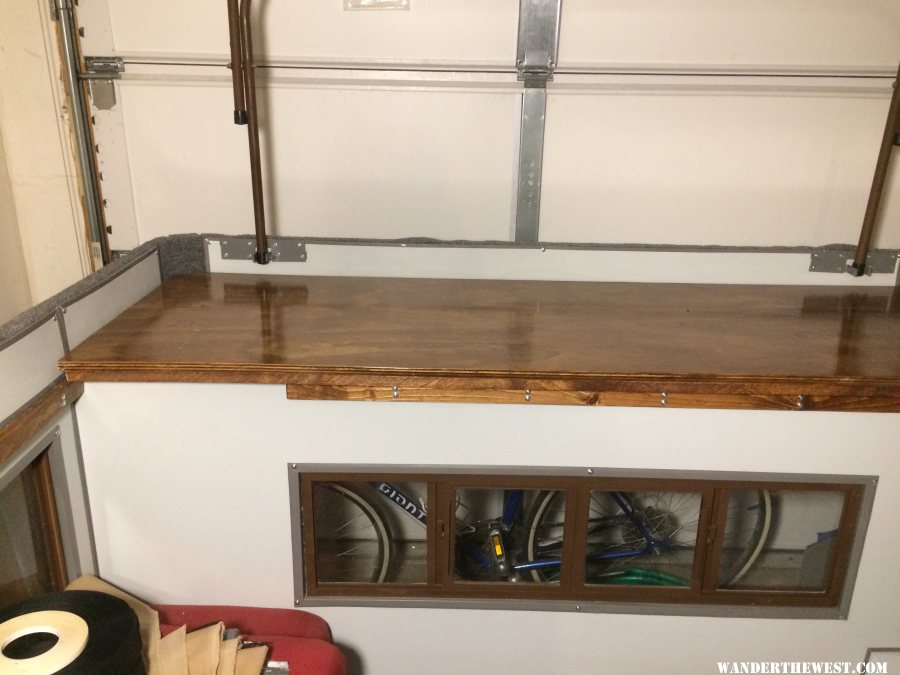
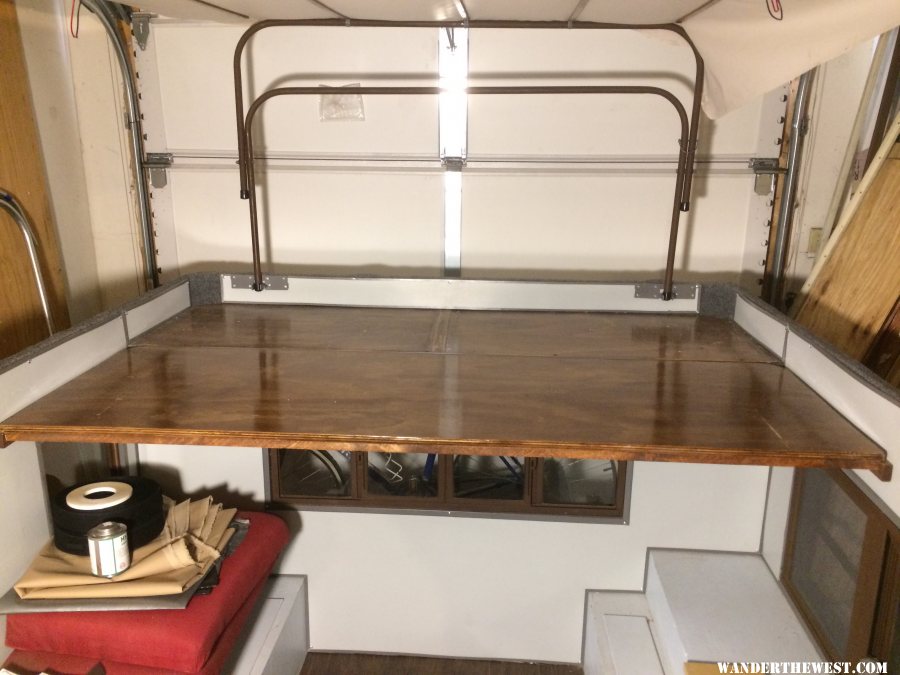
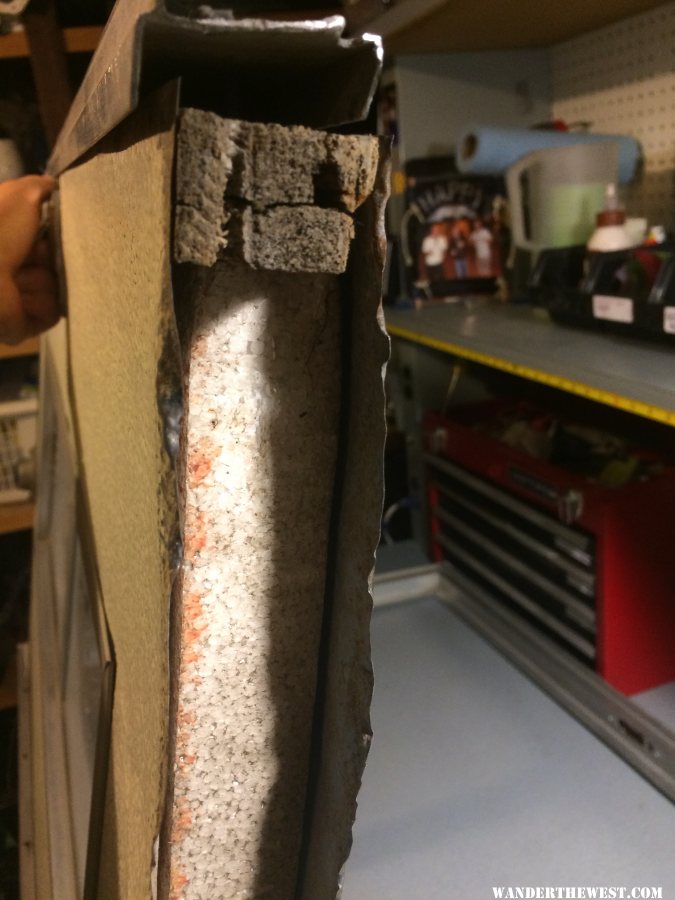
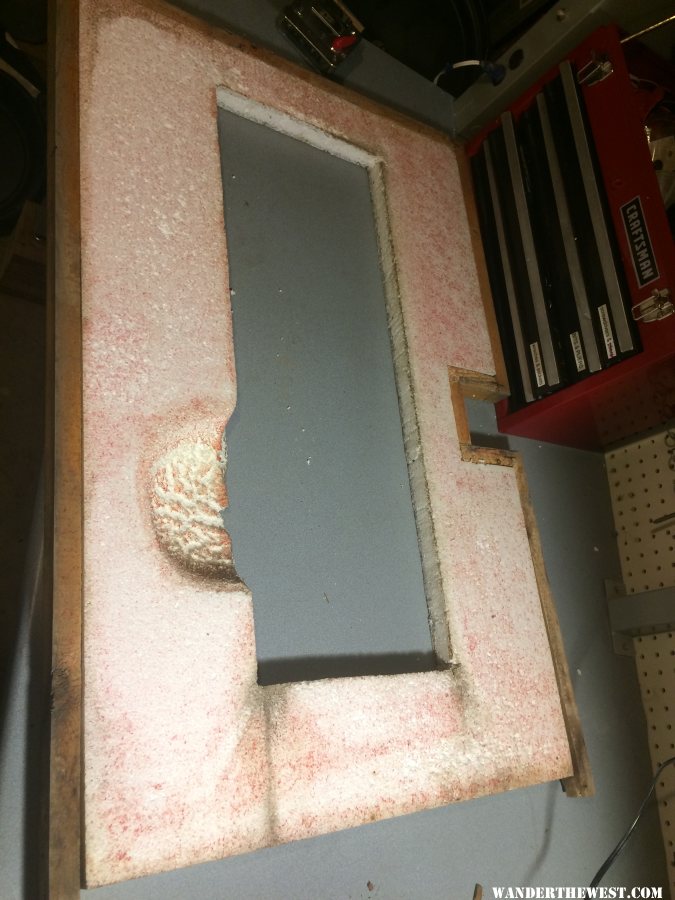
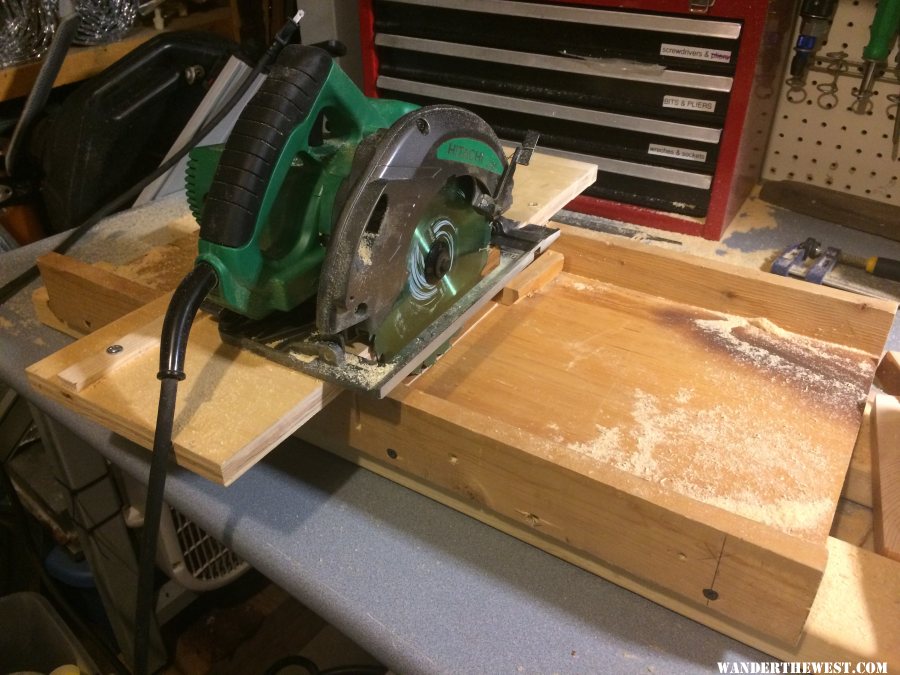
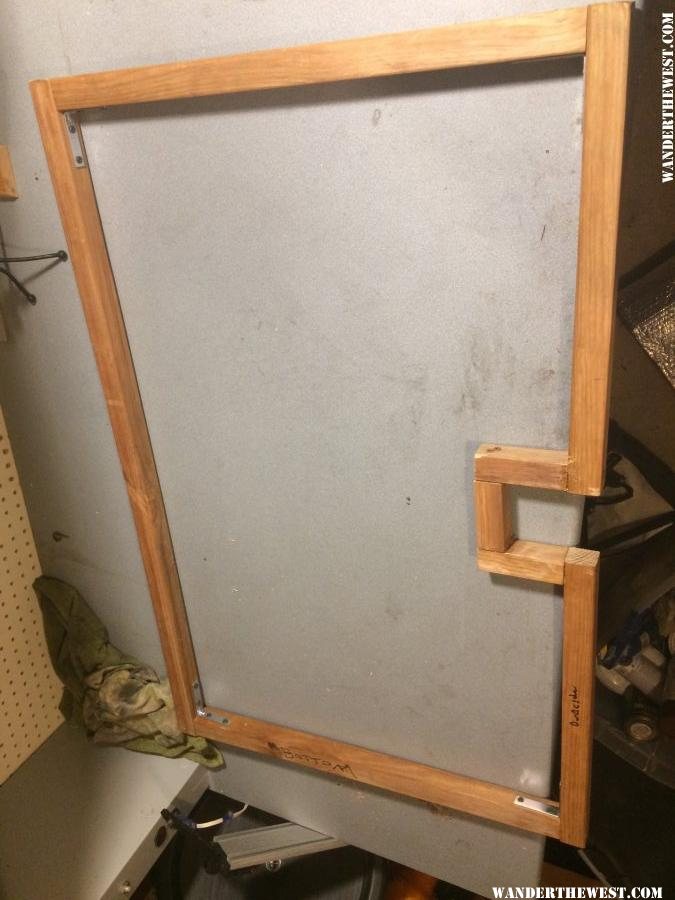
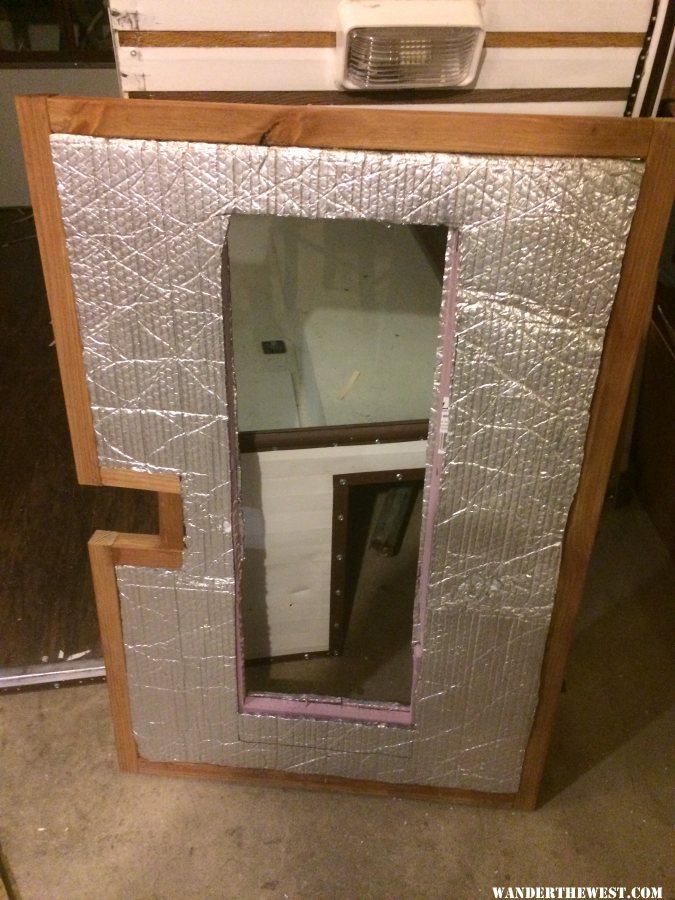
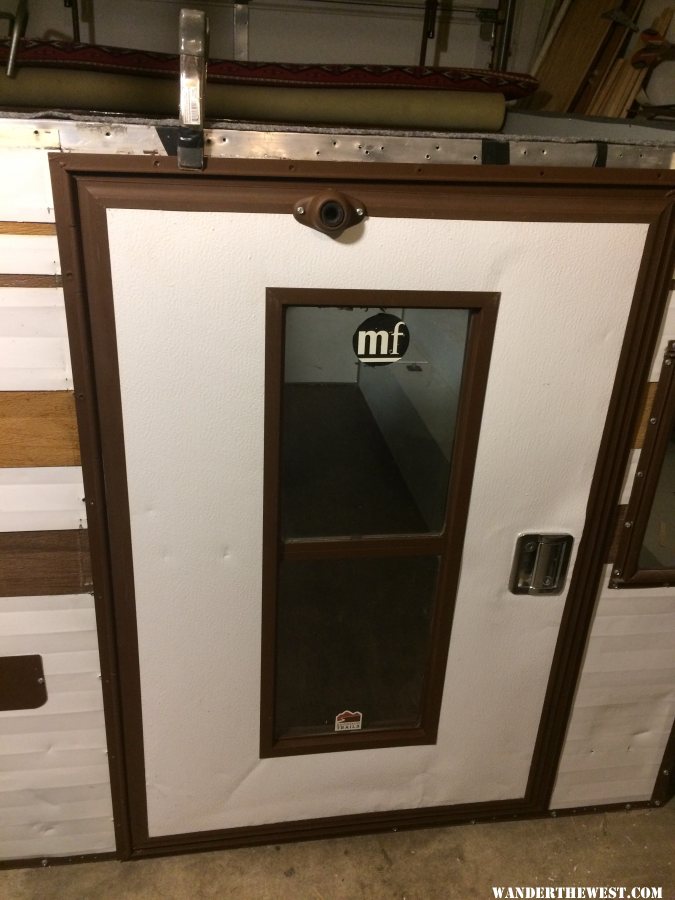
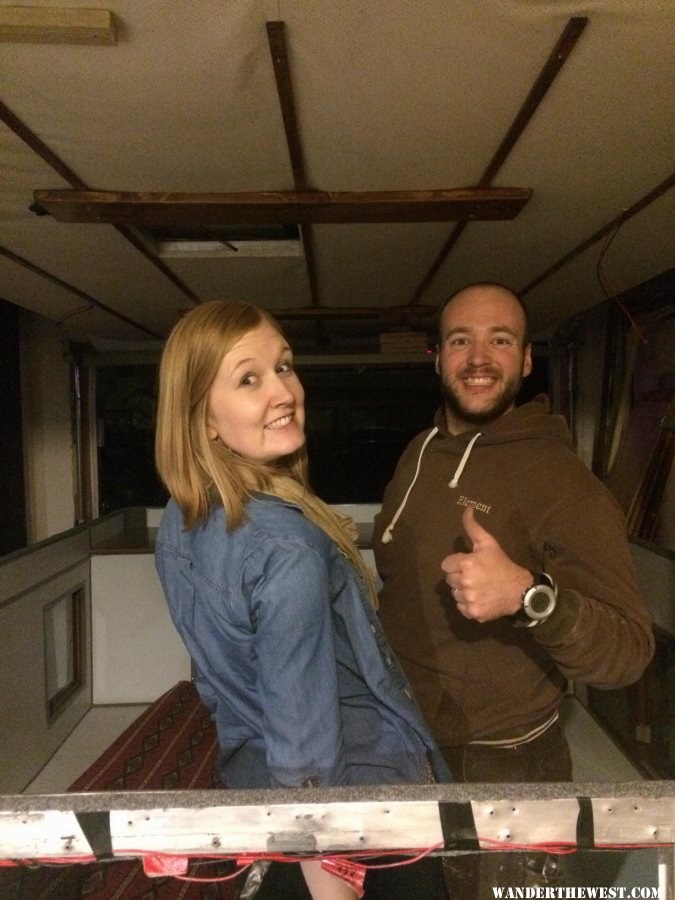
As I have discussed in the past I just didn’t want to buy the new composite panels because of the price. But also because I wanted to add more height to my interior ceiling. Since I am making the canvas I have that option and ended up going with a 6’6” interior height! No more ducking around inside the camper.
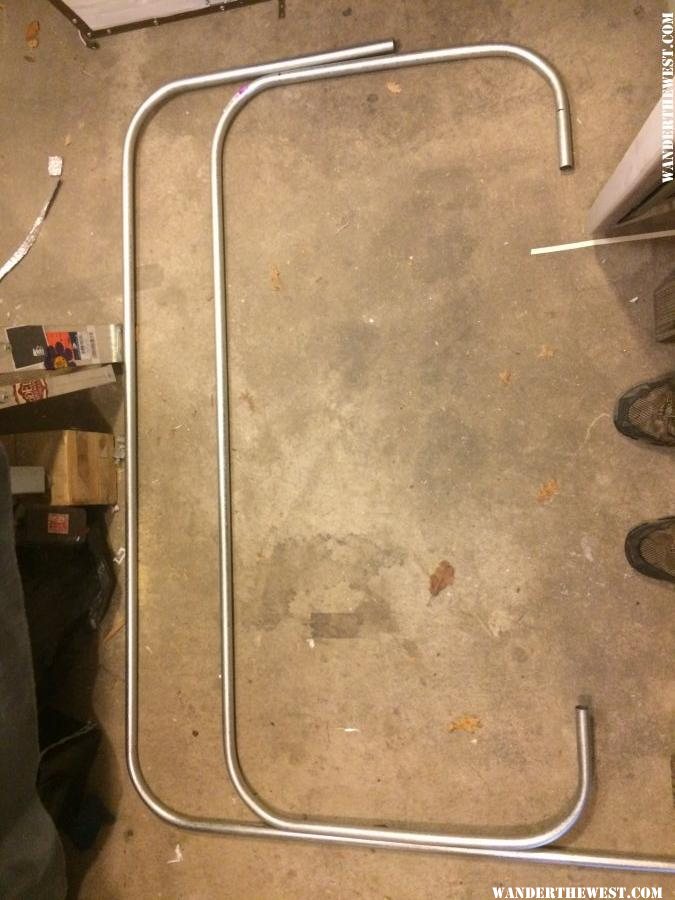
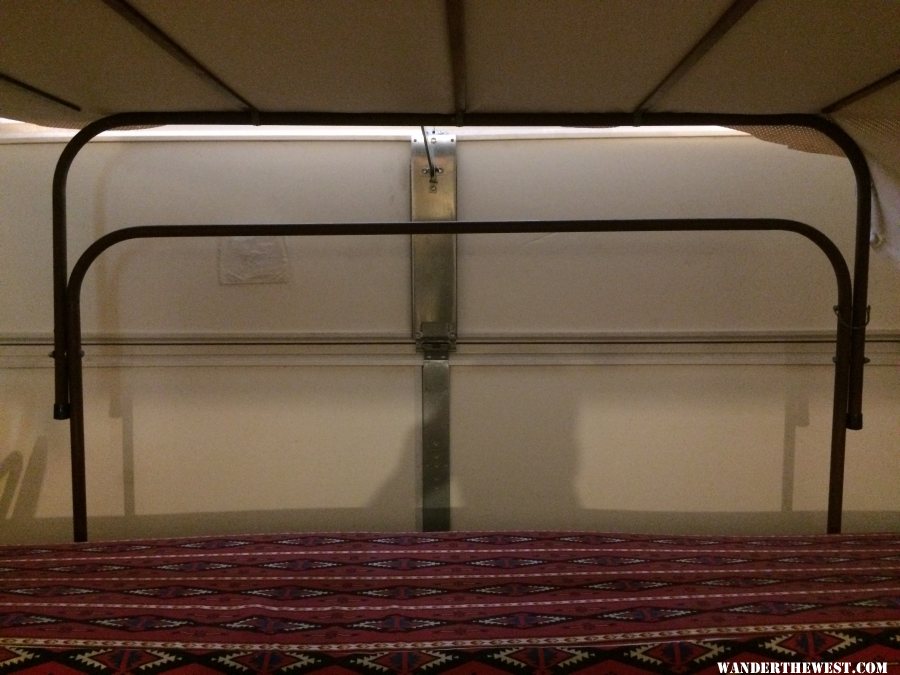
It is pretty tricky to figure out how to get the pivots location correct, bend the conduit at the right spots, etc. I do have a ton of measurement sketches but will opt not to post those as I did a lot of shooting from the hip as I progressed. One thing you need to make sure of is that there is room for the top horizontal tube when in the down position. To accommodate that you need to have your lower pivot be below the camper body top. I think the pictures will help clarify.
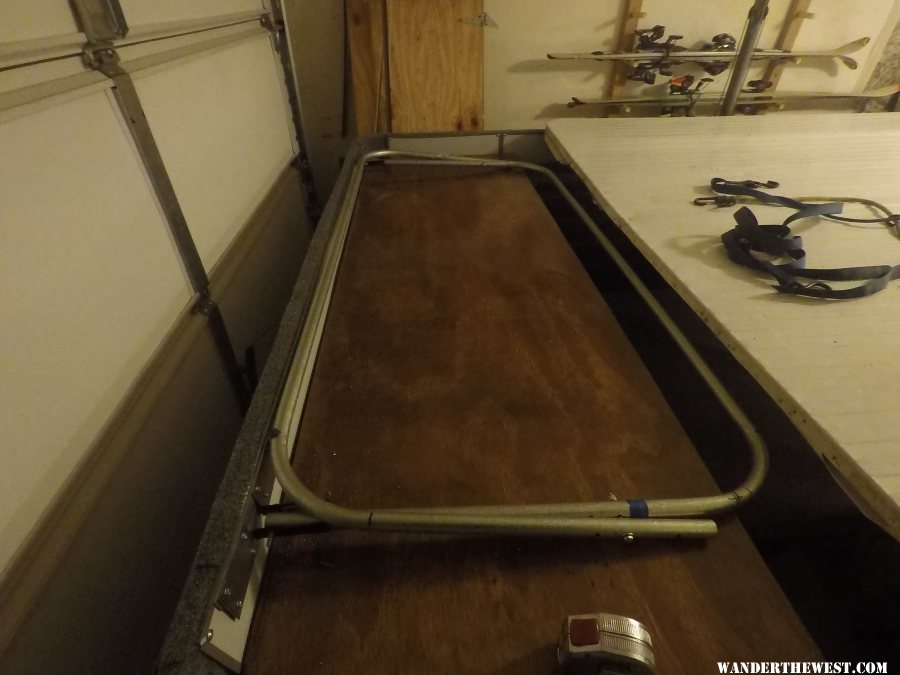
1st bending the emt, I got pretty good at this by the end. My main suggestion, use a level and level ground to tweak all the angles to 90.
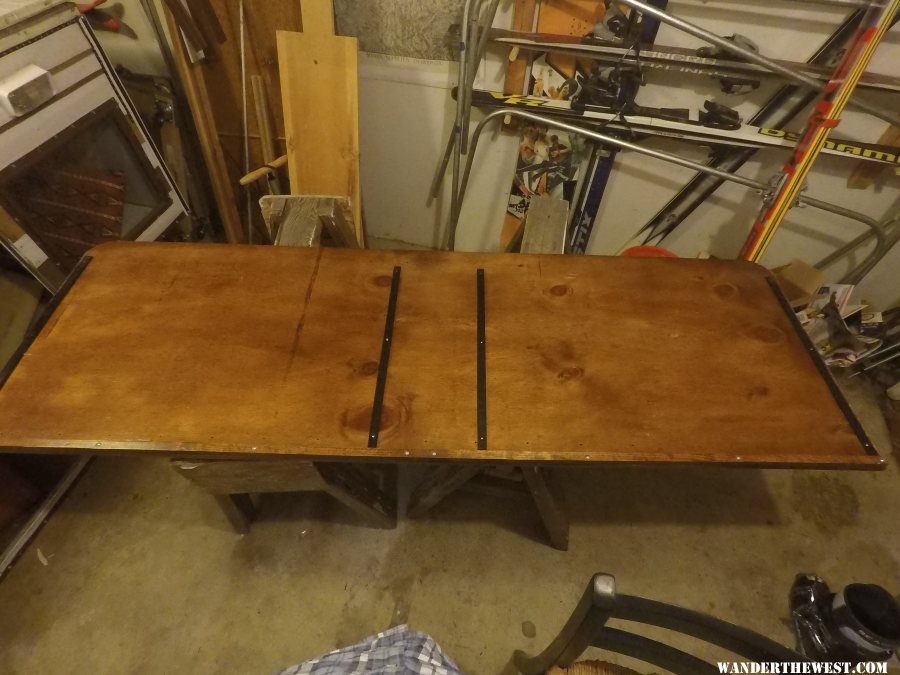
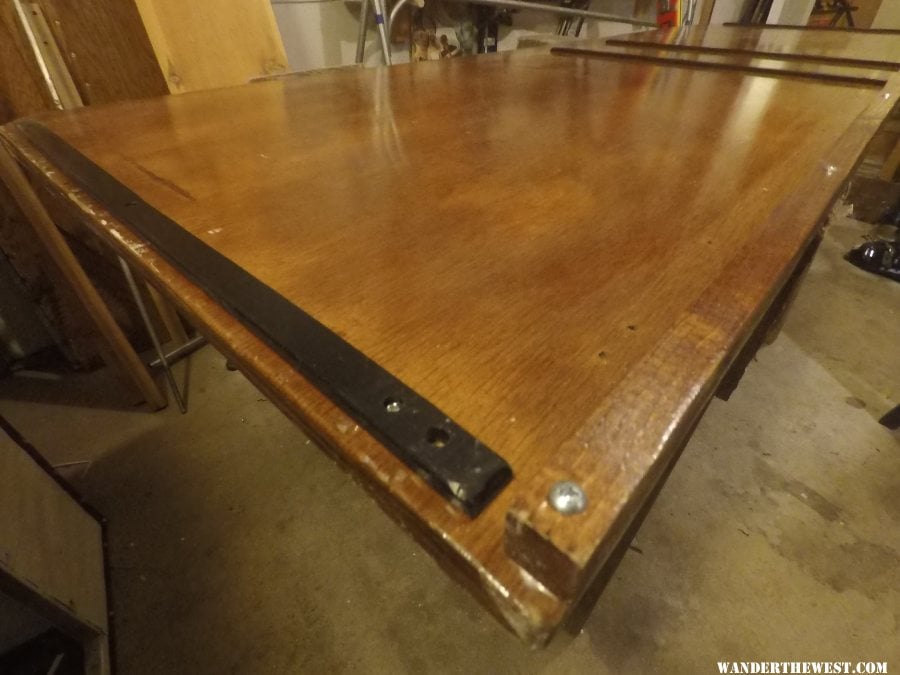
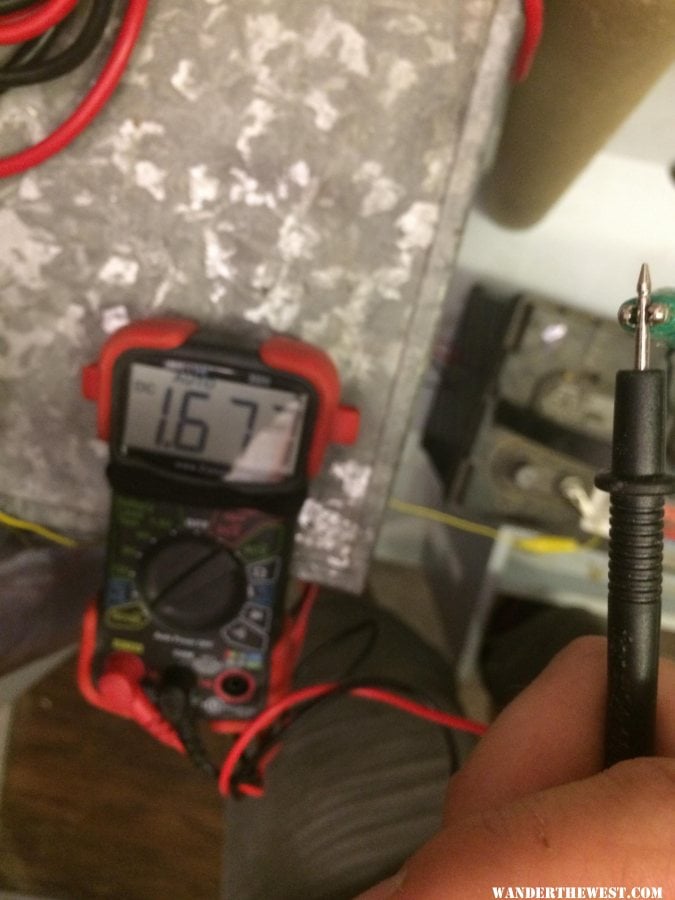
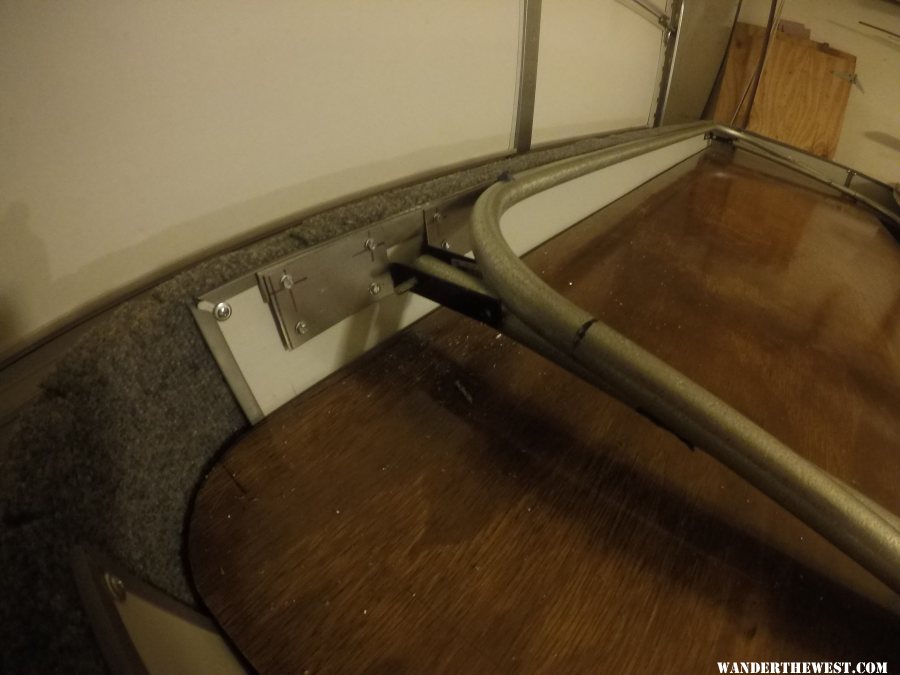
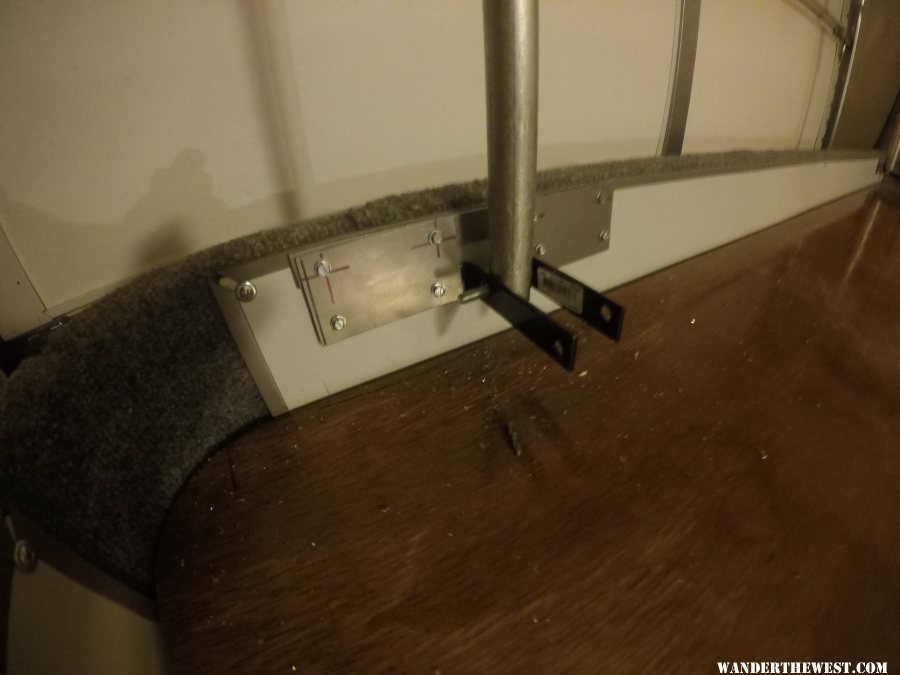
Then it was time to figure out the the lower pivot system. Like everything on this camper it was time to learn some new skills. After trying a few different options with stock parts from the hardware store I finally just made my own brackets. A friend lent me his shop and I cut the sheet metal and stock with the bandsaw and shearing machine. Didn’t do 100% perfect but I got the job done.
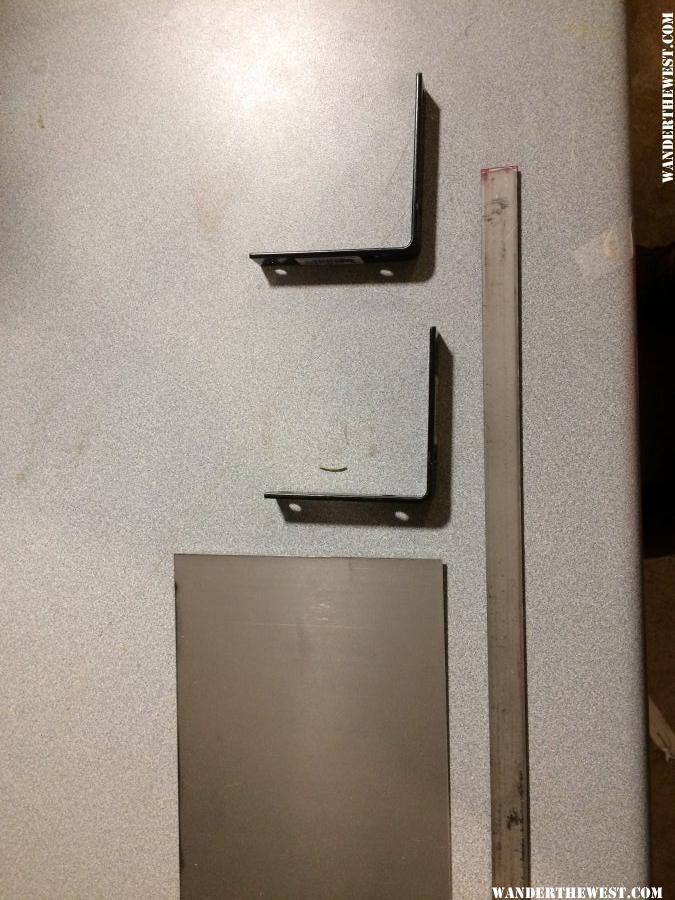
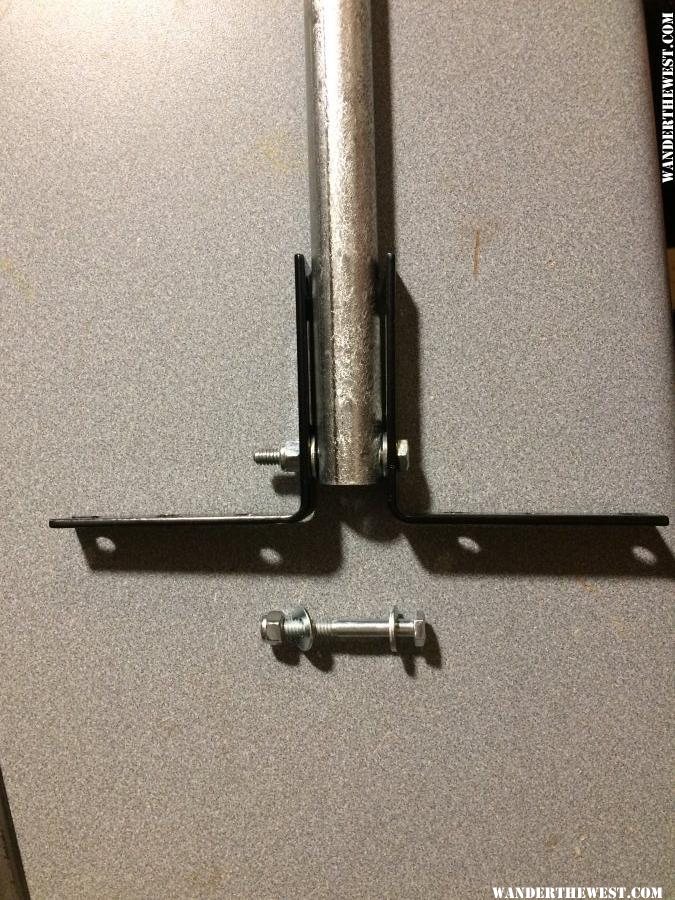
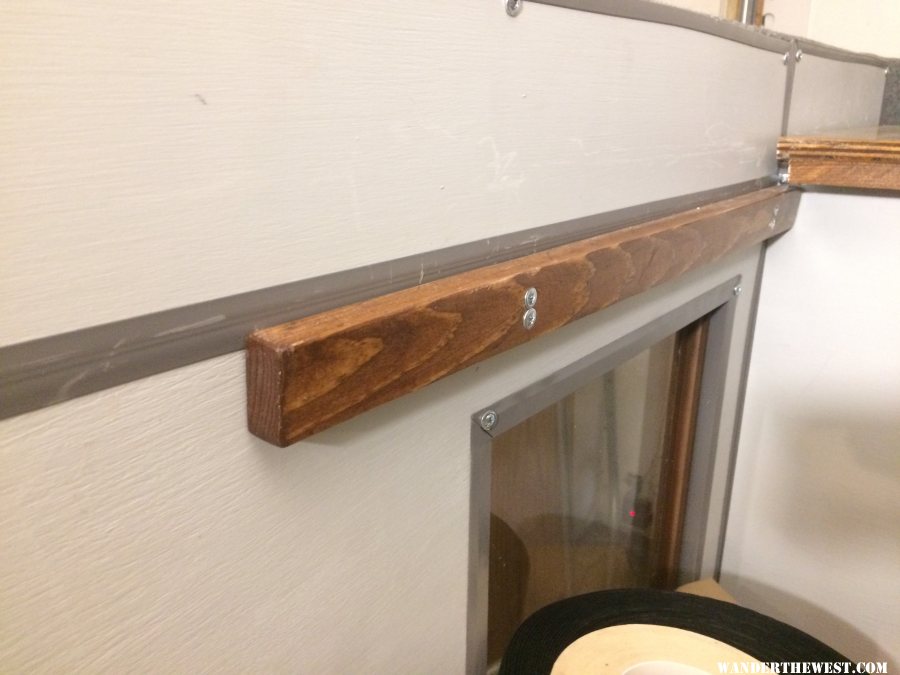
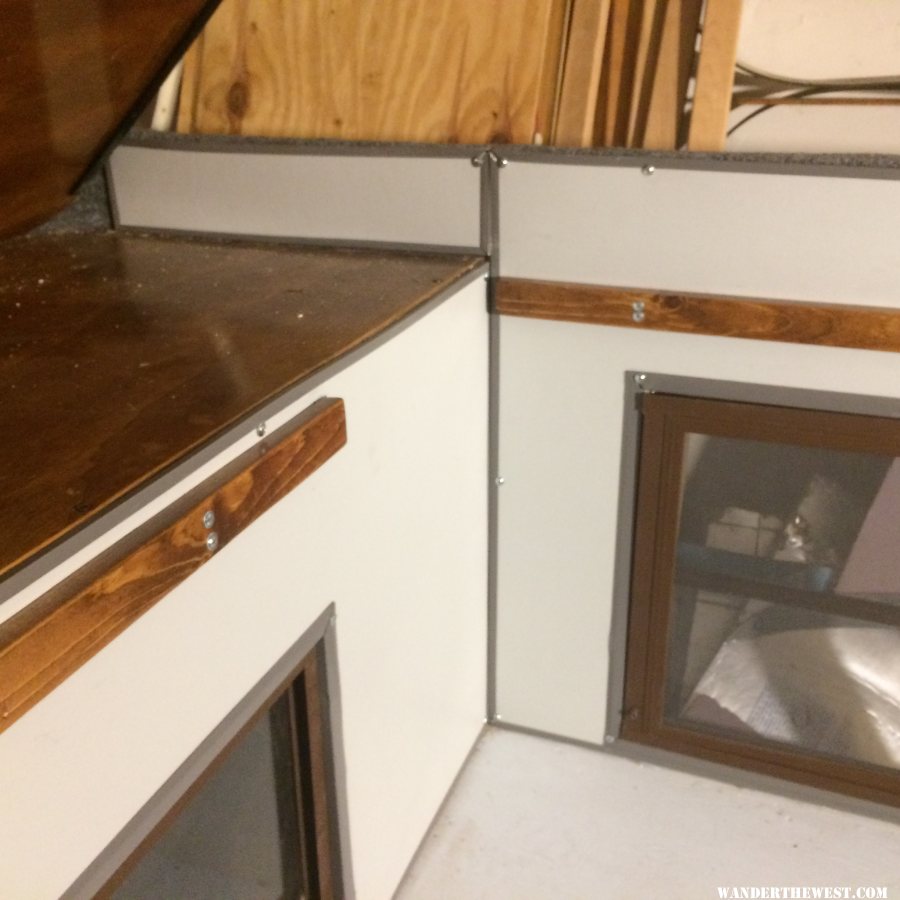
There is a lot of pressure down at that lower pivot so I wanted it really secure. That is why I made these spaces and the oversized brackets backing panels to really tack the pivot bracket to the side wall. Some other things to look out for it to make sure the tube has clearance away from the wall to make the rotation. If you want to go this route just get in touch with me and I can try to offer more advice.
It was pretty cumbersome and stressful to get it all in place and together. Took a lot of guess and check but eventually it went together nicely. And hey it works! Fits in both the up and down positions.

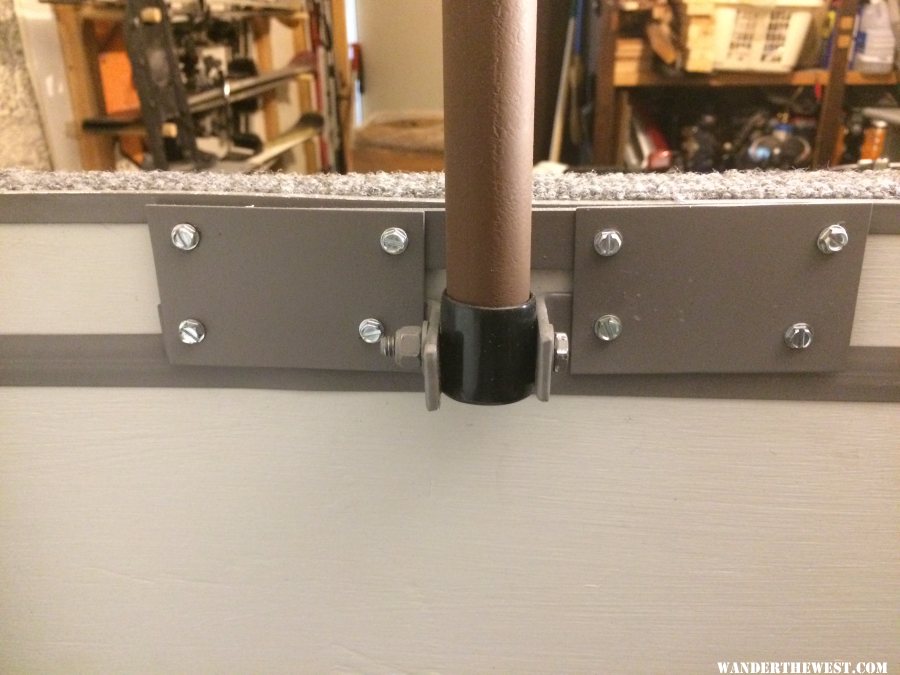
And of course after I knew it worked, I took it all apart and painted it to match everything else. I also used some table end caps to give the tube a finished clean looks
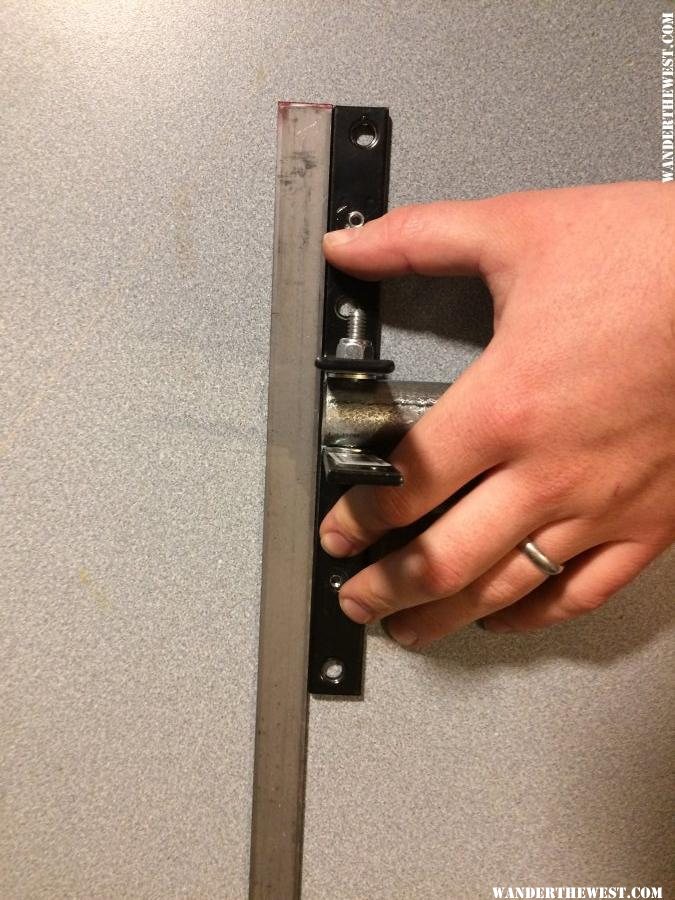
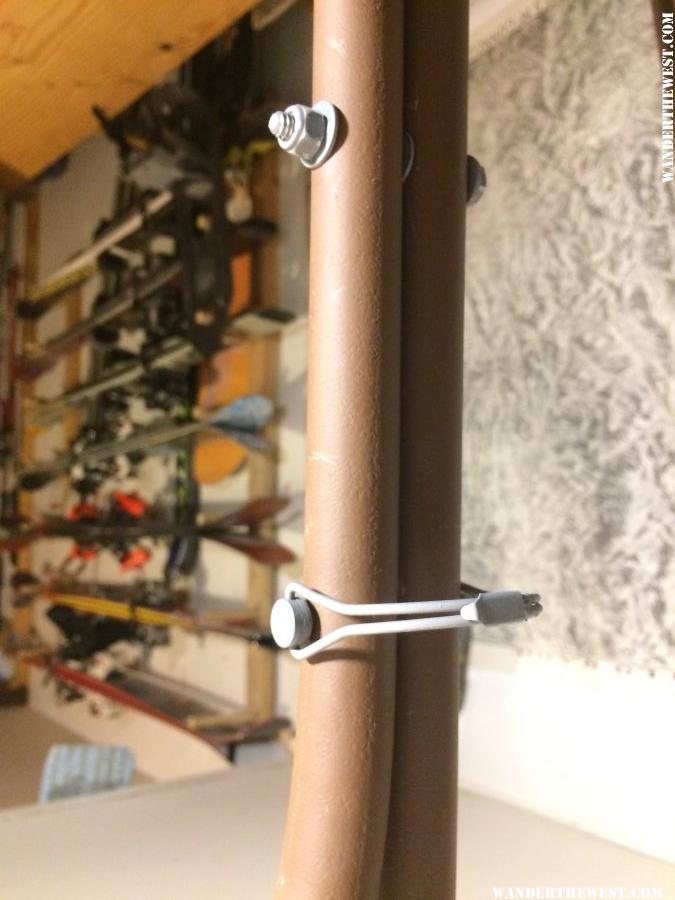
The middle pivot and locking pin
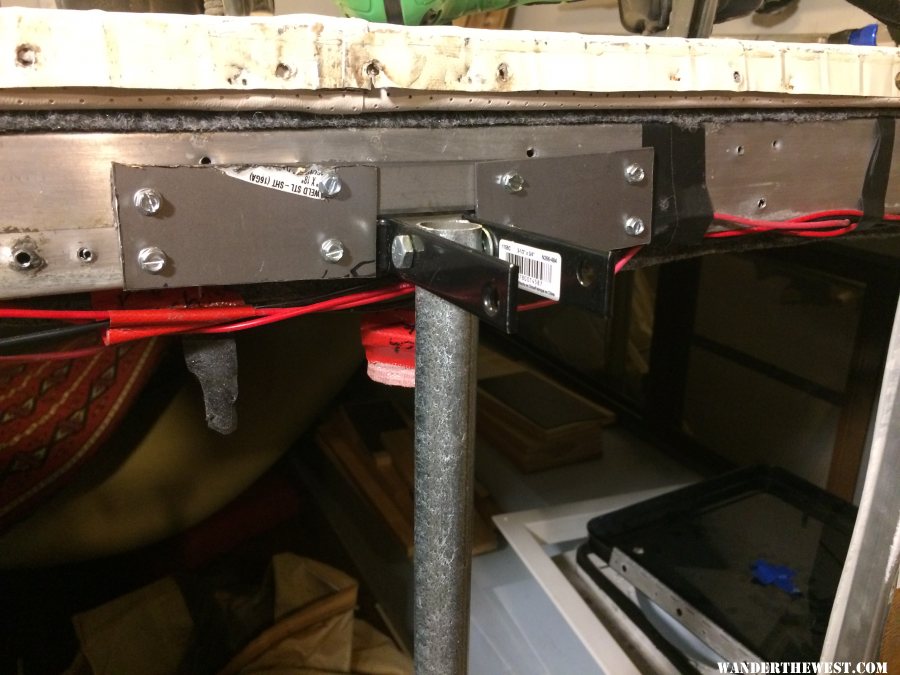
The top support attachment just uses stock emt hardware. Three on each side.

It was a tough problem to solve but very doable. I would suggest this to anyone doing a rebuild and not wanting to but the panels from the dealer.
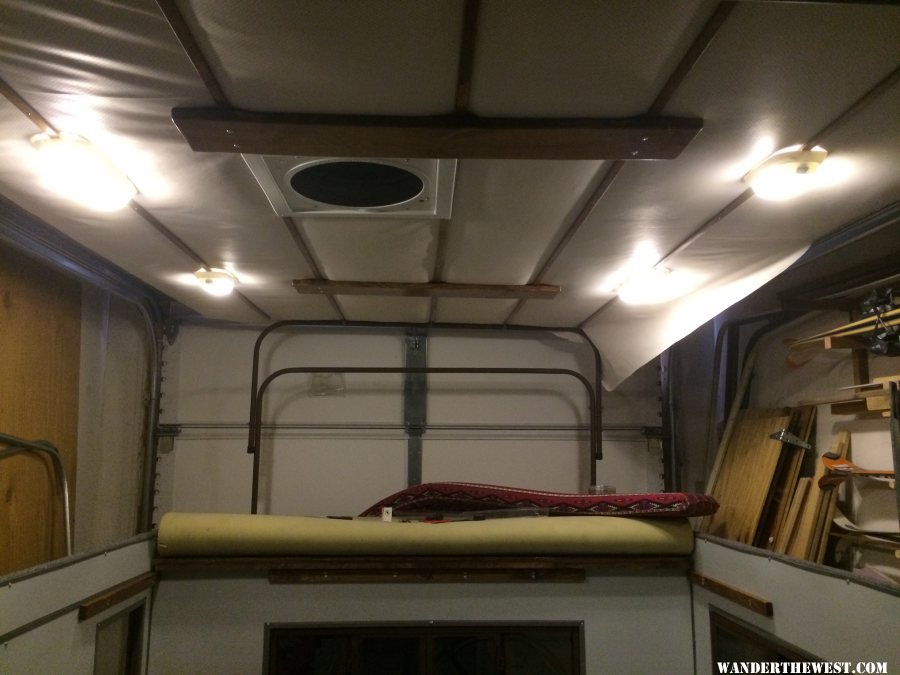
Something I will need to deal with in the future is that in the bed area the lifters take up a lot of volume in the down position. I might have to put mattress down to drop the roof. A bit of annoyance but I will cross that bridge when i get to it.
But look at all this headroom!
For reference this work was done in January and February of 2017.
Edited by Living The Dream, 10 June 2017 - 08:18 PM.