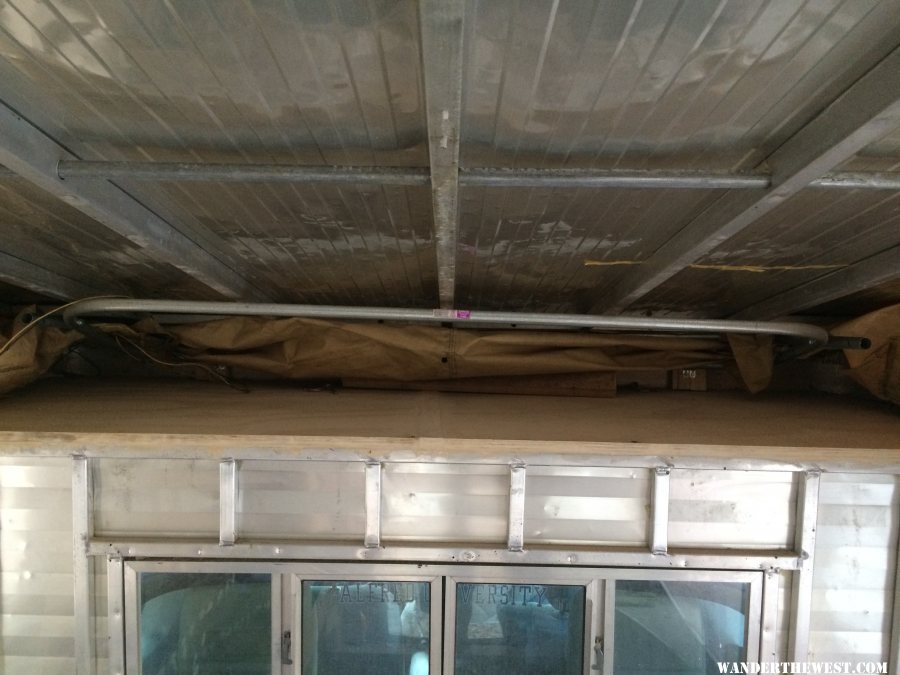
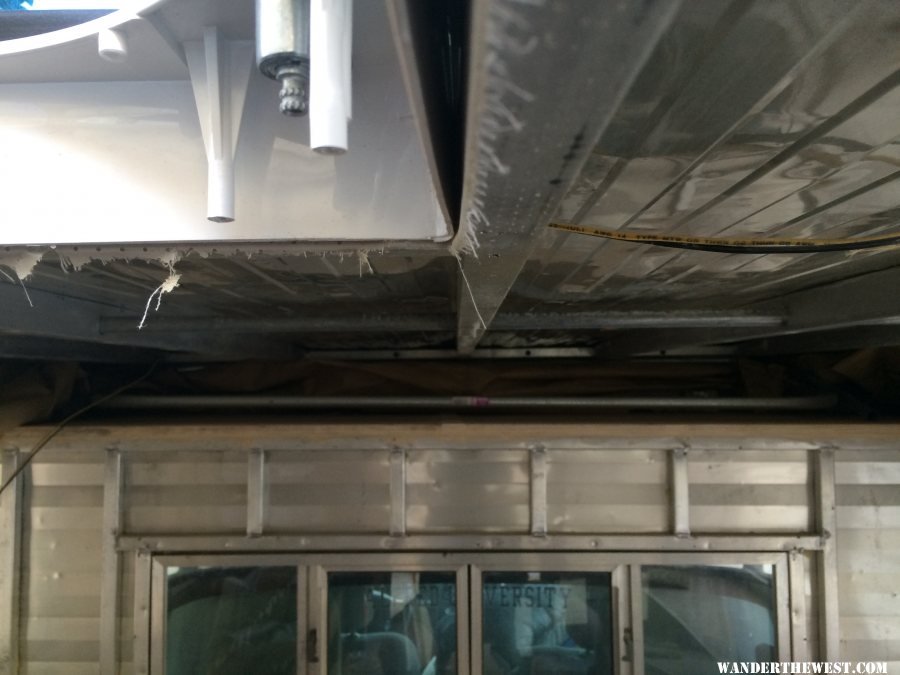
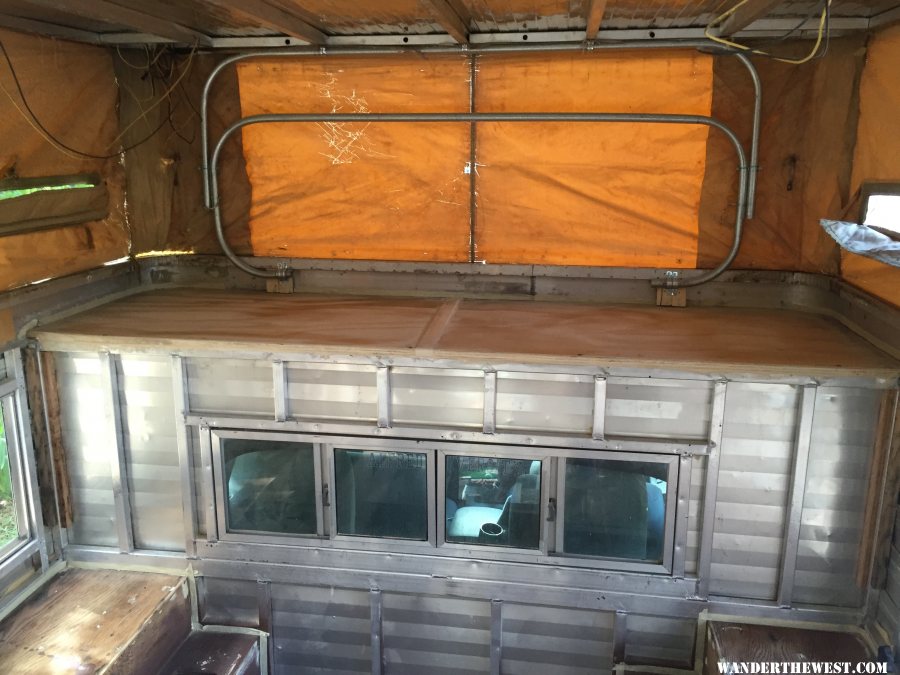
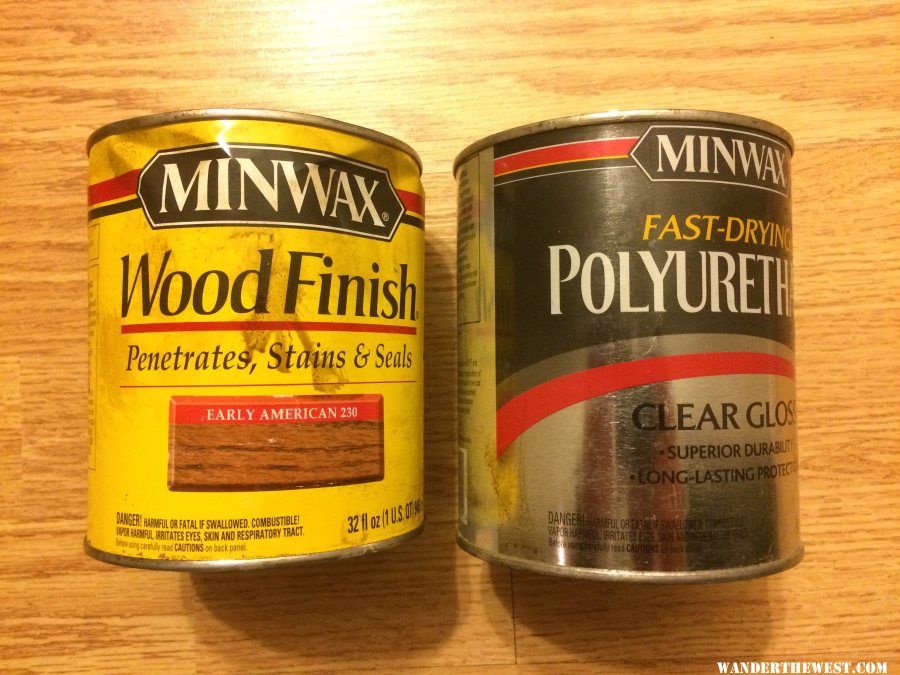
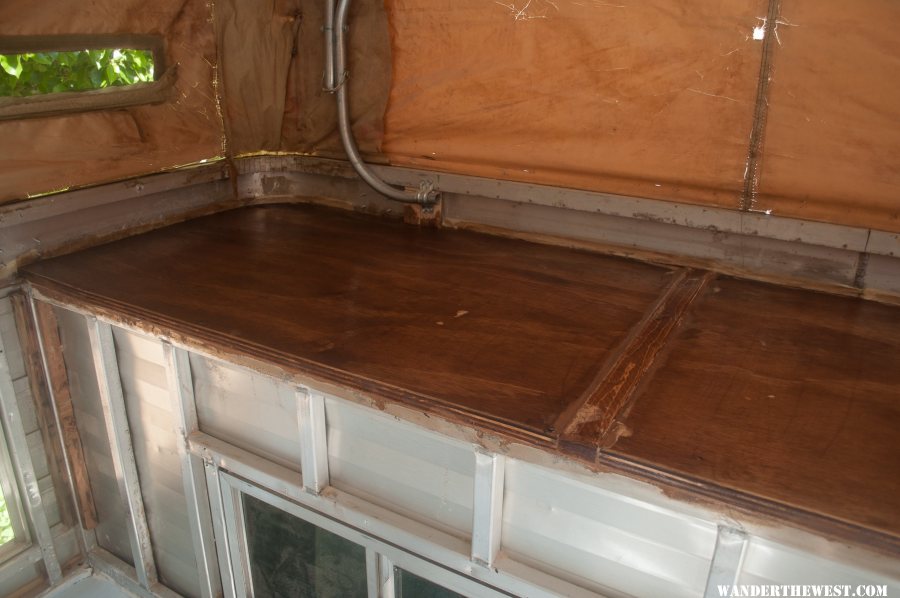
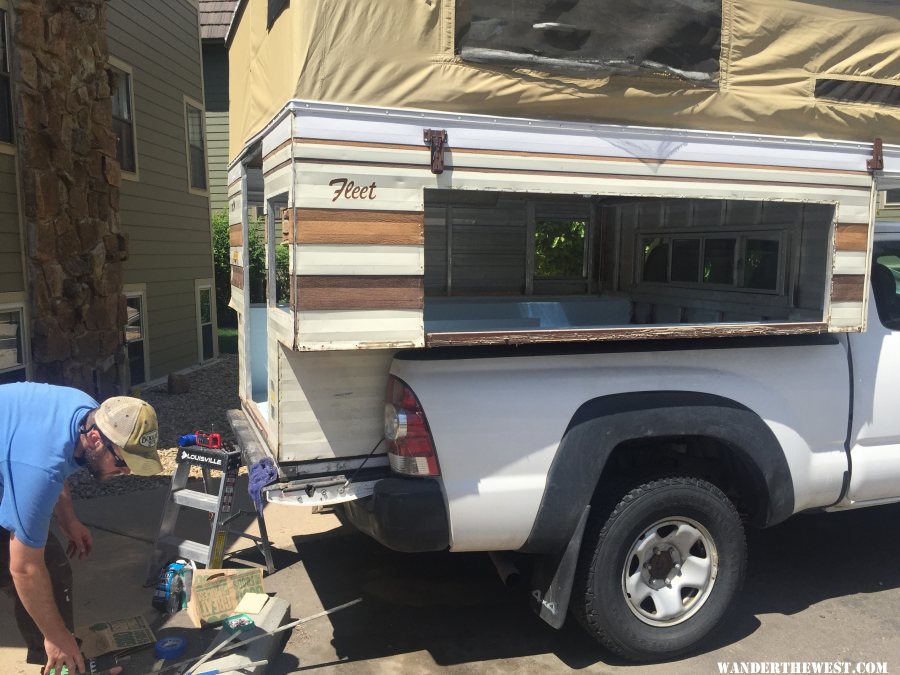
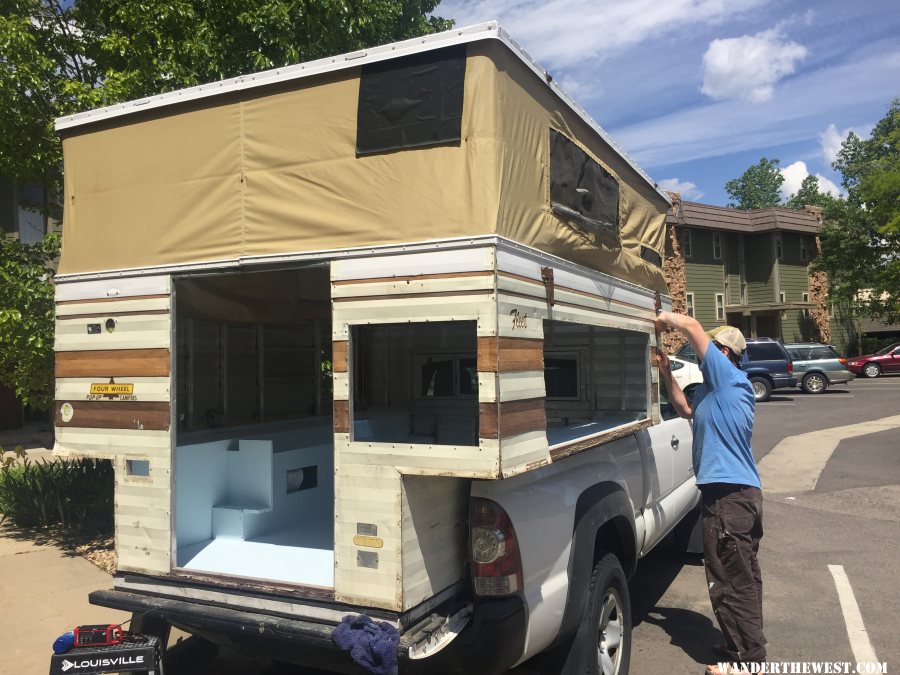
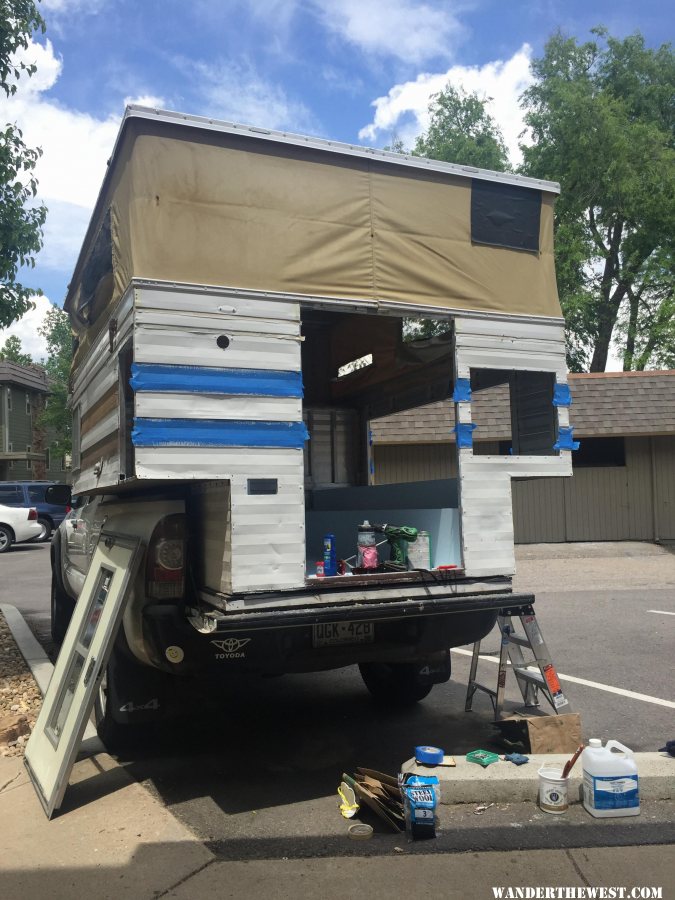
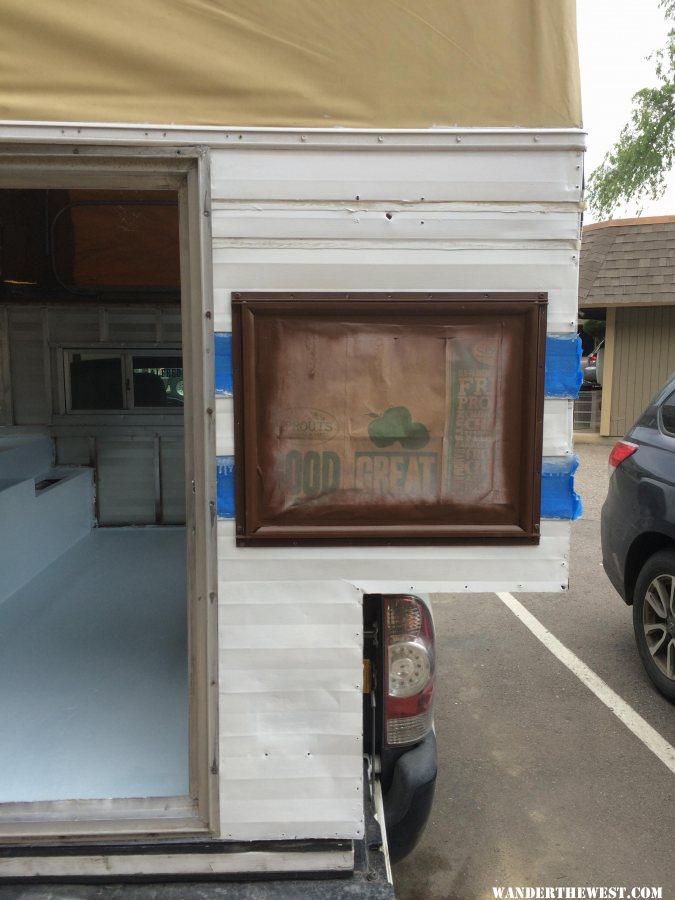
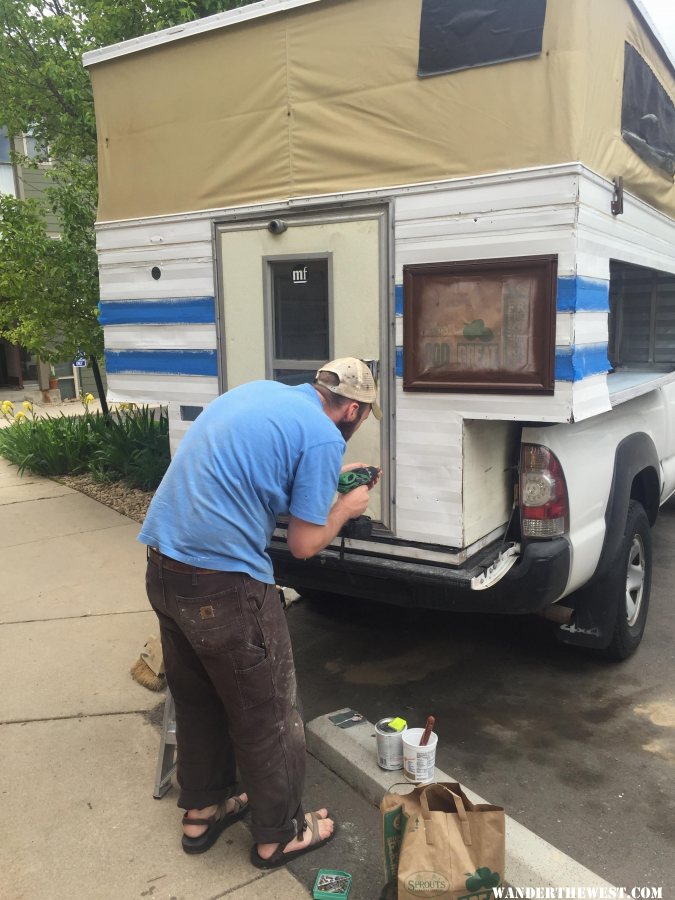
With the long weekend I had big plans to crest the project hill and start putting some of this back together! I did not have any certain goals to get done, but I had three days and wanted the camper to finally look like something. I would like to get the shell functional within the next few weekends so I can start using the camper as a shell. This means mostly paint and cosmetic items. That have to be done as they are underneath everything else. When I put this back together I am going to keep the layering in mind and always try to make it so I can get to certain items for modifications or repairs without ripping the entire camper apart again.
Floorpack painting:
It started first thing Saturday morning with a messy construction zone of a camper. Lucky for me I also had a few family members willing to chip in this weekend
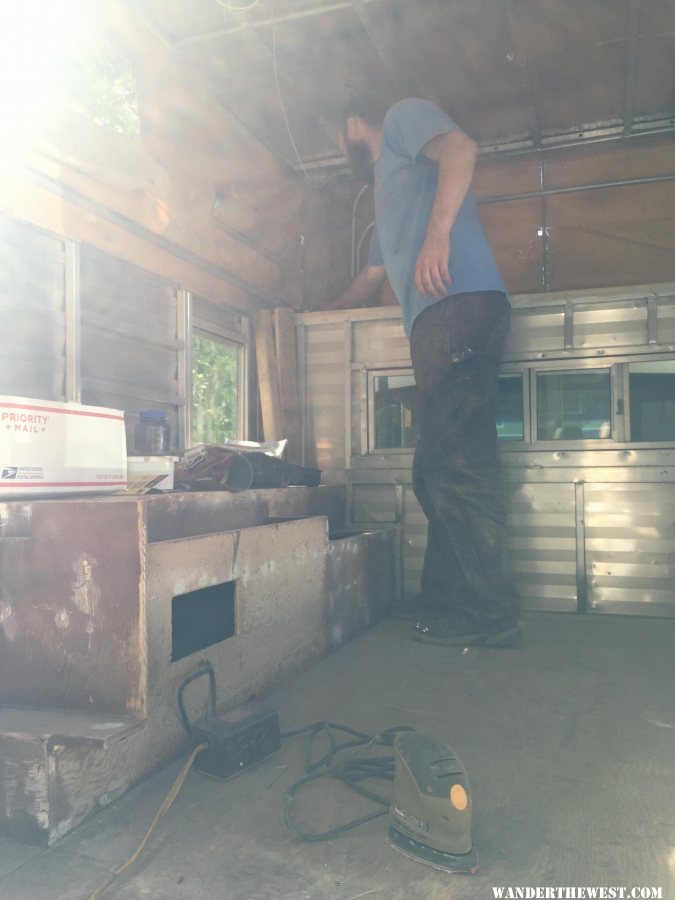
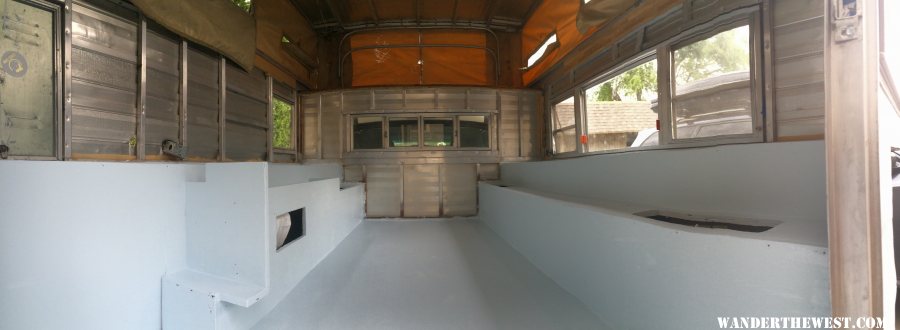
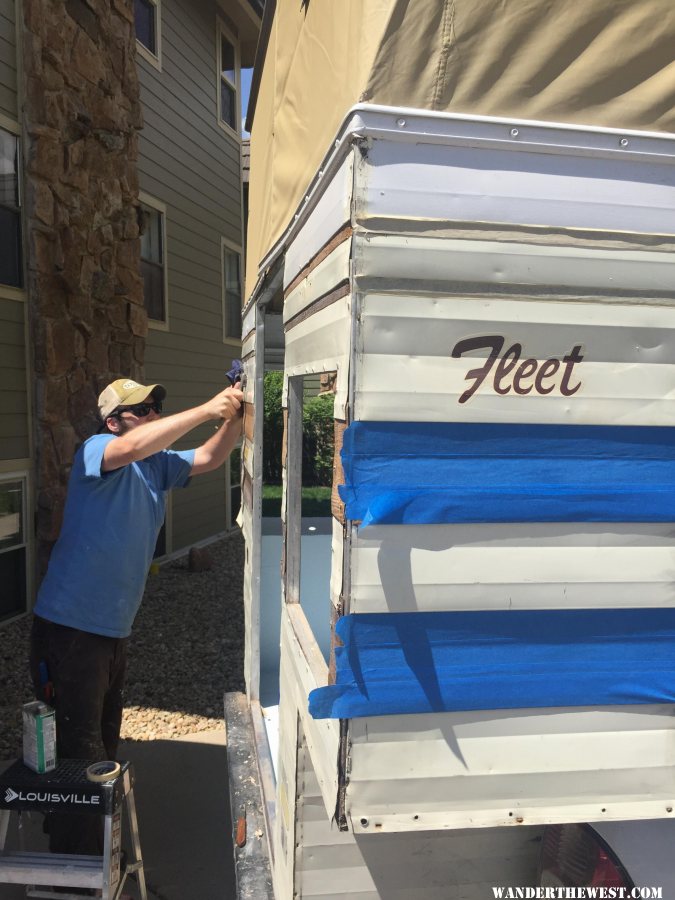
There was a lot of sanding, wood filler, sanding, choking on dust and sanding. The floor pack was starting to take shape. We got the windows open, did a final sweep through to get rid of the dust and give a quick once over with solvent to get ready for paint.
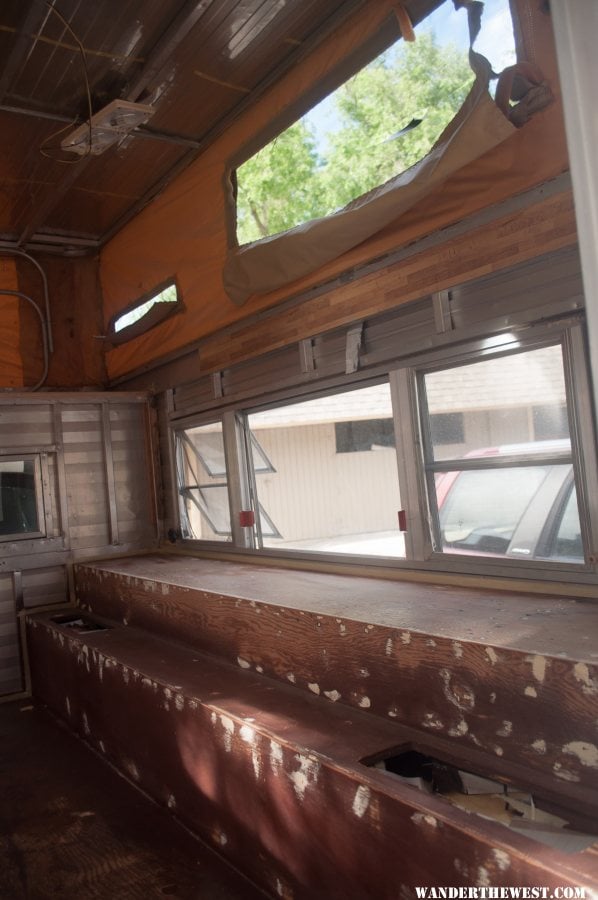
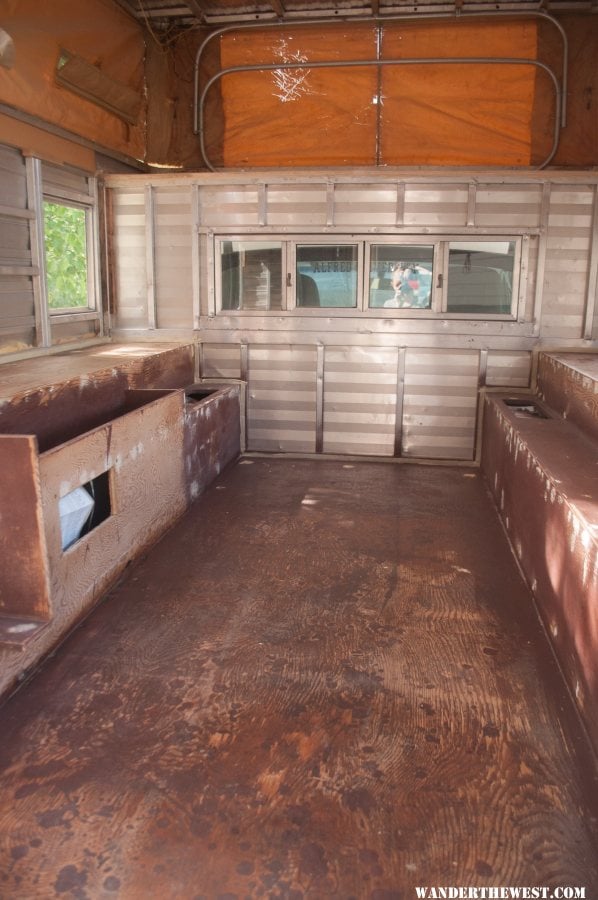
First a coat of primer with 2000 grit sanding
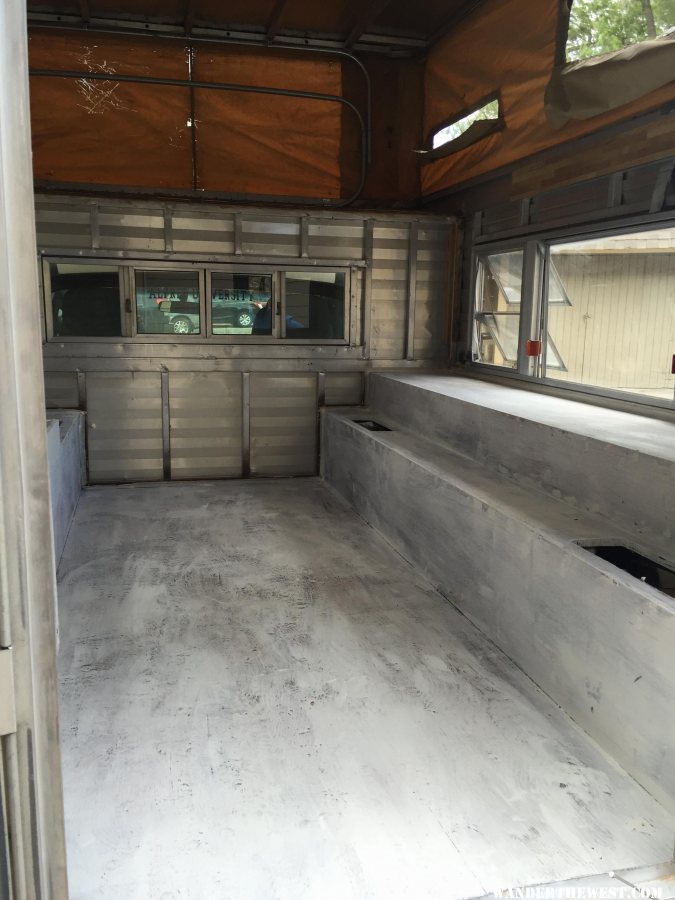
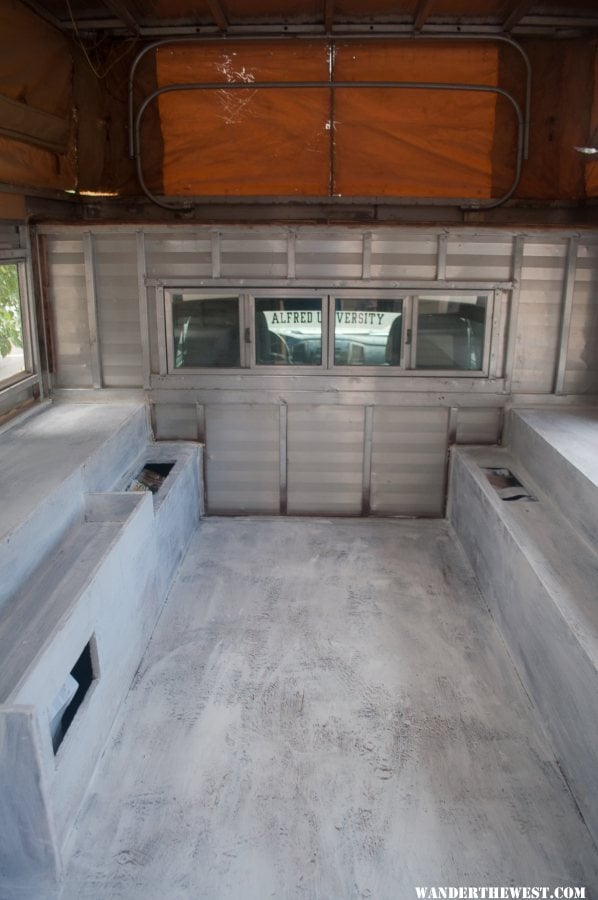
Then another coat of primer
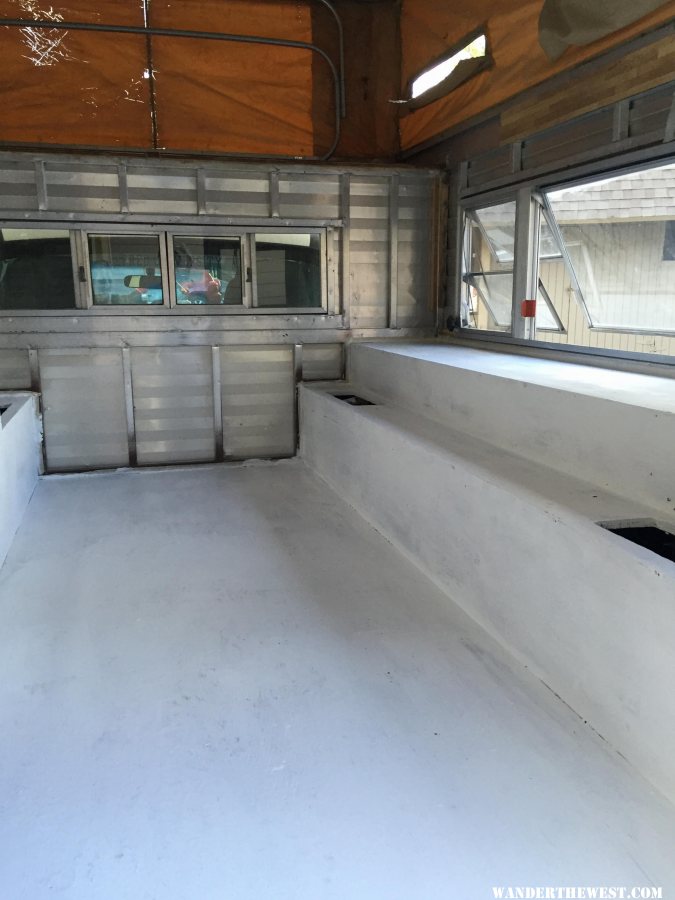
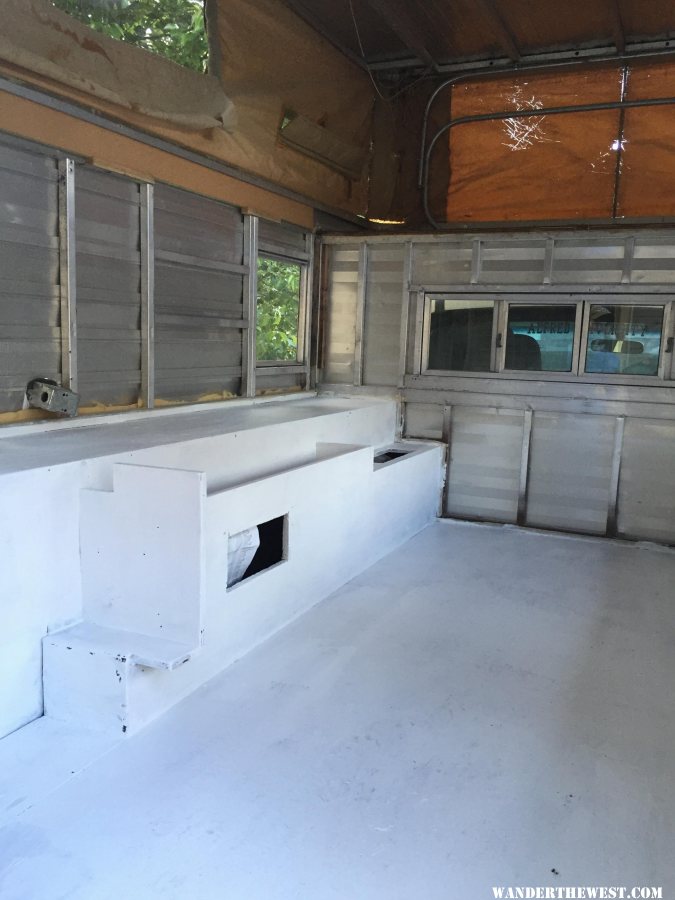
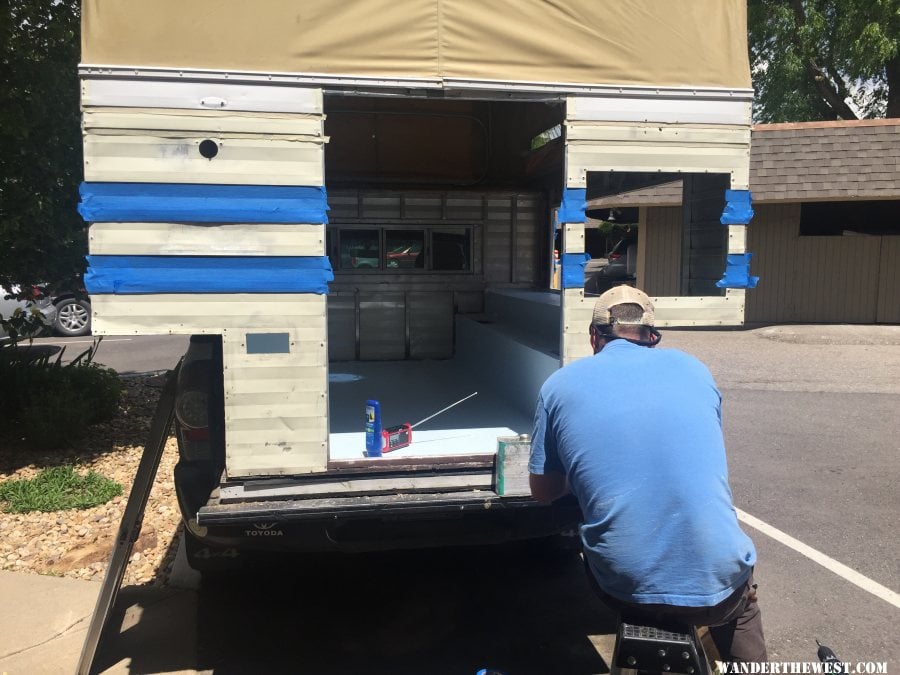
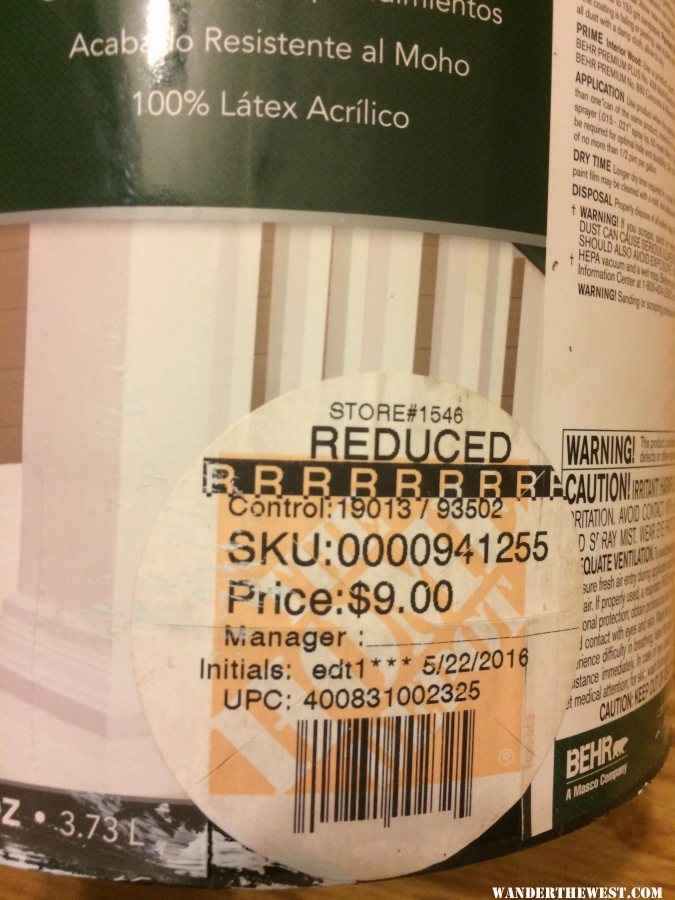
Then off to the store to find a suitable paint. I figured some deck/patio paint would do a good help to protect the wood against most moisture and abuse. Also, I found this in the rejects pile at $9/gallon! It is a very light blue, but since a floor, cabinet, and couch will cover almost everything I was painting today, color does not matter. Plus by the end of the weekend, the color has really grown on me.

I did three coats total over two days with sanding between coats. All with a brush.
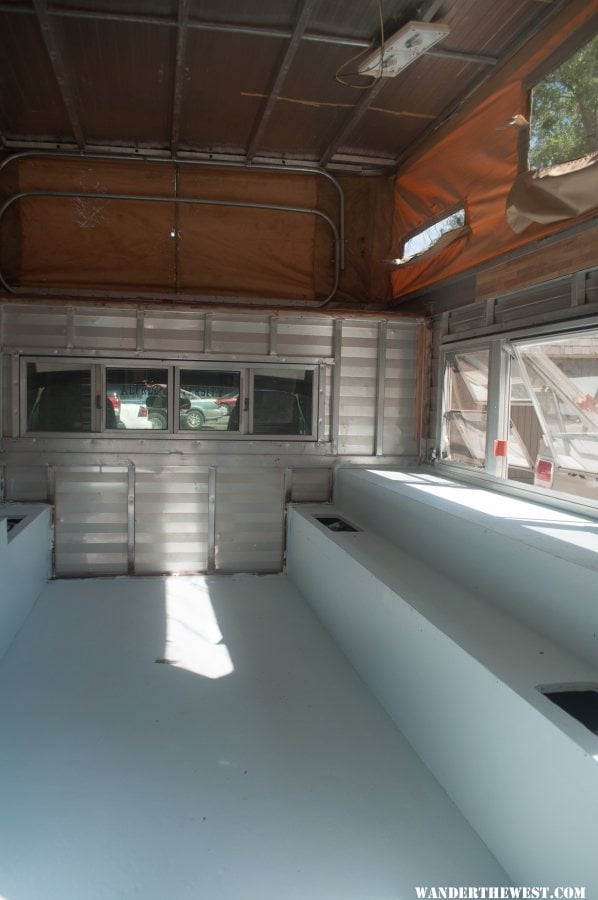
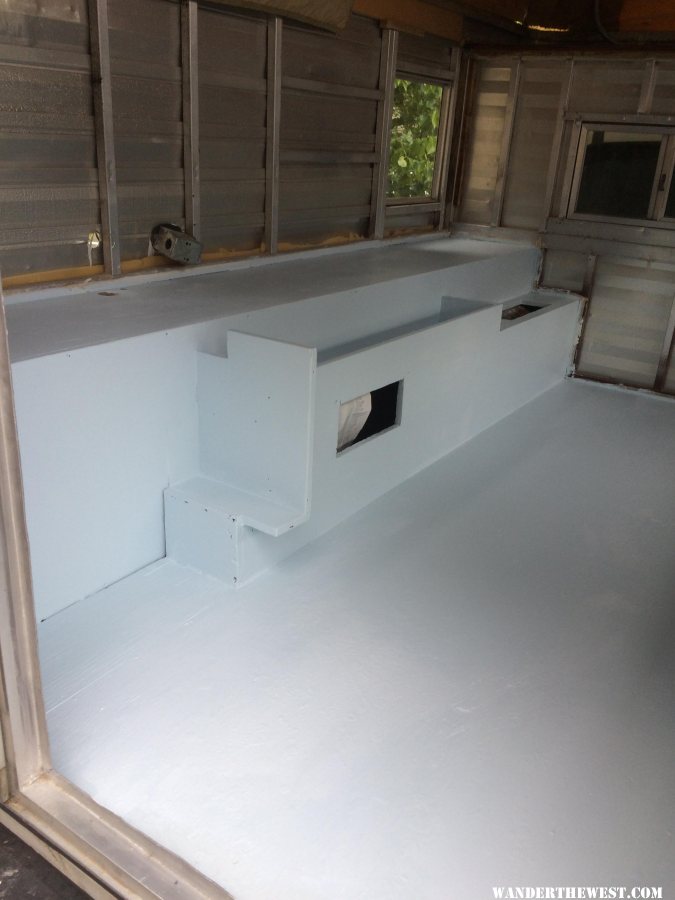
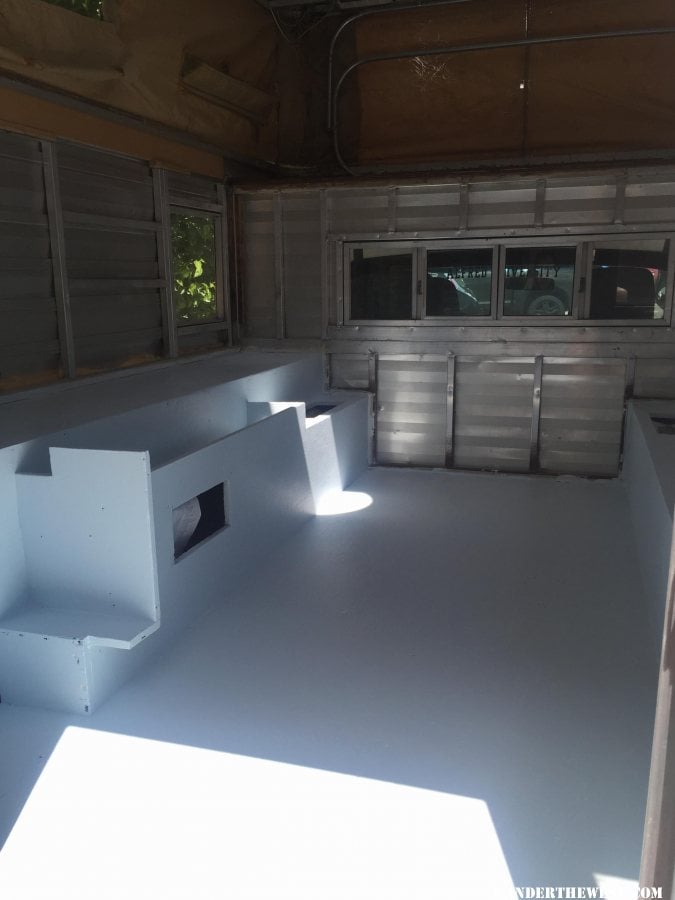
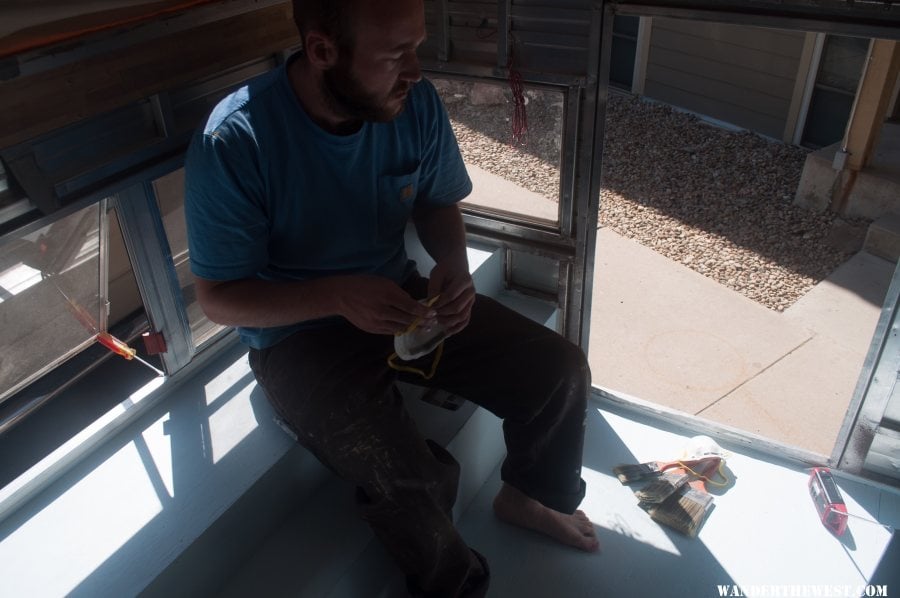
Painting is something I really enjoy, but I was certainly happy to take of the paint mask after many hours in it. The fumes really build up in the camper even with everything open.
I am quite happy with the results. It reinforces my idea of using light colors to open up the camper.
