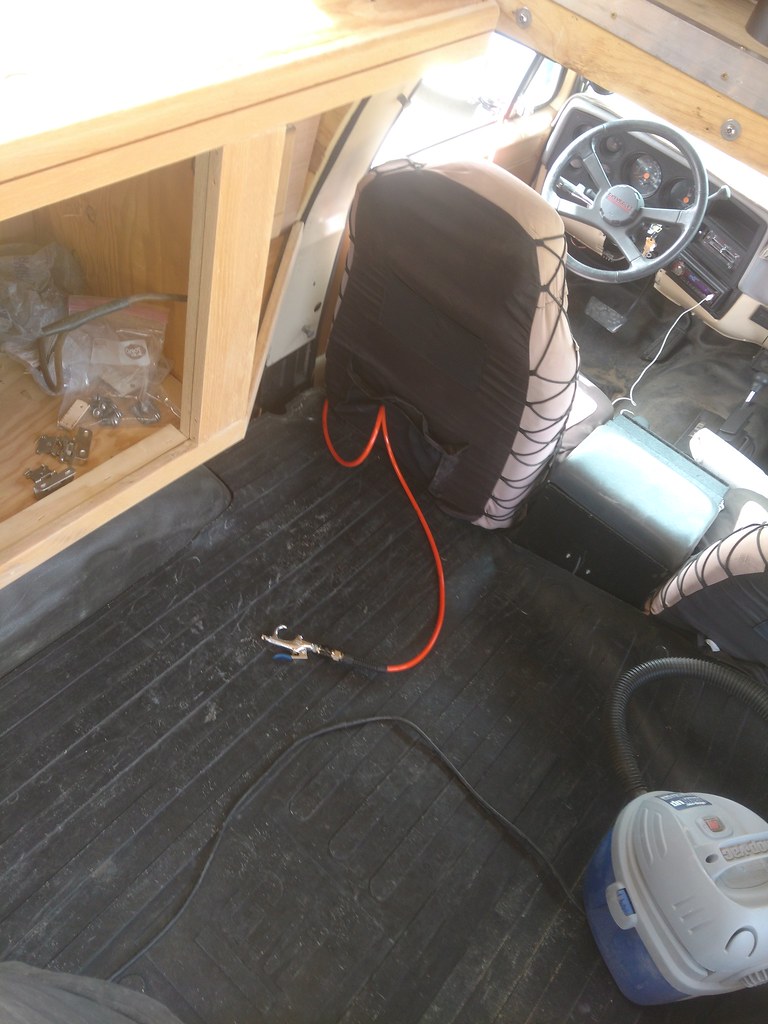
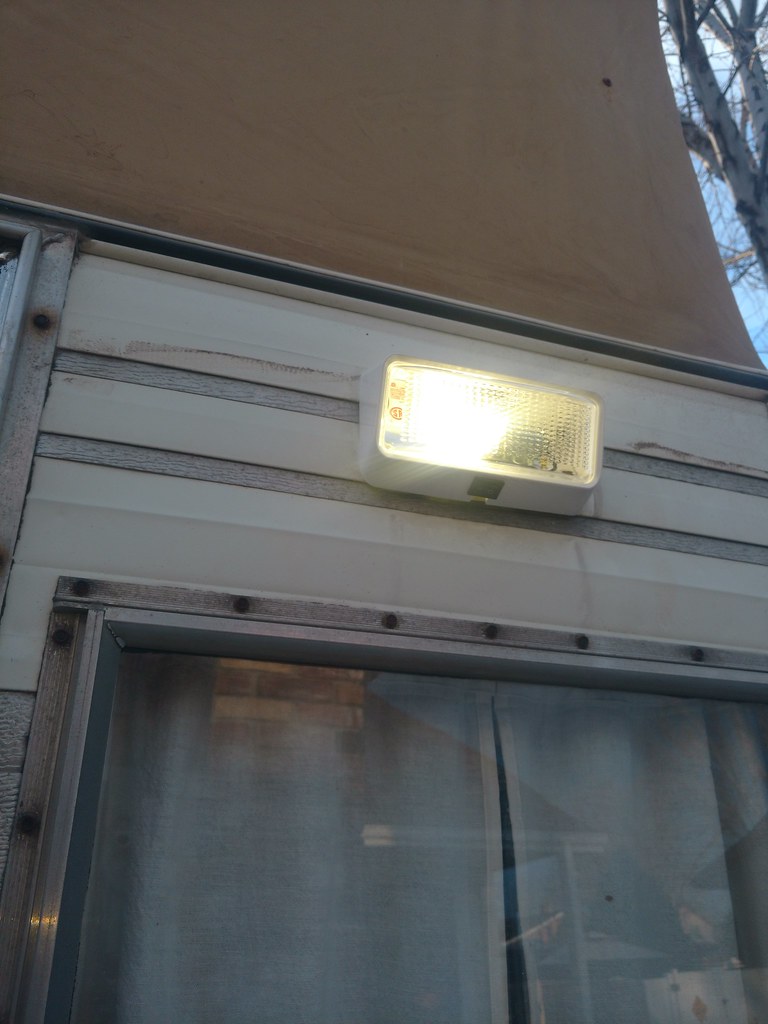
I had already installed the outside light on a previous weekend. It's really just one wire to hook up as the ground is tied right to the aluminum frame. I did add a jumper wire from the frame back to my ground junction block in the electrical hub back up front. But the light is crazy bright. Gotta love LED's
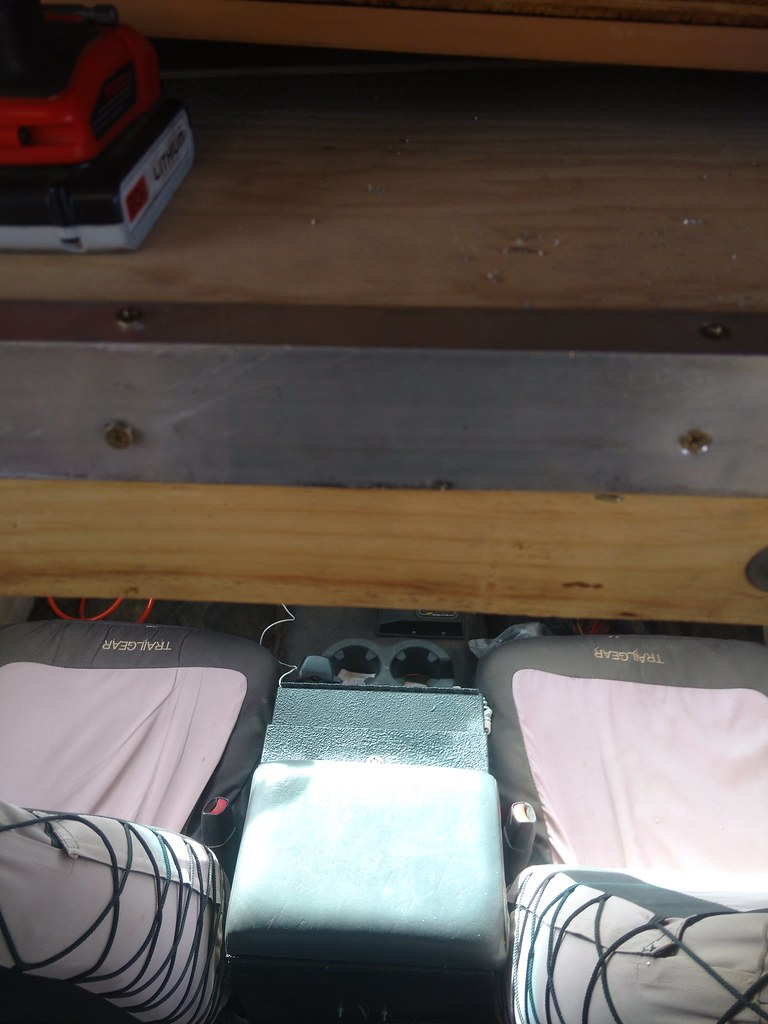
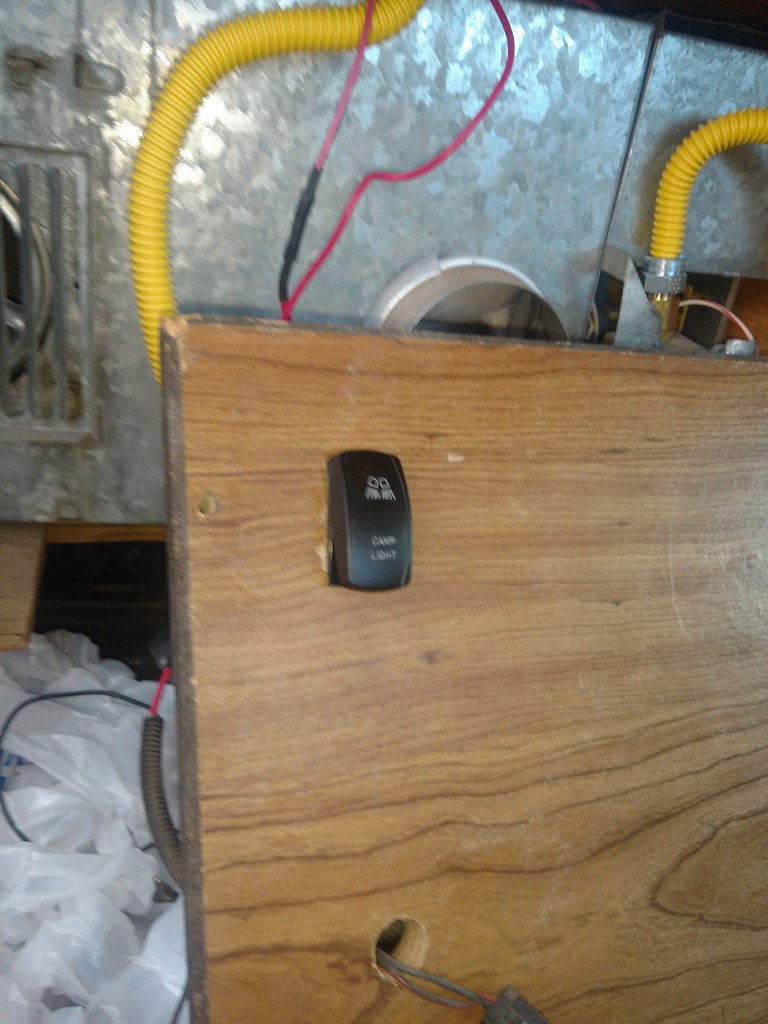
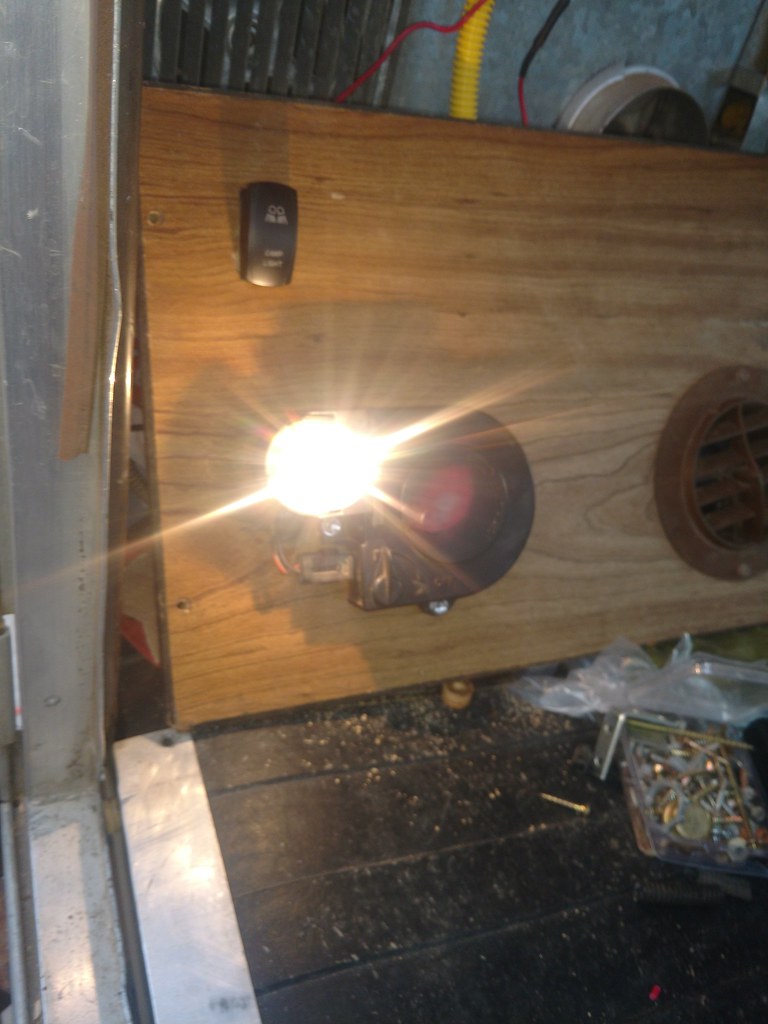
I wired in a main switch for the rear light (the light has one on the housing too) and installed it to the panel that covers the furnace. This way it's an easy reach with the door open.
While I was at it, I decided to add another light that can be used while cooking or working at the rear of the truck. I had an extra GM trouble light laying in the garage so I put it to use. I need to get an LED bulb for it and the one up front.
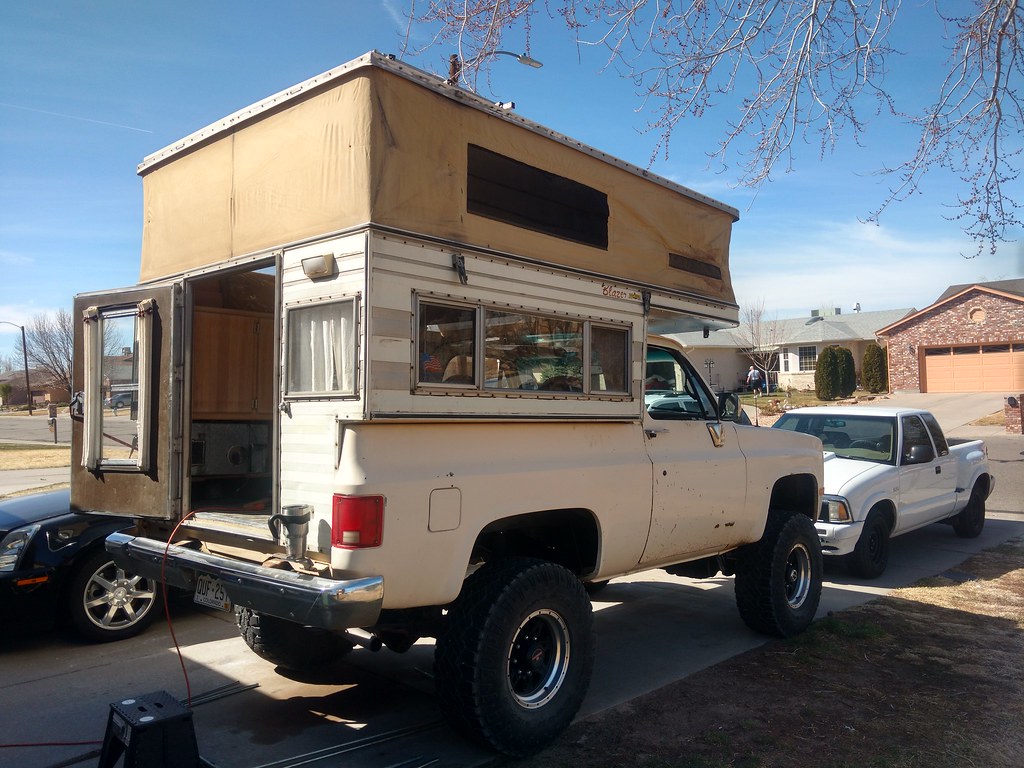
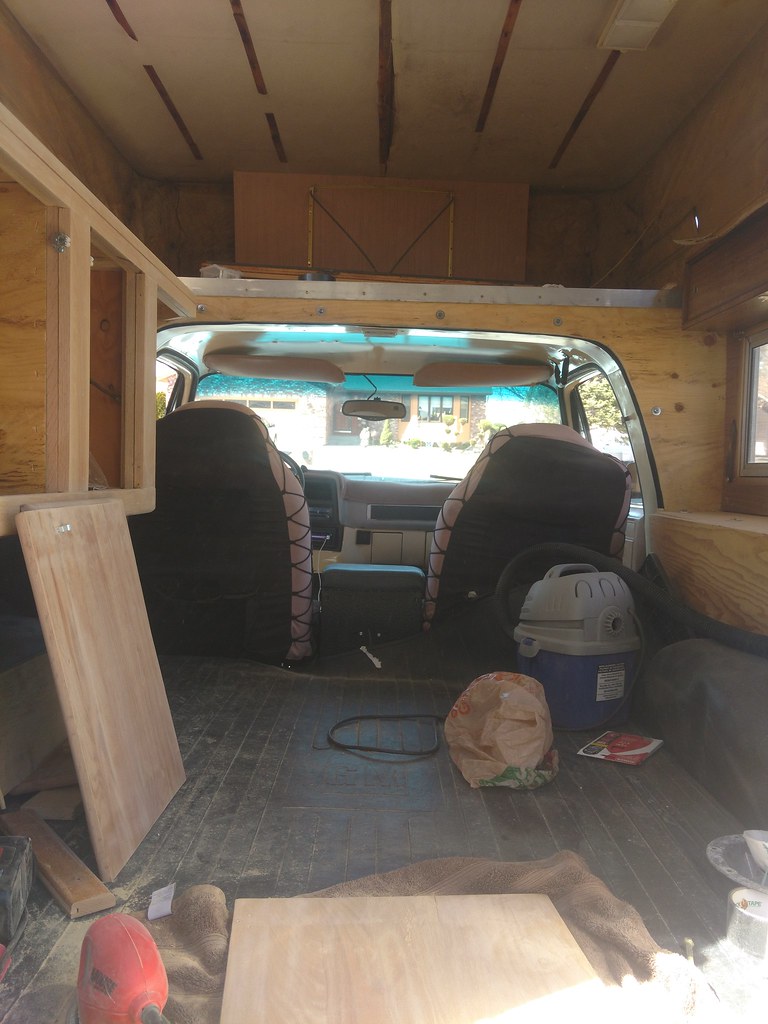
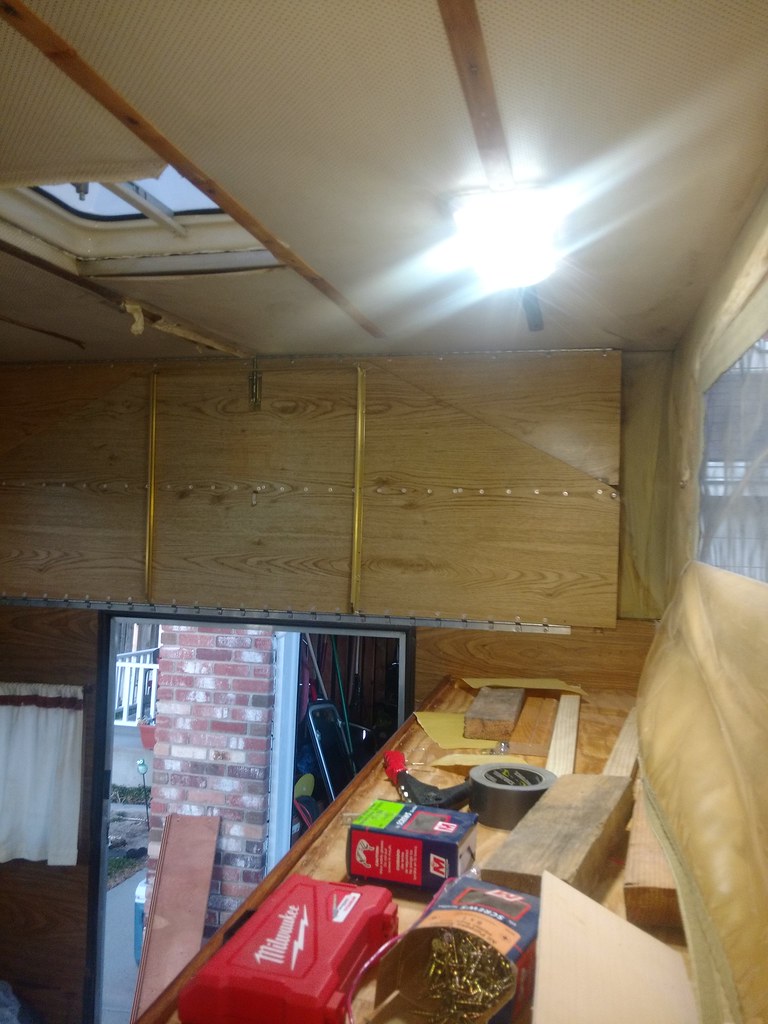
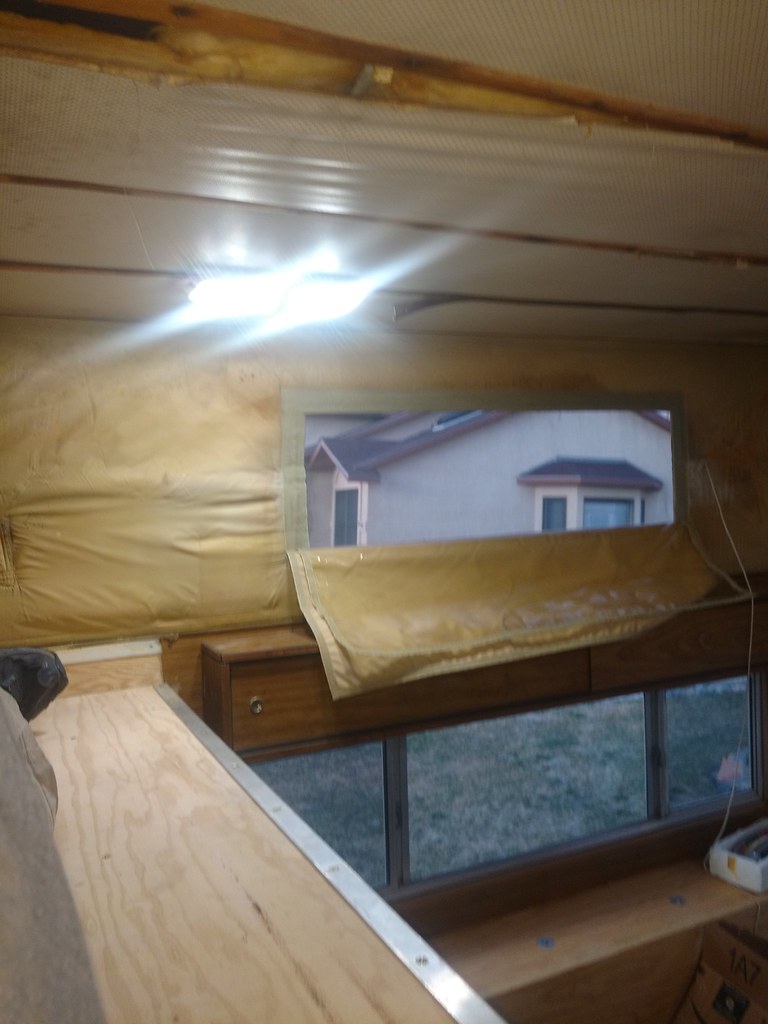
Climbing up into the catbird seat for the first time I looked back at the mess I've made with the lights on.
There's plenty of room up there as I can lay out and not touch at my feet or head. Needs more headroom through, I can't sit up. That space will close up when I put the mattress back up there. All the more reason to add height when I re-do the side liner later.
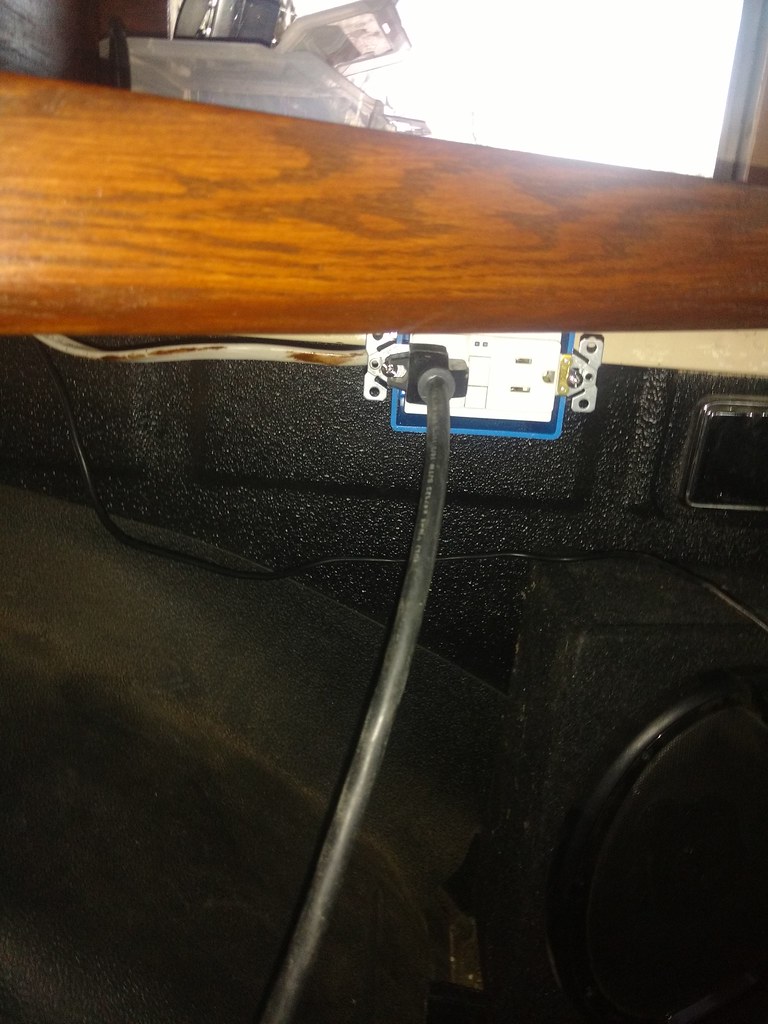
I added an 110v AC outlet too. This is just merely nothing more than a short extension cord that hooks up to the plug on the outside. I did use a GFCI outlet for circuit protection. This will only get used to run my CPAP or power my laptop if I have access to Shore power at organized campsites. I do need to shave about 1/4" off of the trim plate to allow it to fit.
I still have two 60" LED light strips to install (truck bed light kit), plus multiple 12v and USB charge ports. Once the rest of the items are installed and wiring routed I'll loom the wiring and tie it down nice and tidy.
One other thing to add that I need help with. I'm planning on keeping the original furnace and thermostat. The guy I bout it from said it worked when they last took it out but it had been parked for a while. (I know the old "worked before we parked it" deal) But all the parts are there. I pulled the wiring during the teardown phase but I neglected to document the wiring between the furnace and the thermostat and the power/ground locations. So here's what I got: The thermostat has two wires leading from the backside, one red, one blue. The thermostat looks to be original but does have an on/off switch. At the furnace, there are three wires, red, blue and black. Looking at the wires on the thermostat, they had blade style terminals installed for easy removal I assume. So the assumtion is I hook up, red to red and blue to blue but I'm not sure where the main positive power lead comes from my new fuse panel to the furnace. So is there anybody out there with a vintage wiring schematic? I already looked at the old camper manual on FWC's website but it doesn't go into detail on the wiring.
I had already installed the outside light on a previous weekend. It's really just one wire to hook up as the ground is tied right to the aluminum frame. I did add a jumper wire from the frame back to my ground junction block in the electrical hub back up front. But the light is crazy bright. Gotta love LED's
I wired in a main switch for the rear light (the light has one on the housing too) and installed it to the panel that covers the furnace. This way it's an easy reach with the door open.
While I was at it, I decided to add another light that can be used while cooking or working at the rear of the truck. I had an extra GM trouble light laying in the garage so I put it to use. I need to get an LED bulb for it and the one up front.
Climbing up into the catbird seat for the first time I looked back at the mess I've made with the lights on.
There's plenty of room up there as I can lay out and not touch at my feet or head. Needs more headroom through, I can't sit up. That space will close up when I put the mattress back up there. All the more reason to add height when I re-do the side liner later.
I added an 110v AC outlet too. This is just merely nothing more than a short extension cord that hooks up to the plug on the outside. I did use a GFCI outlet for circuit protection. This will only get used to run my CPAP or power my laptop if I have access to Shore power at organized campsites. I do need to shave about 1/4" off of the trim plate to allow it to fit.
I still have two 60" LED light strips to install (truck bed light kit), plus multiple 12v and USB charge ports. Once the rest of the items are installed and wiring routed I'll loom the wiring and tie it down nice and tidy.