Jump to content


Photo
- - - - -

Four Wheel Blazer Pop-up, Finally found one

K5 Blazer 4wc 4wheel FWC pop-up camper crawlabago

  • Please log in to reply
268 replies to this topic

#61 PokyBro

PokyBro

    Senior Member

  • Members
  • 467 posts
  • LocationLas Vegas, Nevada

Posted 10 April 2018 - 03:38 AM

Zoomad,


Great job on your continued build. Nothing like warmer weather to get you motivated!


Regarding your furnace wiring, I had a lot of trouble figuring that out too, and difficulty finding a diagram that made sense. But here is the information you're looking for. The black wire is ground, the red wire is positive. the blue wire goes to your thermostat, then the other wire that will leave the thermostat also goes to positive. On mine, I hooked the red wire to a fuse block, black to a ground bus bar grounded to the frame, and as I indicated above, there will need to be another wire leaving the thermostat that also got connected to the positive fuse block. Your thermostat will have two screws to attach wires.


Hope that helps, give it a try!


Poky


  • 0

1999 F250 crew cab SRW, 7.3 Powerstroke TD

1981 Grandby shortened to a Hawk

Build thread / https://www.wanderth...by-into-a-hawk/


#62 Zoomad

Zoomad

    Senior Member

  • Members
  • 289 posts
  • LocationColorado

Posted 11 April 2018 - 04:55 AM

Zoomad,


Great job on your continued build. Nothing like warmer weather to get you motivated!


Regarding your furnace wiring, I had a lot of trouble figuring that out too, and difficulty finding a diagram that made sense. But here is the information you're looking for. The black wire is ground, the red wire is positive. the blue wire goes to your thermostat, then the other wire that will leave the thermostat also goes to positive. On mine, I hooked the red wire to a fuse block, black to a ground bus bar grounded to the frame, and as I indicated above, there will need to be another wire leaving the thermostat that also got connected to the positive fuse block. Your thermostat will have two screws to attach wires.


Hope that helps, give it a try!


Poky

Thanks Poky!   I figured it was something simple, but didn't want to hook it up wrong.  I was at least smart enough to leave the wires hooked up to the thermostat and just unplugged them when I removed it.   So those two wires are still attached.  Just need to add some to connect the two blue wires together and run the power wire to the fuse panel.  Then power to the furnace, hook up ground and it's done.  


Quick question to that though?  What should I run for the fuse rating on each?   I do have a fuse buddy i can install in place of a fuse and monitor the load and size that way.  But I'm sure the furnace will need a higher rated fuse over the t-stat.  Question is how much more?  My thought is 20-25 amp to handle the startup load of the blower motor and 10-15 amp on the t-stat.   Seem OK?


Thanks again!


  • 0

#63 Robb13425

Robb13425

    Newbie

  • Members
  • Pip
  • 2 posts
  • LocationSPEEDWAY, IN

Posted 11 April 2018 - 07:29 PM

Zoomad...GREAT post and love the continued activity. I also just purchased a 1978 FWC for my 1971 Blazer that is needing similar repairs. I am sure I will have some questions for you as I get started and get caught up on all the pages of this thread.


  • 0

#64 PokyBro

PokyBro

    Senior Member

  • Members
  • 467 posts
  • LocationLas Vegas, Nevada

Posted 11 April 2018 - 11:19 PM

Zoomad,


Here is a chart of fuse sizes I got from someone else on WTW from their FWC.


Poky


Fuse chart

  • 0

1999 F250 crew cab SRW, 7.3 Powerstroke TD

1981 Grandby shortened to a Hawk

Build thread / https://www.wanderth...by-into-a-hawk/


#65 Zoomad

Zoomad

    Senior Member

  • Members
  • 289 posts
  • LocationColorado

Posted 12 April 2018 - 03:16 AM

Zoomad...GREAT post and love the continued activity. I also just purchased a 1978 FWC for my 1971 Blazer that is needing similar repairs. I am sure I will have some questions for you as I get started and get caught up on all the pages of this thread.

When you are ready, you know where to find me.   Good luck on your build.  Going on a 71 I'd suggest getting a second top to use the front section with the camper.  Problem is, the first gen Blazer tops are much harder to find than the second gen tops like mine are.  There's another guy here that has a FWC on a first gen and it's a sweet setup for sure.  


Zoomad,


Here is a chart of fuse sizes I got from someone else on WTW from their FWC.


Poky


Well that's way less than I assumed.  Great info for sure.  Thanks again Poky!


  • 0

#66 Robb13425

Robb13425

    Newbie

  • Members
  • Pip
  • 2 posts
  • LocationSPEEDWAY, IN

Posted 12 April 2018 - 05:01 PM

When you are ready, you know where to find me.   Good luck on your build.  Going on a 71 I'd suggest getting a second top to use the front section with the camper.  Problem is, the first gen Blazer tops are much harder to find than the second gen tops like mine are.  There's another guy here that has a FWC on a first gen and it's a sweet setup for sure.  
 

I bought mine as a package with a near perfect, cut top.

mine seems to be pretty similar to your in conditioner. two particle board sections bad and the front by-fold need work. silicone all over the top as well. vinyl, windows and screens all in good shape overall. mine has a propane furnace, sink and stove, but brainstorming how i want to back with it.
  • 0

#67 Zoomad

Zoomad

    Senior Member

  • Members
  • 289 posts
  • LocationColorado

Posted 13 April 2018 - 04:02 AM

I've got some cleanup to do.  The College Larry and I both graduated from is having a car show and Alumni event this Saturday.  Larry's taking the Burb and I'm taking my ride, as a work in progress.  But the last couple of weekends worth of work and getting the camper installed has stuff everywhere.  It's good to cleanup the mess and reset for the next stages anyway.   It's clean on the inside now.  I even wiped out the last of the Utah red dirt that was evenly coated throughout the back of the truck too.   Ran out of light so I had to flip the camper lights on.  First time I've had them on when it's dark out.  I'm pretty sure I've got enough light for right now.  
40707486284_b211af7c13_b.jpg
 
26550288967_0767392c54_b.jpg
 
Flash on.
39612457390_f46e6af9eb_b.jpg
 
Flash off..
40707479064_0d6aa07c0f_b.jpg
 
Got the outside and the engine bay to do tomorrow night.


I bought mine as a package with a near perfect, cut top.

mine seems to be pretty similar to your in conditioner. two particle board sections bad and the front by-fold need work. silicone all over the top as well. vinyl, windows and screens all in good shape overall. mine has a propane furnace, sink and stove, but brainstorming how i want to back with it.


That's great you got a cut top to come with it.  Just before I found this one, I found another on Craigslist on the western slope that was for sale but was set up for a first gen like yours.  Almost got it, but found it while I was on the off road run in Utah.  


You need to start a build thread too.   Post up pics.  I love seeing another one of these units get back on the road.  


  • 0

#68 Zoomad

Zoomad

    Senior Member

  • Members
  • 289 posts
  • LocationColorado

Posted 16 April 2018 - 04:29 AM

I didn't get as much done as I would have liked this weekend.  Hanging out at a car show that was raising funds for the automotive program I graduated from was time well spent.   I did get another set of lights installed and one of many USB charge ports installed.  


This latest setup I've installed has a couple of uses.  One obvious use is the added light.  But this setup has the ability to change colors.  The idea I had was being able to light up the inside with a color like red that is night vision friendly and less apt to attract bugs.   I ended up buying a kit on Amazon that is normally sold for lighting up truck beds.  2 strips of 60" each with a remote control to change colors and modes.   Here it is with the white lights on.  


40748862984_df8ebb681e_b.jpg


With the red lights on:

40569740505_a31e7bf9b5_b.jpg


I had the idea to put one strip low under the cabinet after watching a walkaround video on a new FWC where they had the lighting down low to light the floor/entry area and liked the concept.  


As you can see the colors (8 in total) are pretty darn bright and vivid.  Blue below.

27591711908_8c4c818370_b.jpg


The added feature to this kit is the ability to sync the lights to music.  It's ridiculous.  It's like having a rave in the back of the camper.  It makes me laugh if you see it from the outside.   That feature probably won't get used much except to show other people to make them laugh too.   But I will say this, between the lights I already installed with these on white, I've got enough light inside to allow a surgery to go on.   I'm done adding lights.  Moving on to power outlets.  


  • 0

#69 Zoomad

Zoomad

    Senior Member

  • Members
  • 289 posts
  • LocationColorado

Posted 24 April 2018 - 03:22 AM

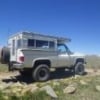
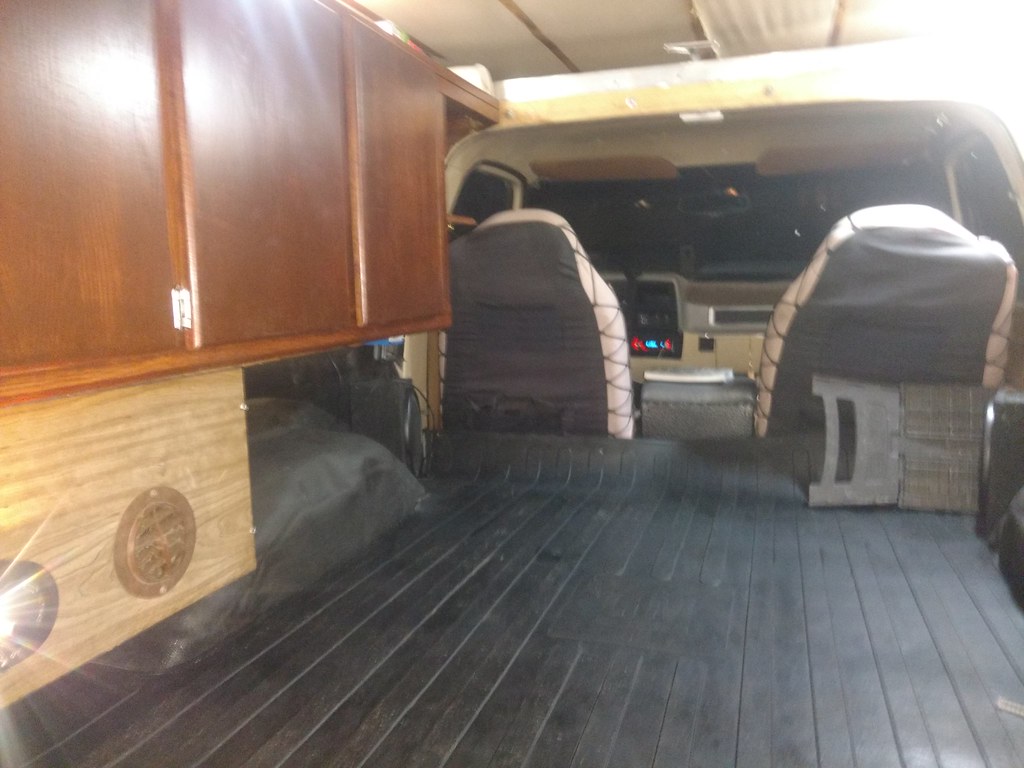
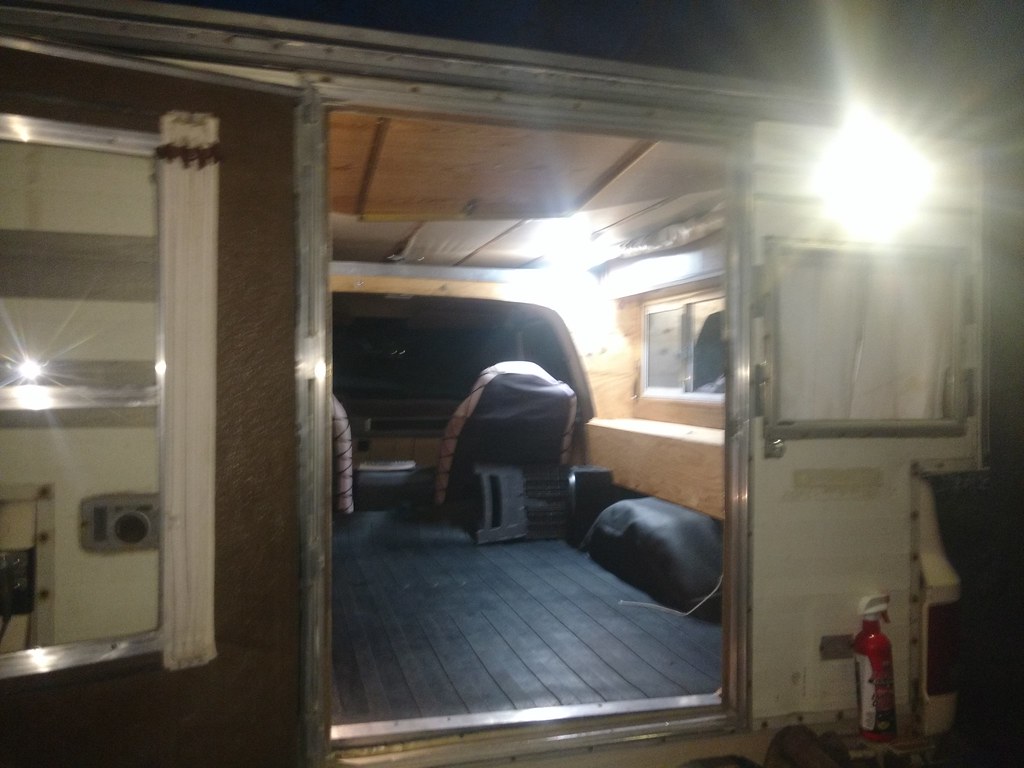
Nothing notable accomplished this weekend.   I drove the K5 to Denver this weekend to visit my parents and prowl a couple of u-pull it yards for some parts to the K5 side of the project.   I drove the K5 as a test run to see how it would handle at highway speeds and see how the fuel economy is impacted.   


I figured out a couple of things. 


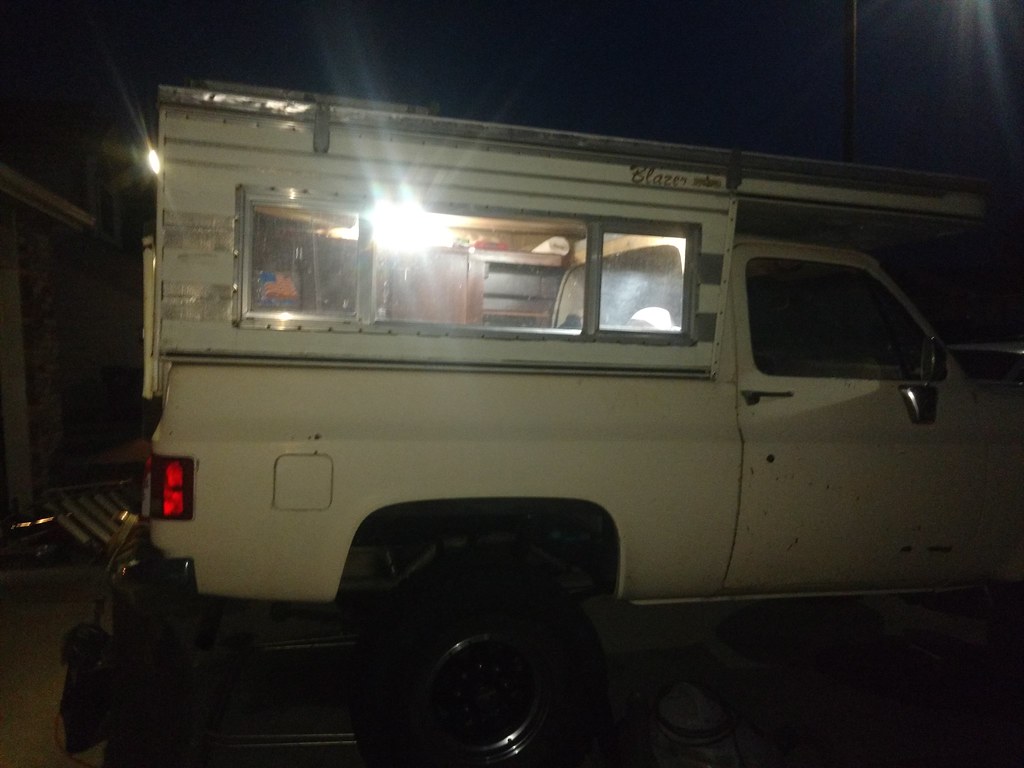
#1.   The blind spot created by the camper on the passenger side of the truck is large enough to hide a semi in.  Even with the mirror adjusted out.  Did ok until a couple of miles out of my parents place when I missed seeing a smaller car that was lower than the window line of the camper.   I got a honk and some stern looks.   Whoops.   Blind spot mirrors are on order.   


#2.   I now can say what the impact of the camper shape is on the fuel consumption.  I totally knew it was going to have an impact, but wasn't quite sure to what extent.   I tried to keep it at 65 mph, but without cruise control i found my foot creeping the speed up.  Still it knocked 4-5 mpg off of the normal the truck is capable of without the camper.   As one would expect, the faster I go the worse it gets.  Duh right?  


#3.  Handling didn't seem to change at all though.  Even with wind.   The truck was pretty high profile to start with, but I drove up in a pretty good storm Saturday, rain/snow mix plus wind.   Didn't phase it.  


#4.  Driving a rig like this invites strangers to talk to me about it or get the "thumbs up" as they passed me on the road.   Got chatted up when I stopped for fuel in Monument.  The guy saw me fueling it up and asked a ton of questions and commented how cool it would be to go where ever I wanted to camp.  Good thing I'm not shy.  


I'm disappointed most in the loss of fuel economy.  Makes me regret not going with an 8.1L big block or at least going deeper with the gearing to keep the 5.3 more in it's natural torque band.   I can't complain much, because I didn't think a camper was going to be a real possibility when the K5 was put together.  I can go down that path later, don't have time before the desert trip.  


Edited by Zoomad, 24 April 2018 - 03:24 AM.

  • 0

#70 CougarCouple

CougarCouple

    Senior Member

  • Members
  • 1,376 posts
  • LocationLas Vegas

Posted 24 April 2018 - 03:52 PM

Thanks for the update Zoomad.
Have a good trip Desert is always cool. 😎

Russ
  • 0
F250 extended cab, Cougar from ATC. You guys rock thank you!


Also tagged with one or more of these keywords: K5, Blazer, 4wc, 4wheel, FWC, pop-up, camper, crawlabago

0 user(s) are reading this topic

0 members, 0 guests, 0 anonymous users