

I needed more insulation in my camper for the climate right AC to keep up here in the hot and humid Midwest. I considered the factory thermal pack, but I question how much it would help in this situation and hesitant to try it because of the price point. I think Reflectix would be effective, but I don't want the hassle of put up and take down. I wanted a light weight thermal pack with insulation that could be left up full time and allow my 5k btu AC to cool the camper to a reasonable temperature.
So, I started looking at fabric options at Seattle Fabrics and ordered a bunch of samples. They stock Thinsulate in three thicknesses, the thickest is 210 gram. I decided this should work, it seemed to compress really well and even folded over on itself a couple times it compresses down to very little. With the insulation chosen I needed a facing material, it needs to be very thin and synthetic to keep it from soaking up any condensation we don't get wiped up in the morning. I found a 1.1 ounce ripstop nylon, also from Seattle Fabrics, that seemed to fit the bill. All together with the insulation, nylon, velcro and shipping totaled $350, inexpensive enough to gamble a home build on.
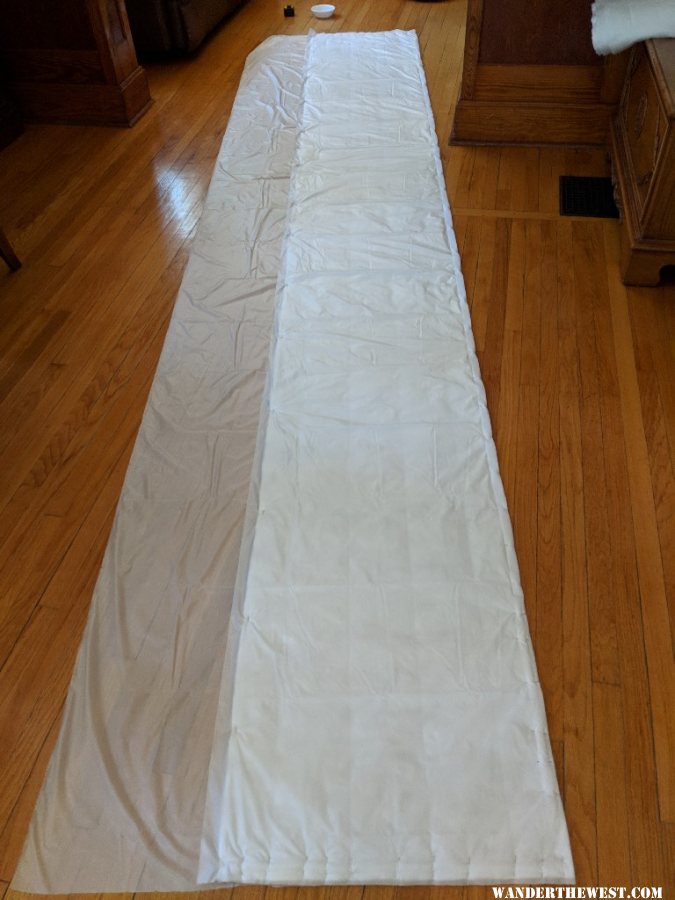
Over a week later (I used the really cheap shipping) a surprisingly small box arrived and I got started. After remeasuring everything I rolled out the Thinsulate and started cutting. Unfortunately this has to be done on the floor, I don't have anyplace else large enough.
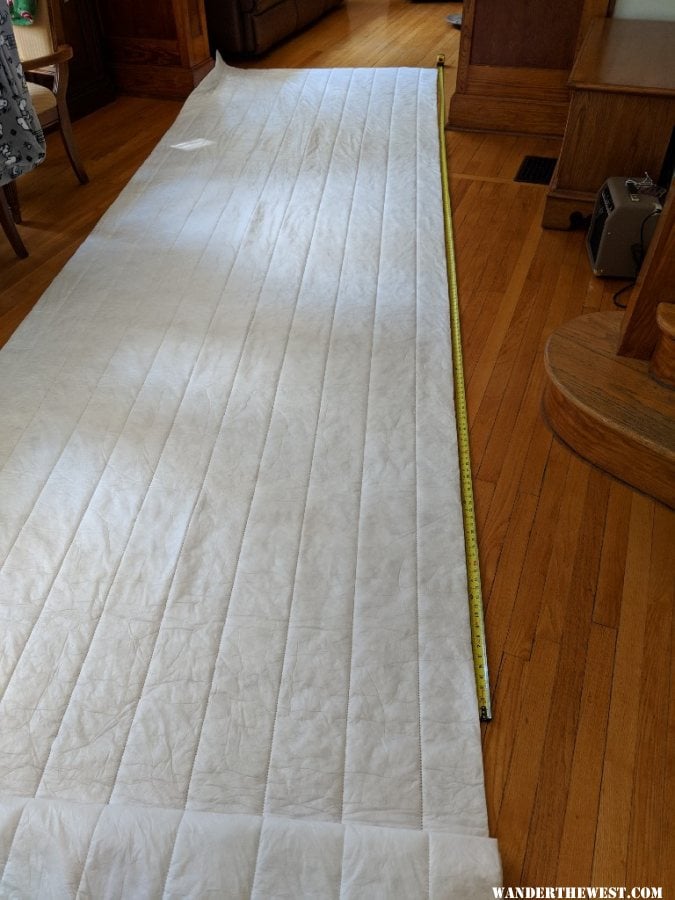
The thinsulate comes 60" wide so two 26" side panels will be cut from it.
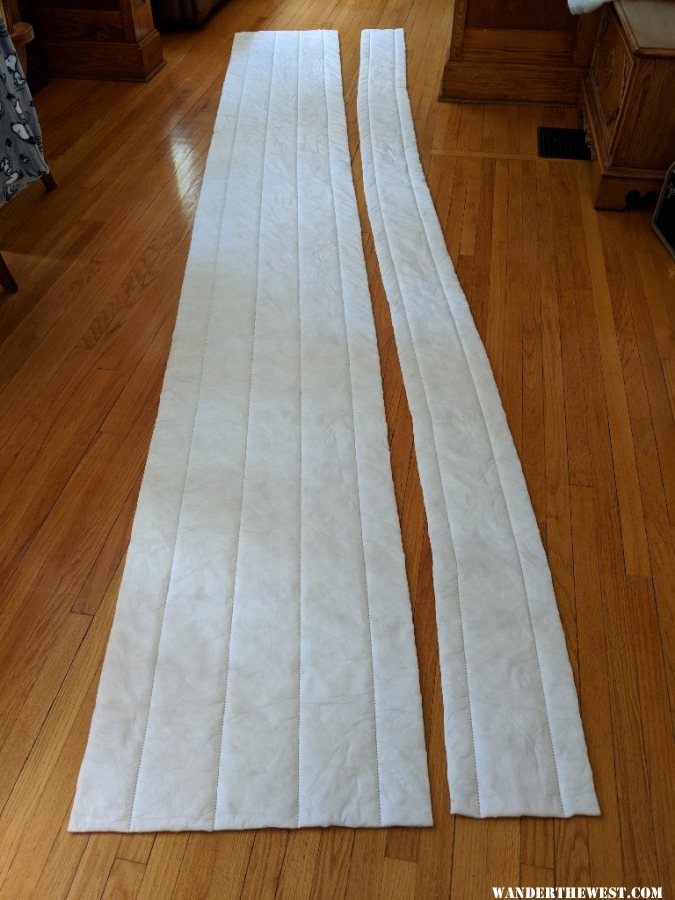
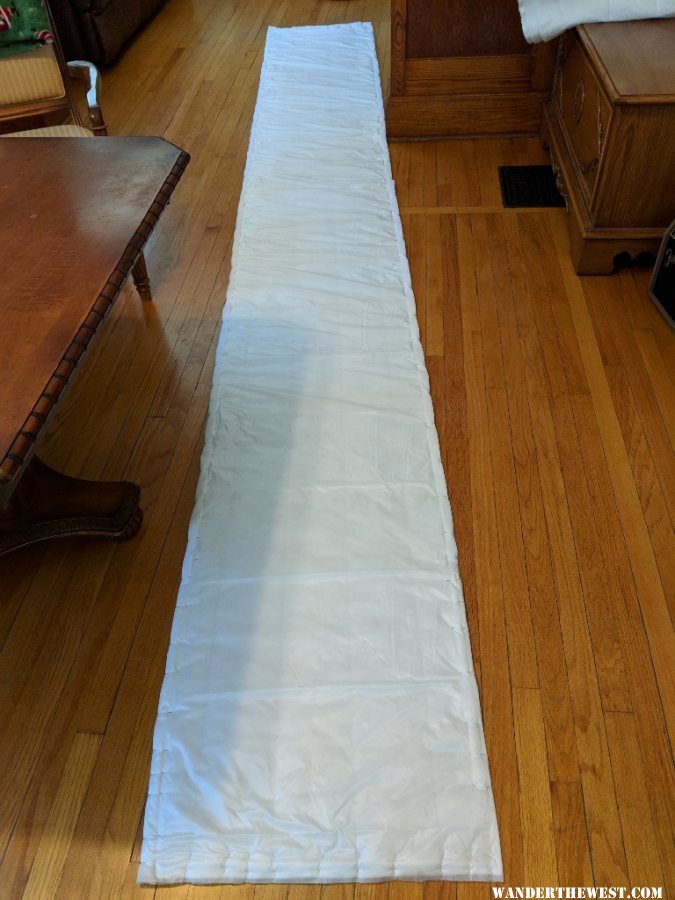
This is the second cut and the remainder, these sections are cut 26" wide and long enough to reach well behind the lift panels and will be cut to the exact length later. Next comes the facing nylon, it is incredibly thin, nearly see through. It is rolled out and the insulation laid on top.
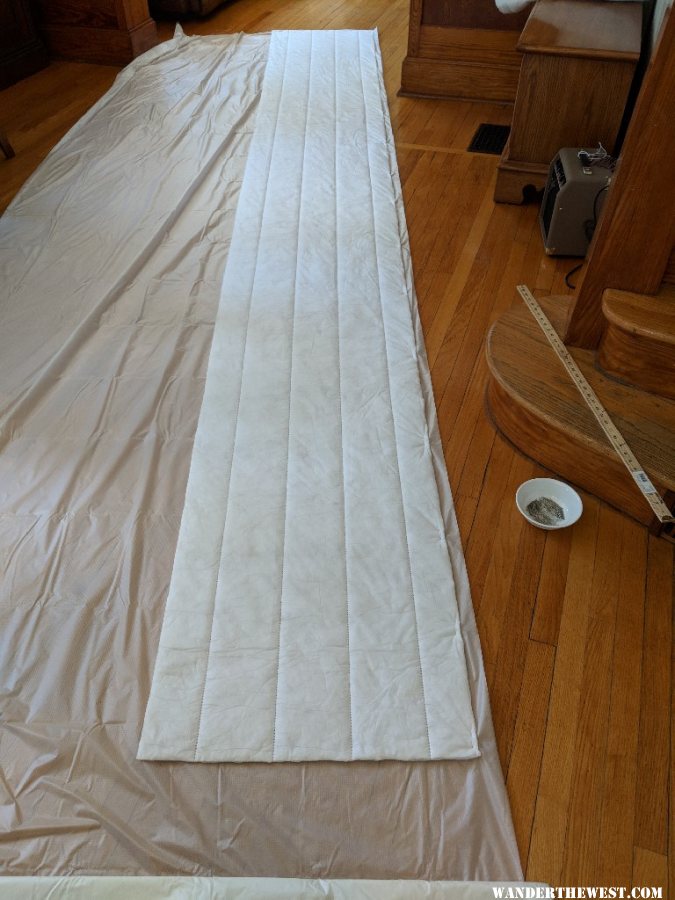
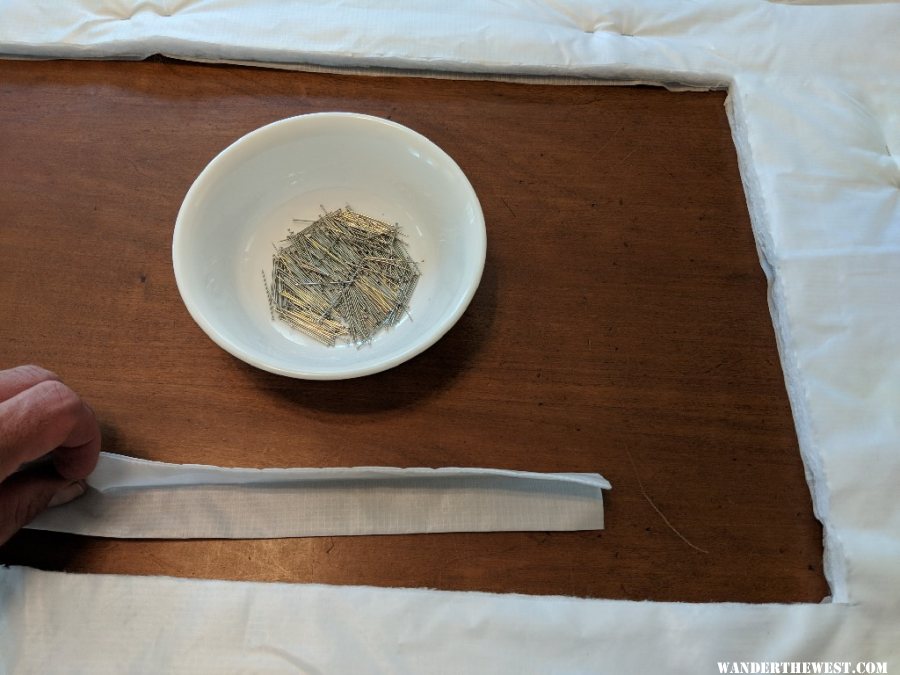
An inch and a half margin is allowed for and the whole thing is folded over itself.
The excess is trimmed off, the edges folded in and pinned every three to four inches. This nylon is so slick I'm afraid it move all over when it is run through the machine. The 1.5" velcro is also pinned on. It is only applied where it is needed. I would normally not pin velcro on, but I want to make sure I get these really long pieces where they need to go. Here it is all pinned up and ready to go through the machine.
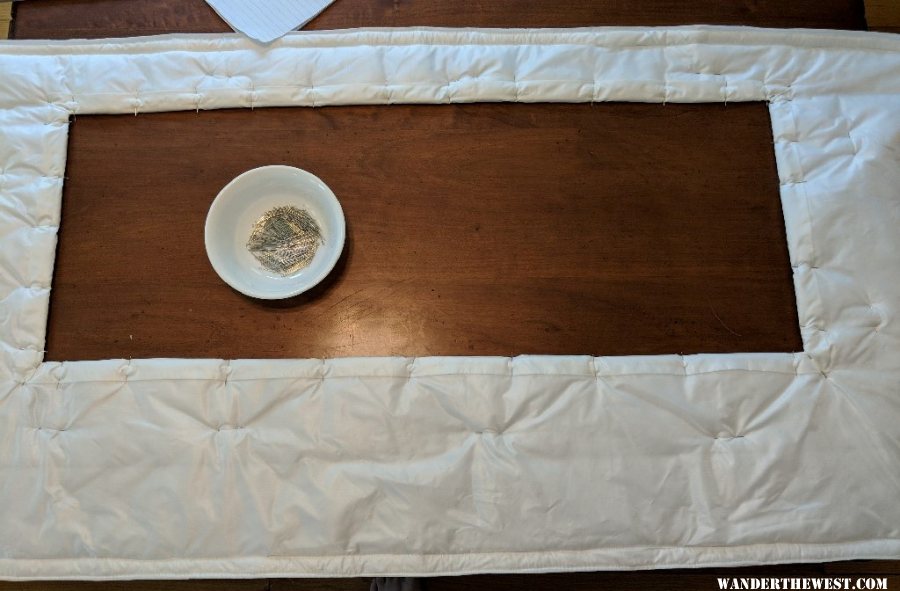
I ran a stitch across each end and two down the long sides on each edge of the Velcro. Then it was taken out to the camper and installed in place (I first had to install the loop side of the Velcro on the camper wall since my camper was ordered with out a thermal pack). With it in position I traced the window locations directly on the nylon with a pencil. You can barely see the marks in the picture below.
Secure the nylon to the insulation with pins all the way around the opening to keep everything in place, then take a deep breath and hope this plan works, it would be a shame to ruin hundreds of dollars worth of material here.
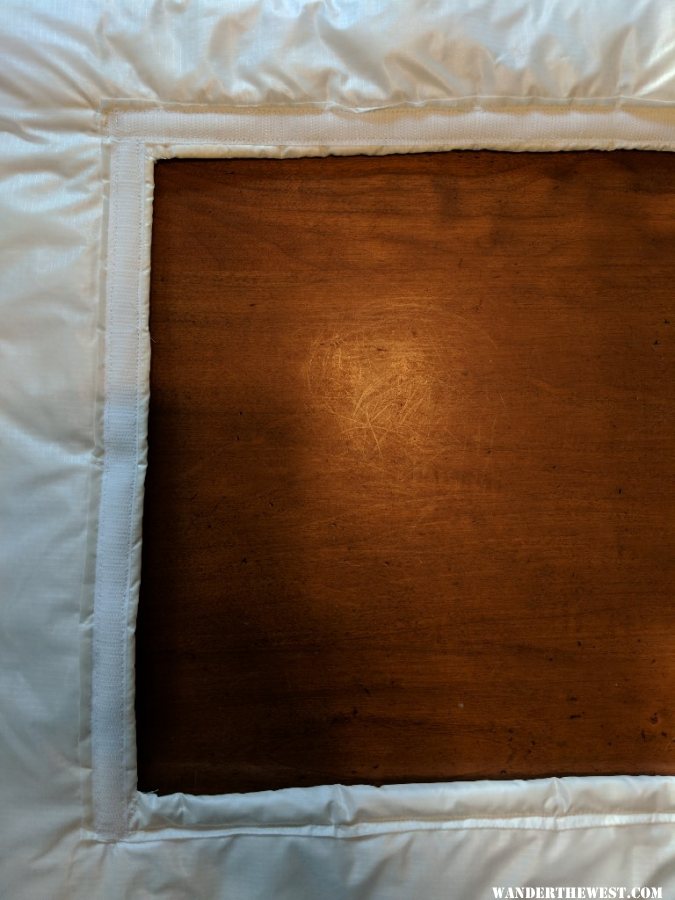
All the windows came out no problem and even in the right spot! A really sharp knife helps to cleanly cut the nylon, I tried a box blade, but had cleaner cuts with the polished edge on my pocket knife. The edges of the window will need to be trimmed out with something. I cut a 5" wide strip of the nylon, folded it in half and stitched it, turned it right side out and then folded in half again and ironed to form the edging.
Pin this all the way around the opening, overlapping the corners.
There is no need to pin the 1/2" Velcro on here, it can be applied when the stitching is done. After running it through the sewing machine it looks like this, note there is no Velcro across the bottom edge.
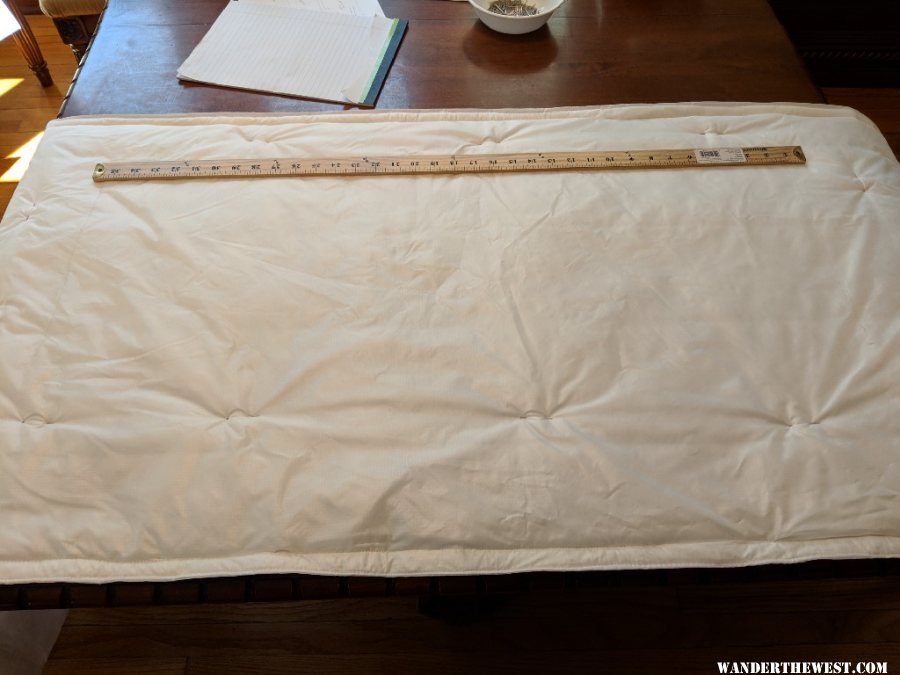
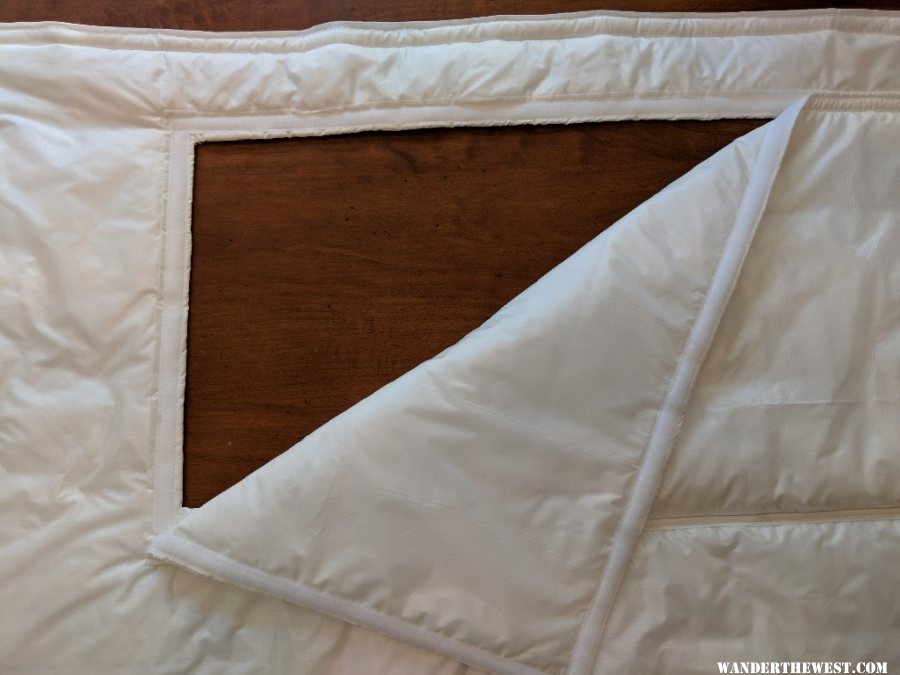
Now we need window flaps. These are built just like the rest of the walls, start with a piece of insulation large enough to cover the window opening plus the edging, I my case that worked out to 36" x 15", then wrap it in the nylon and pin every 3-4".

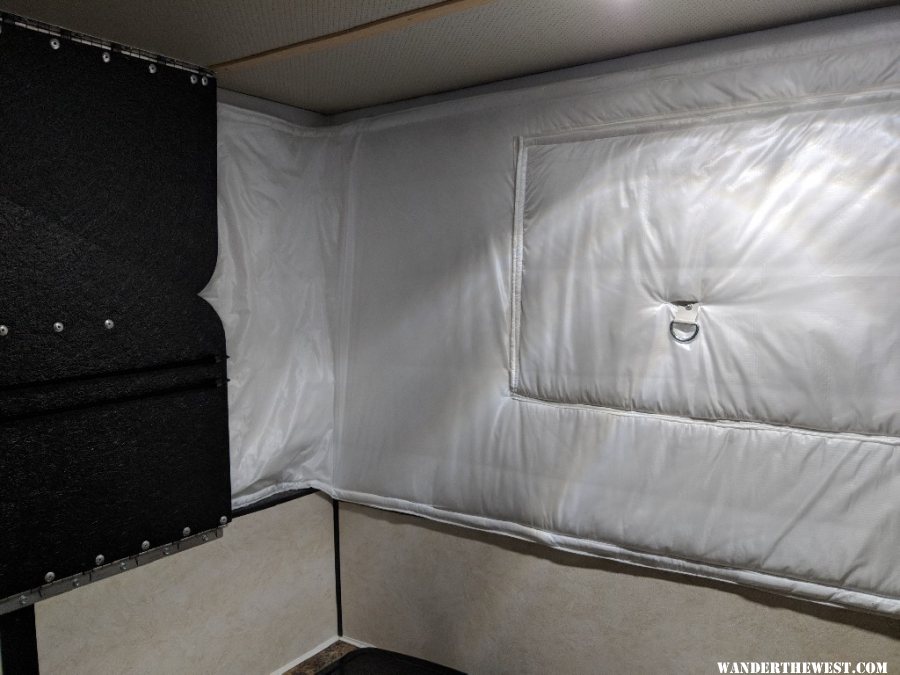
Velcro is added on the three required edges when it is stitched. Then the stitched window is stuck in place on the wall panel.

Secure the bottom edge to the wall panel and run a couple stitches across the bottom and bam a window!
Then then whole thing is hung in the camper again to mark the button hole location on the windows for the bungee loop and to mark the whole thing for length. I decided to make the over all length long enough to tuck behind the lift panel to the first rivet between the lift panel and the soft wall of the camper. The insulation puffs up enough to pretty much seal the gap between the wall of the camper and the lift panel, so it should help slow the thermal loss there even without running really far behind the lift panel.
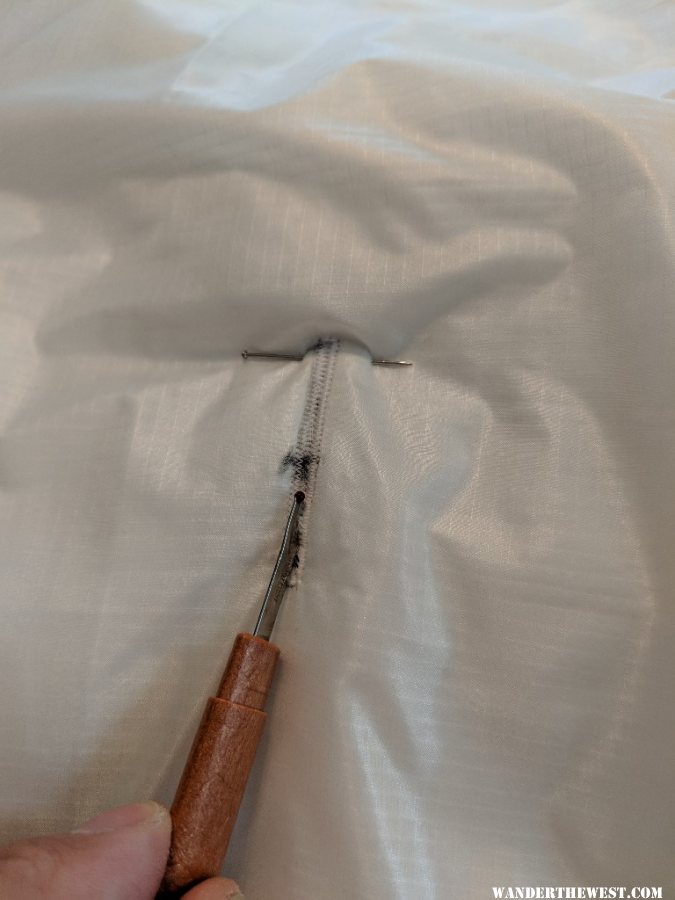
1.75" button holes are then sewn on the window flaps, the dark spot is where I marked the location with a pencil when the pack was hung in the camper.
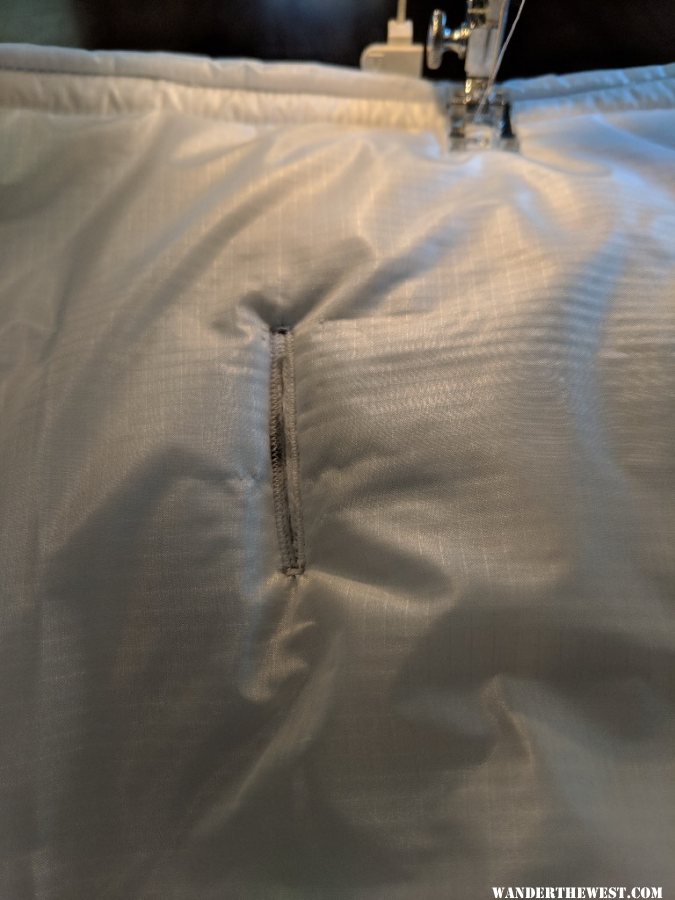
Don't forget the stopper pin across the button hole when it is ripped. It would really sting to ruin it now, so close to the finish.
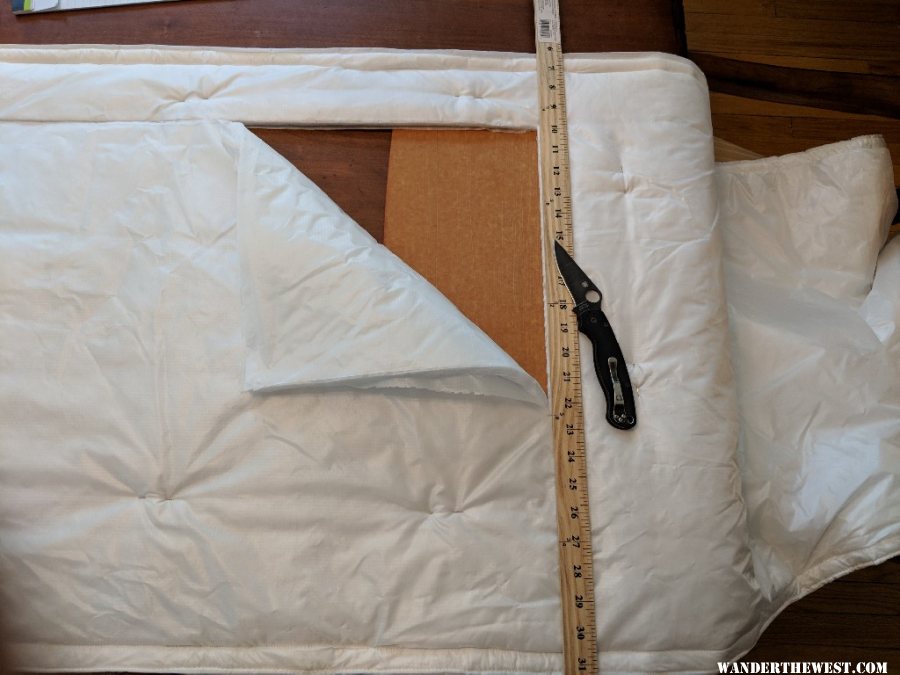
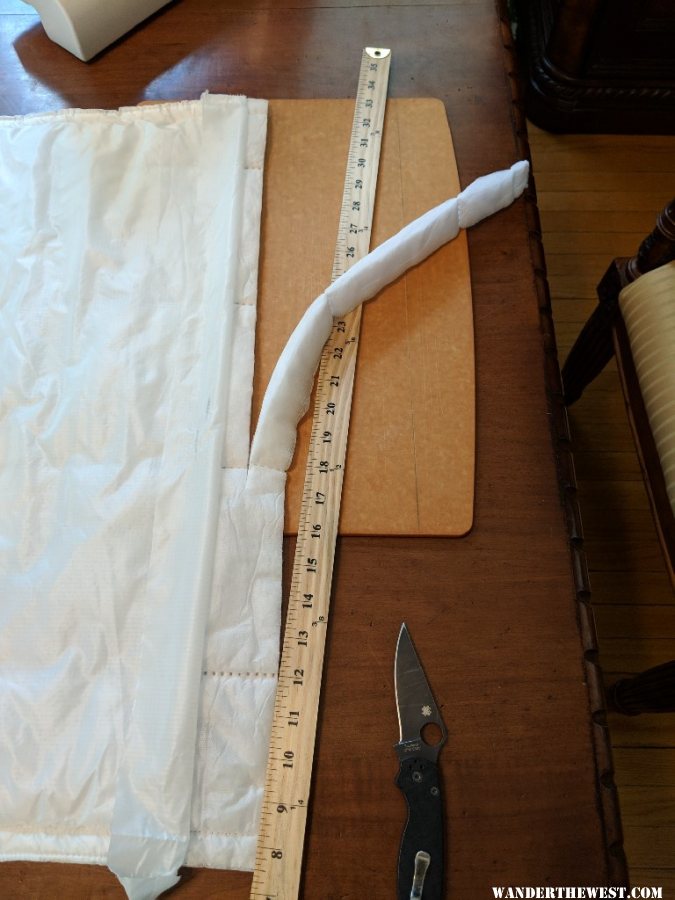
All that's left is to cut the pack to length and finish the ends. I trimmed the pack down just a little longer than the desired finished length, I just used the width of my yard stick, the rolled the facing material back and trimmed the insulation to the correct length. This allows enough material to create a finished edge.
Here it is stitched.
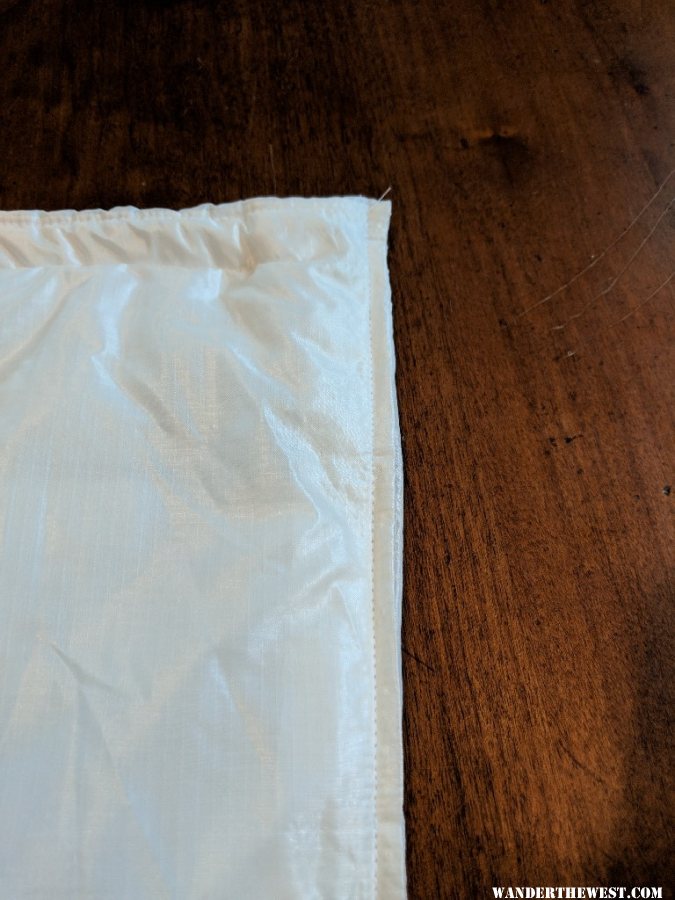
The top and bottom seams will have to be repaired where I had to rip them to create the finished edge, and then it is time to install it in the camper!
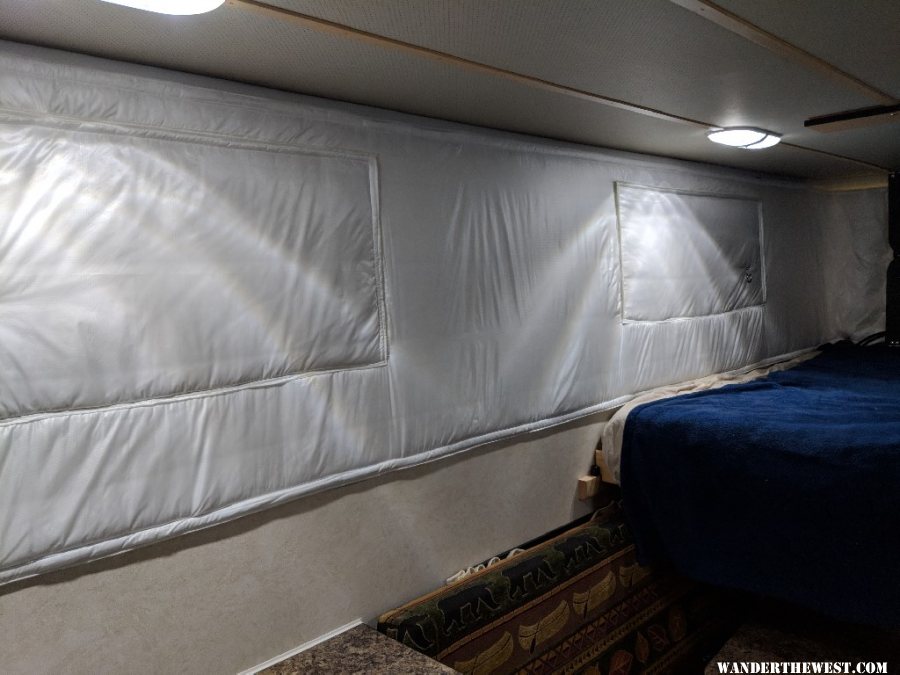
With the thermal pack installed the roof was lowered and buckled no problem. I rolled the camper out of the garage and raised the top to test the effectiveness. Missouri blessed me with a couple of 105 degree test days, if it works in this kind of weather it should work anytime we camp. I left the camper out in the direct sun for two days with the AC on the whole time and checked the temperature every few hours. The AC kept the inside 13-15 degrees cooler than outside while the camper was in direct sun, it did better of course with a little shade and shortly after the sunset with the ambient still in the nineties it pulled the temperature inside down to 73. So far I think it is a success! I look forward to testing it in much cooler temperatures.