
 1 votes
Senior Member
Posted 23 June 2019 - 03:52 AM
Senior Member
Posted 23 June 2019 - 02:10 PM
Senior Member

Posted 27 June 2019 - 12:07 AM
This is excellent! Great work! Following!
Follow My Shenanigans: instagram.com/campermccampface
Senior Member
Posted 27 June 2019 - 10:42 PM
Senior Member
Posted 01 July 2019 - 12:33 AM

Edited by a8ksh4, 01 July 2019 - 12:47 AM.
Senior Member
Posted 06 July 2019 - 05:44 AM
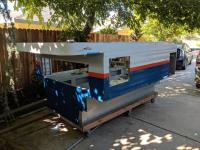
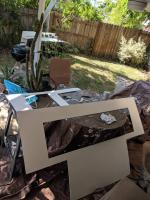
Little more progress today. Finished up trimming the inside panels and almost done with their paint. Going to add some stripped to one of the sides later.
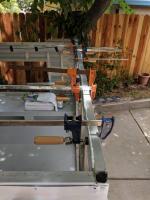
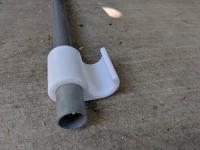
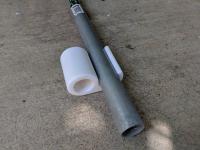
And working on some parts for the conduit lifts. End caps that should fit smoothly between the angle brackets on the bottom and some clips to go above the pivot point. The printer is giving me a little grief right now, but hope to do the clips with a hole through the middle for a locking bolt thingy.

Edited by a8ksh4, 29 July 2019 - 03:27 PM.
Senior Member
Posted 06 July 2019 - 09:43 PM
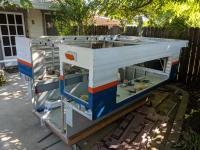
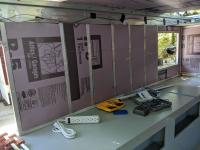
More fancy paint work and insulation!

Edited by a8ksh4, 08 July 2019 - 04:36 PM.
Senior Member
Posted 07 July 2019 - 06:09 AM
Senior Member
Posted 07 July 2019 - 10:34 PM
Senior Member
Posted 28 July 2019 - 02:02 AM
More progress! Haven't tackled the conduit lifters yet, but other stuff...
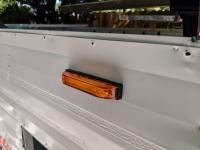
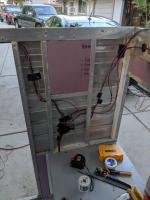
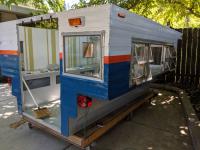
Finished wiring the marker and tail lights. We wired the marker lights and tail lights to a 4-pin trailer plug. I figured the tail lamps would be a good idea since the camper sticks out 2 ft past the truck lights, so the truck lights aren't visible from both sides @ the rear of the truck.
The lamp by the door is on a separate circuit that runs through the storage cubbies on the driver side to the front of the camper where we'll eventually have a battery and any other electronics. And two sets of wires were run to the driver side corner by the camper door to run up into the roof; one set for lights and the fan, and another for a solar panel eventually. We ran grounds for everything rather than just screwing into the camper frame.
Added reinforcement on the sides for the bed platform. I cut more of the plywood I used for the camper base and pocket-screwed/glued it to the bed platform up the sides and along the front, and screwed it to the aluminum frame toward the back of the camper to help cantilever the bed platform.
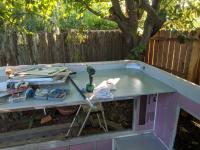
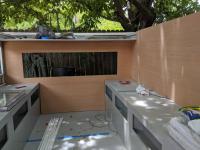
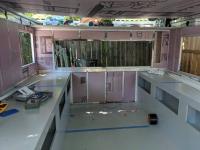
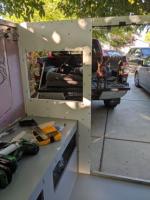
Installed the interior panels! And put a couple of windows back in! The panels by the camper door are definitely structural, helping to keep the door square, so they got lots of screws.

Edited by a8ksh4, 29 July 2019 - 03:25 PM.


0 members, 0 guests, 0 anonymous users

