Jump to content


Photo
- - - - -

Granby Shell to Full Camper Build


  • Please log in to reply
22 replies to this topic

#1 lmwilco1

lmwilco1

    Advanced Member

  • Members
  • PipPipPip
  • 93 posts
  • LocationTempe Arizona

Posted 23 January 2020 - 12:58 AM

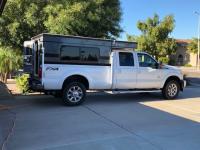
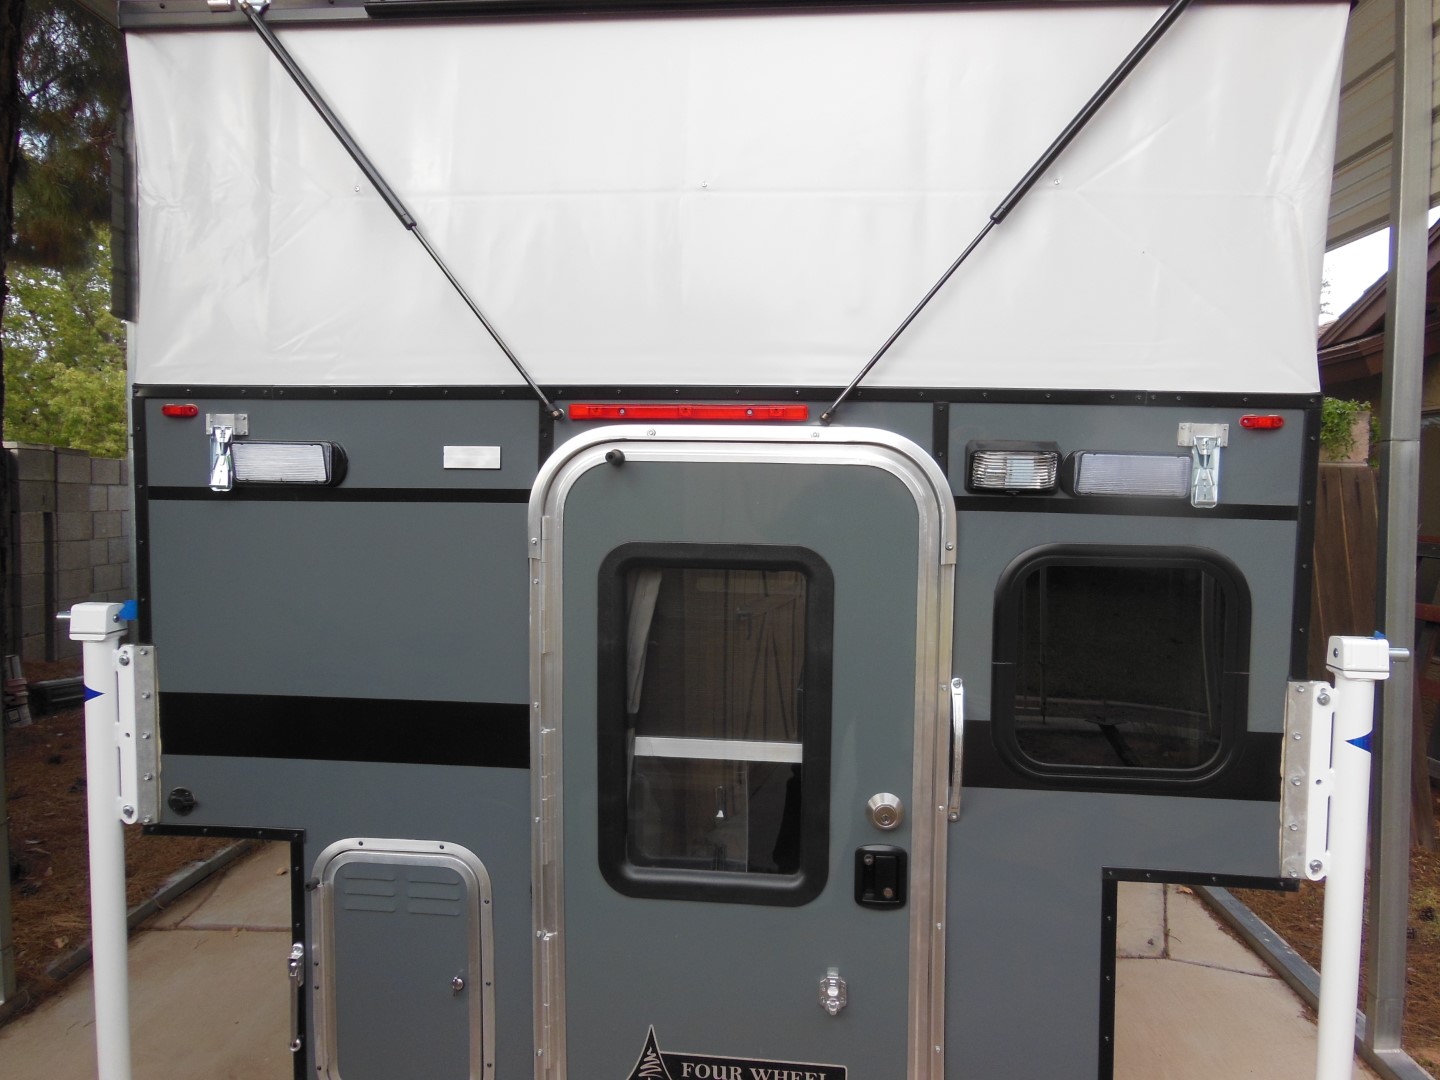
Hello, I recently purchased a 2019 Granby Shell and installed it on my 2013 F350. I just started the tear down ahead of the customization. So far I have purchased the following:


Cruise 85 Elegance Refrigerator

AC power plug

Renogy 2000W Inverter

Renogy 50A DC to DC charger

Progressive Dynamics PD9145 charger

Dometic sink and two burner stove

18G water tank

Suburban 6 gallon water heater

4 LiFePO4 190AH battery cells

And a boat load of assorted wire, terminals, fuses and lots of other stuff.


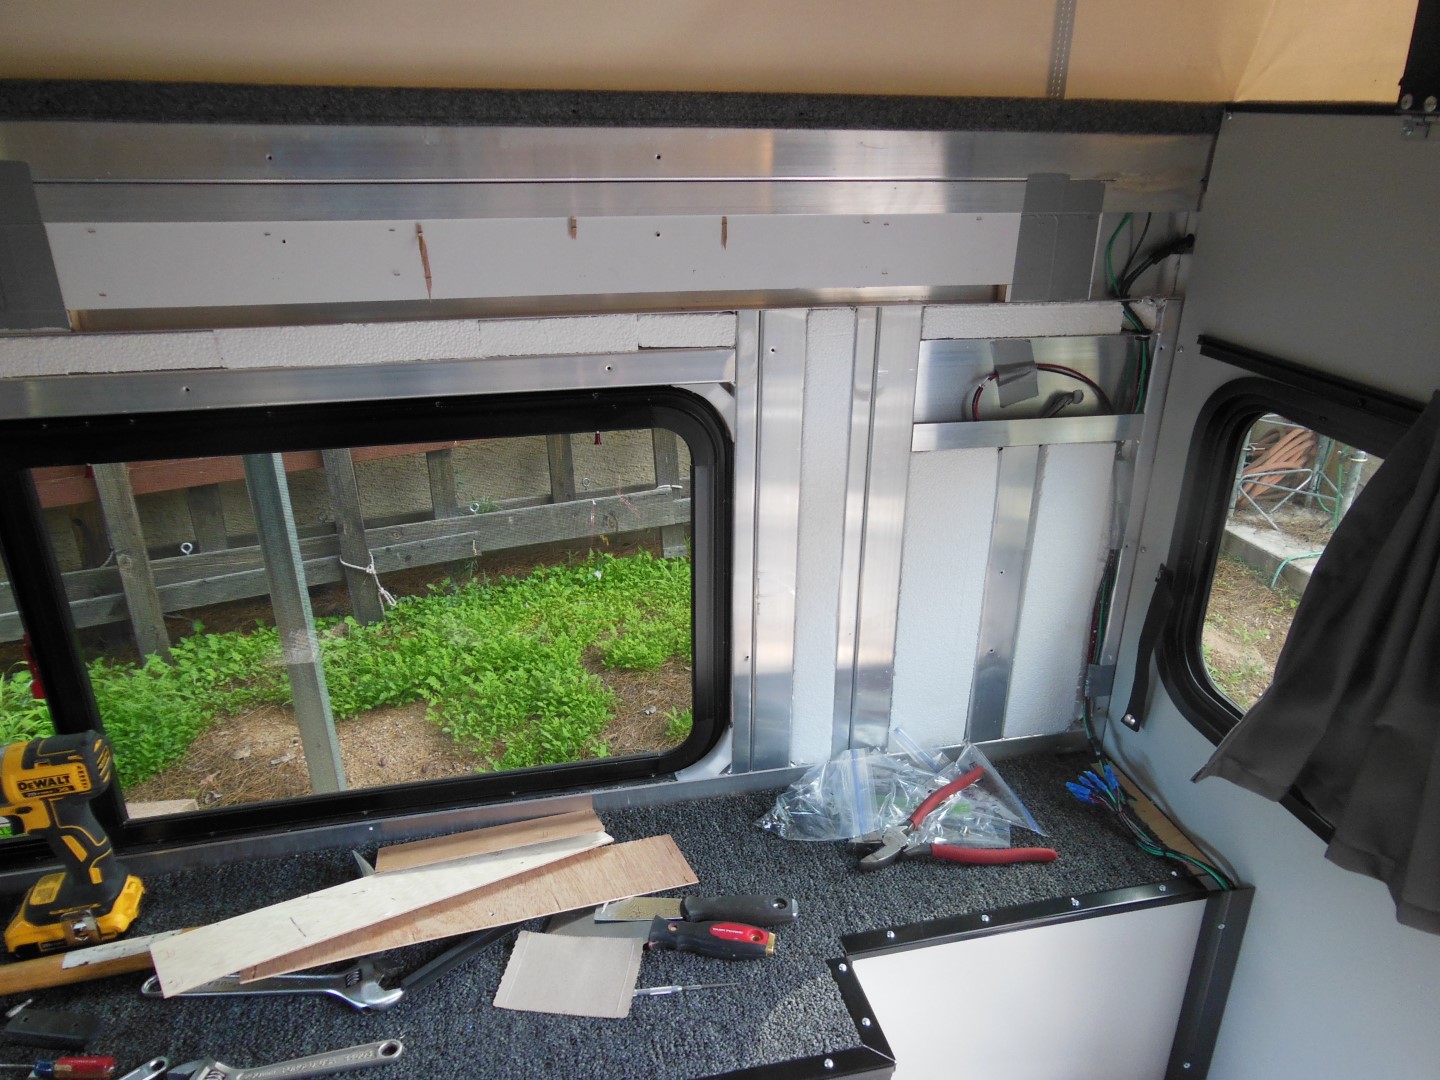
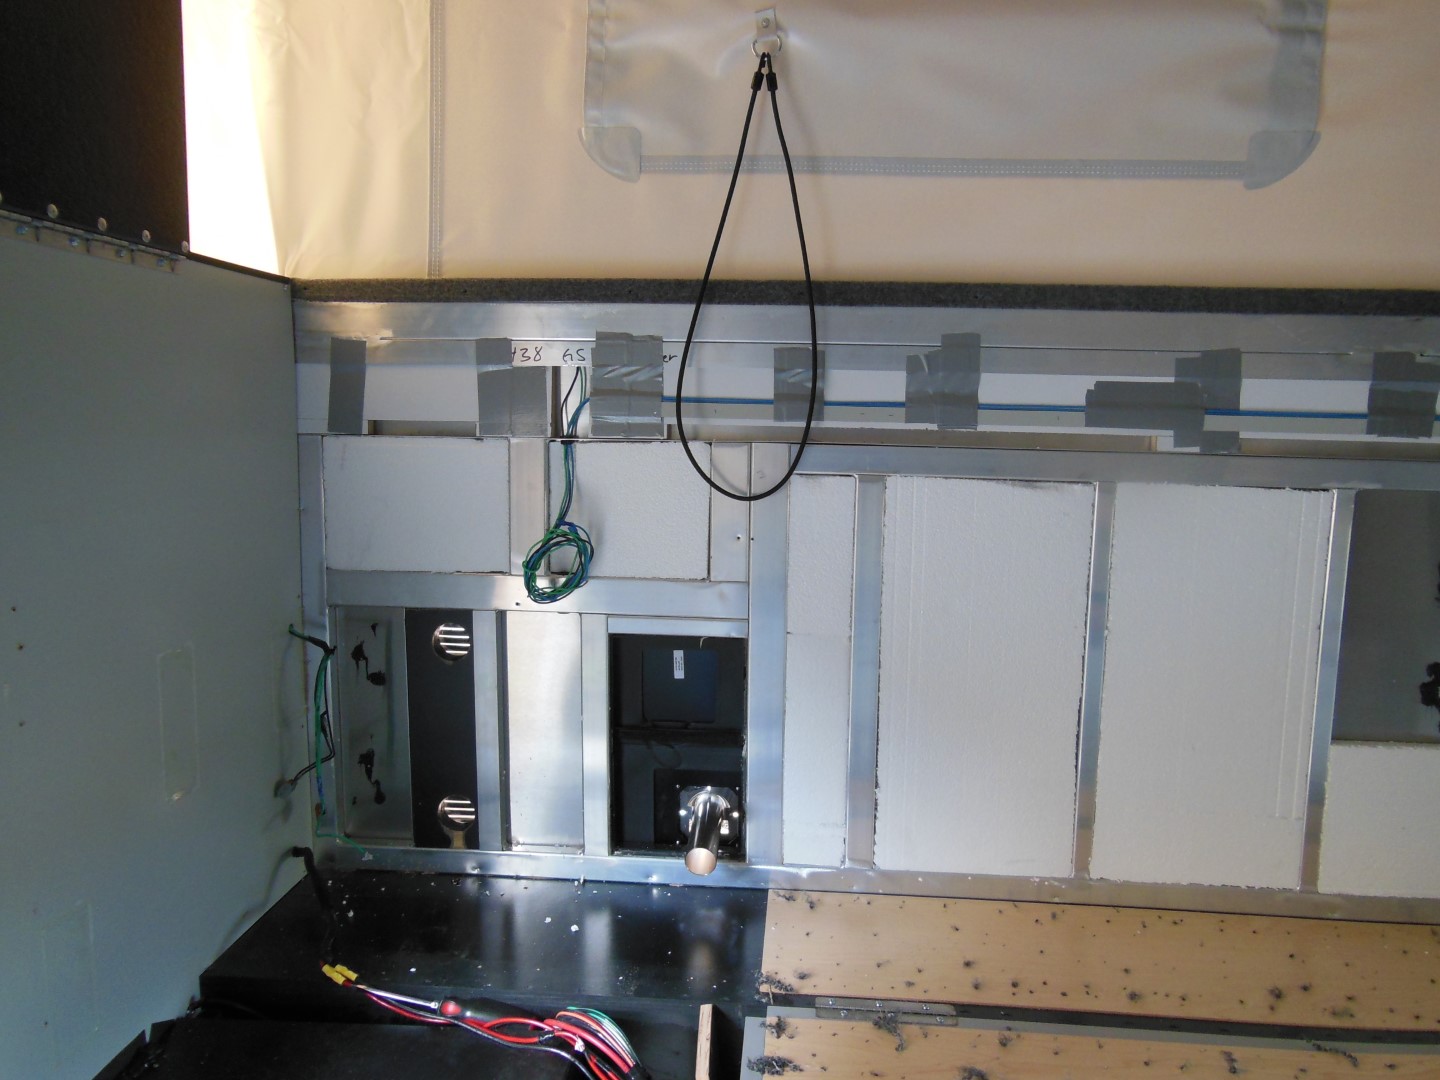
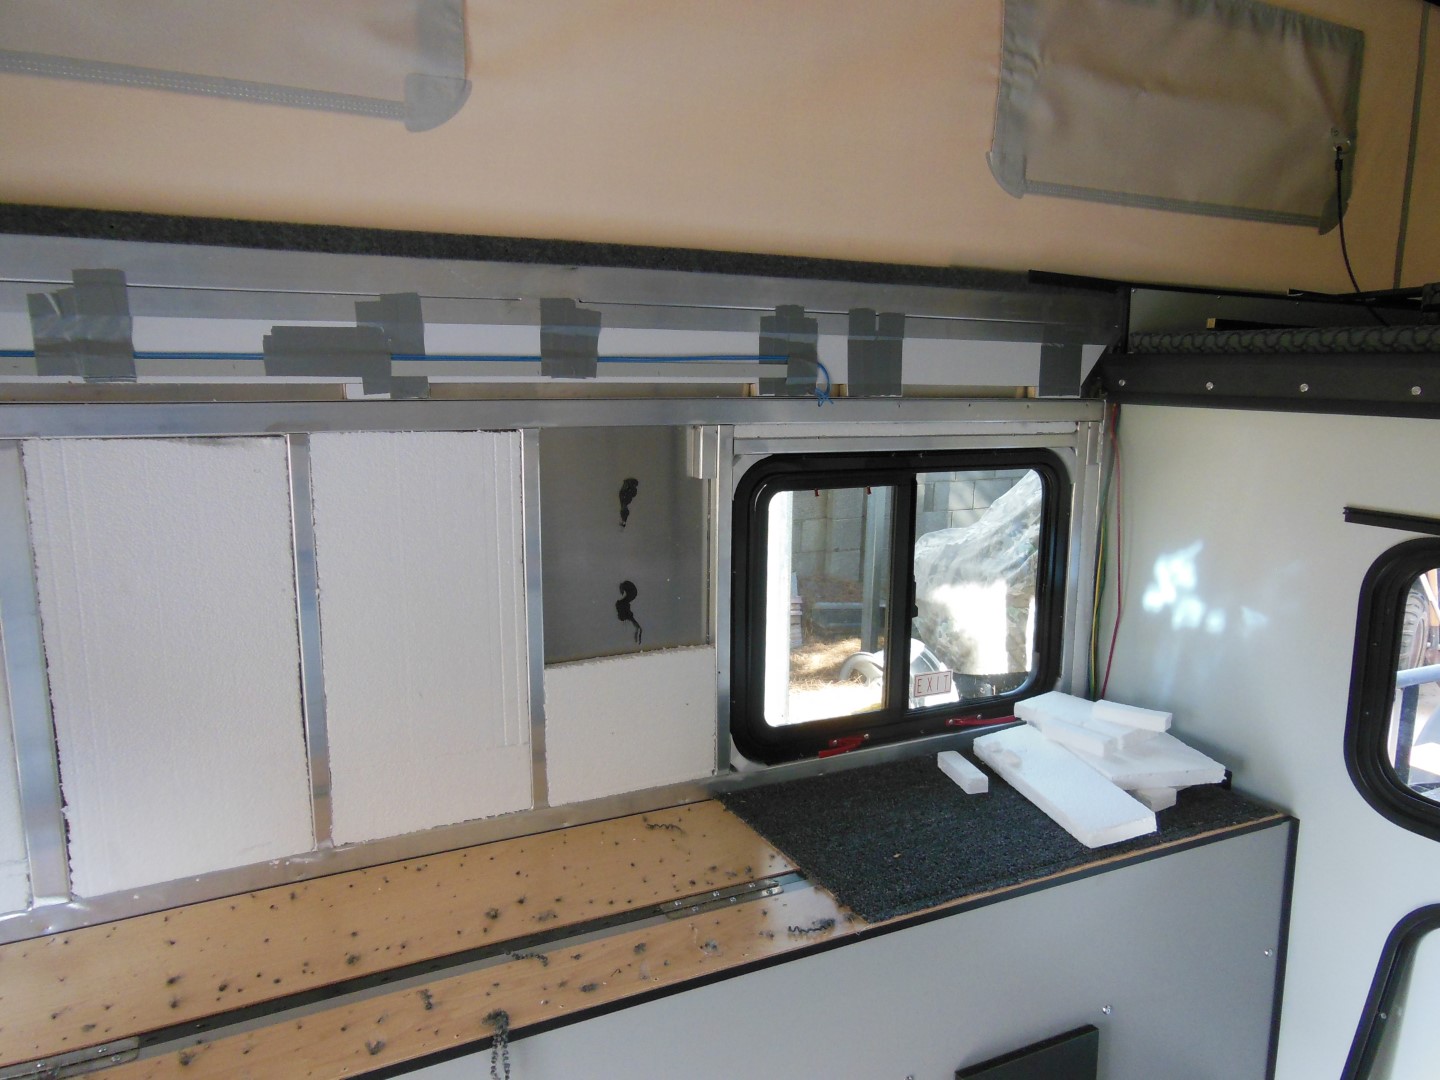
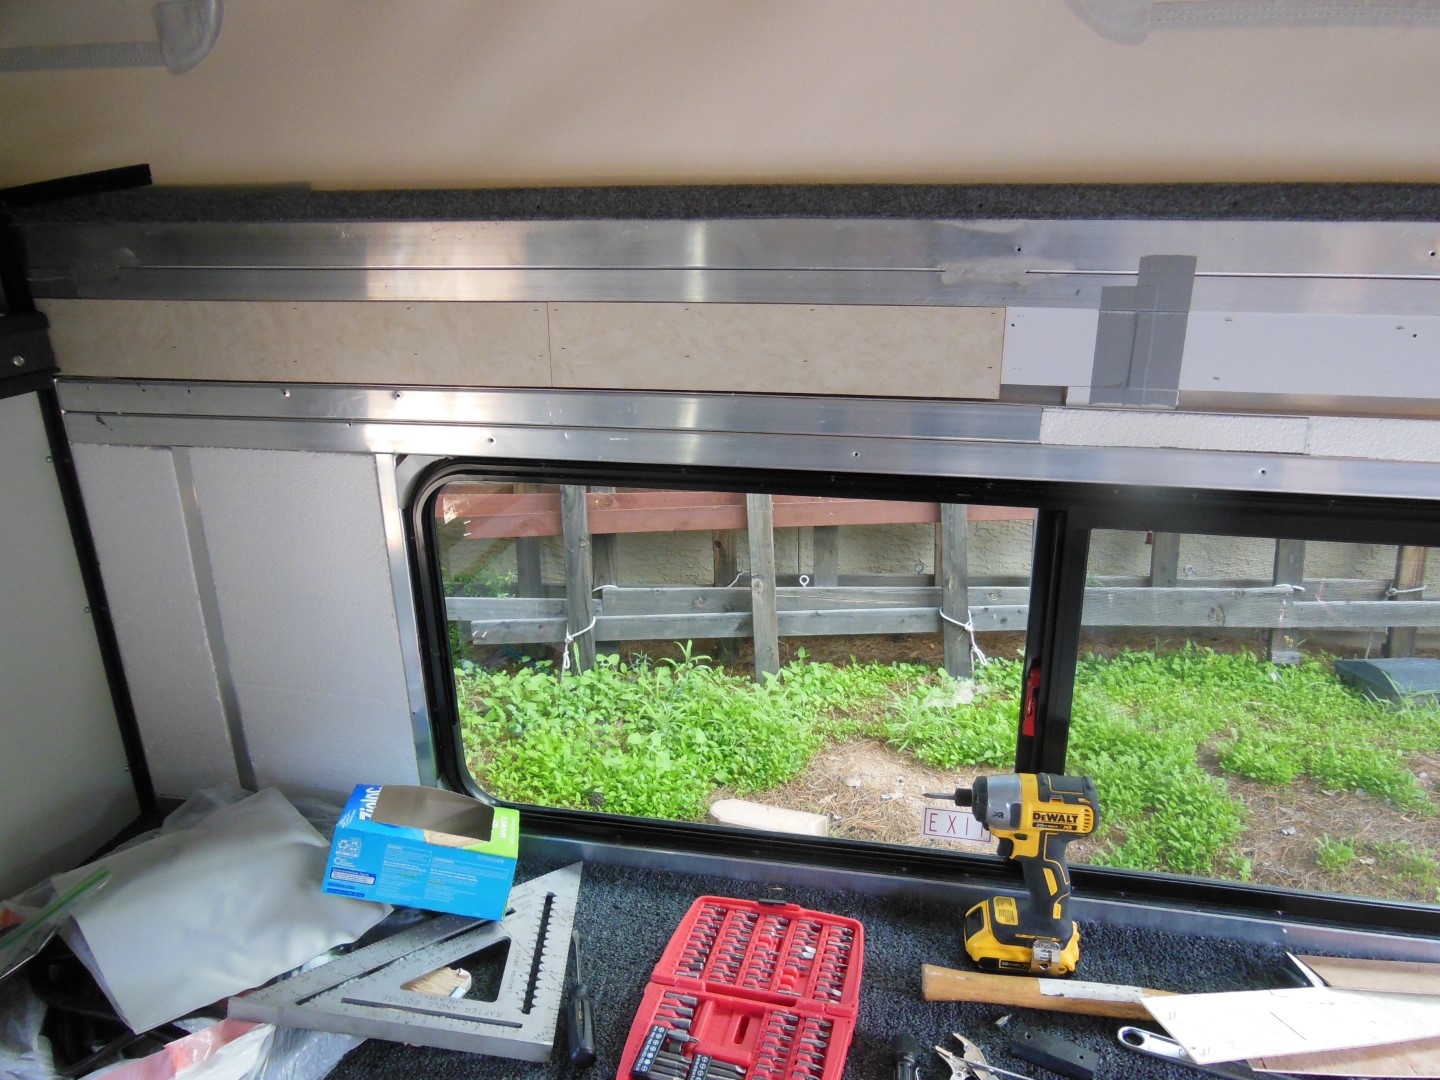
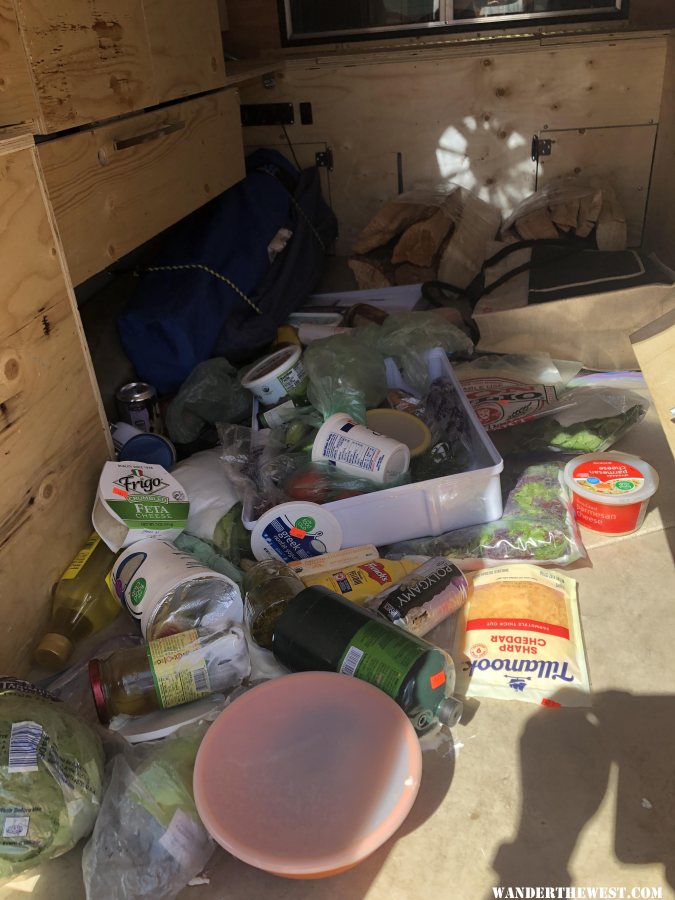
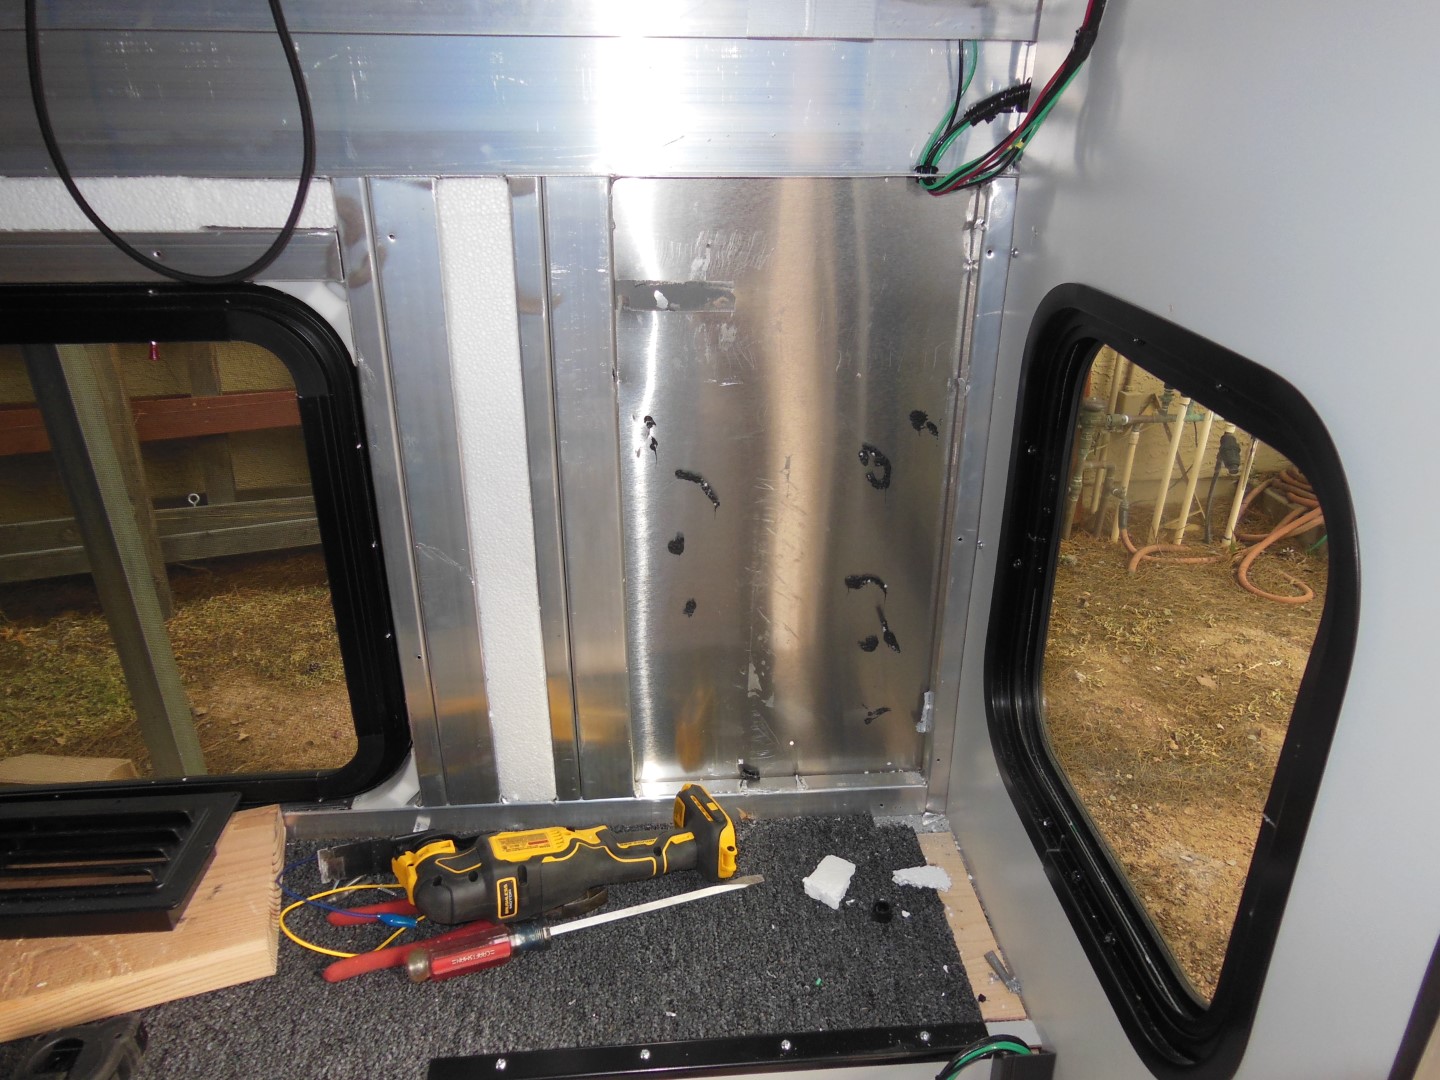
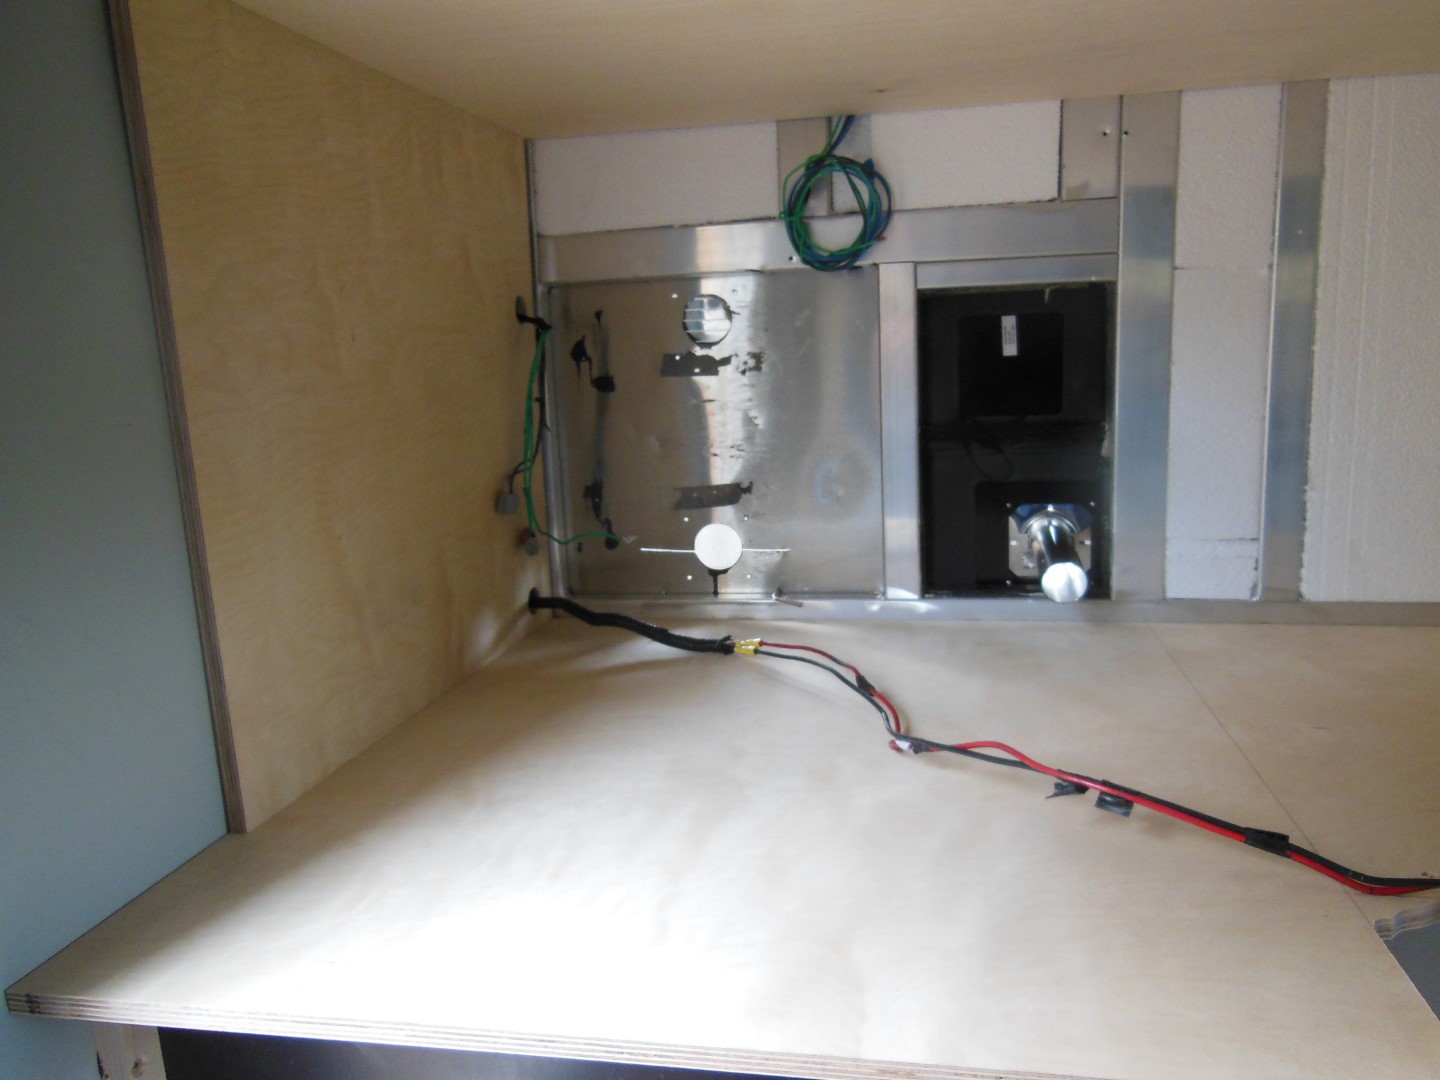
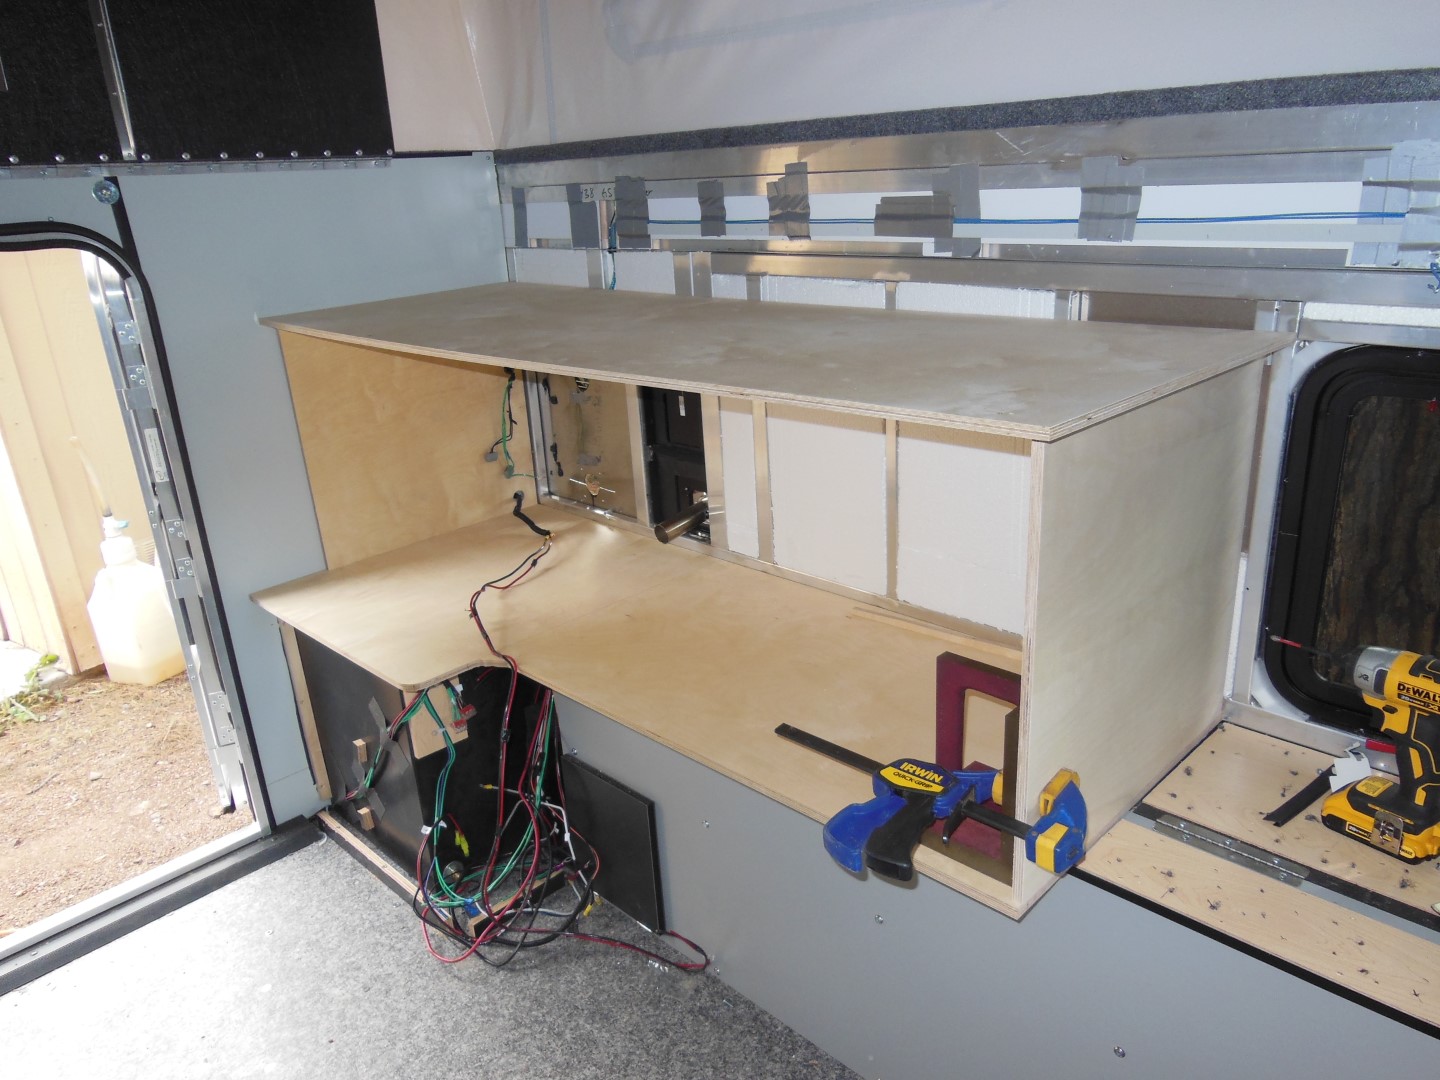
The camper had the heater option from the factory. So far I have removed the side panel on the passenger side and the cabinet that holds the heater and battery on the drivers side to gain access to the aluminum frame so I can add tubes to support all of the new items. Hopefully this weekend I will get the drives side panel off and start on the layout of all of the new hardware.


Looking forward to getting ideas from the members here as I complete my build.


I guess I need to figure out the best way to add photos.


Louis


IMG_3283.jpg


  • 0

#2 WillTheThri11

WillTheThri11

    Senior Member

  • Members
  • 141 posts
  • LocationSouthern California

Posted 23 January 2020 - 01:19 AM

Whoah! Interested to see what you have in mind for it. I’ll be following along for sure.
  • 0

#3 lmwilco1

lmwilco1

    Advanced Member

  • Members
  • PipPipPip
  • 93 posts
  • LocationTempe Arizona

Posted 25 January 2020 - 09:14 PM

Completed the demo in the camper with the cabinet and both side panels removed. My refrigerator should be delivered on Friday so then I will have everything I need to start the build. The fridge will be on the passenger side right inside the door. It is going to block the rear window but I wanted it right inside the door and there is not room on the drivers side due to the location of the heater.


DSCN1037_Large.JPG

I will probably need to remove the vertical tube in the center of the opening in the right side of the photo for the fridge vents. The awning light wiring that is just above the vertical tube will be extended to above the center of the side window where the light will be installed.


DSCN1034_Large.JPG

On the drivers side in the back will be the 6 gallon water heater. I will need to remove the two angle pieces and the plywood in the lower left corner where the existing battery vents are located. Will also need to add two additional tubes to get the correct spacing for the heater.


The heater will stay in the factory location. Still need to locate the water fill, electric feed, and shower port.


DSCN1036_Large.JPG

Front half of the drivers side, planing on the cabinets to stop just before the window.


DSCN1038_Large.JPG

Front half of the passenger side, currently no changes planned here.


Edited by lmwilco1, 25 January 2020 - 09:16 PM.

  • 0

#4 Vic Harder

Vic Harder

    Doctor Electric

  • Site Team
  • 4,950 posts
  • LocationCalgary, Alberta

Posted 25 January 2020 - 11:00 PM

Louis,  I had the fridge in that same corner before starting my current build out.  I'm moving the fridge to the drivers side front to minimize the bouncing it gets.  Fridge pops open on really rough roads, and even after we secured it so it did NOT open, the contents moved around it ways that defy possiblity


gallery_6362_1323_1100540.jpg


  • 0

#5 lmwilco1

lmwilco1

    Advanced Member

  • Members
  • PipPipPip
  • 93 posts
  • LocationTempe Arizona

Posted 25 January 2020 - 11:12 PM

Vic thanks for your experience with the fridge placement. I am not sure I can move the fridge forward on the drivers side as I have a window and a lot of other stuff to fit in to that space.


Louis


  • 0

#6 Wallowa

Wallowa

    Double Ought

  • Members
  • 2,173 posts
  • LocationNE Oregon

Posted 26 January 2020 - 01:12 AM


Louis,  I had the fridge in that same corner before starting my current build out.  I'm moving the fridge to the drivers side front to minimize the bouncing it gets.  Fridge pops open on really rough roads, and even after we secured it so it did NOT open, the contents moved around it ways that defy possiblity


gallery_6362_1323_1100540.jpg


Damn Vic...Polygamy beer and propane in the frig?  So far our fridge has not come open [110 Isotherm, left rear] but I hear what you are saying...I may put a velcro insurance strip on it...the sliding "lock" does not inspire much confidence, but then again no dumping out yet...now the berry pie inside got mushed into the door and hit the floor when I opened the frig door, after my Hart Mountain cross country gymkhana...I just sat on floor, cracked a beer and spooned in the pie....could only do this since Bride was not on that trip... B)


Edited by Wallowa, 26 January 2020 - 01:13 AM.

  • 1

#7 AWG_Pics

AWG_Pics

    Into the Great Empty

  • Members
  • 1,195 posts
  • LocationOregon

Posted 26 January 2020 - 01:31 AM

I just sat on floor, cracked a beer and spooned in the pie....could only do this since Bride was not on that trip... B)


Been there, done that, while by myself. Beer goes well with almost anything!  :unsure:


  • 1

lived for several years each in Montana, Utah, Idaho, Texas, Washington, Oregon.

2019 Tundra, Hawk.

https://www.flickr.c...hotos/awg_pics/


#8 Vic Harder

Vic Harder

    Doctor Electric

  • Site Team
  • 4,950 posts
  • LocationCalgary, Alberta

Posted 26 January 2020 - 02:55 AM


Damn Vic...Polygamy beer and propane in the frig?  So far our fridge has not come open [110 Isotherm, left rear] but I hear what you are saying...I may put a velcro insurance strip on it...the sliding "lock" does not inspire much confidence, but then again no dumping out yet...now the berry pie inside got mushed into the door and hit the floor when I opened the frig door, after my Hart Mountain cross country gymkhana...I just sat on floor, cracked a beer and spooned in the pie....could only do this since Bride was not on that trip... B)

there was a small hatch under the fridge that had a spare propane canister in it... lol.


Even with the fridge NOT opening, we found the beer cans in the crisper and the apples at the top of the door where the beer had been.  Wasn't even driving crazy... 


  • 0

#9 lmwilco1

lmwilco1

    Advanced Member

  • Members
  • PipPipPip
  • 93 posts
  • LocationTempe Arizona

Posted 10 February 2020 - 12:22 AM

I have been working off and on as time permit on the camper. It has been a little slow going but I hope to pick up steam going forward.


DSCN1039_Large.JPG

I added two LED flood lights to the rear, They were a little expensive but are supposed to be fully waterproof and not overly bright. I have a third one to add to the passenger side for the awning light.


DSCN1040_Large.JPG


DSCN1043_Large.JPG

I removed the one tube in the center of this cavity to install the top and bottom vents for the fridge. I purchased the aluminum tube, I just need to cut the pieces and find a welder to weld them in.


DSCN1042_Large.JPG


I also removed the battery vent support to open room for the water heater. The opening is just under 2" wider than the water heater, I was going to add aluminum tubes but they won't quite fit in the opening and I would not have the ability to slide the heater side to side to center the opening on the outside between the jack mount and the heater cover. I think I will get some hardwood and make spacers between the tubes and the heater. The wood store will run them through the planer until i get the exact thickness I need.


DSCN1041_Large.JPG

This is the start of the cabinet. I have the cutout size for the stove but the sink diagram is missing one of the dimensions. I emailed the company I purchased it from so hopefully I will hear back in a few days. The sink is a Dometic™ (SMEV) VA8005 if anyone has the diagram.


  • 0

#10 Vic Harder

Vic Harder

    Doctor Electric

  • Site Team
  • 4,950 posts
  • LocationCalgary, Alberta

Posted 10 February 2020 - 01:14 AM

instead of welding, you could use angle brackets and 3m 5200.  


  • 0


0 user(s) are reading this topic

0 members, 0 guests, 0 anonymous users