

The culprit –
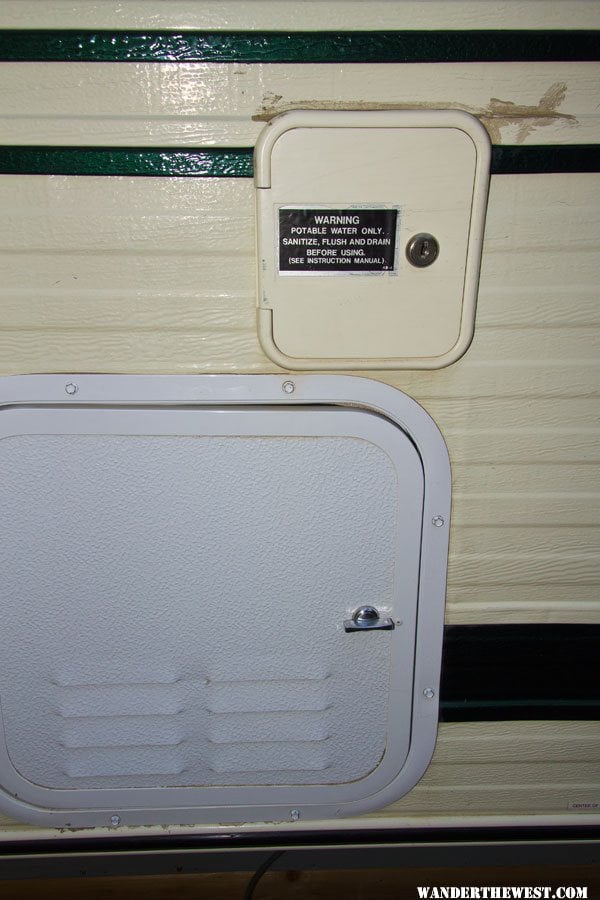
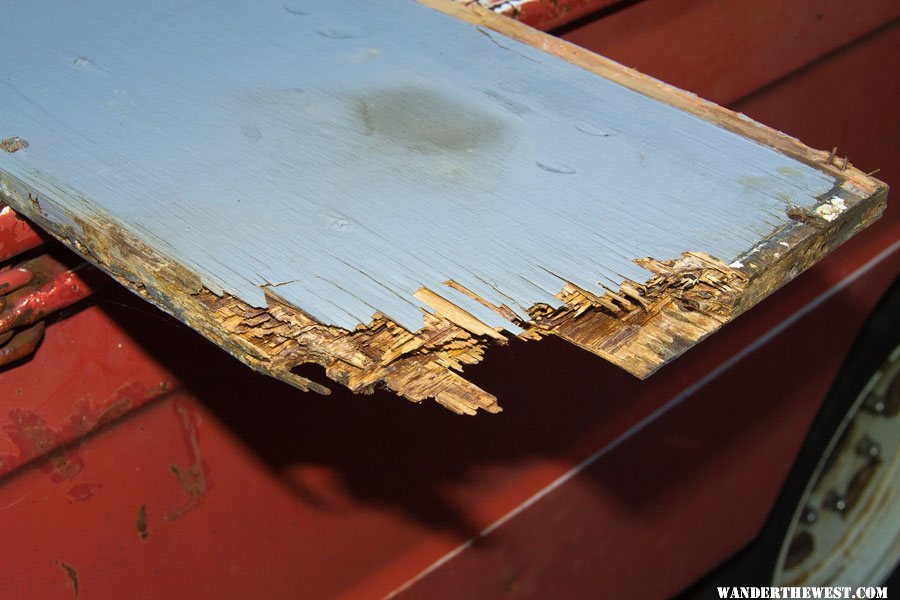
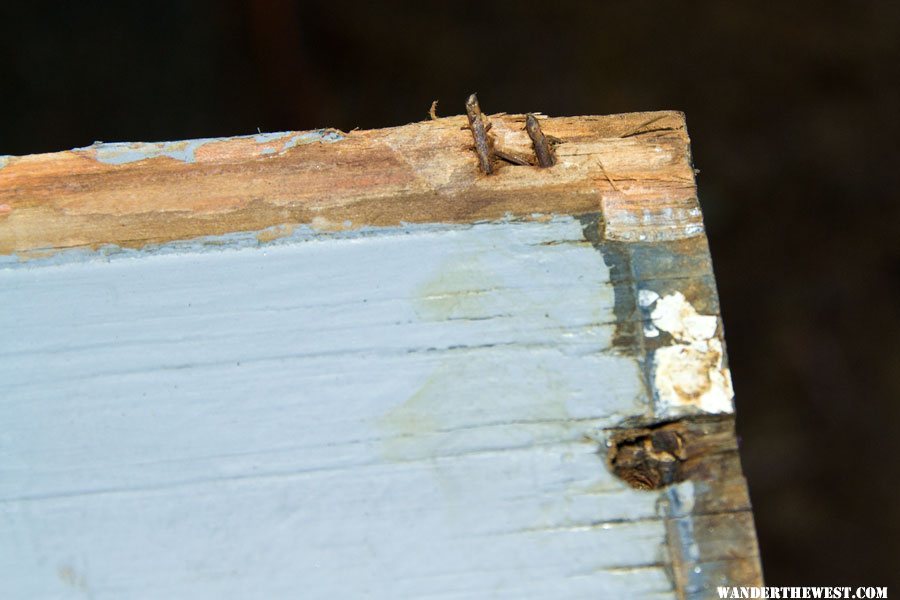
My original ten gallon water tank sits inside of the cabinet and is filled with the outside fill that also has the vent. When the tank is full, water runs out the vent, down the side of the camper, forward along the bottom edge (truck has a bit of a cant, the back is higher), and drips off the forward edge. Due to a poor seal, or whatever, water also seeped into the wood and caused this –
I removed the new cabinet that I had built. I was pleased that I had planned for a relatively easy disassembly/reassembly if ever needed. The entire floor pack is stapled together with long staples (1.5 to 2”) and then screwed to the bottom edge of the aluminum frame using hex head #8 sheet metal screws. First bit of disassembly was removing the outer trim that is screwed into the outside edge. Next was undoing the hex head sheet metal screws along the bottom. Next came the staples. These were a pain. There is not enough room to beat on the board and separate the joint. I took a chisel and cut into the board edge, found each staple and pulled then out with a screwdriver and large diagonal cutter. Because the floor pack is assembled as a unit, there were two staples under the aluminum frame I could not get to.
Careful wiggling got it up enough where I could cut them.
I used the old board as a guide, drilled and slightly counter sunk the holes for the hex head sheet metal screws. This worked perfectly. I only replaced two screws with larger #10’s. I painted the new board prior to assembly with two coats making sure the edges were well sealed. I sealed the edges well with marine grade sealant from west marine (I had a couple of tubes left from the rebuild) prior to screwing down the aluminum siding and trim pieces.
We’ll see how this holds up.


