So we tackled the Thermal Pack, with meager-to-rusty sewing skills, a new sewing machine (from Costco, a Brother XM3700,$89.99), an excellent write-up from ski3pin (and Barking Spiders). And some free time.
We did everything as detailed in their post except hem both the top and bottom edges. We only hemmed the opening edge, which is our case is the top (we plan to open our windows from the top down). Everything was pretty straightforward with the exception of sewing through the hook velcro which seemed a strain at times on our machine. As with many aspects of this project, not real pretty but it seemed to work.
First stage complete. Five panels to a side.

Then we went out on a limb. It seemed to me that, with all the convection in the air space behind what is basically a curtain, some real insulation might be a great help. At the same time we wanted to be able to open the windows and if possible leave the pack in place when the top comes down. We came up with the idea of adding some polyester batting to the outdoor side of the thermal pack and covering it with something thin - ripstop nylon is what we decided on. We sewed the nylon to each of the backs of the center and window sections (along 3 edges) and then slid in the batting before sewing the final seam. Then we made "pillows" for the fore and aft sections - that is sections of batting covered in ripstop that are inserted when the top is up but then can be removed when the top comes down, reducing the bulk at the corners. Here are some pics:
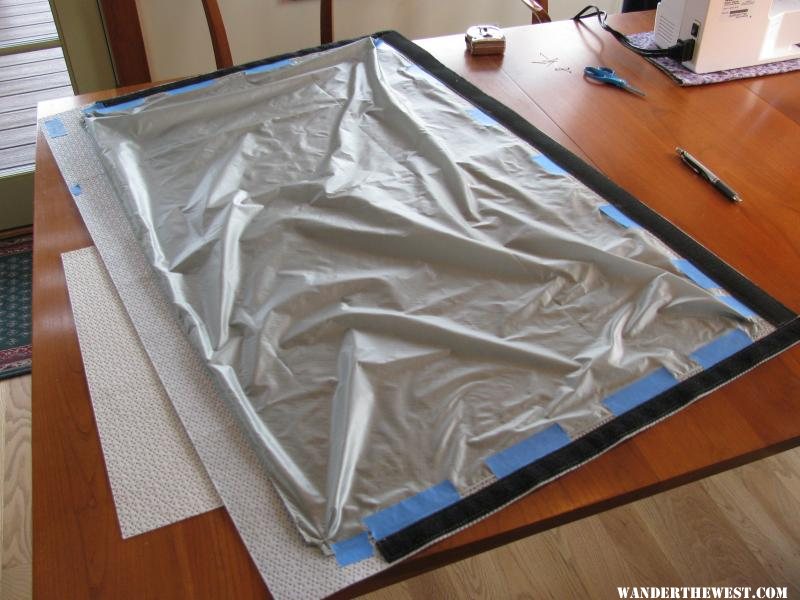
The ripstop, gathered a bit at the corners to allow for the loft of the batting. It's about to be sewn on the three sides with the tape and then in goes the batting
Polyester batting, about 3/4 - 1" thick, but pretty light.
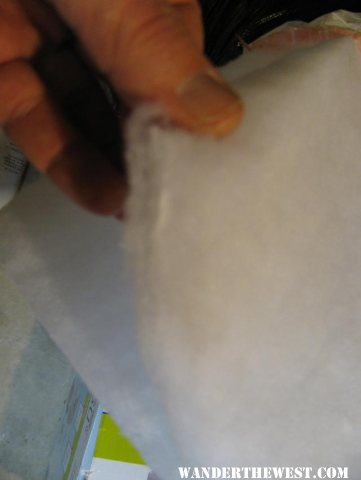
The batting in and ready to be sewn shut.
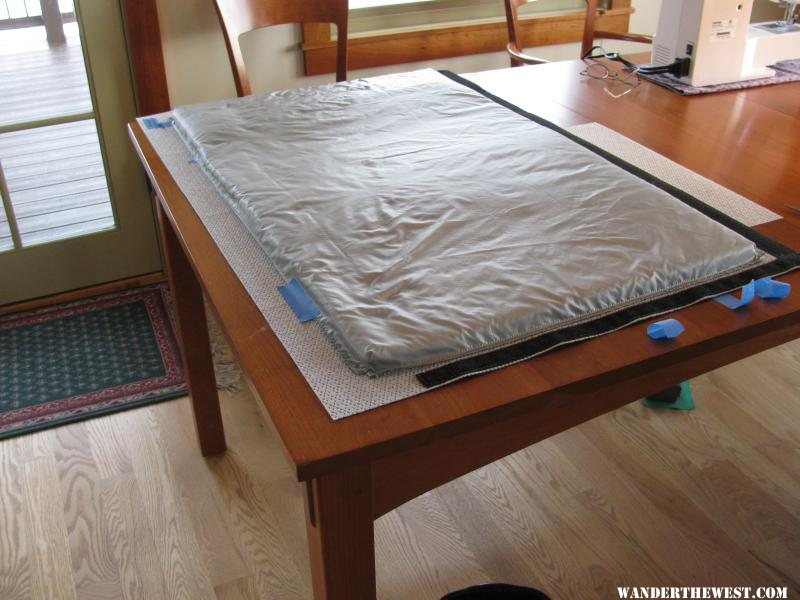
One side finished, with the loose pillows at the ends.
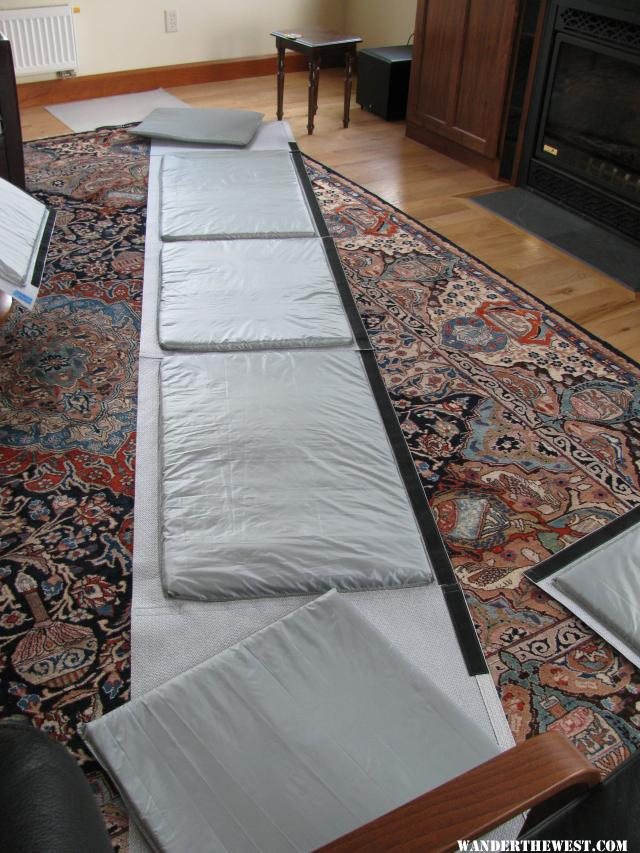
Here it is, hung in the camper. So far, when we want to lower the top, we just open the thermal pack windows, pull out the pillows from the corners and use the bungees on the pop-up's windows. It has saved us learning how to sew buttonholes and seems to work fine. The corners, without the pillows, seem to close easily and only required a small adjustment on a couple of the roof latches.
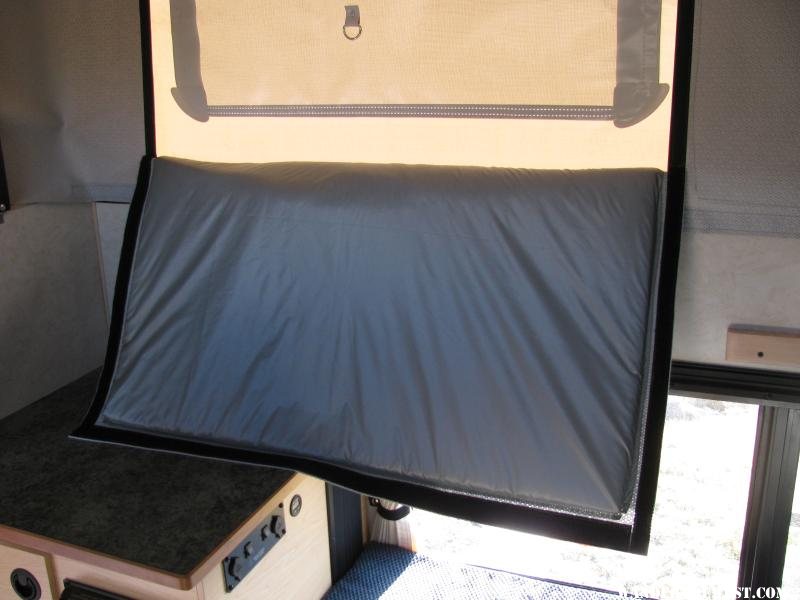
One problem we had was when I opened a thermal pack window - I got to the end of the velcro and it ripped the fabric (more easily than I would have imagined). We hadn't sewn the opposing velcros together at the end of the run (lower end in the photo above), just the fabrics. I think if we had we would have had a more positive stop and nothing would have ripped. We will fix that, notch the corners as per ski3pin's update and attach some velcro to grab the rolled up windows.
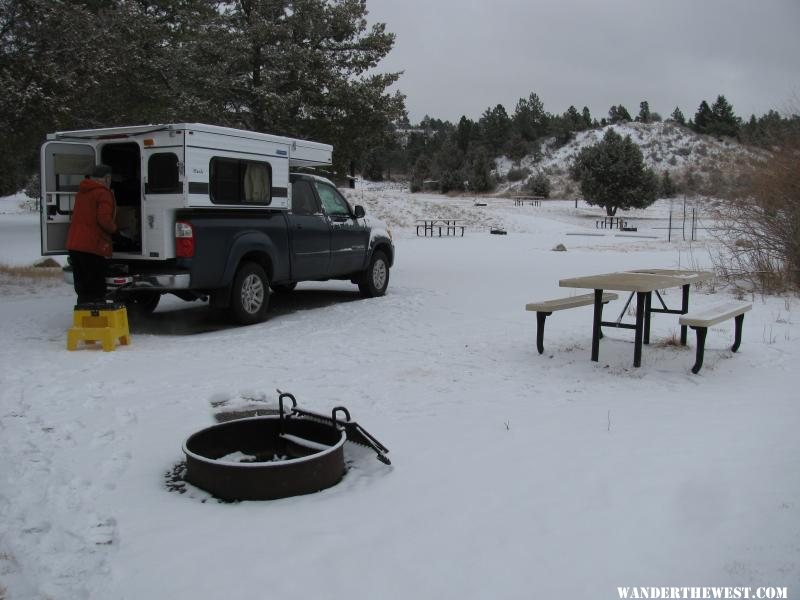
All that said, so far we consider it a great success. We had only camped a couple of times in cold weather but took it out this week in Montana winter and it seemed to perform admirably. There was some condensation in the morning - we toweled it off as others have advised. We kept the thermostat at 42 at night and it probably was upper teens, low 20s outside. It was very comfortable and the heater didn't seem to run an excessive amount, though we don't have much previous experience to compare it to.

We were glad to have the Thermal Pack along...
Costs for the project were about the same as ski3pin's, with the additions of $43 for the ripstop nylon from Seattle Fabrics and $24 for the batting from Joanns (at a 40% off sale). We spent a lot of time on it as we had to make up a lot as went along, but we are very happy with the result!
Cheers,
Robert


