Poky,
Thanks for the welcome. Tomorrow is day one of the floor pack teardown. I'm gonna head in to the shop a couple hours before work starts and tear down as much as I can. I figure if I can do a couple of hours per day I should have the floor pack narrowed by the end of the week.


1983 keystone build in Bigsky Country
Started by
Bigskyxj
, Nov 04 2018 03:19 PM
46 replies to this topic
#12

Bigskyxj
-
- Members
-

- 57 posts
Advanced Member
- LocationMontana
Posted 06 November 2018 - 10:52 PM
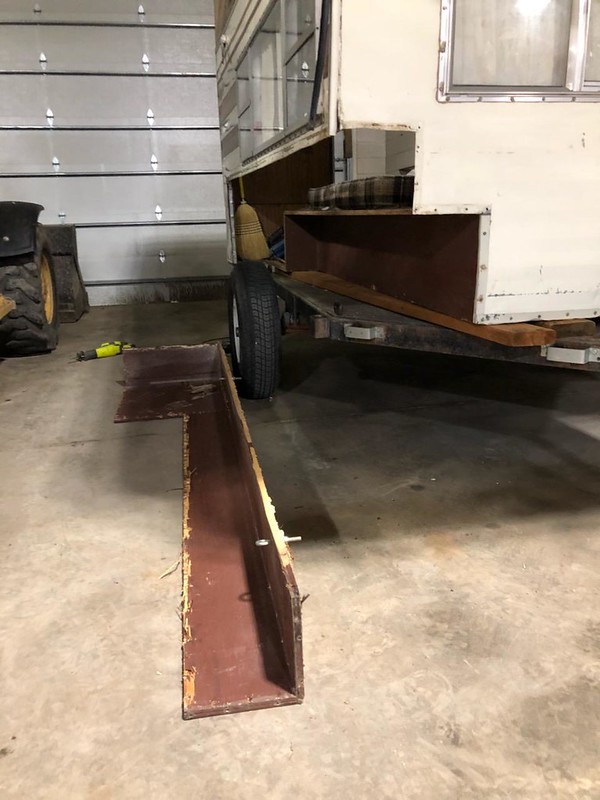
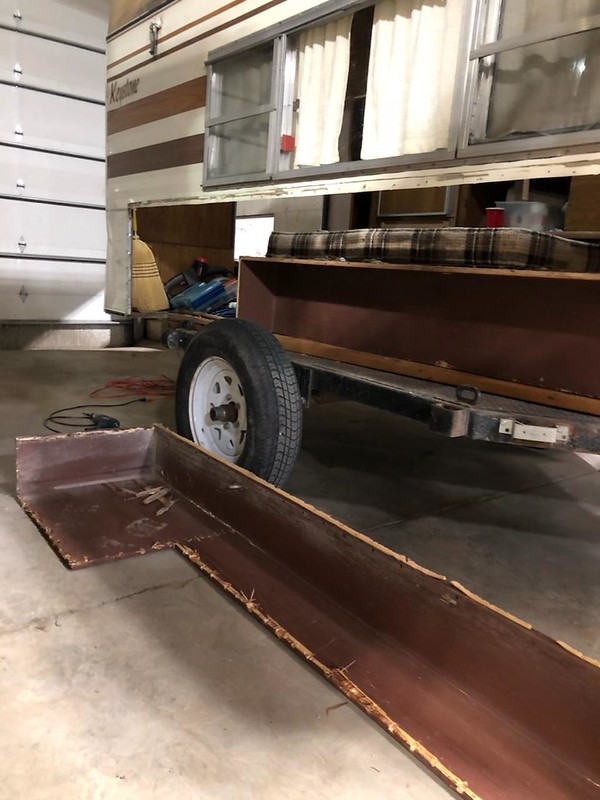
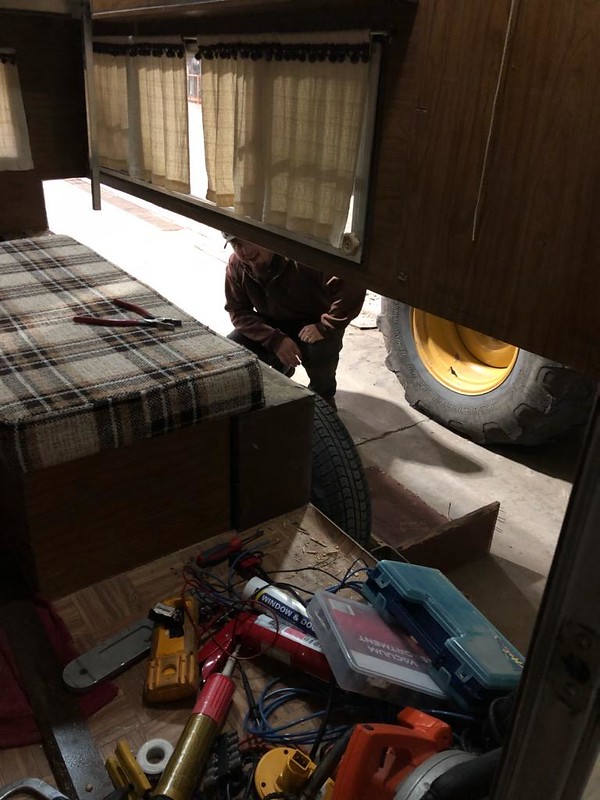
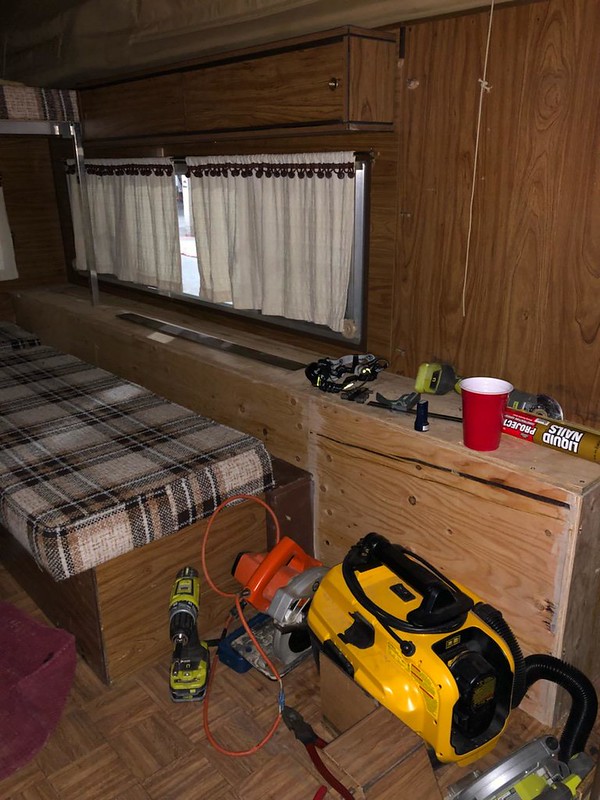
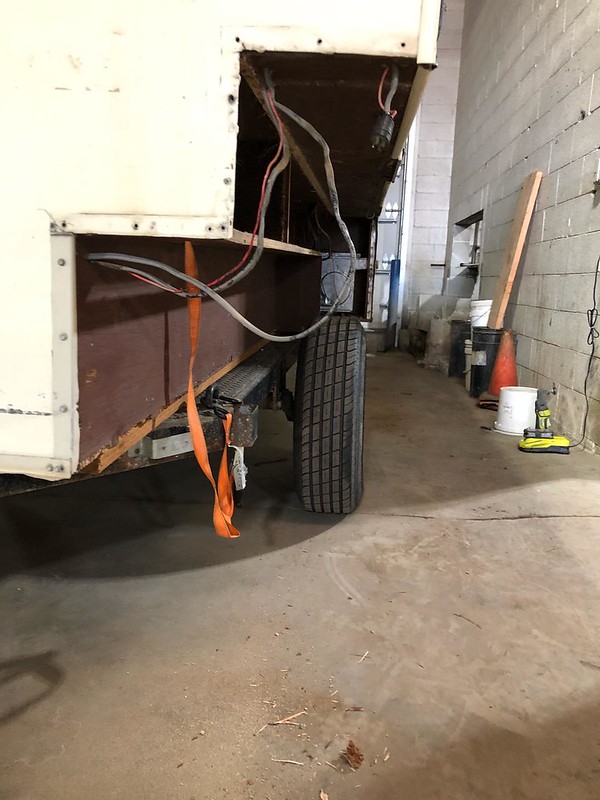
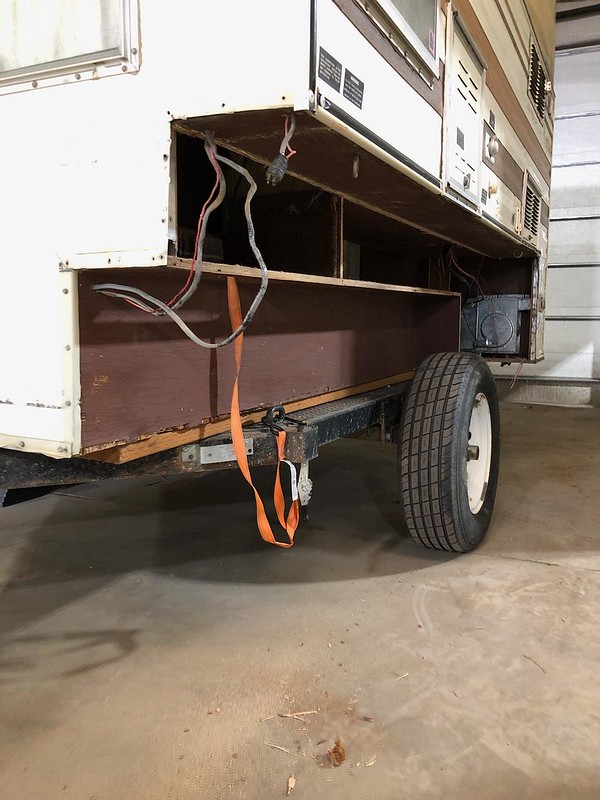
Progress was made today, got the passengers side tore out. Tomorrow I will cut 3" off the side and start cutting new wood to go back on. Most of the wood I took off got pretty jacked up trying to pull the long staples out.
 2625 by bigskyxj, on Flickr
 2626 by bigskyxj, on Flickr
 2627 by bigskyxj, on Flickr
2625 by bigskyxj, on Flickr2626 by bigskyxj, on Flickr2627 by bigskyxj, on Flickr
Edited by Bigskyxj, 07 November 2018 - 12:28 AM.
#13
Bigskyxj
-
- Members
-
- 57 posts
Advanced Member
- LocationMontana
Posted 07 November 2018 - 02:41 PM
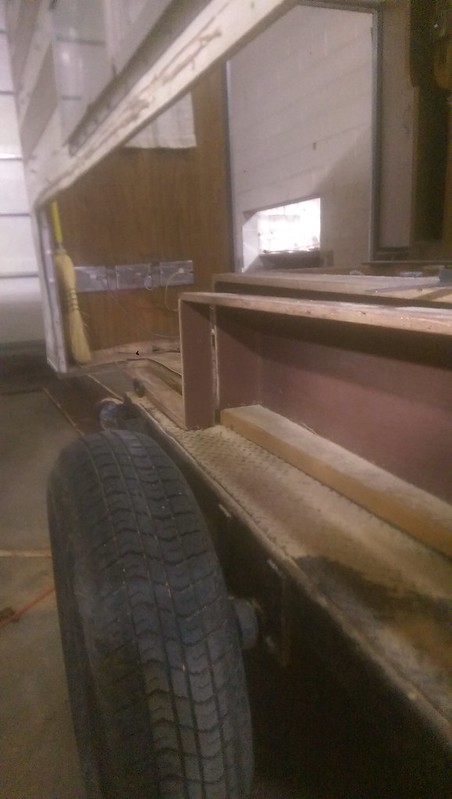
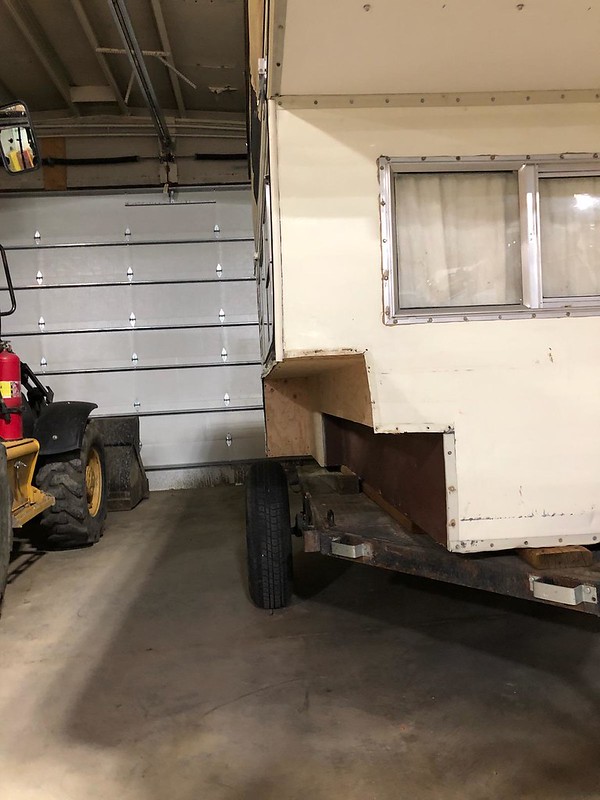
Made some more progress this morning. Cut 3" out of the passengers side.
 IMAG0527 by bigskyxj, on Flickr
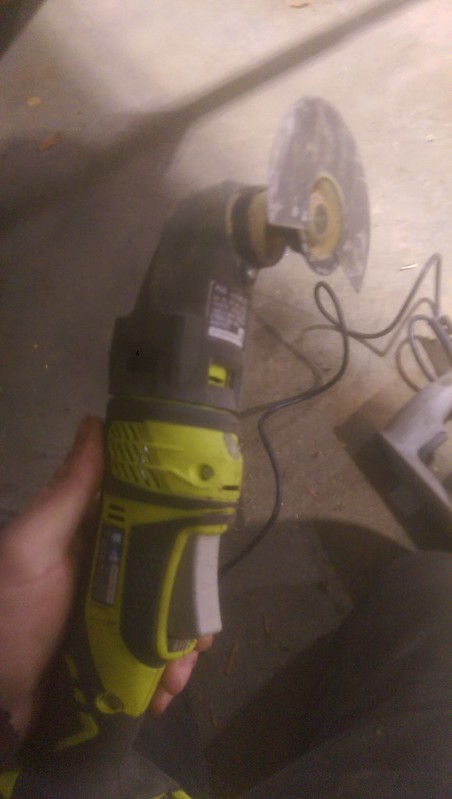
My buddy let me borrow his oscillating saw which made the end cuts in the corners a hell of a lot easier.
 IMAG0528 by bigskyxj, on Flickr
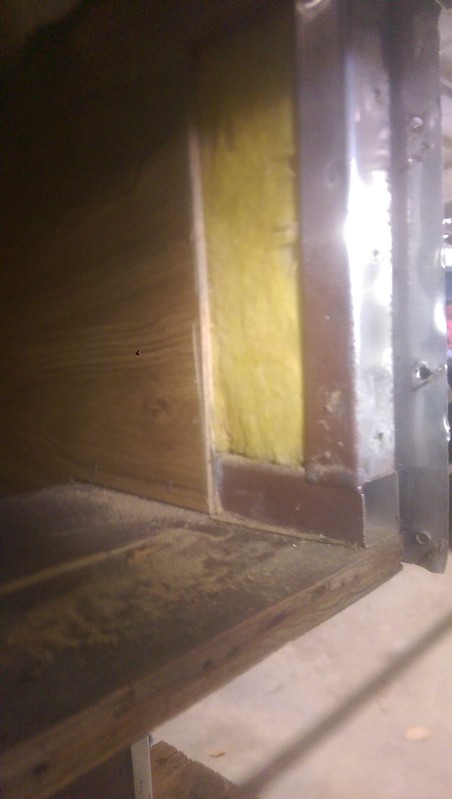
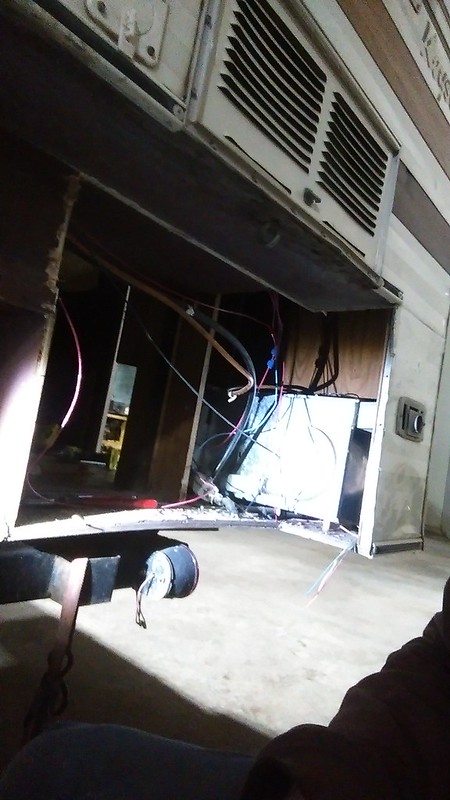
Trimmed away the wall board to expose the frame at the front of the camper. this has to move in 3" as well.
 IMAG0525 by bigskyxj, on Flickr
#14
Bigskyxj
-
- Members
-
- 57 posts
Advanced Member
- LocationMontana
Posted 07 November 2018 - 02:45 PM
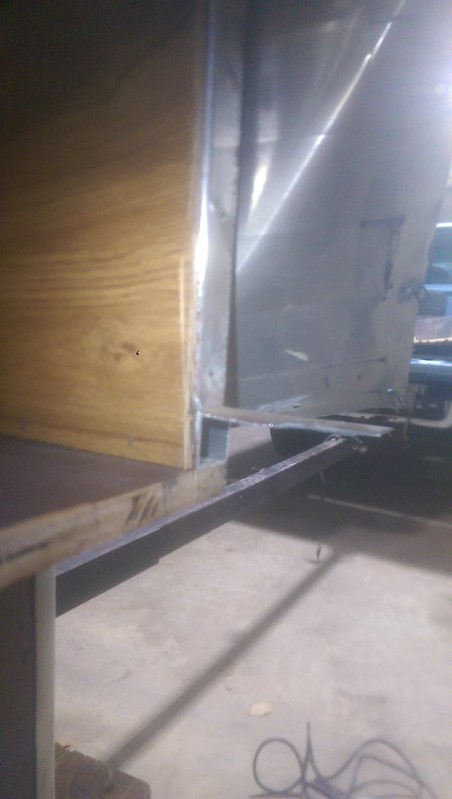
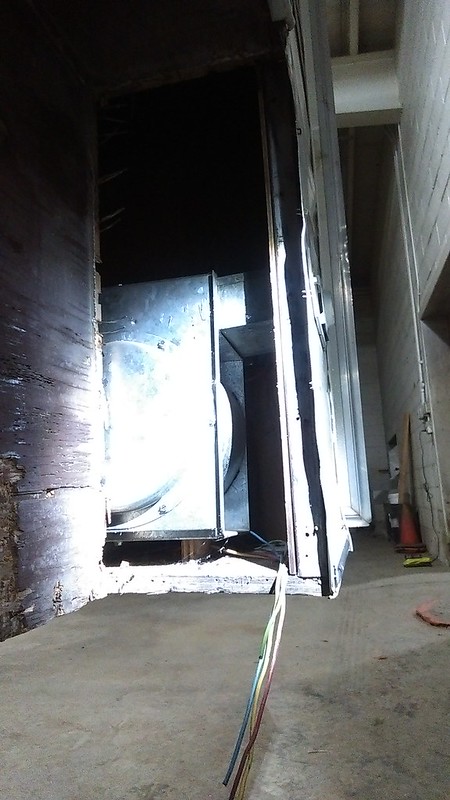
Next i ground the welds off of the vertical frame beam and moved it in 3". On the horizontal frame rail on the bottom i cut away 3 sides so that i can fold it up to use as an attachment point for the vertical beam.
 IMAG0530 by bigskyxj, on Flickr
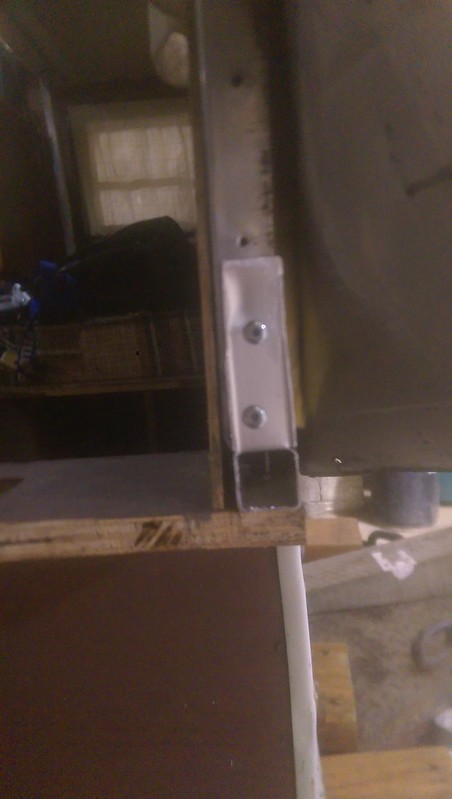
After putting the vertical beam back in I folded the lower piece up and riveted it together. It's not the greatest way to go about this but i do not have a way to weld aluminum so it will have to do. It should provide some vertical support by atleast holding that piece in there.
 IMAG0534 by bigskyxj, on Flickr
#15
Bigskyxj
-
- Members
-
- 57 posts
Advanced Member
- LocationMontana
Posted 09 November 2018 - 09:26 PM
Finished up the wood work on the passengers side today. It took longer than I anticipated. Its a bit of a slow process trying to line up all the pieces by yourself but it is possible. It doesn't help that I'm not much of a carpenter. I used liquid nails and screws to secure all the wood pieces to each other.
All I have left to do on the passengers side is to trim the aluminum siding accordingly and re install the trim. I may paint the wood before installing the trim just to protect it.
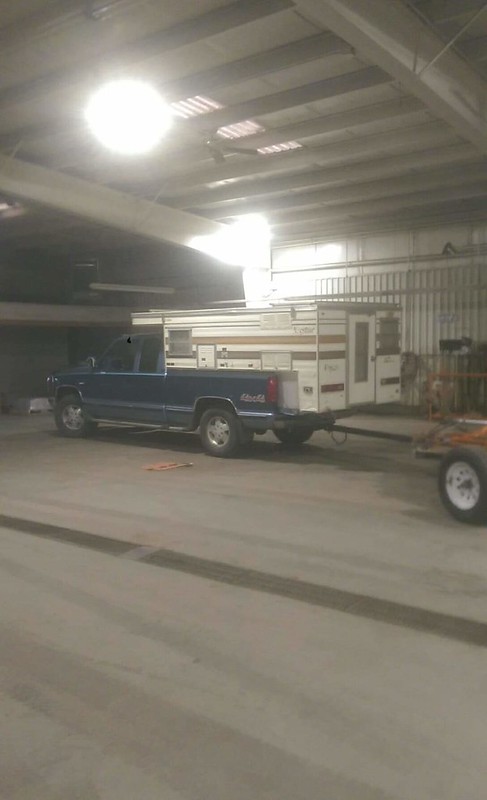
Hopefully I can get back to it Monday morning early and get the drivers side knocked out fairly quick. I am itching to get this thing in my truck and install the eyelets in the bed of my pickup.
After that it will be on to getting the battery and wiring squared away.
#16
Bigskyxj
-
- Members
-
- 57 posts
Advanced Member
- LocationMontana


#20
Bigskyxj
-
- Members
-
- 57 posts
Advanced Member
- LocationMontana
Posted 17 November 2018 - 04:00 PM
Well I got a lot done, things were going smooth and I managed to get all the wood stuff done. I painted all the new wood to protect it. I got my fuse panel wiring knocked out and battery isolater/charger all hooked up. More pics to come.
 received_1961355240616049 by bigskyxj, on Flickr
received_1961355240616049 by bigskyxj, on Flickr


0 user(s) are reading this topic
0 members, 0 guests, 0 anonymous users

