Pirelli install question

JoeKan

Senior Member
Joined
Oct 12, 2018
Messages
152
Location
Kansas
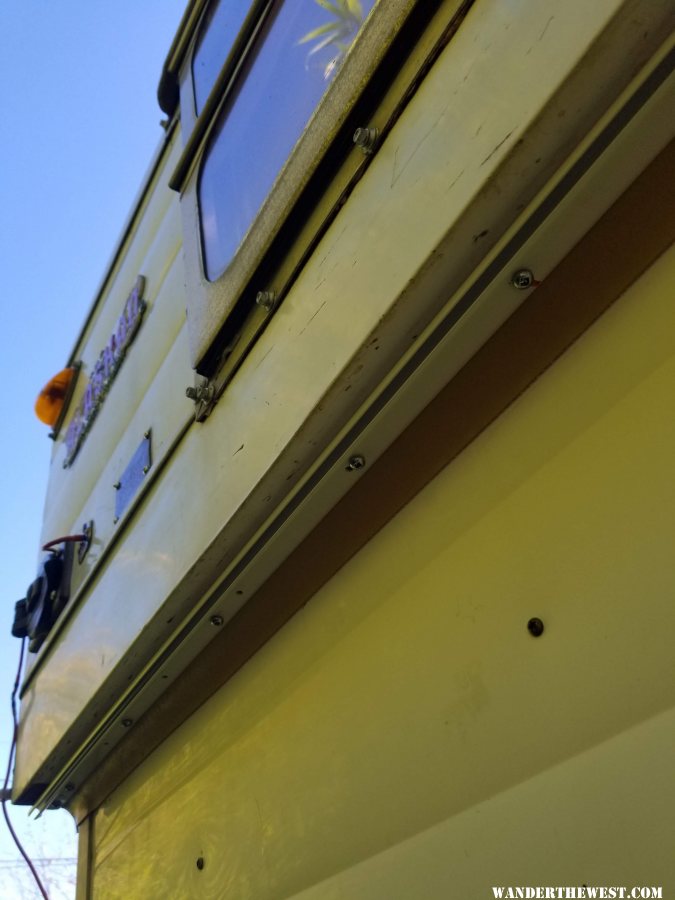
I did a search and didn't find anything but I remember reading a post about installing Pirelli gaskets. I took the first piece of trim off and noticed that the gaskets did not go all the way to the corner of the camper. I.e. the end pieces do not meet the side pieces and as a result, there's a gap there.
I'm thinking I should run my new Perelli gaskets all the way to the corners so that they are all touching. Is this correct?
Thanks for any help,
Joe
Yes, the gaskets are all nailed on too.
 
I spoke with Brain today and he gave me some great information and I want to pass it on. He said it's okay to run the gaskets up to 1/16" to each corner. I'm not sure why my old original gaskets were about 1" away from each corner as it left a huge gap. He also said to push the gaskets so they are touching the sides (inside the trailer) and add 3/8 - 1/2" extra so the gasket will curl up and down and form a barrier.
Hope this helps any future AK owners.
 
Hey guys, I am going to bump this thread, because it seems to have the best info on installing the seals I have found.

So I am going to do the outer seals on my 1965 NCO, Inners are done. I have decided to ditch the flat pieces of (once) galvanized steel along the sides in lieu of this white coated aluminum awning rail https://rvstoredirect.com/collections/awning-drip-rails/products/rv-awning-rail-16-new-white-4964313


Two questions:

1. Is there any reason I should use sealant like dicor or PV tape anywhere? I am thinking no, because the Pirelli seals against the aluminum bottom, keeping water from being absorbed/wicked up into the camper sides, and it will just be a mess to clean next time the seals are replaced.

2. I have a feeling I am going to encounter screws that don't grab as nicely as they should. My normal fix for stripped holes in wood would be to glue dowels into the old holes and drive the screws in again. I also thought about using a syringe to inject epoxy, but that might be a bit messy. Has anyone come up with a good solution, short of rebuilding the upper half of the camper? :)

Thanks for your time.

gallery_12819_1601_14166.jpg
 
The awning rail worked great. I just lined it up and marked where the holes should be, then drilled the rail, so as not to make too many new holes in the camper. I think 2 or 3 of the pre-drilled holes even lined up. The dowel and glue trick worked just fine for the couple screws that didn't want to really grab.

I just use a "front wall" for an 8' awning plus a couple poles, and guy lines, and I can have an awning on either side now.

gallery_12819_1601_113996.jpg
 
Back
Top Bottom