Welcome to the Bobcat group.
We have had ours since Dec 2009 and have gotten great service with it.
Your build looks good.
Keep posting.
Frank

 1 votes
C'est la vie

Posted 26 May 2017 - 11:12 PM
Welcome to the Bobcat group.
We have had ours since Dec 2009 and have gotten great service with it.
Your build looks good.
Keep posting.
Frank
2002 Tundra AC TRD 4WD Limited 2009 ATC Bobcat loaded http://sharychic.blogspot.com/
Advanced Member

Posted 26 May 2017 - 11:19 PM
Senior Member

Posted 26 May 2017 - 11:31 PM
Good idea to do the prototyping approach- you will probably change things around a couple of times. Have fun camping!
Free Range Human

Posted 27 May 2017 - 12:27 AM
I am haunted by waters
Gypsy Feet

Posted 27 May 2017 - 02:15 AM
Ah, the joys of planning and implementation. Just remember everyone is different. Don't feel compelled to do it the same way as others have. I like your prototype method. Each trip will refine your set up, until one day you enjoy a trip and say to yourself, "I can't think of anything I would change". At that point it is time for a different rig, because some of us just thrive on that stimulation.
Belay On

Posted 27 May 2017 - 02:30 AM
"My wife and I both slept through the night in comfort. Better than at home. The weather was good. We saw some very interesting birds. A hopeful harbinger for trips to come."
The best part! 
Congrats on your new camper and best of luck with outfitting and setting up your unit.
2003 Ford Ranger FX4 Level II 2013 ATC Bobcat SE "And in the end, it's not the years in your life that count. It's the life in your years."- Abraham Lincoln http://ski3pin.blogspot.com/
Senior Member
Posted 27 May 2017 - 02:46 AM
~Jim2000 Tundra AC- 2000 FWC Ranger
2017 Tundra DC - 2017 ATC Panther
Advanced Member
Posted 27 May 2017 - 06:23 PM
Advanced Member
Posted 14 September 2017 - 05:10 AM
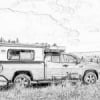
Well, I guess I am well past the prototyping stage now but I'll just add to this post to keep the story going.
I built out the side counter cabinets and side dinette and we took several trips this summer. It worked great, but now I'm tweaking things a bit and it is a good time to catch up the post.
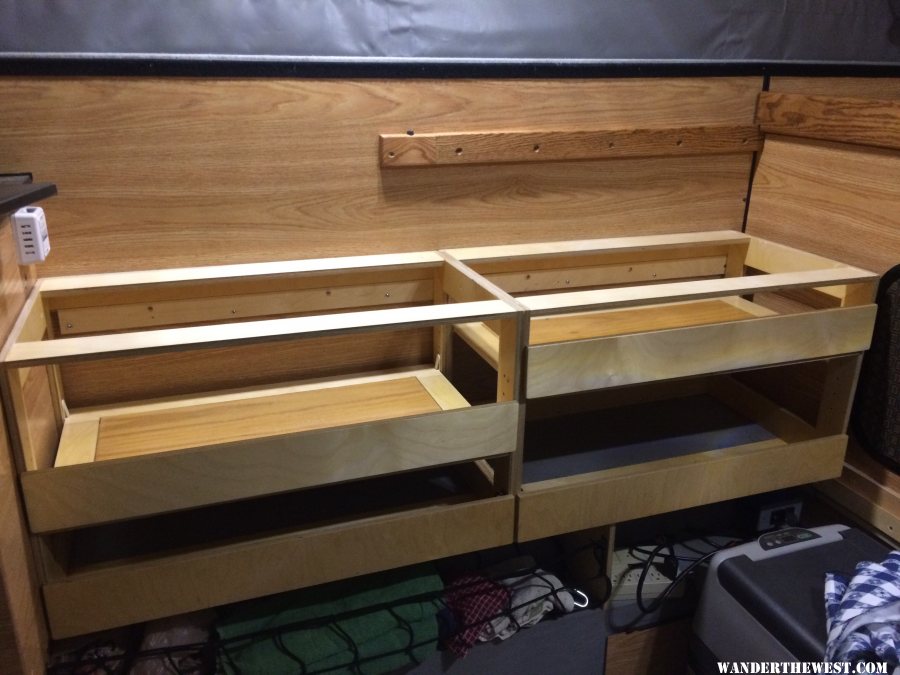
Here are the side cabinets with no shelves or counters. I used 1/2" Baltic Birch with a water based lacquer-type finish. I used a frame construction to reduce weight.
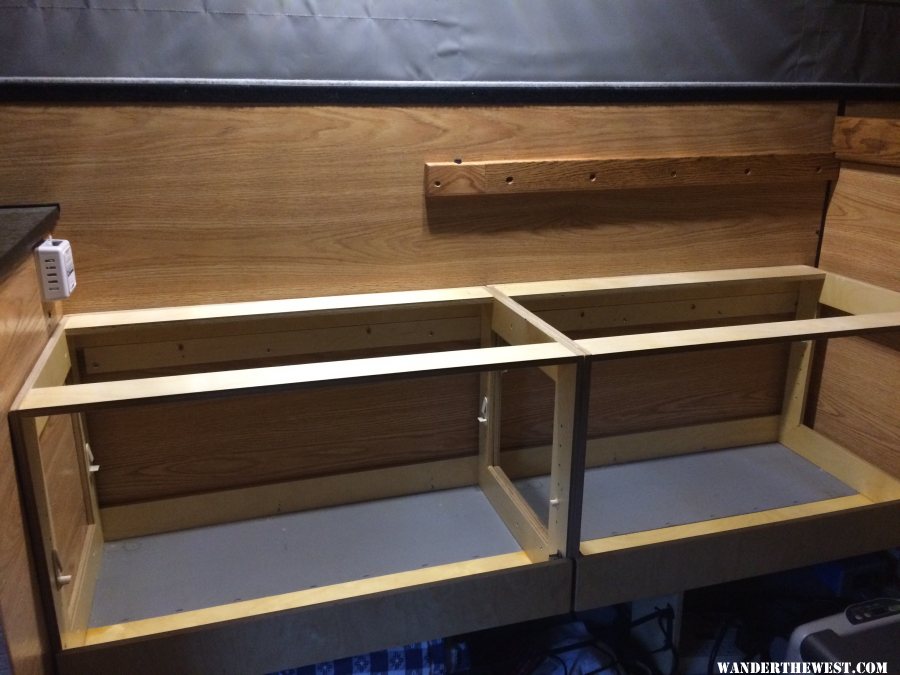
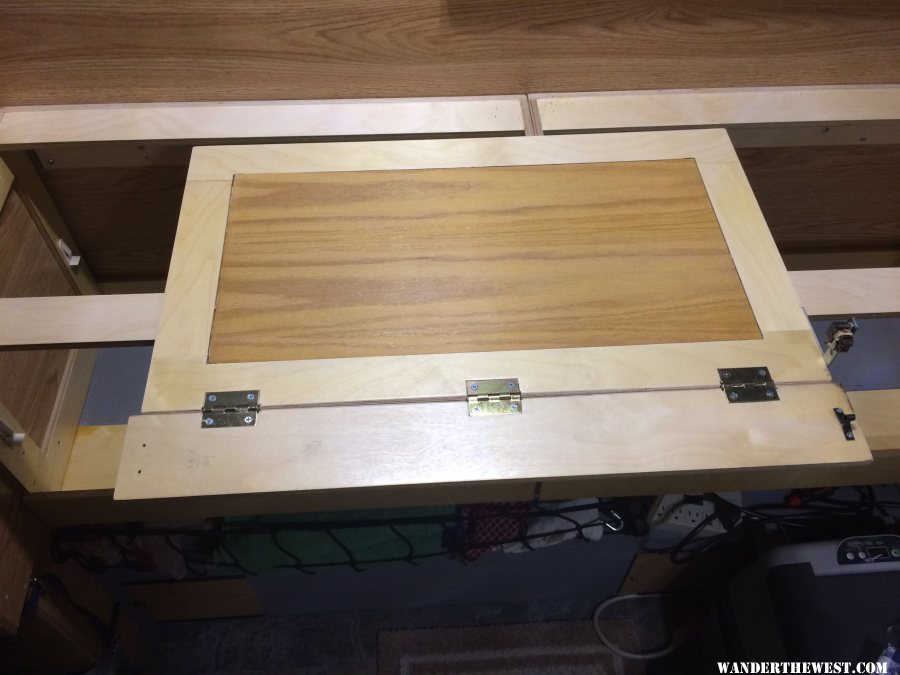
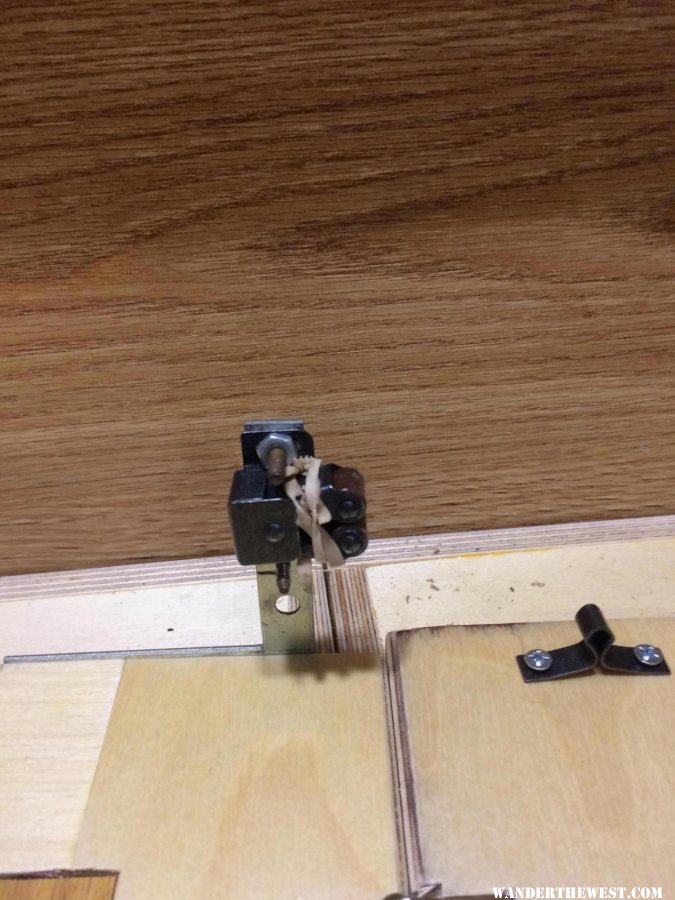
The counter cabinet is 16" wide. The same width as the wheel well inset. That is a little narrow, but we like having some room to move around in the camper. I fastened a partial bottom under the frame side panel so it is flush with the upper inset of the floor pack. To keep things in the bottom of the cabinet, I hinged a 3" flip-down lip with spring roller catches.
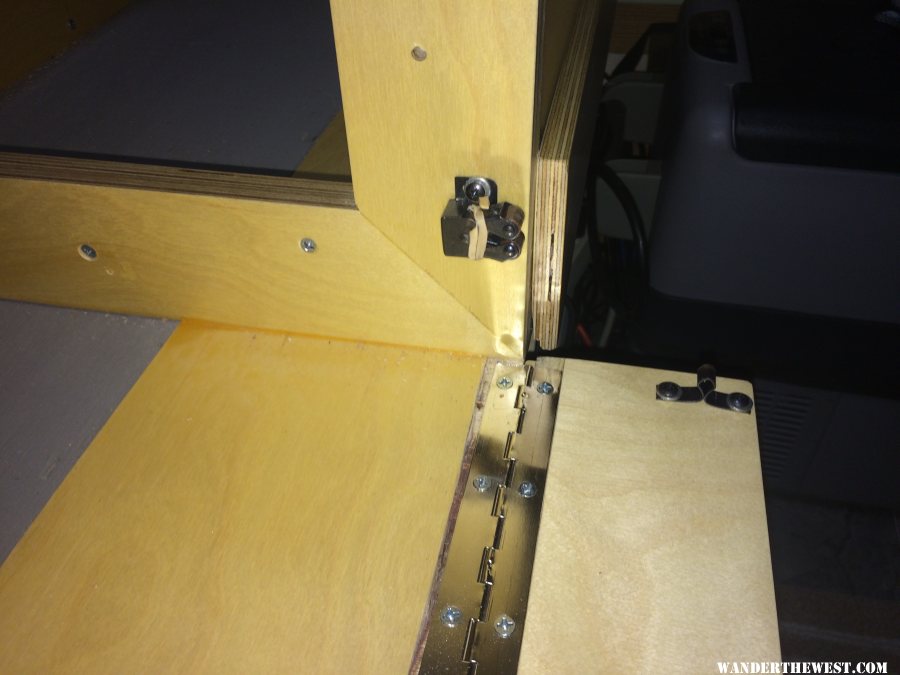
Below the cabinet I have a stretch net to create a little storage for towels and what-not.
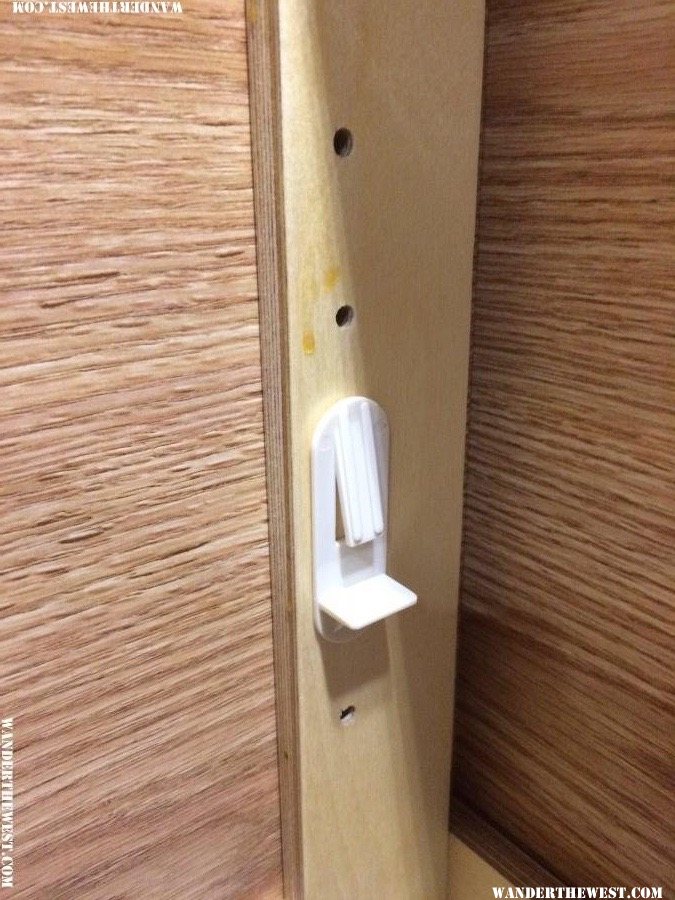
The cabinets are drilled with shelf pin holes for shelves. I want to keep things adjustable. I found some locking shelf pins to keep the shelves in place.
The shelves are a frame construction with 1/8" oak plywood centers. Nice and lightweight. I had scraps of the oak plywood left over from another project. Otherwise I would opt for something less expensive. But it makes a nice looking shelf.
The shelves also have the hinged lip, but I attached an angle brace to the shelf to hold the spring catch. That way I can move the shelf where I want it without screwing the catch into the cabinet panel.
Cabinet with empty shelves.
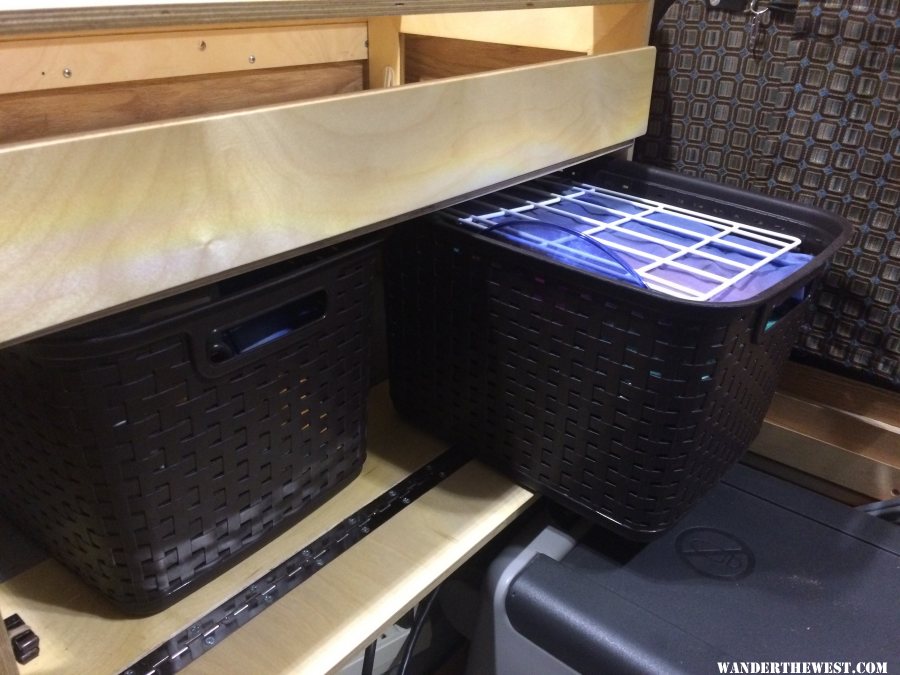
I found these really inexpensive plastic bins at Bimart that are just about the right size. And very lightweight. There is a short and a tall size.
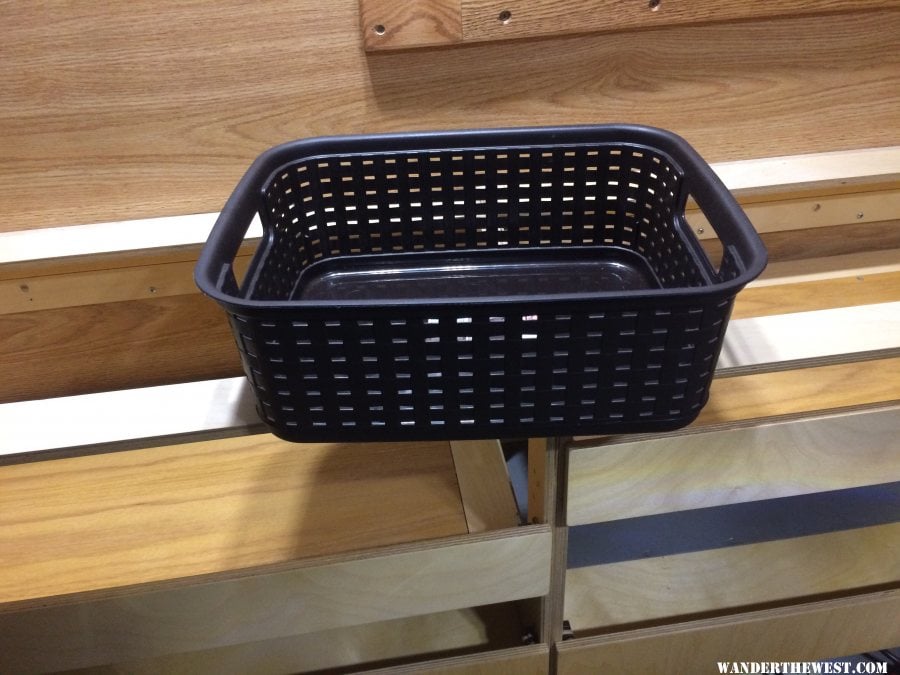
I can get four short bins or two tall bins in a cabinet.
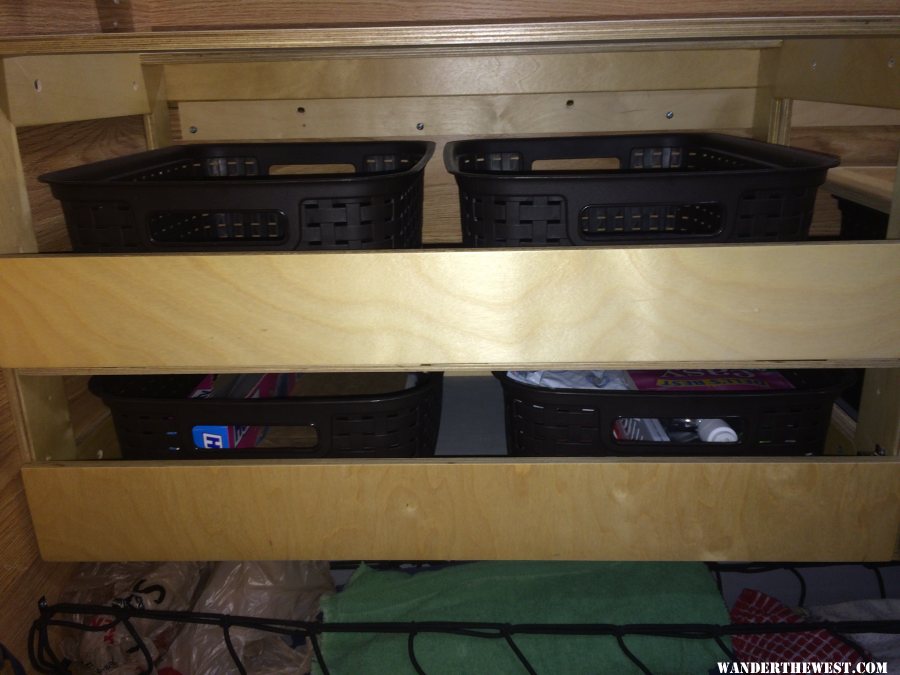
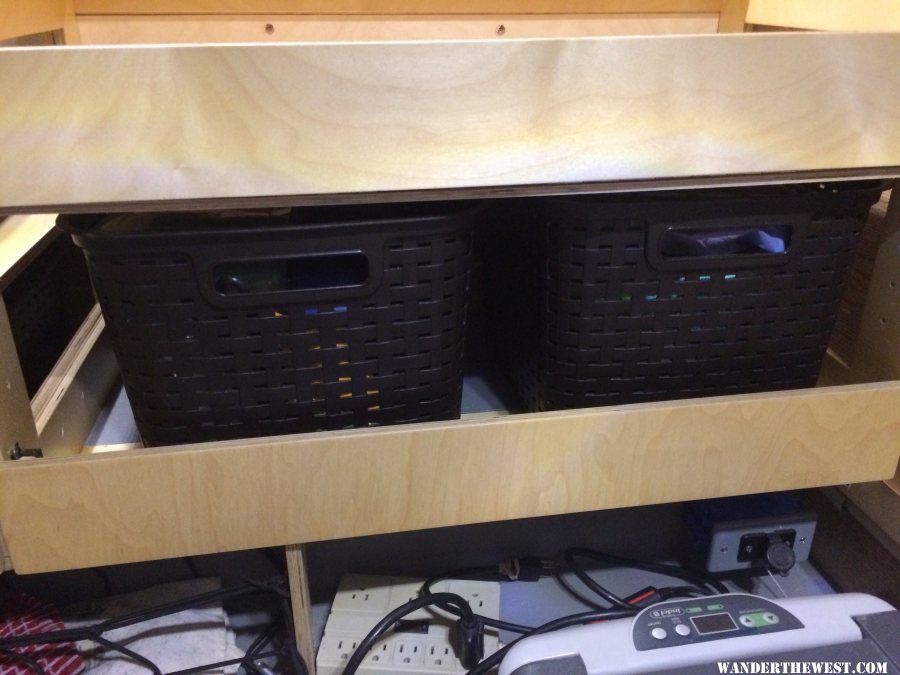
With the lip down, it supports the bin when it slides out. They come out far enough for access. Not quite as smooth as drawers with drawer slides, but a whole lot lighter and more adjustable.
That is enough on the side cabinet for now. Time to go to bed. I'll work on getting pictures posted of the counter and side dinette.
Free Range Human
Posted 14 September 2017 - 01:15 PM
I am haunted by waters


0 members, 0 guests, 0 anonymous users

