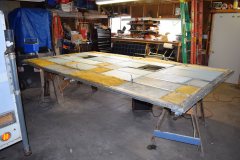
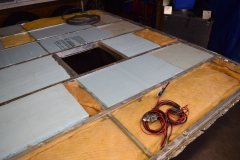
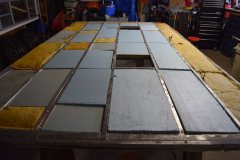
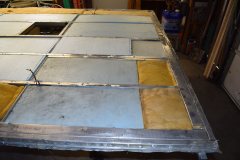
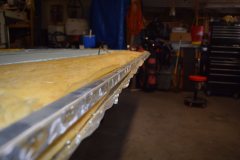
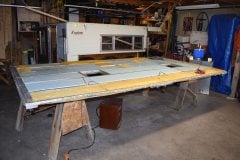
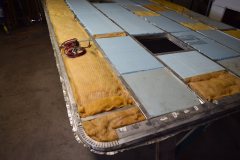
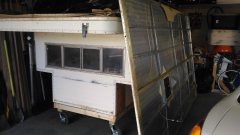
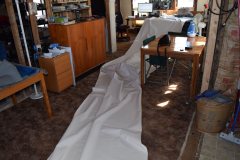
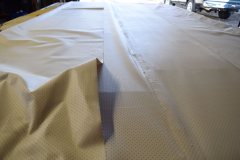
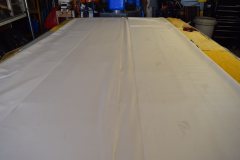
So two friends volunteered to come over andhelp me install the headliner today. It was 41 degrees and breezy at 1PM. The garage felt colder. I was afraid that the temperature would slow the curing process of the spray glue so I put an infrared heater under the roof for a couple hours.
I unboxed the headliner - a year and more after I bought it - and unrolled it to cut it in half. Here's the invoice for headliner and spray glue.
My friends arrived and I showed them Poky's pictures as part of preparing them. I'd studied them, and Tim Morrisey's, a bunch of times - spending way more time on WTW than actually doing it.
We humped the two rolls of headliner out to the garage and spent 20 minutes going through the steps we would take to glue down the two halves onto the center fore/aft frame strut in the roof.
I couldn't figure out "exactly" what Poky or Tim did, so figured I would lay the two halves out, wrong side up on either side of the center fore/aft frame member. I left about half an inch on either side of the strut. I don't have pictures of what we did, so I'll try and be as clear as possible.
Picture two halves, wrong side up, on either side of the center aluminum strut. The roof is 12' long. The headliner was 30' long, cut in half, so I had 3' to play with fore/aft. I shook the spray glue for a bunch of minutes, after putting it over night in front of a heater supply vent so it was nice and warm. I wanted to spray the 1" wide strut, a half inch on either side of it, and then about an inch and a half on both halves of the headliner.
After practicing how we would rotate each half, and then flip it to install it, we put the two halves back on the roof, ready for spraying.
Because it was cold, I figured it would take pretty long for the glue to come to a tack. I sprayed the two halves and strut and waited a minute, touching the glue to see how quickly it was setting up. Damn!!! It came to a tack within two minutes.
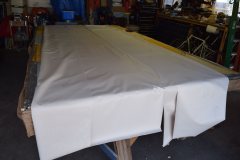
Luckily, as soon as I was done spraying, we put the first half in place, picking up the headliner fore/aft, and reversing positions. We then flipped the piece and lay it down. The glue was setting up and we realized things were happening faster than I had anticipated. If you look at the first picture below, you'll see a little bow in the headliner. I tried to slide and adjust it, but after only about 90 seconds, it was set to much to move sideways. I calmly ignored going into panic mode and lifted up the offending end and tried to reset the headliner so there was no wrinkle/bow/looseness.
Realizing that the glue didn't care that it was cold we quickly lifted up the second half, reversed positions fore/aft, and flipped it over. We'd learned something in the last minute and managed to lay it down so there were no wrinkles or bowing.
The second piece was in place. Damn...
Then we all saw that the edge of this piece wasn't glued down, and no amount of rubbing it would make it adhere. The glue had gone beyond tacky to setting up, and we'd lost it. The whole edge was lipping up, a kind of mocking smile. Grrr...
I calmly, ignoring the panic mode, worked my eyes around the garage for something flat to use to shield the headliner from more spraying. My 8 1/2 x 11 spiral notebook had pages that would mask the overspray. We leaned over the roof. Lynn lifted the edge while holding a piece of paper to to shield the headliner from overspray, and I slid a piece of paper up to the gluing surface and sprayed. We waited 15 seconds or so - the glue came to a tack that quickly, and rubbed the headliner pieces together. That seemed to work. It took five minutes or so to peel back a half inch, spray, wait for the tack to appear, rub, and move on.
The first gluing is not perfect. Rather than an 1 & 1/4" wood strip, the center strut will have a 2" strip to hide the bubble/bowing/wrinkle in the headliner.
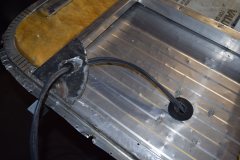
Lynn and her sister had other things to do, so we decided they would come back tomorrow at 1Pm and we'd finish gluing the headliner to the roof frame. I have to cut holes and string the wires through before then.
The one thing I didn't get from Poky's or Tim's pictures was the specific sequence of gluing. What I found so far, is that it is ok to just glue the two halves of the headliner material to the center fore/aft strut and then relax. I think that within 15 minutes in 41 degree temperatures, I could have started stretching and gluing the headliner to the outside part of the roof frame. As it is, I like that my two women friends are willing to spend a half hour participating in "a guy project" and I'm in no hurry. So tomorrow we'll stretch and glue.
They were already talking about the best way to stretch each half - by thirds, two people pulling at right angles, or starting in the middle long side, spraying a foot or two, stretching from three sides - two people fore and aft, and one in the middle where the glue is. ]
It'll be fun to see what we decide. The whole project is not "craftmanship" in a woodworking, furniture making sense. I remember one comment Tim Morrissey made about his work in one of his videos. "It's good enough."
I'll take pics while we're doing it tomorrow to make the narrative more exciting... LOL
Jeff
Laramie, WY
Edited by philos65, 27 March 2018 - 09:51 PM.


