Jump to content


Photo

1974 Alaskan Camper Restoration


  • Please log in to reply
9 replies to this topic

#1 dieselrocket

dieselrocket

    Newbie

  • Members
  • Pip
  • 4 posts
  • LocationCalifornia City CA

Posted 13 September 2014 - 04:31 AM

Hi Y'all,

    Im fairly new to the site and to campers in general, however I have alot of experience in woodworking and metalworking, also fairly mechanical with the ability to jump into any project when other people would be looking at you like WTF!! :blink: LOL enough about me

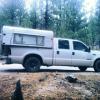
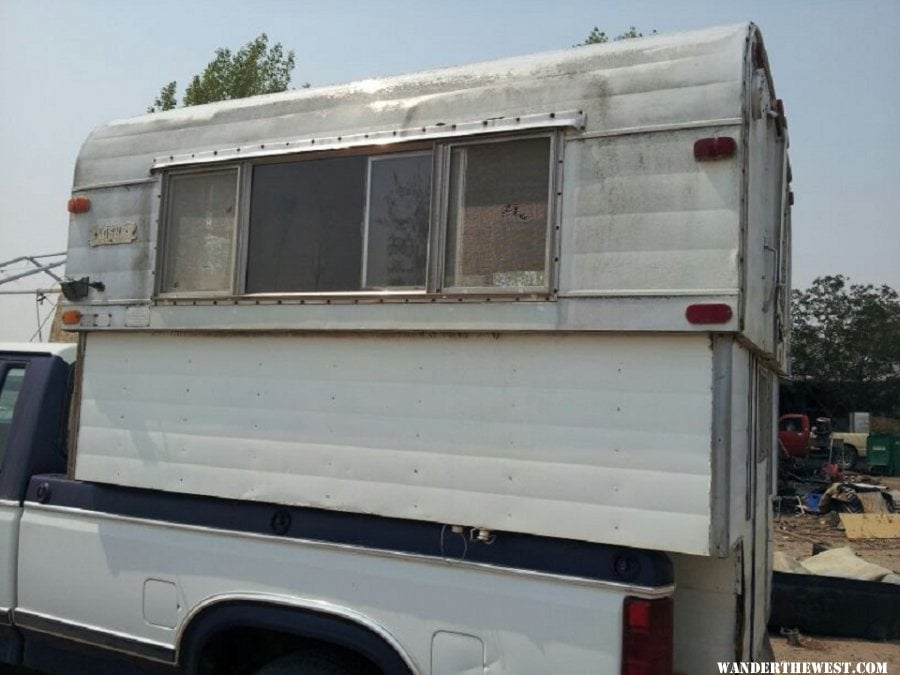
Lets talk about this beauty here, About a year ago I picked up this semi nice 74' Alaskan from some fella out of Nevada, and paid only 300 dollars for it. I thought it was a steal! Upon buying and inspection I found out that the camper still had the original papers in one of the drawers from the original buyers in 74', HOW COOL!!! :D

This camper is a California baby, like me lol, Born in Sun Valley CA.
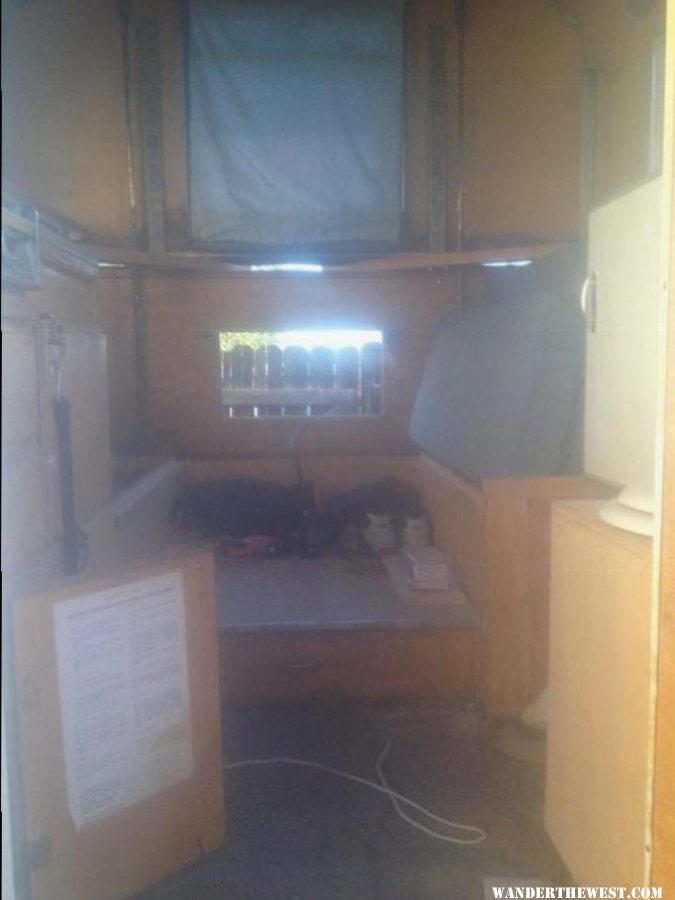
However, as nice and cool as I thought this camper was, It does need some tender loving care inside and outside. Heres what it looked like when I answered the ad and brought home.

gallery_5624_790_25156.jpg

gallery_5624_790_120335.jpg

gallery_5624_790_71181.jpg

gallery_5624_790_122980.jpg

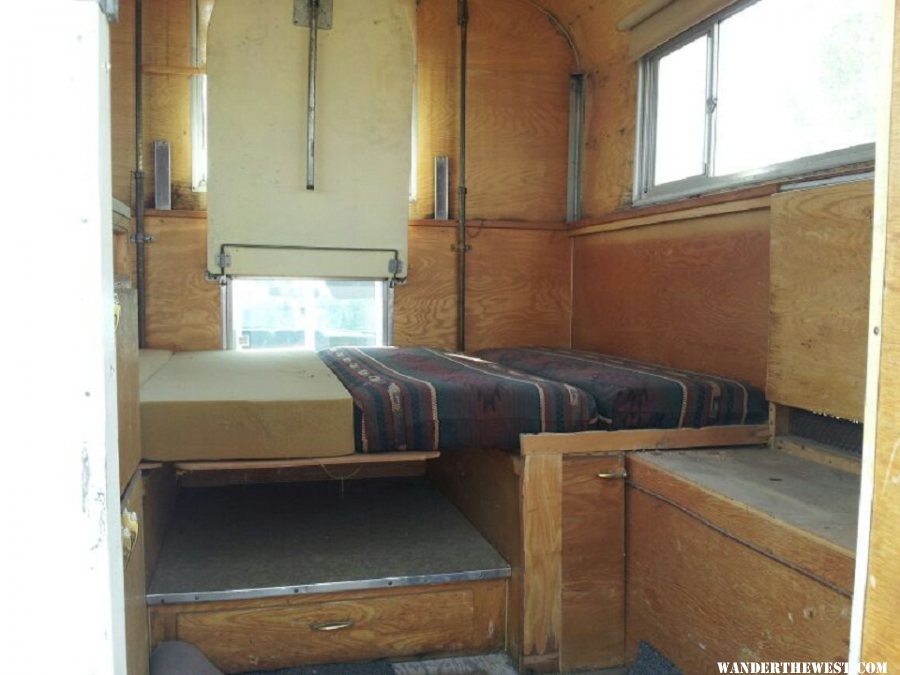
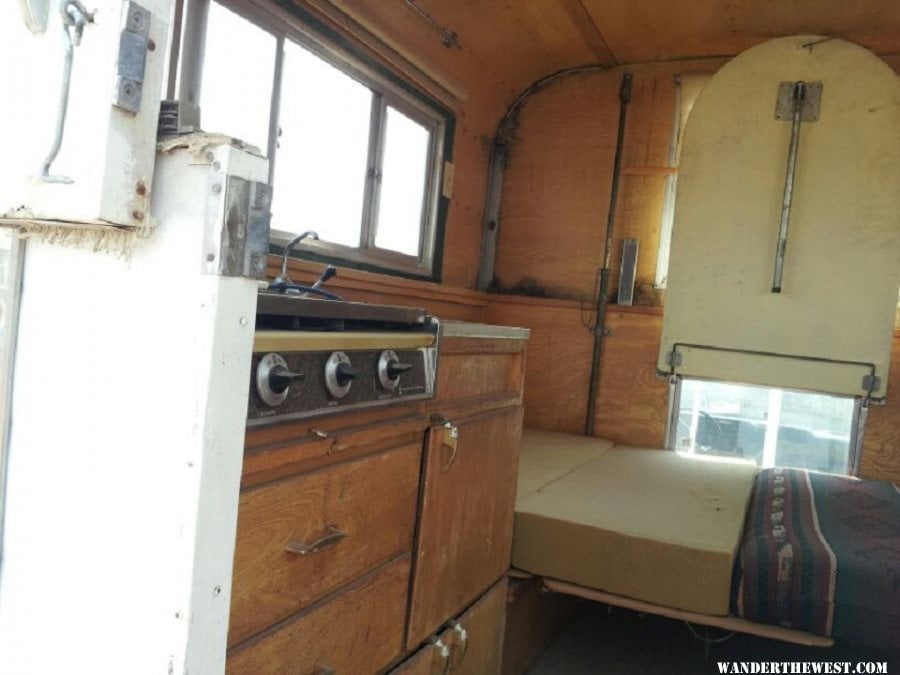
I even camped out of it the day I brought it home because it was a 6 hour drive and I just happened to drive right by my favorite camping spots :D I had to take it out for a maiden voyage. Needless to say after that night, I came up with a long mental list of all the things I wanted done with the camper to make it the ultimate camping rig. But life happened and Ive been putting it off until now when I finally had enough of looking at this thing and wishing I could do something about it. 

After a lot of drinking 

gallery_5624_790_52558.jpg

researching and contemplating I finally had a plan

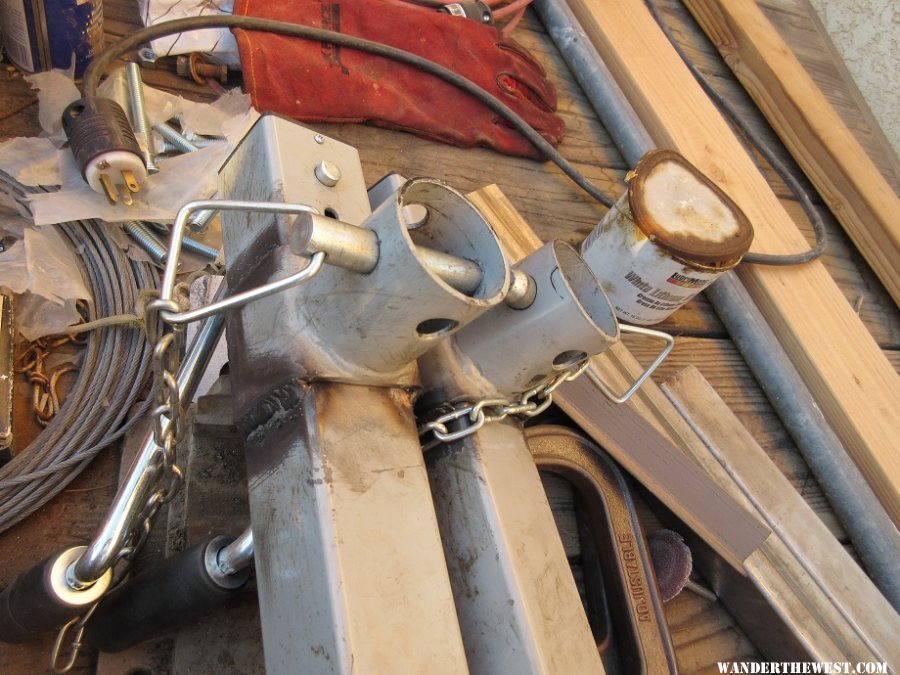
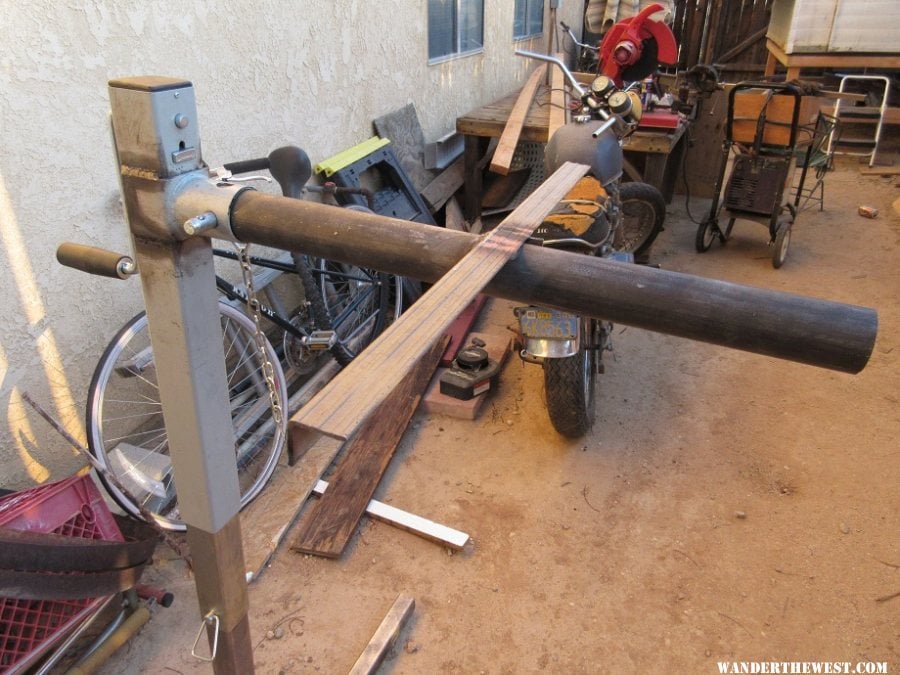
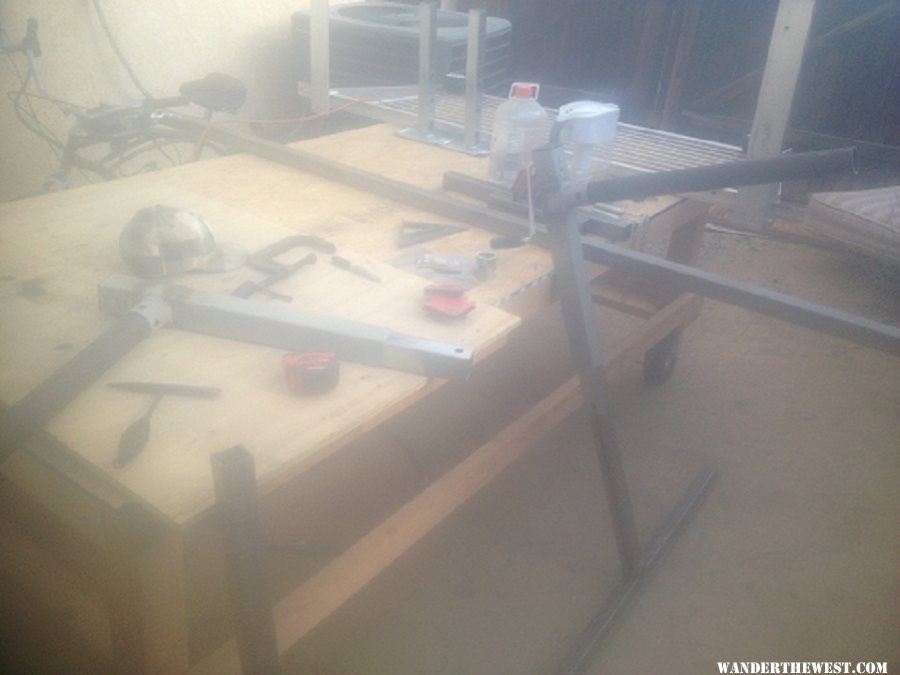
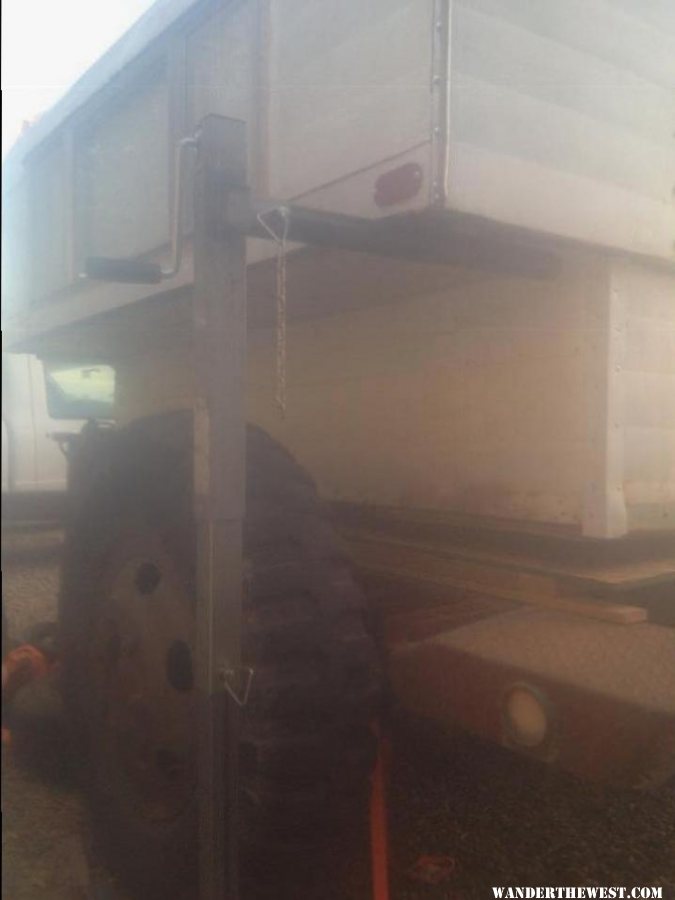
First I needed a camper dolly to roll this thing around my yard and get it off of the grossly oversized military flat bed trailer that I had the camper loaded on by a big fork lift.

gallery_5624_790_141280.jpg

gallery_5624_790_21803.jpg

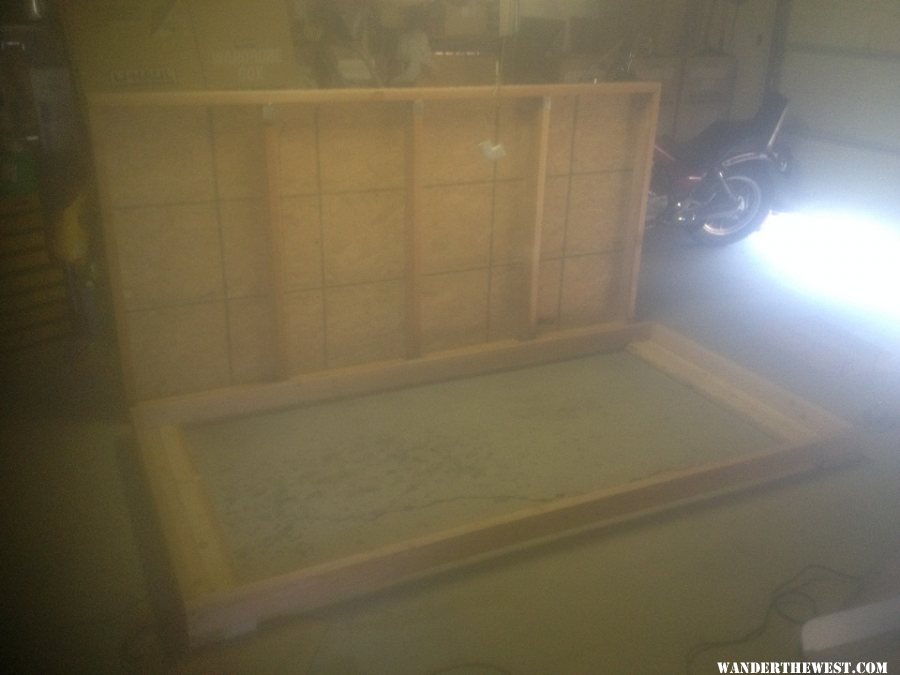
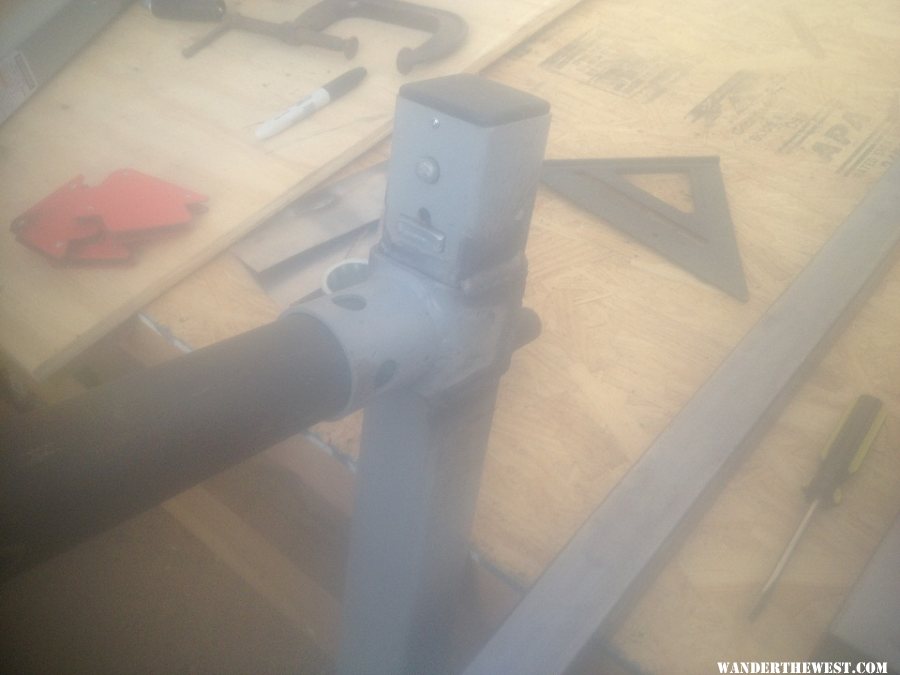
I used the 10" pneumatic tires from Harbor Freight rated at 300lbs capacity. Probably way undersized for this application but it seems to be working out pretty well. Next I needed jacks, but I didnt want to splurge on a new 4 corner jack set up and didnt have any luck finding used ones locally. So once again I turned to Harbor Freight for my solution :D

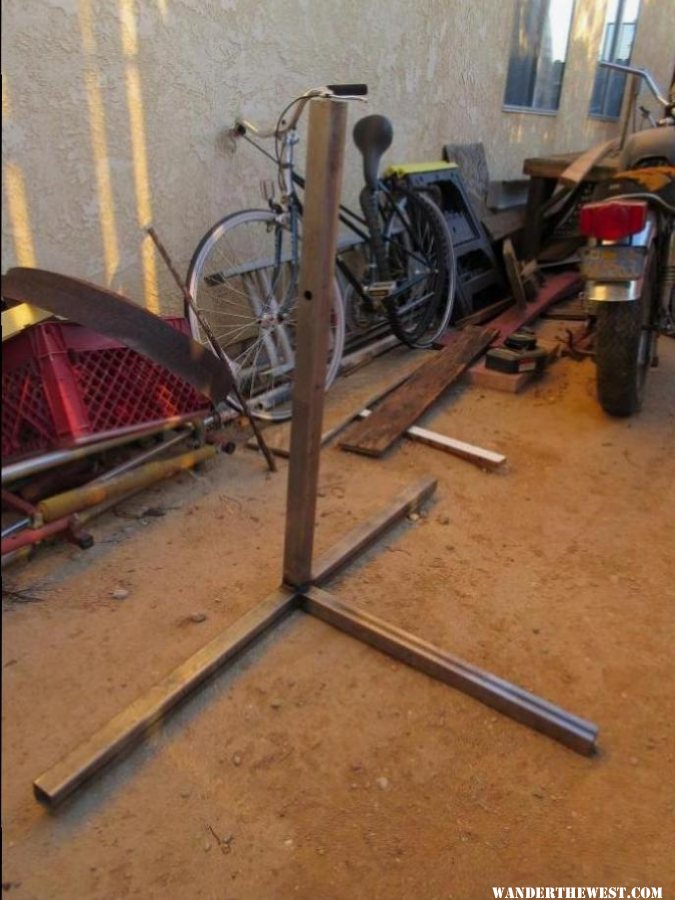
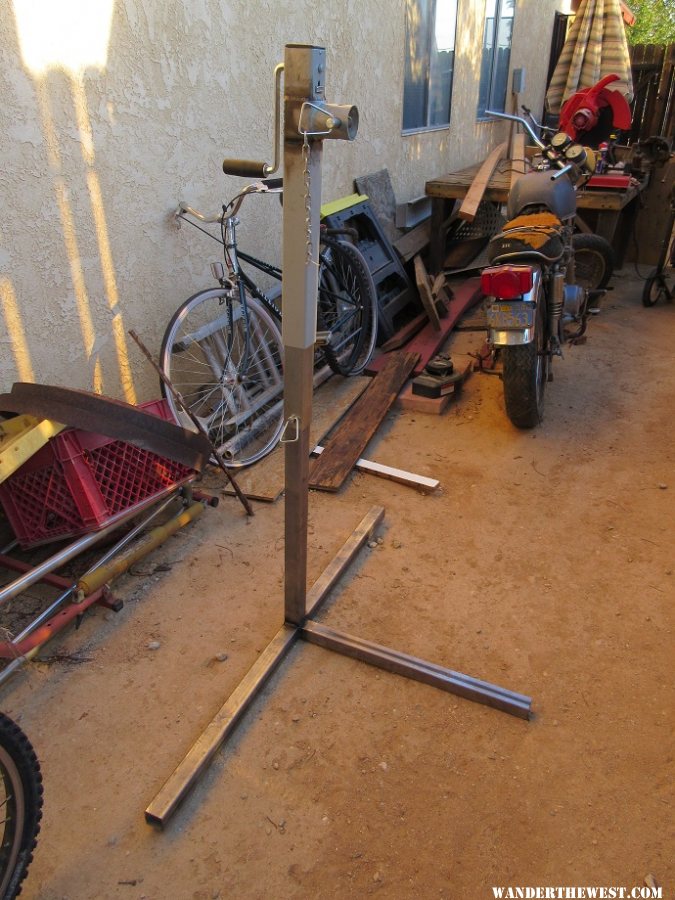
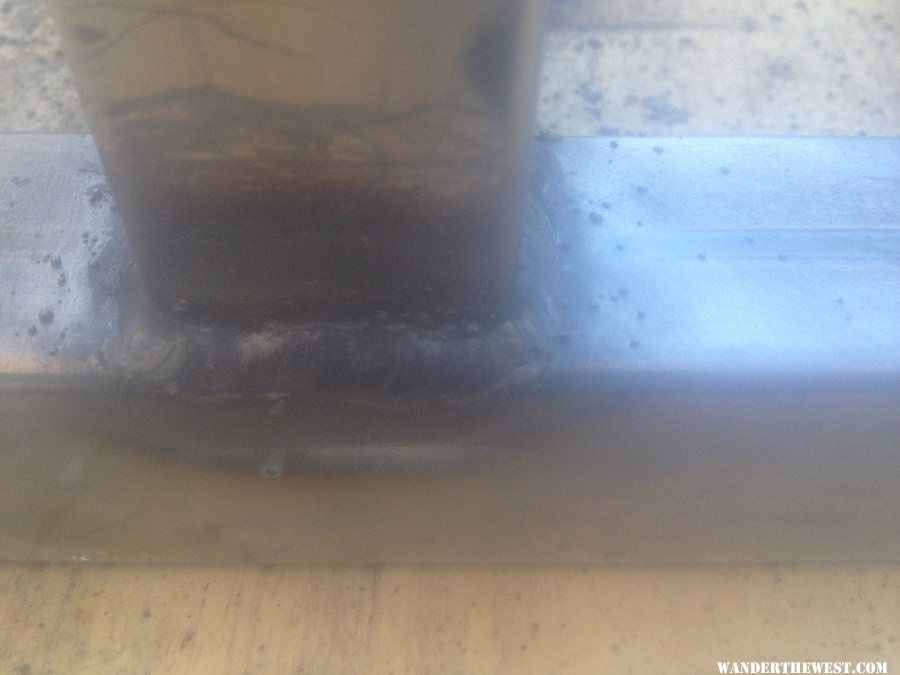
They have a 3500lbs tongue jack that was perfect for what I wanted to do. So I broke out the trusty Mig and got to fabricating! 

gallery_5624_790_65816.jpg

gallery_5624_790_106281.jpg

gallery_5624_790_75030.jpg

gallery_5624_790_10588.jpg

My Dog getting tired of me running around like a chicken with its head cut off :P

gallery_5624_790_162211.jpg

Jacks were a success! and way more stable then the stock tripod set up that the PO had used to load the camper into my truck. Talk about nerve wrecking!!! :o

gallery_5624_790_61021.jpg

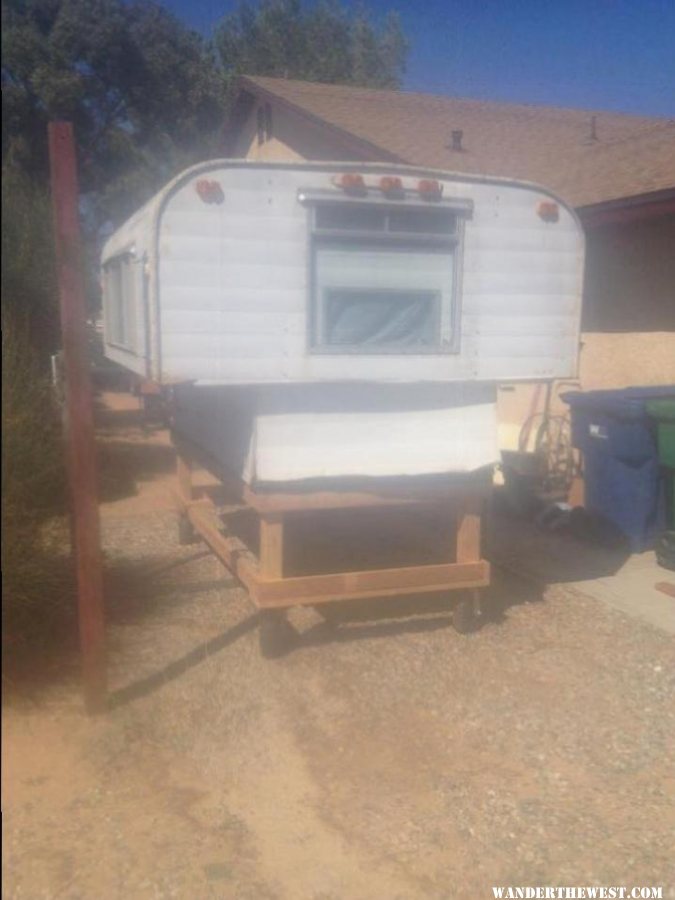
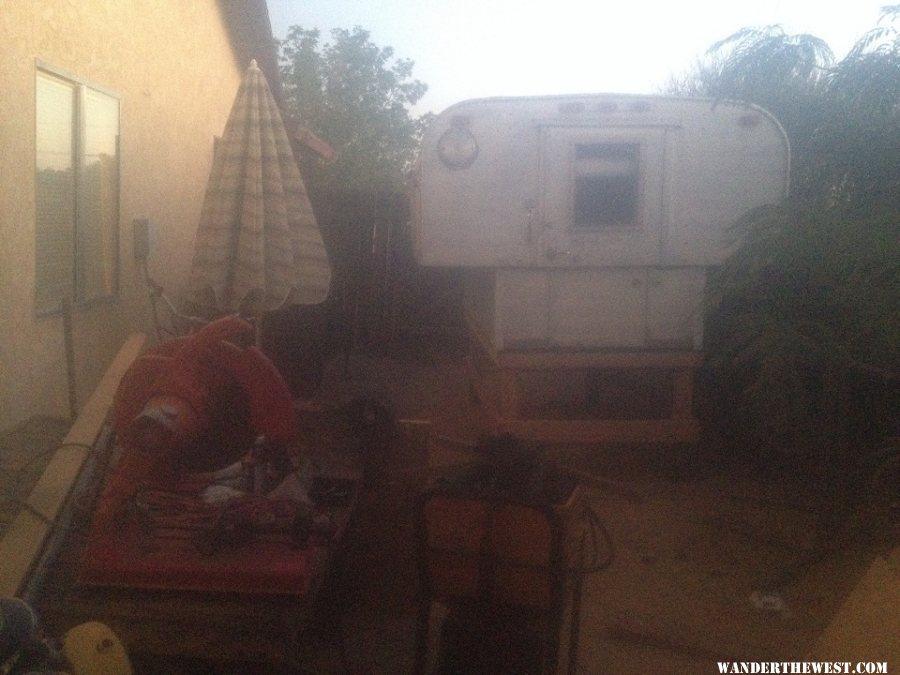
Camper all pushed into its construction zone now

gallery_5624_790_108392.jpg

WHEW!!
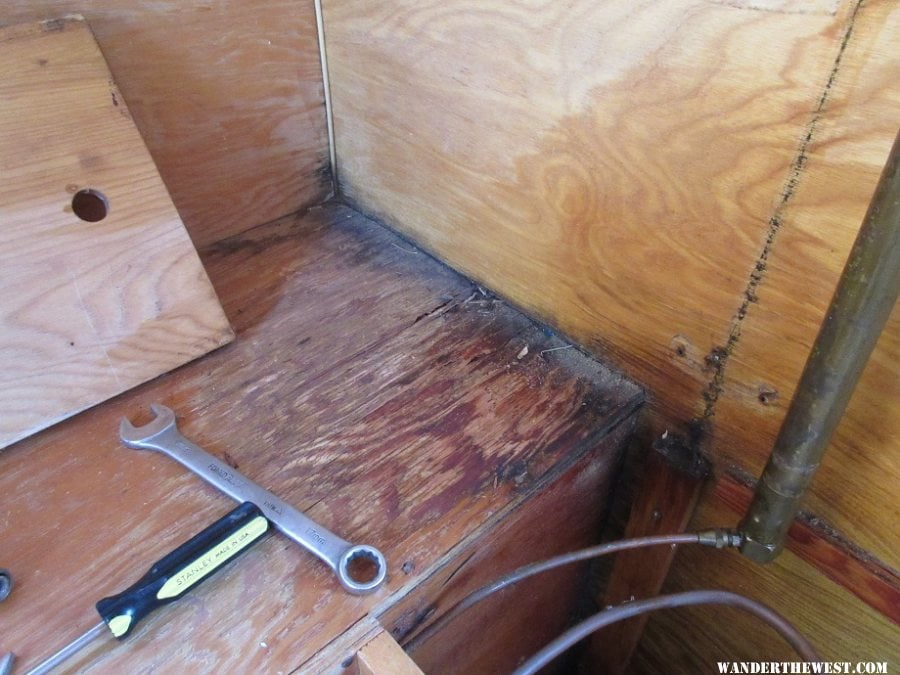
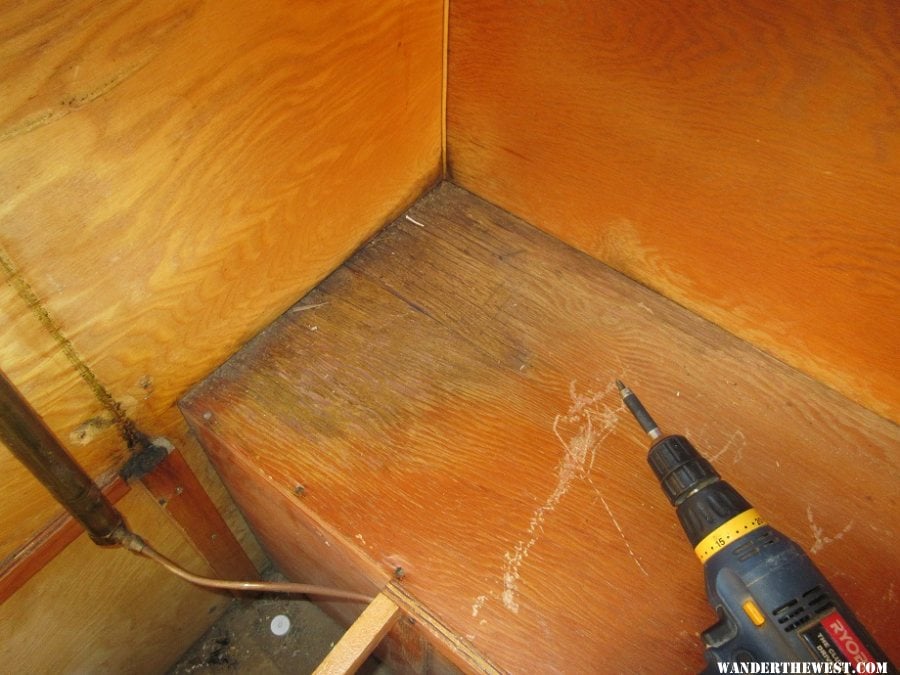
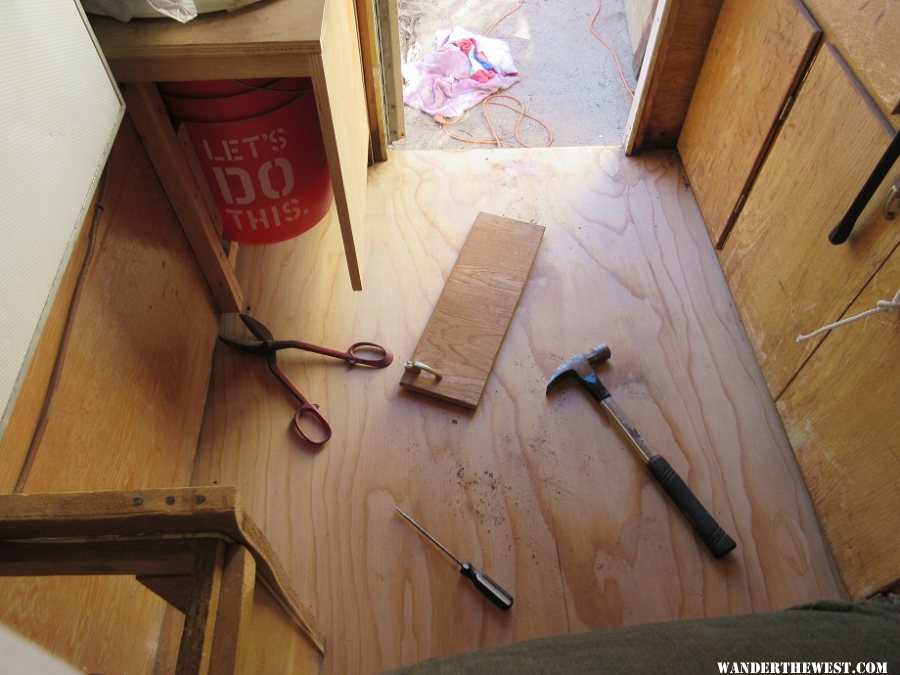
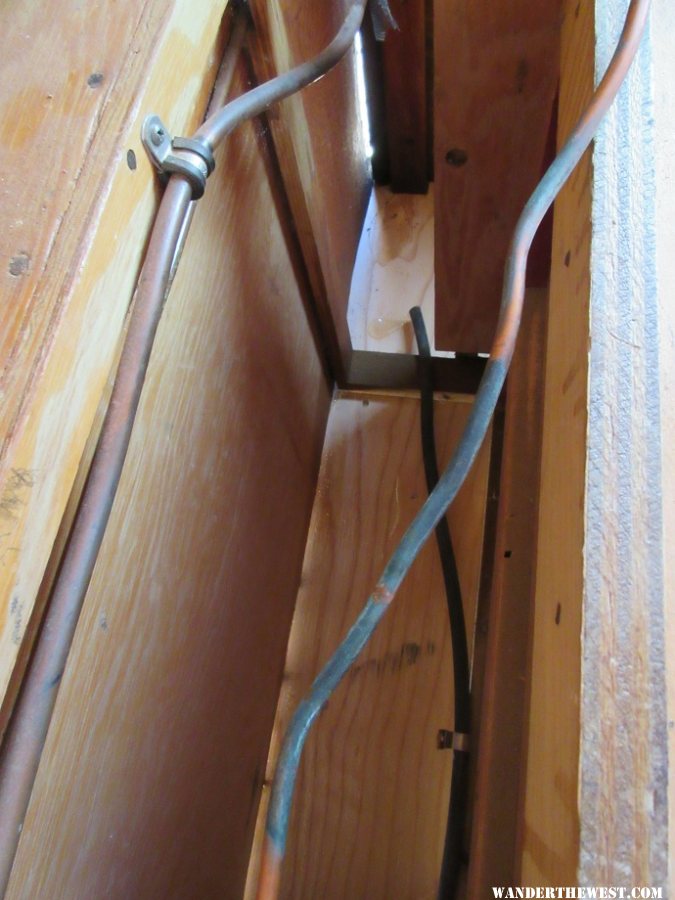
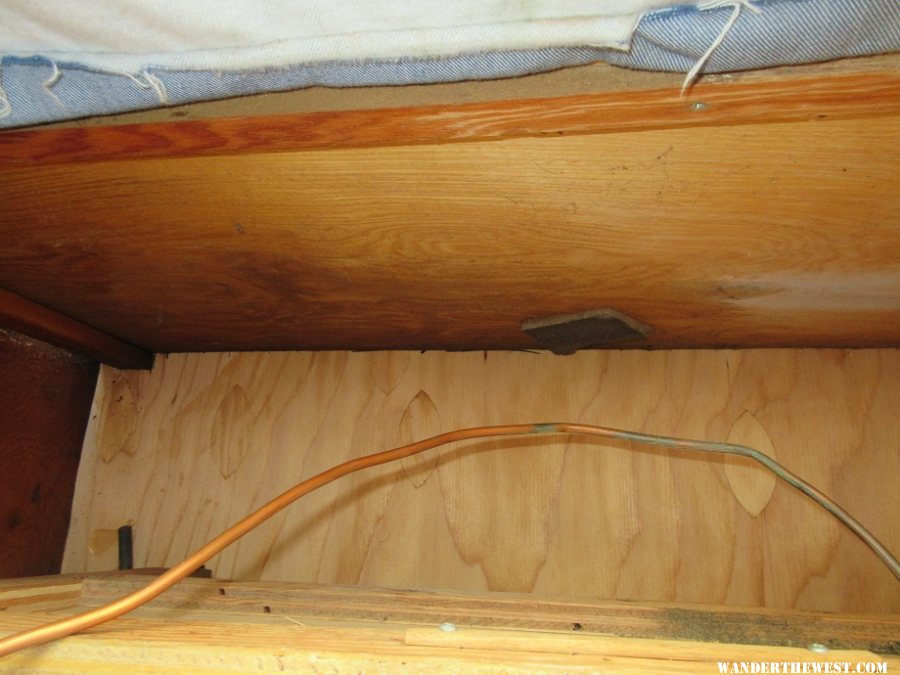
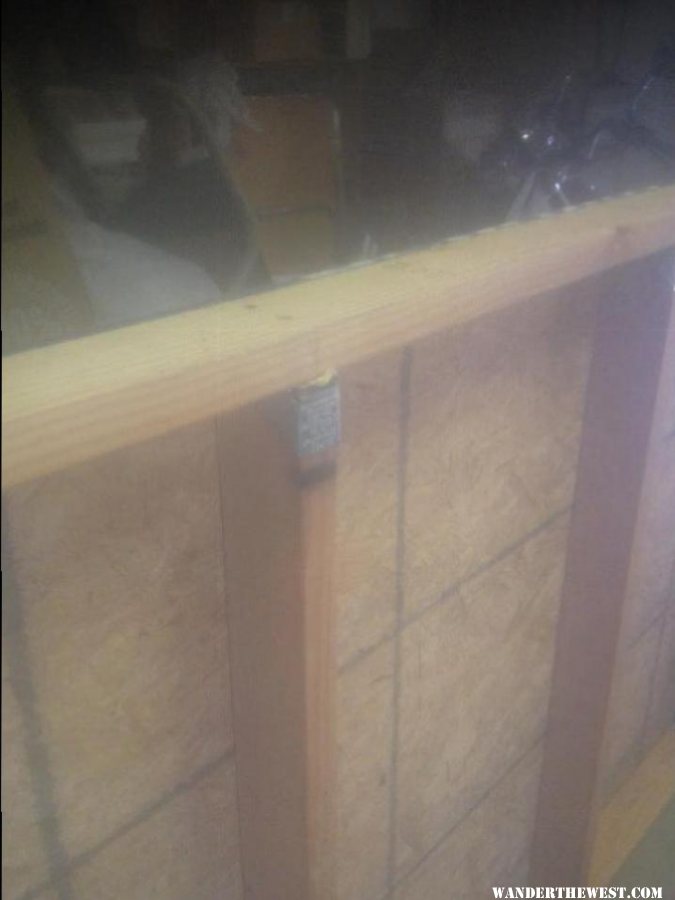
Now time to tear into this thing and repair all the rot.

gallery_5624_790_146860.jpg

gallery_5624_790_165260.jpg

gallery_5624_790_122418.jpg

gallery_5624_790_162084.jpg

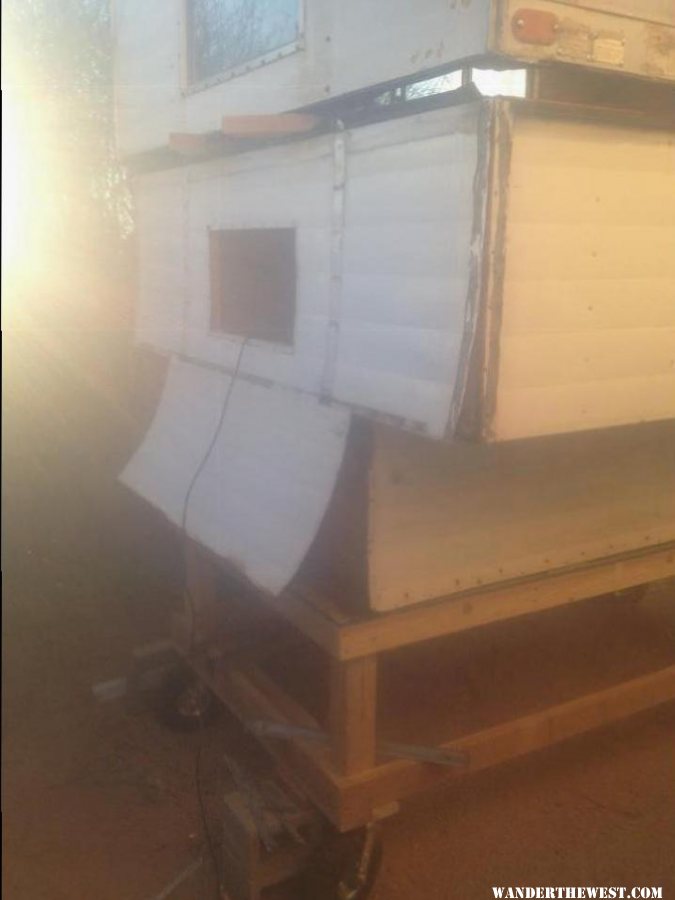
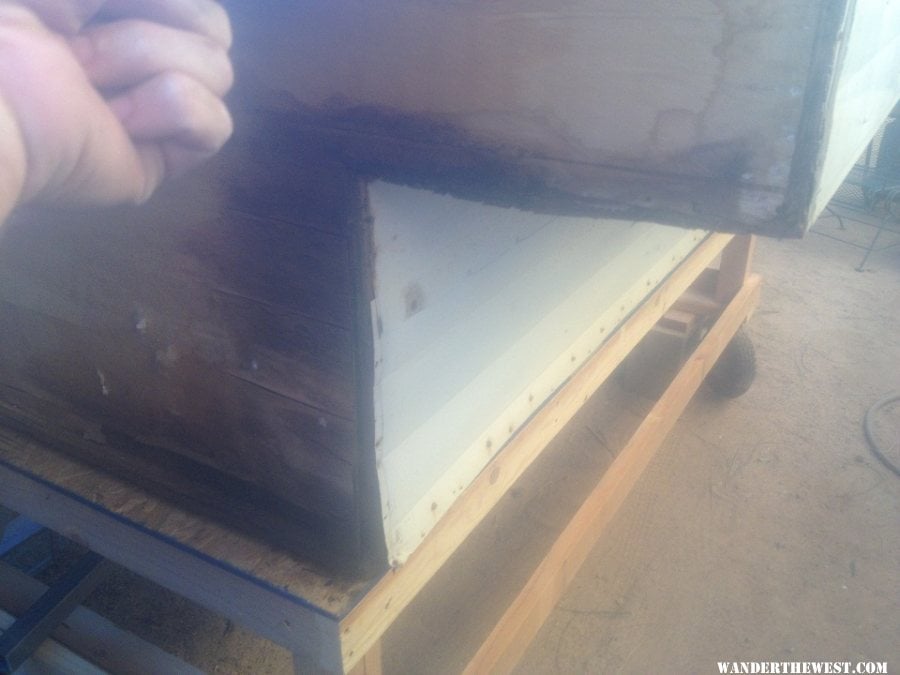
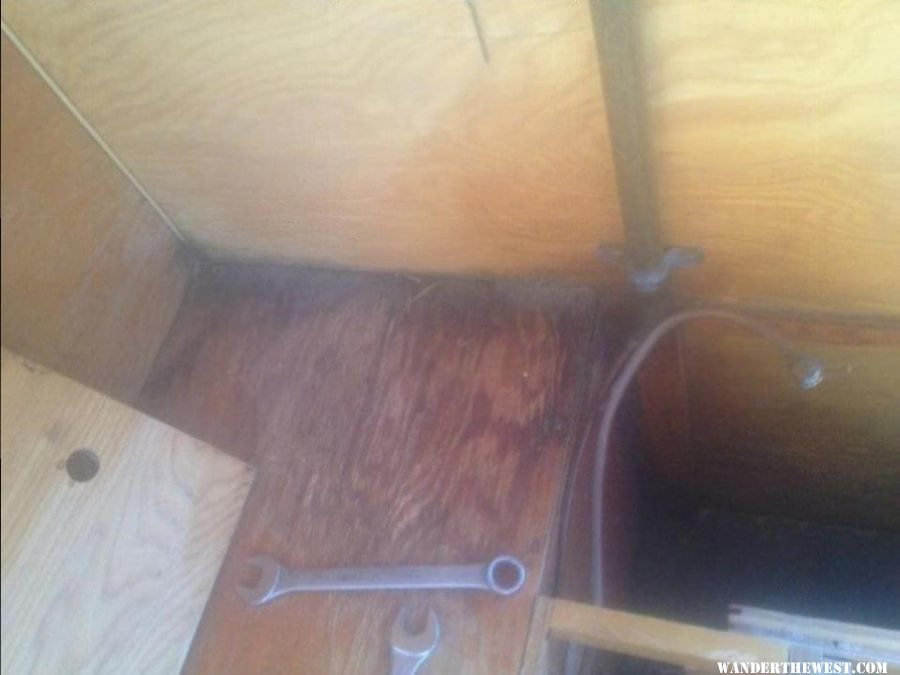
I plan on fixing all the walls on the bottom half and getting a solid foundation to do the top half which is the worst rot wise.
Only one question, Is anyone using a waterproofing sealant for the wood as they install new wood?
Ive hear CPES is good stuff, but for rot repair. Is it any good for new wood to prevent it from rotting??
I would like to do this only once ever 50 years :P

More progress to come!!


Edited by dieselrocket, 13 September 2014 - 04:23 PM.

  • 0

#2 thisoldcamper

thisoldcamper

    Senior Member

  • Members
  • 167 posts
  • LocationIrmo, SC

Posted 13 September 2014 - 09:50 AM

Welcome to the forum - from another new guy.  For waterproofing, I sealed the bottom plywood edge with undercoating spray.  For the rest of the camper, if you remove and replace all the old putty tape around the windows, vent, lights, J-channel trim and any other breachs in the aluminum, then you shouldn't need to waterproof the wood.  I have wrapped a camper in Tyvec and put rubber flashing tape around all the openings.  If nothing else, the flashing tape should seal up around any screw and help keep the water from getting in that way.

I like your camper jacks idea.  Could you add a little more about that project... (and maybe clean your camera lens :D)


  • 0

#3 billharr

billharr

    Senior Member

  • Members
  • 2,824 posts
  • LocationStockton CA

Posted 13 September 2014 - 02:00 PM

Welcome to WTW do a search and you will find several build on the old Alaskans. There is one on the build pageDogwoods '75 I enjoy watching even if I have a FWC.  You can use your gallery on WTW for your photos or link them so we do not have to open another page.


image4_zps3e871bca.jpeg


  • 0

#4 Buckwheat

Buckwheat

    Senior Member

  • Members
  • 201 posts
  • LocationEverett, WA.

Posted 13 September 2014 - 03:05 PM

Welcome. Looks like you have your hands full with that one.


  • 0

#5 dieselrocket

dieselrocket

    Newbie

  • Members
  • Pip
  • 4 posts
  • LocationCalifornia City CA

Posted 13 September 2014 - 04:45 PM

Welcome to the forum - from another new guy.  For waterproofing, I sealed the bottom plywood edge with undercoating spray.  For the rest of the camper, if you remove and replace all the old putty tape around the windows, vent, lights, J-channel trim and any other breachs in the aluminum, then you shouldn't need to waterproof the wood.  I have wrapped a camper in Tyvec and put rubber flashing tape around all the openings.  If nothing else, the flashing tape should seal up around any screw and help keep the water from getting in that way.

I like your camper jacks idea.  Could you add a little more about that project... (and maybe clean your camera lens :D)

Good Idea on the rubber flashing tape! Do you mind if I borrow it? :D

As for the camera lens dealio.... Im sorry about the crappy pictures, all the photos was taken by a Iphone that is barely surviving..lol, My next step is to swing by Walmart and pick up a decent digital camera, and hopefully Ill be able to post up way better pics from now on. Camper Jacks: I bought two 3500lbs square tube trailer tongue jacks from Harbor Freight. The reason I chose this was the weight capacity of two far exceeds the weight of the camper. Also, it had a drop foot, which made it easy to remove the ones it came with and add in a taller sturdier base. I went to my local steel supply and bought 25Ft of 1.75" .90 wall steel tubing, 4ft of 1.5" .90 wall steel tubing, and 4ft of 2" .120 wall DOM tubing. Its hard to explain without better pictures, so Ill leave it right here until I go and pick up my new camera later on today, then ill finish my explaination here.... I promise!!

Welcome to WTW do a search and you will find several build on the old Alaskans. There is one on the build pageDogwoods '75 I enjoy watching even if I have a FWC.  You can use your gallery on WTW for your photos or link them so we do not have to open another page.


image4_zps3e871bca.jpeg

Thanks Bill for the tip! It was late for me when I posted it last night, I had one too many beers and was being lazy. lol But I fixed it and hopefully it will be better for all to read up on. And I will have much better quality photos next time I post.
Ill definitely be checking out everyones alaskan restoration projects on here! Gotta get some ideas from somewhere :P


  • 0

#6 dieselrocket

dieselrocket

    Newbie

  • Members
  • Pip
  • 4 posts
  • LocationCalifornia City CA

Posted 14 September 2014 - 02:02 AM

WhooHoo!! Got a new camera and been playing with it, Here are some nice high quality pictures of my DIY Camper Jacks. :D

gallery_5624_790_127821.jpg

gallery_5624_790_111326.jpg

gallery_5624_790_242931.jpg

gallery_5624_790_186046.jpg

Now this is not the most perfect design.. It was a prototype more then anything to see if it would even work. Since it works quite nicely, I have a new idea for these tongue jacks in mind. But itll have to wait until Im ready to permanently mount 4 corner jacks. I dont feel comfortable mounting jacks and having them hold the weight of the camper on rotten wood like this

gallery_5624_790_66295.jpg

gallery_5624_790_34530.jpg


  • 0

#7 thisoldcamper

thisoldcamper

    Senior Member

  • Members
  • 167 posts
  • LocationIrmo, SC

Posted 14 September 2014 - 09:15 AM

Thanks for the info on your DIY camper jacks, and the new camera, wow!  That's a good point about not wanting to lift a camper that has rot issues, it could make a big mess.  I like the way that you raised the top half and supported it on 2x's, I'm going to have to do that with mine.

Here's a picture of my Tyvec'd and taped camper, if I were taking the aluminum all the way off of my Alaskan, then I'd do the same thing with it.

img_1099.jpg?w=640&h=480


  • 0

#8 dieselrocket

dieselrocket

    Newbie

  • Members
  • Pip
  • 4 posts
  • LocationCalifornia City CA

Posted 07 January 2015 - 02:24 AM

Hey Y'all

Been a while since I worked on this camper. I managed to catch a break in my crazy work schedule to get the project going again.
Got a new floor in it and will be replacing the walls. I treated the floor with CPES rot doctor. Hopefully it will protect it from water damage.
Since I was so anxious to get the project going again, I took less pictures.... Like three pictures at the end when I was finished LOL

gallery_5624_790_32887.jpg

gallery_5624_790_43373.jpg

gallery_5624_790_166357.jpg


  • 0

#9 Mike S.

Mike S.

    Advanced Member

  • Members
  • PipPipPip
  • 88 posts
  • LocationHope, B.C.

Posted 07 January 2015 - 08:11 AM

When I rebuilt my Alaskan a few years ago I used a product called Blue skin.  Its a rubber based product.  You apply a primer first then put the rubber stuff over that.  A couple of days latter I could not pull it off without removing wood.  It also self seals around screws or staples. The contractors use it around windows in new home construction. 


Have fun with your rebuild!  Your Alaskan has many more adventures to take you on.


  • 0

99 Dodge 2500 4x4 Diesel, 94 CO Alaskan 10', 10 ply BFGs Air bags,  VE7YHE


#10 Ripperj

Ripperj

    Senior Member

  • Members
  • 239 posts

Posted 07 January 2015 - 07:01 PM

I feel your pain, I ended up taking my lower section to the dump and scratch building a new one.
  • 0


0 user(s) are reading this topic

0 members, 0 guests, 0 anonymous users