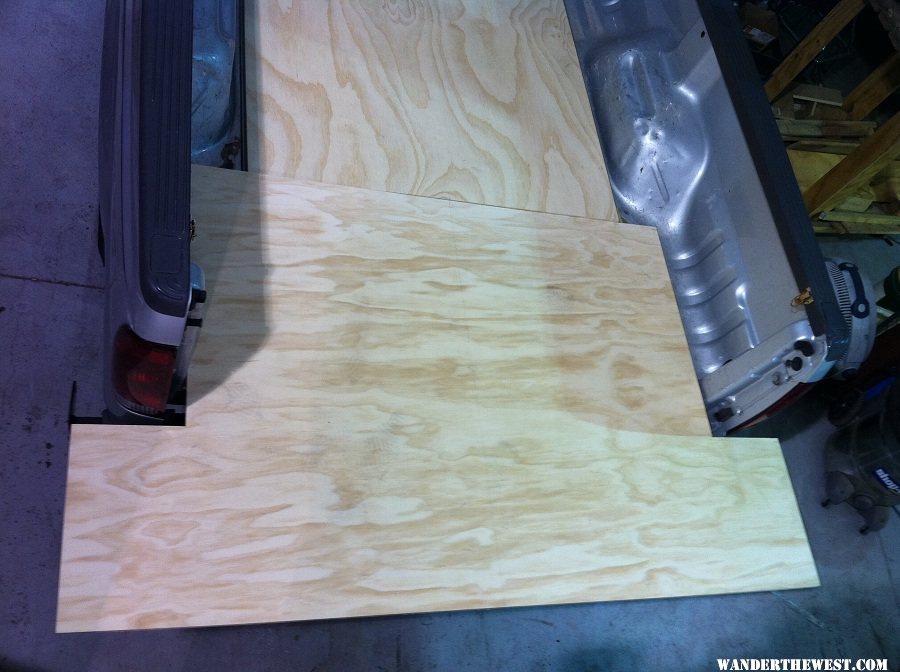
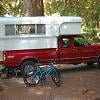
Alaskan Structural Issues
#11
Posted 18 June 2012 - 09:31 PM
nice pile
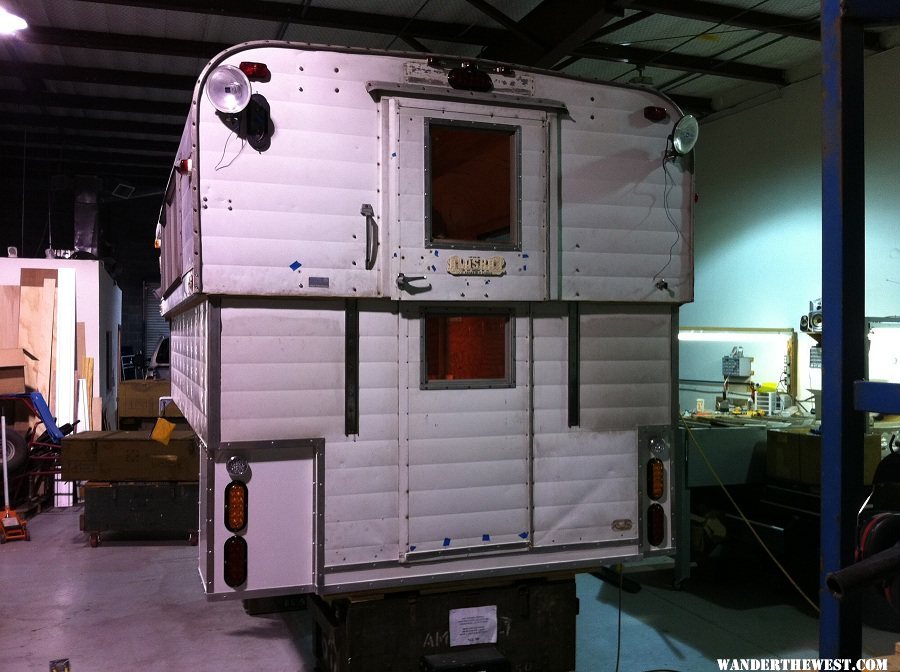
so.....where's the propane tank?
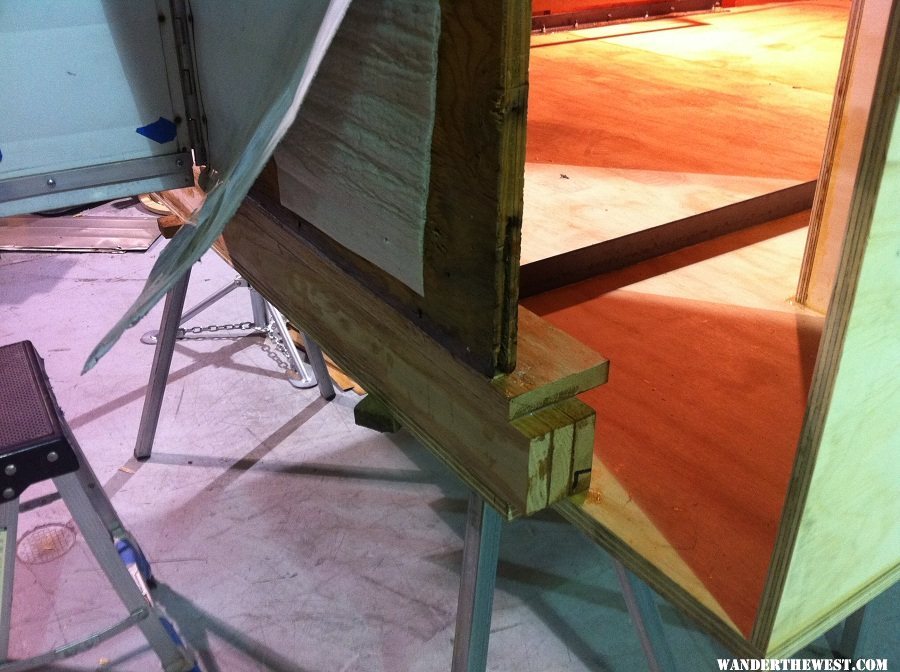
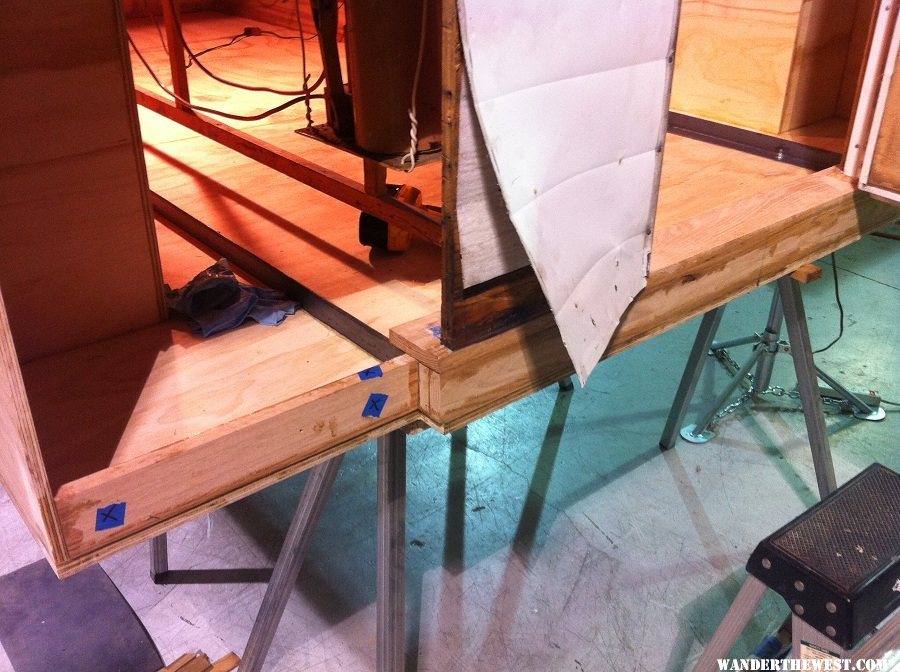
Nice job on the angle iron too....
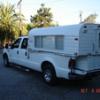
I see a contractors shop
2003 Ford 250 Superduty Crew.... 7.3L PowerStroke diesel 1970 10" NCO Alaskan Firestone airbags pulling a 18' Silver Streak runabout
#12
Posted 19 June 2012 - 11:53 AM
I wanted to remove the tailgate to save weight but thought the force of the hydraulic cylinders needed the be transferred forward so the steel angle is epoxied and bolted to the plywood. The tub at the back is simply 3" taller than original.
In the front the sidewalls were worth saving. The bottom edges were a little soft but epoxy is my friend. There is a 3" high piece of 1/2" ply under the original sidewall and a 5" (i think) piece laminated to it on the inside. Makes a nice corner for a glue joint; and short screws clamped old to new from the outside.
I fit each piece of oak, notching them over the beams, then glued them together. The bottom edges of the back wall were pretty rough; there's alot of thickened epoxy at the junction to the flat piece of oak (the threshold). I don't think the forces acting on that joint will tear it apart.
The oak goes across the driver side box only because one of the pieces was long enough. The beam was designed only to tie the door opening together and support the weight of the roof. I inset 3/4" ply into those openings so the boxes don't flex.
For good measure I fiberglassed the corners with a single layer of cloth. Then the outside of the entire tub got 2-part garage floor paint. (West System epoxy is too expensive for this...) One gallon did two coats. Then the sheet aluminum and corner angle.
I inset the new boxes from the face of the rear wall so I wouldn't have to replace the original sheet metal, and to pay homage to the original design. It also gives the taillights a recess. Not sure I would do that again... Turns out the new passenger corner is 1" narrower than the porta-potty I want. Oh well.
The propane was going in the driver side box but there's not enough room for a door and the roof pump blocks the inside access. A ten pounder will fit (I'd have to fit a sealed panel and vent the box outside) or maybe a forklift tank (they're beefy) under the truck opposite the fuel tank.
I poached shop space last year from work; there's a CNC mostly sitting idle in there. No, I can't run it; it wouldn't be idle if I could... A forklift does come in handy, though.
If you want I'll show you what I did about the 10' long 1x2 rafter sag.
#13
Posted 19 June 2012 - 02:36 PM
[/quote]
Yes, yes! We all want to see what you have done. Great pix.
As to the propane storage issue, I carry it inside the camper and put it on the ground when I set up for the night. Works fine.
Attached Files
2007 Okanagan model 96DB, 2001 Dodge 2500 Diesel
"Be the kind of person your dog thinks you are."
#14
Posted 19 June 2012 - 06:43 PM
I'm doing my usual pre-engineering evaluation of under/bed propane and quick couplers right now....
there are propane tanks designed for underbed but I'm a belt and suspenders guy....I'll build a box and plate it from impact.
"probably wont fit other trucks now"....why worry 
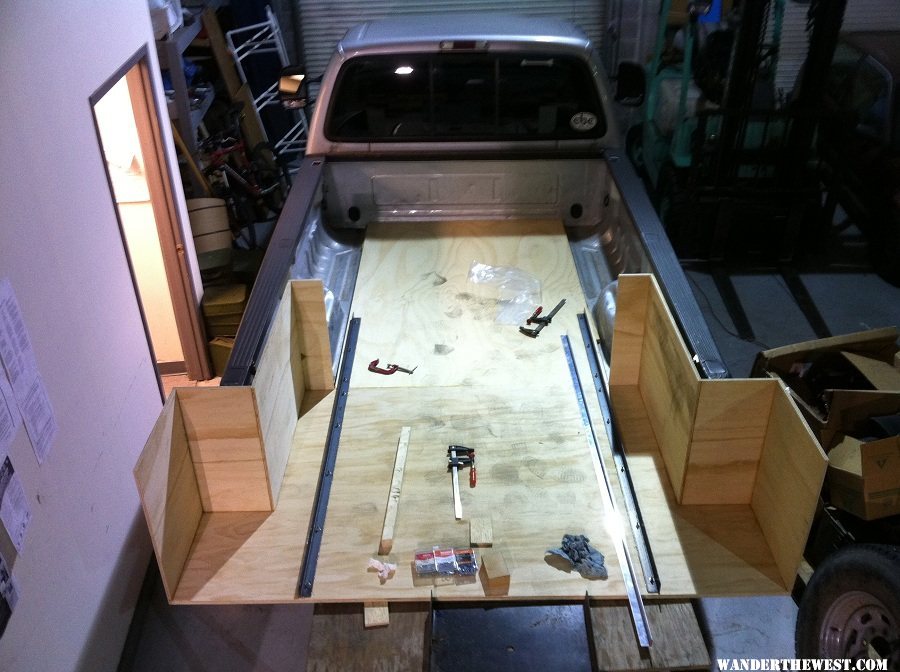
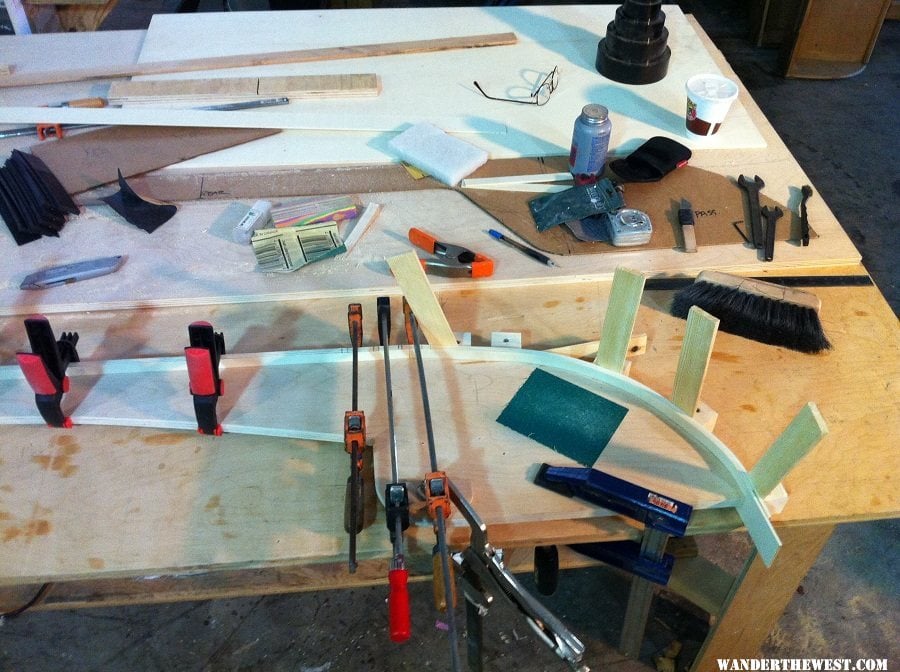
....looks like it fits nicely right where it goes
2003 Ford 250 Superduty Crew.... 7.3L PowerStroke diesel 1970 10" NCO Alaskan Firestone airbags pulling a 18' Silver Streak runabout
#15
Posted 20 June 2012 - 04:41 AM
i'd like to learn about rafter sag. my new (old 1975 10'co)has a little sag at the back roof vent . just enough to let a puddle form on roof. i'm going to replace vent and panel and would like to strengthen that part of the roof. the wood and metal all looks good.
thanks,wes
#16
Posted 20 June 2012 - 11:07 AM
I initially thought a custom aluminum truss would hold the shape and transfer the load but the same gentleman who got me hooked on epoxy suggested a plywood I-beam would be just as light and strong and much cheaper. Some 1/8" bending ply, a piece of 3/4" maple ply for appearance and quality, 2 cardboard templates, clamps blocks wedges sticky stuff...
There are 3 layers of the bending ply top and bottom. Used jack posts to press it into place. That was late April; I haven't heard any screws pop yet. When the roof is down it's about an inch above the lower tub.
A note on the original roof framing: there is no arch framed into the center of the roof as there is at front and back. At the top of the cabinets are joists running 4' apart. The blocking in the center where the paneling joins is flat across that 4'. I put a 1/4" bow in that section of the brace in case it flexed some. The brackets are simple angle brackets cut off on one side and bent on the other. Through bolts hold them to the brace and #12 screws go in about an inch to every available joist from the cabinets outward. I haven't built new cabs to hide those ugly brackets yet; I'm currently stuck trying to get a good finish on my kitchen parts. Don't ask.
Now the exiting part: The brace is just over 3" tall at the center and with the extra 1 1/2" of headroom previously mentioned I can walk under it!
#17
Posted 20 June 2012 - 11:17 PM
you either build boats or cabinets...one or the other or both.....
we have the same variety of tools
again....nice work
2003 Ford 250 Superduty Crew.... 7.3L PowerStroke diesel 1970 10" NCO Alaskan Firestone airbags pulling a 18' Silver Streak runabout
#18
Posted 22 June 2012 - 10:18 AM
Gonna do a build thread but thought these excerpts might help. Been at this for 12 of the last 13 months at around 20 hours a week. Hmmmm, that's like 1000 hours. Of course, alot of that is sittin' and thinkin'. Trying to do this for money would ruin it.
#19
Posted 22 June 2012 - 04:50 PM
Trying to do this for money would ruin it.
you know how it goes....jigs and fixtures
You've got the eye...and the thought only has to go in once...or twice
I spent quite a lot of time figuring out the drawer add on to mine...and the stairs
2003 Ford 250 Superduty Crew.... 7.3L PowerStroke diesel 1970 10" NCO Alaskan Firestone airbags pulling a 18' Silver Streak runabout
#20
Posted 24 June 2012 - 07:04 PM
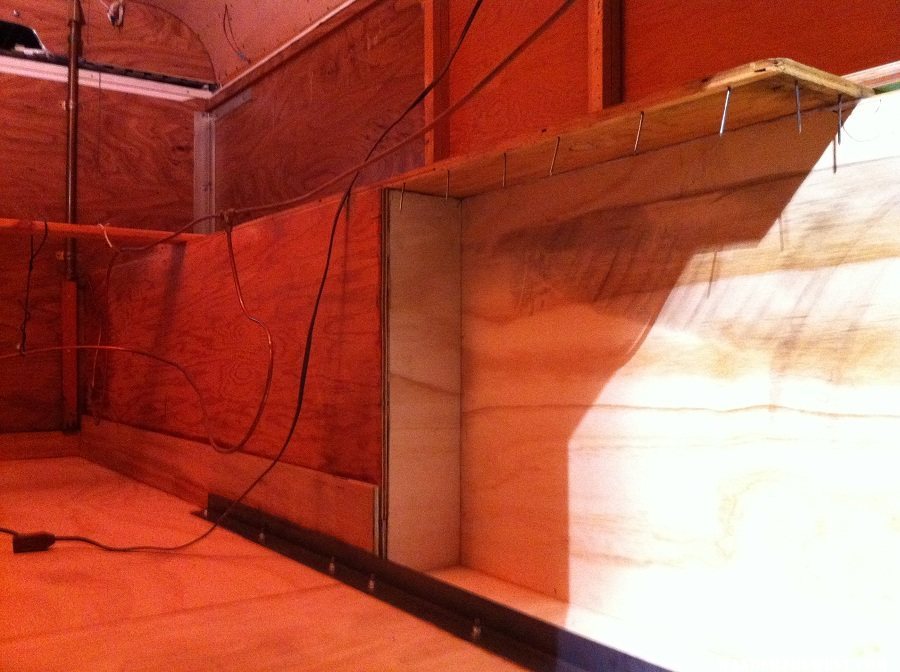
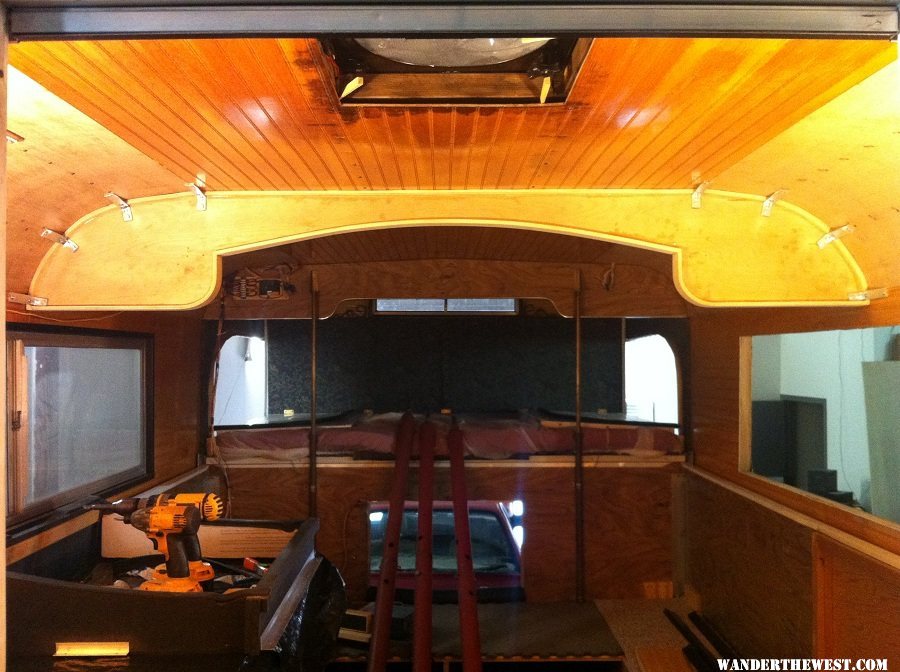
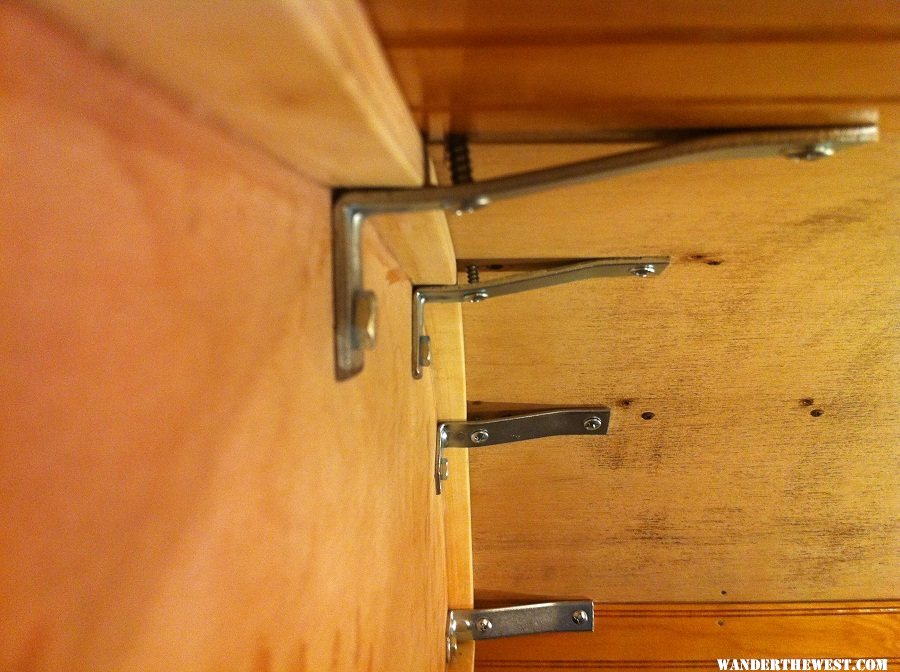
I agree proper support is what is neededI agree. By not supporting the the overhang with the sides of the truck, the lower section will spread at the top due to the weight of the top section.
Mike
I went to AK Camper factory in Chehalis, WA last summer with the door spreading problem in the lower unit. They solved the problem with shims between
I believe my camper was particularly susceptible to the support settling under the side walls because I put 3/4" rubber cattle mat on the entire truck bed when it was new, and that is on top of a plastic bed liner.
0 user(s) are reading this topic
0 members, 0 guests, 0 anonymous users