
Sunday was a long day. But we managed to get to Denver, swap the stock top onto my buddy John's trailer, pick swap on the camper, come back home, take the camper back off and put the stock top back on in about 12 hours. Had one minor hiccup, but it went pretty smooth.
Before we got to Mom and Dad's place I had made arrangements to buy some camper jacks from a guy in Denver too. He had seen this thread and offered up to sell them to me. He bought the jacks for himself with every intention of buying the camper I got, but his wife was the voice of reason and didn't go for the camper. It saved me from having to rent the jacks. Cool dude for sure, I totally apreciated the offer and took him up on it. 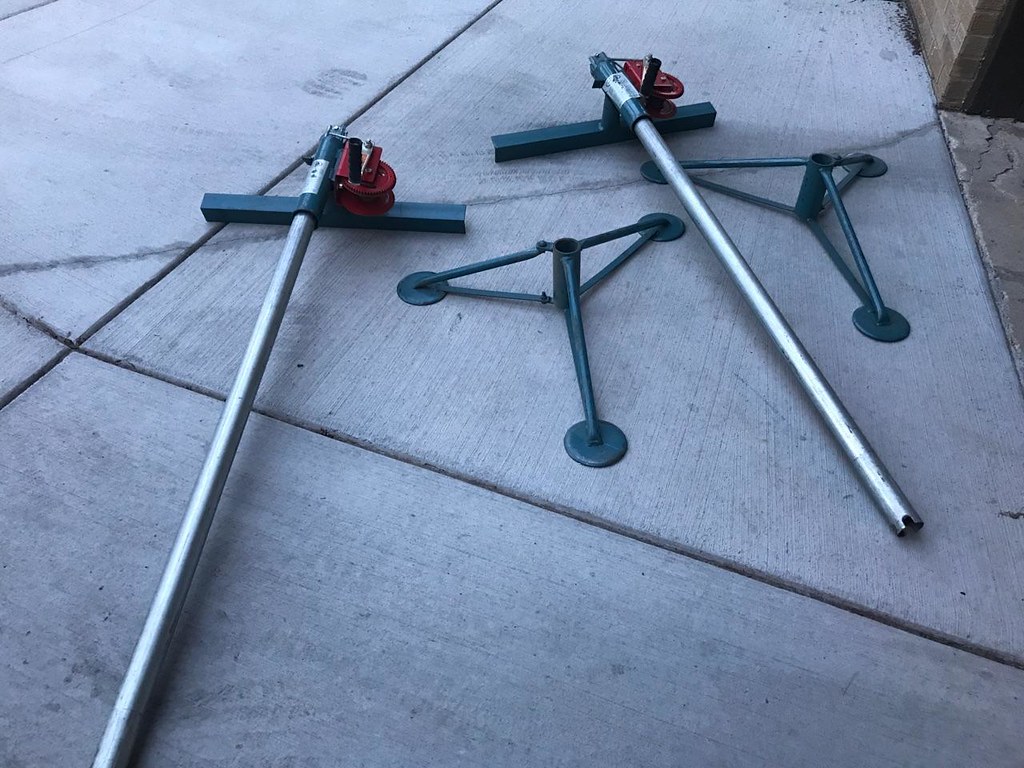 18886 by Rob Zulian, on Flickr
Since the Blazer was sitting at my Dad's house this week, he helped while we were on the way up by crawling in the back and removing all the bolts to the top. Pretty impressive since he's 78 and still recovering from his 2nd knee surgery in a year. It was a big help since we had the top off within a few minutes.
Top off, Utah dust still inside.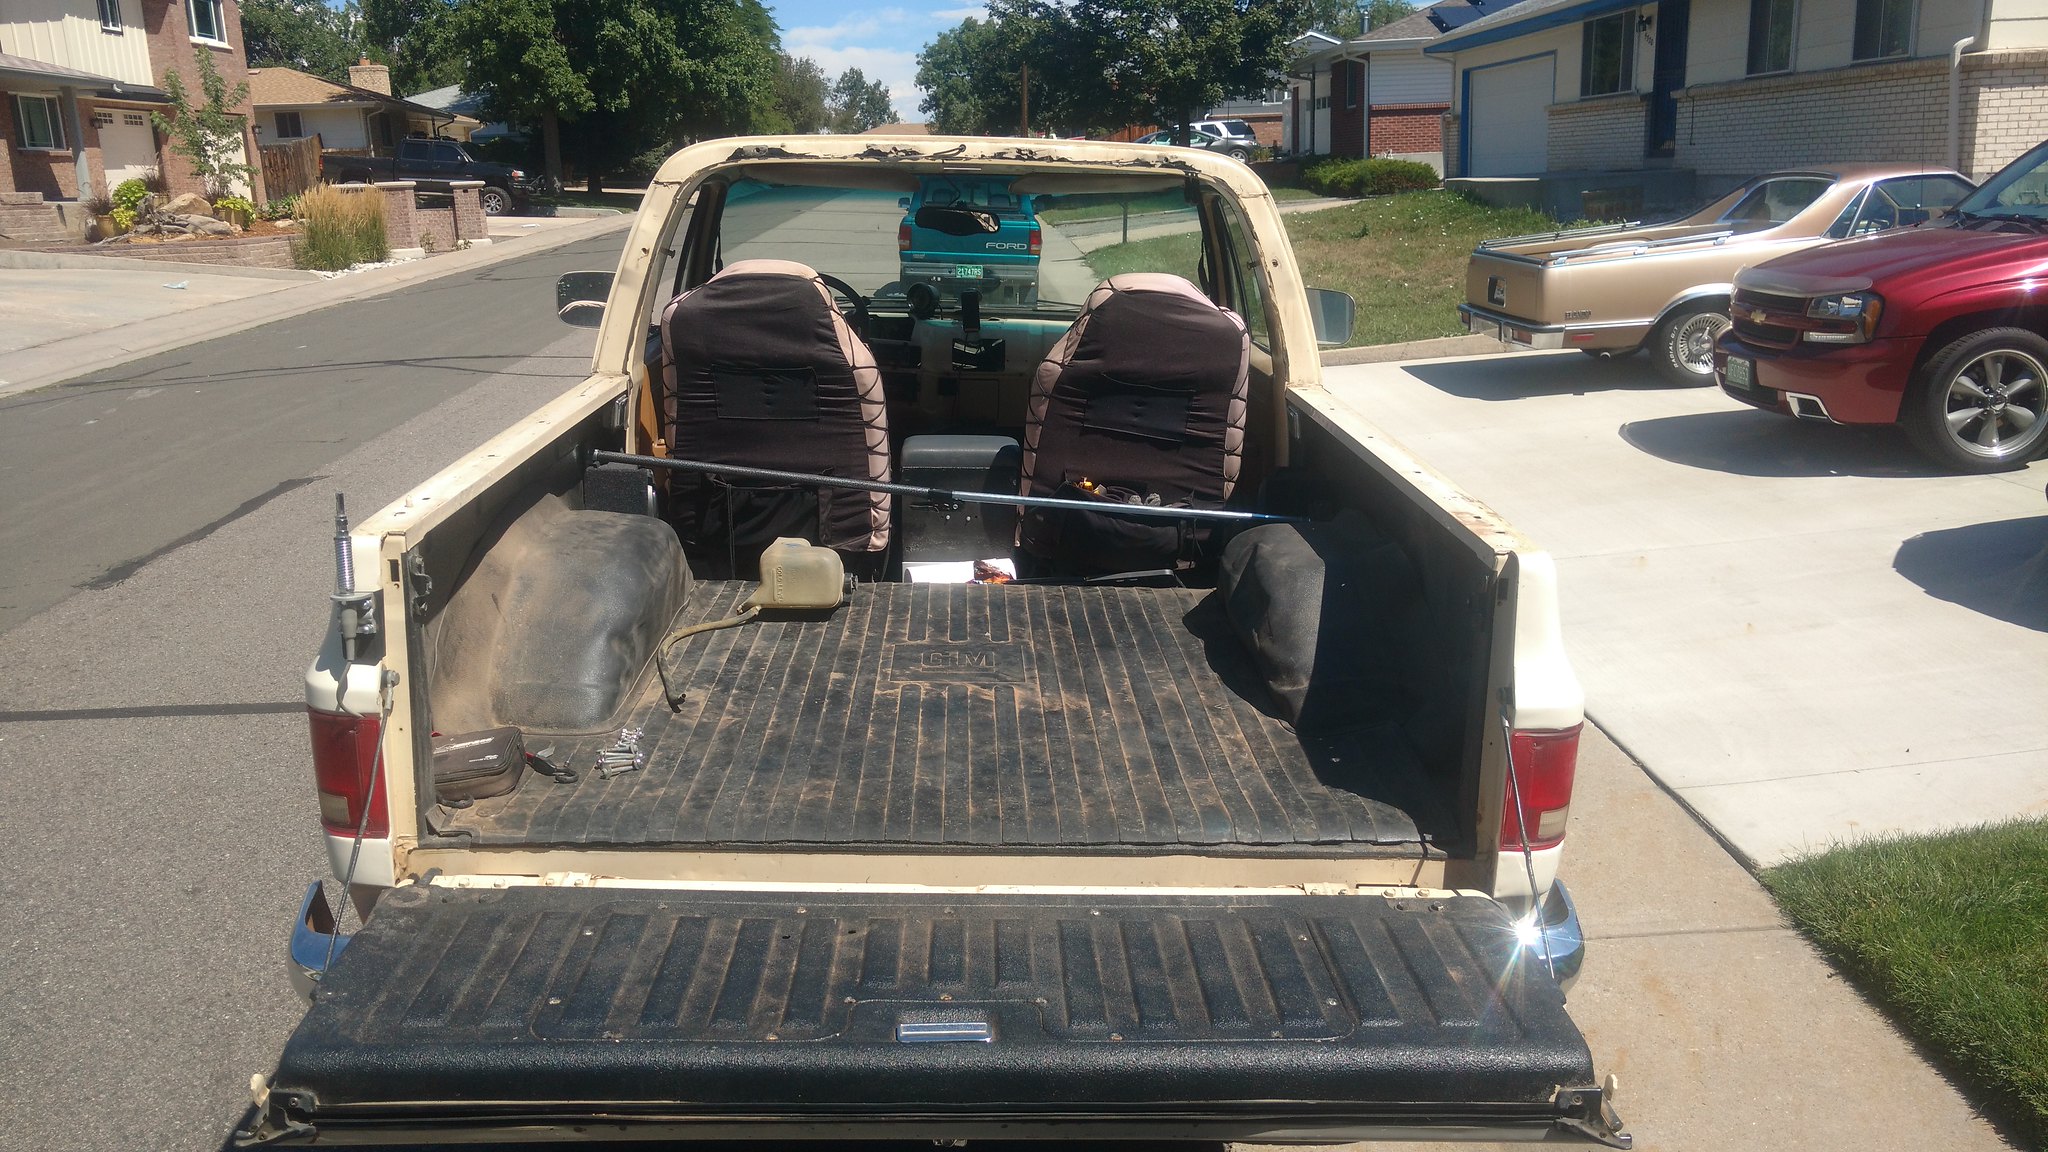 IMG_20170813_112605615 by Rob Zulian, on Flickr
Top on Trailer.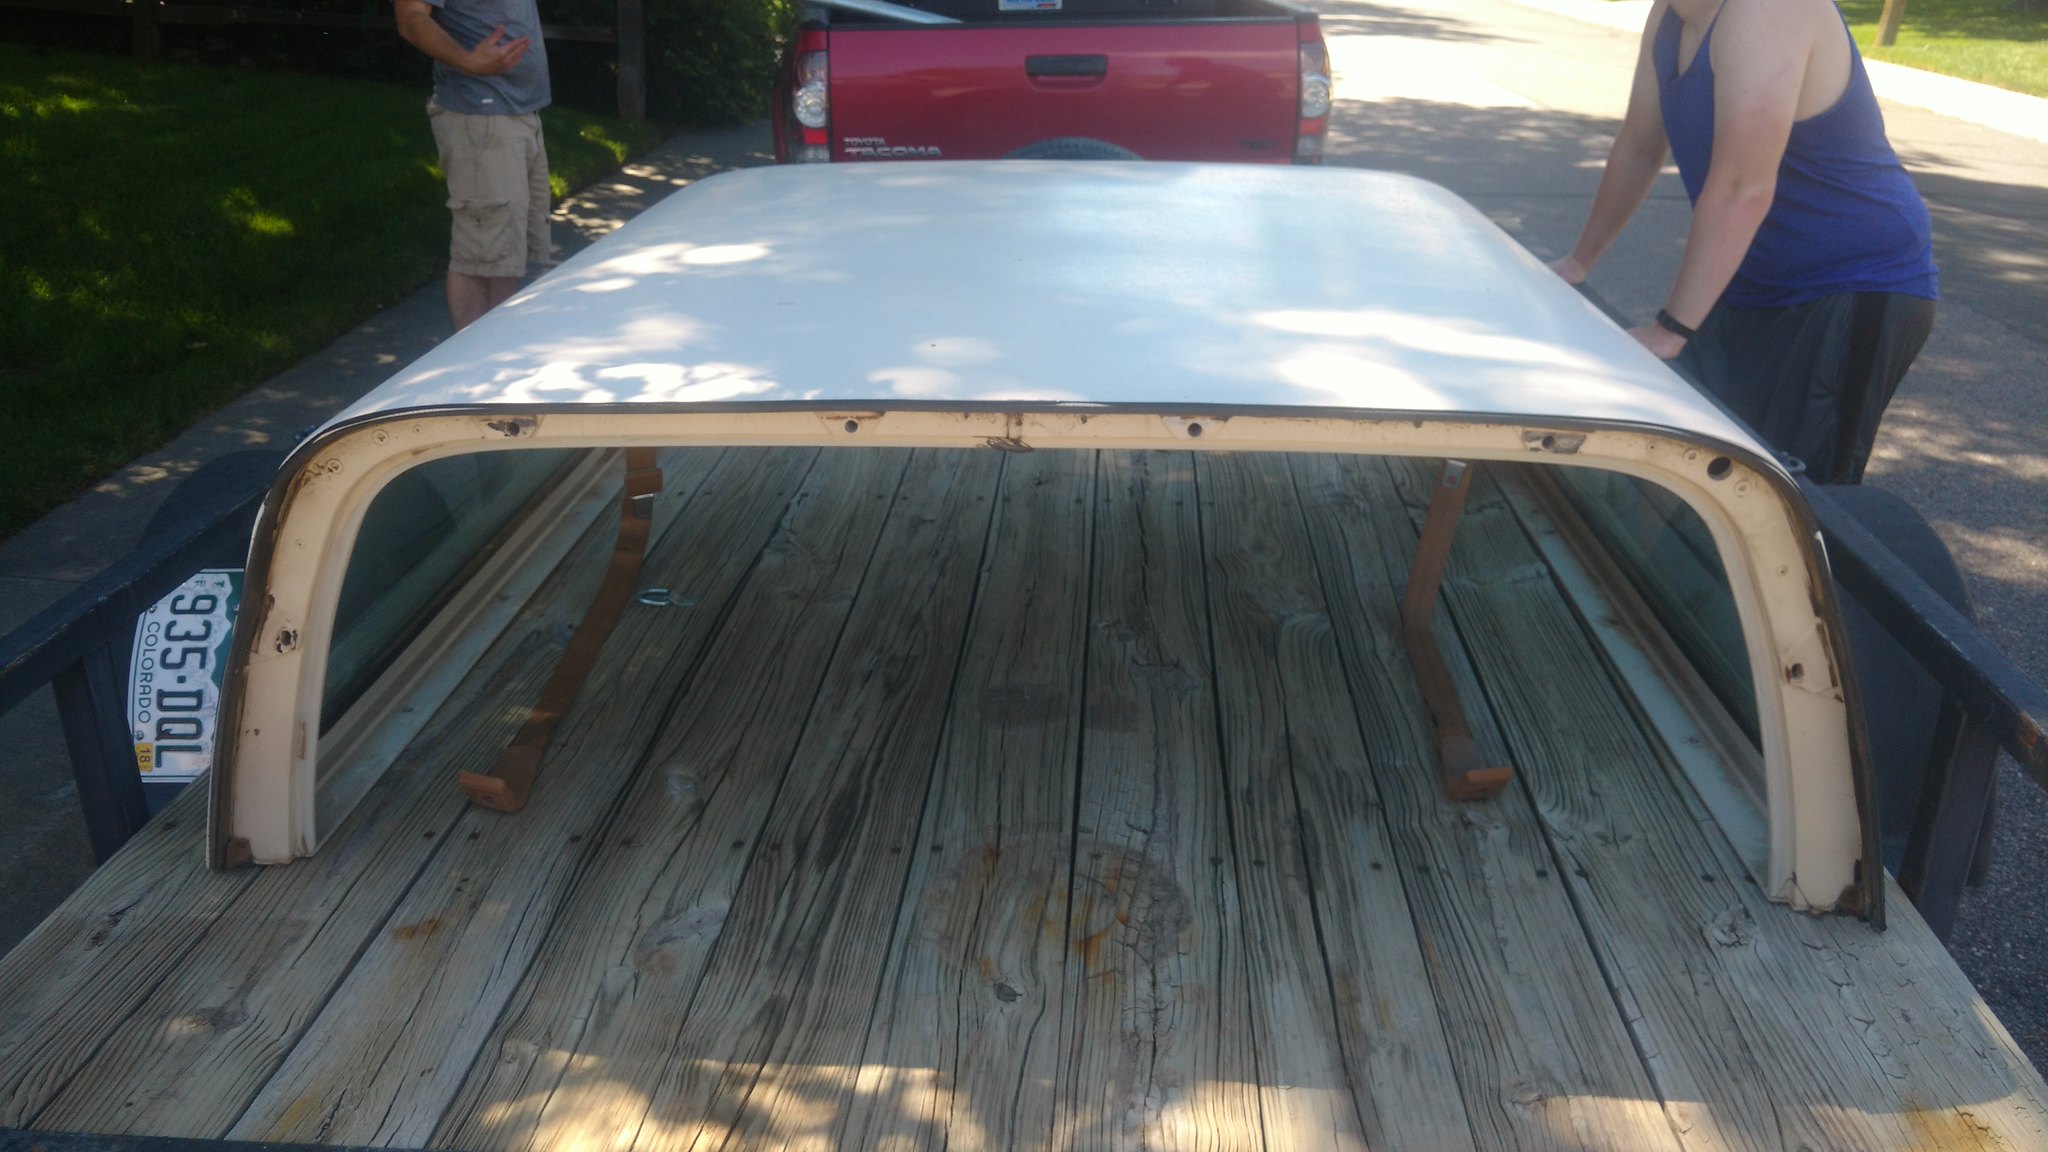 IMG_20170813_112618079 by Rob Zulian, on Flickr
Topless.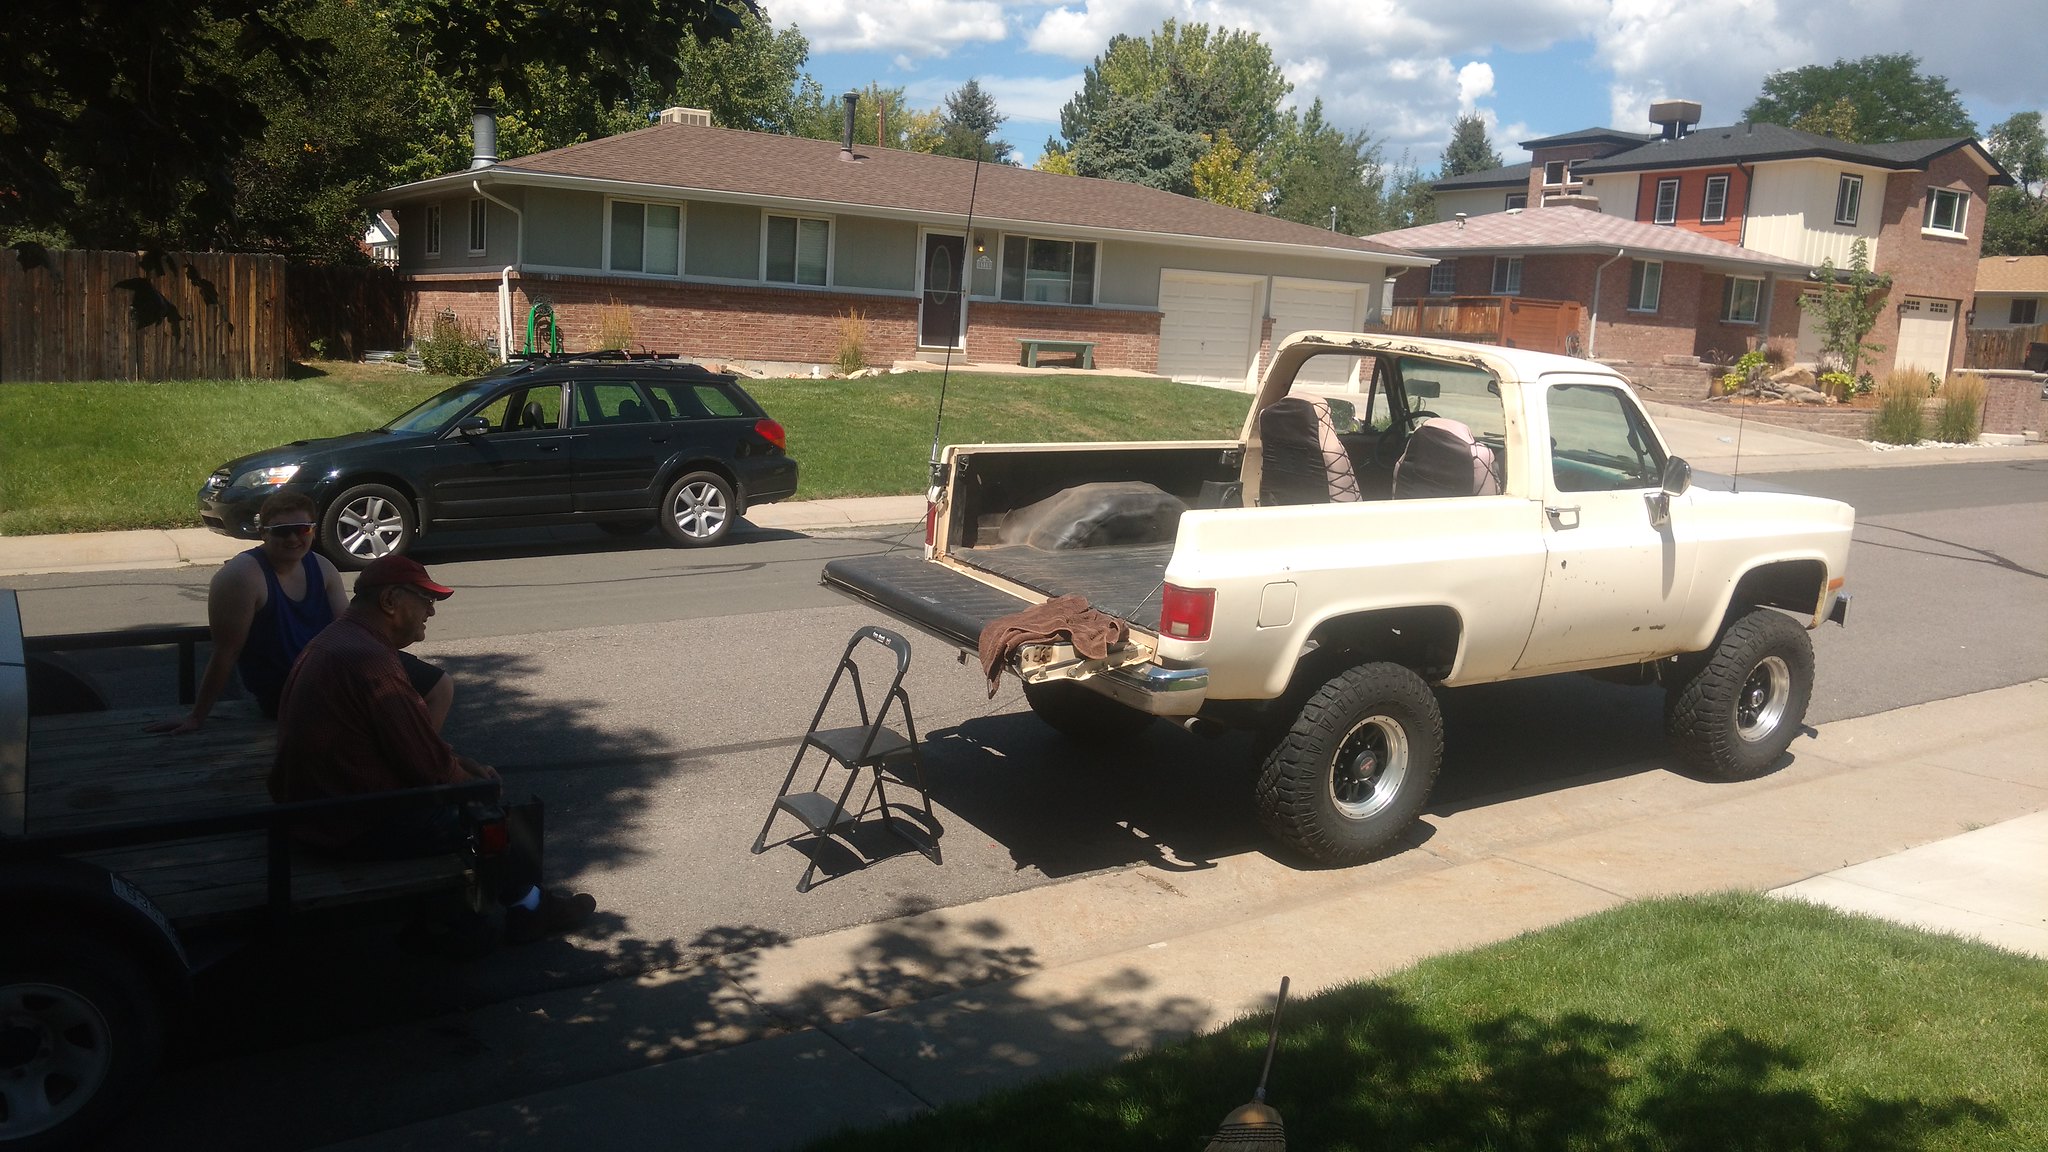 IMG_20170813_114728557 by Rob Zulian, on Flickr
Not bad looking top off.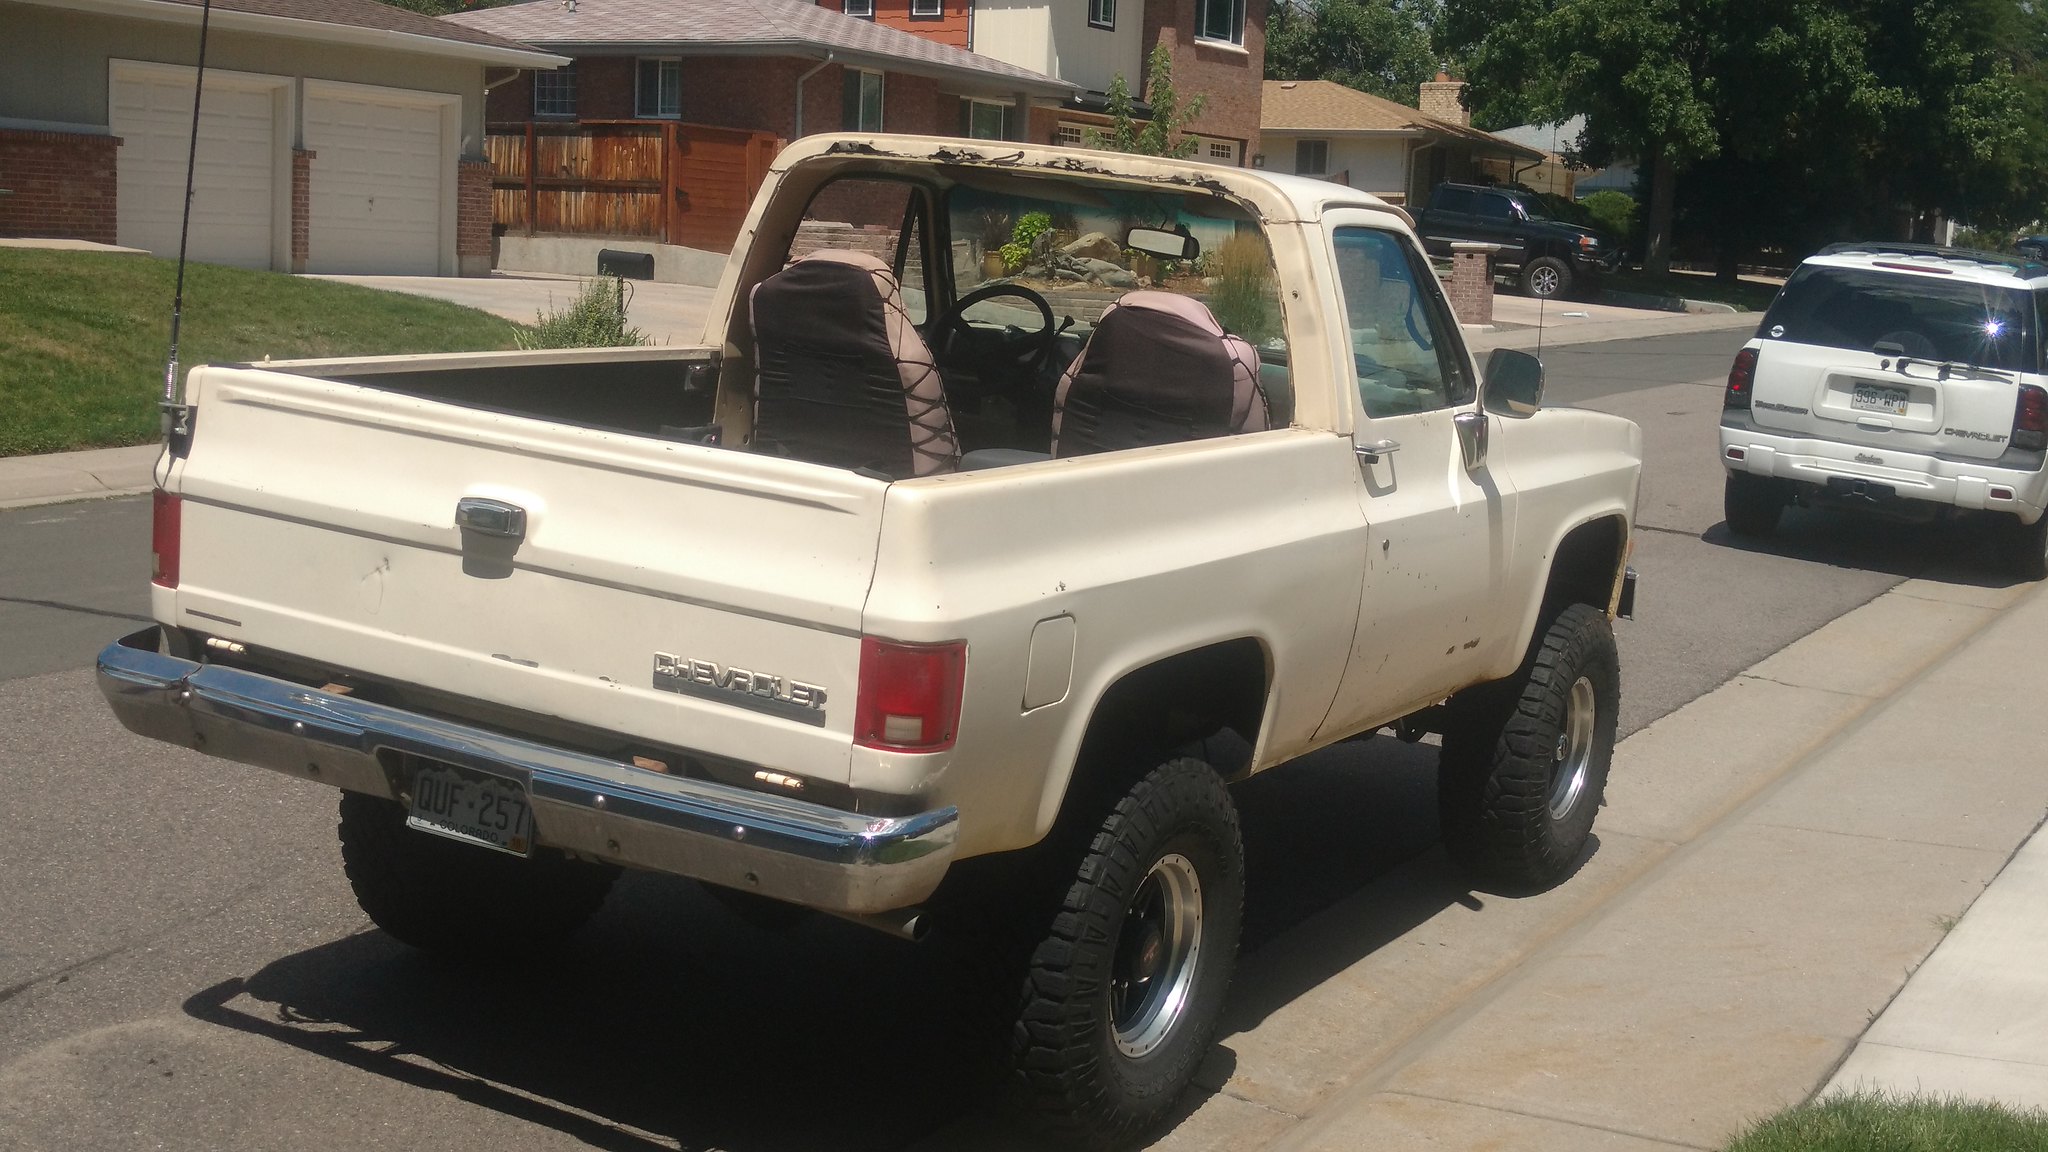 IMG_20170813_122005971 by Rob Zulian, on Flickr
The donor and transplant patient.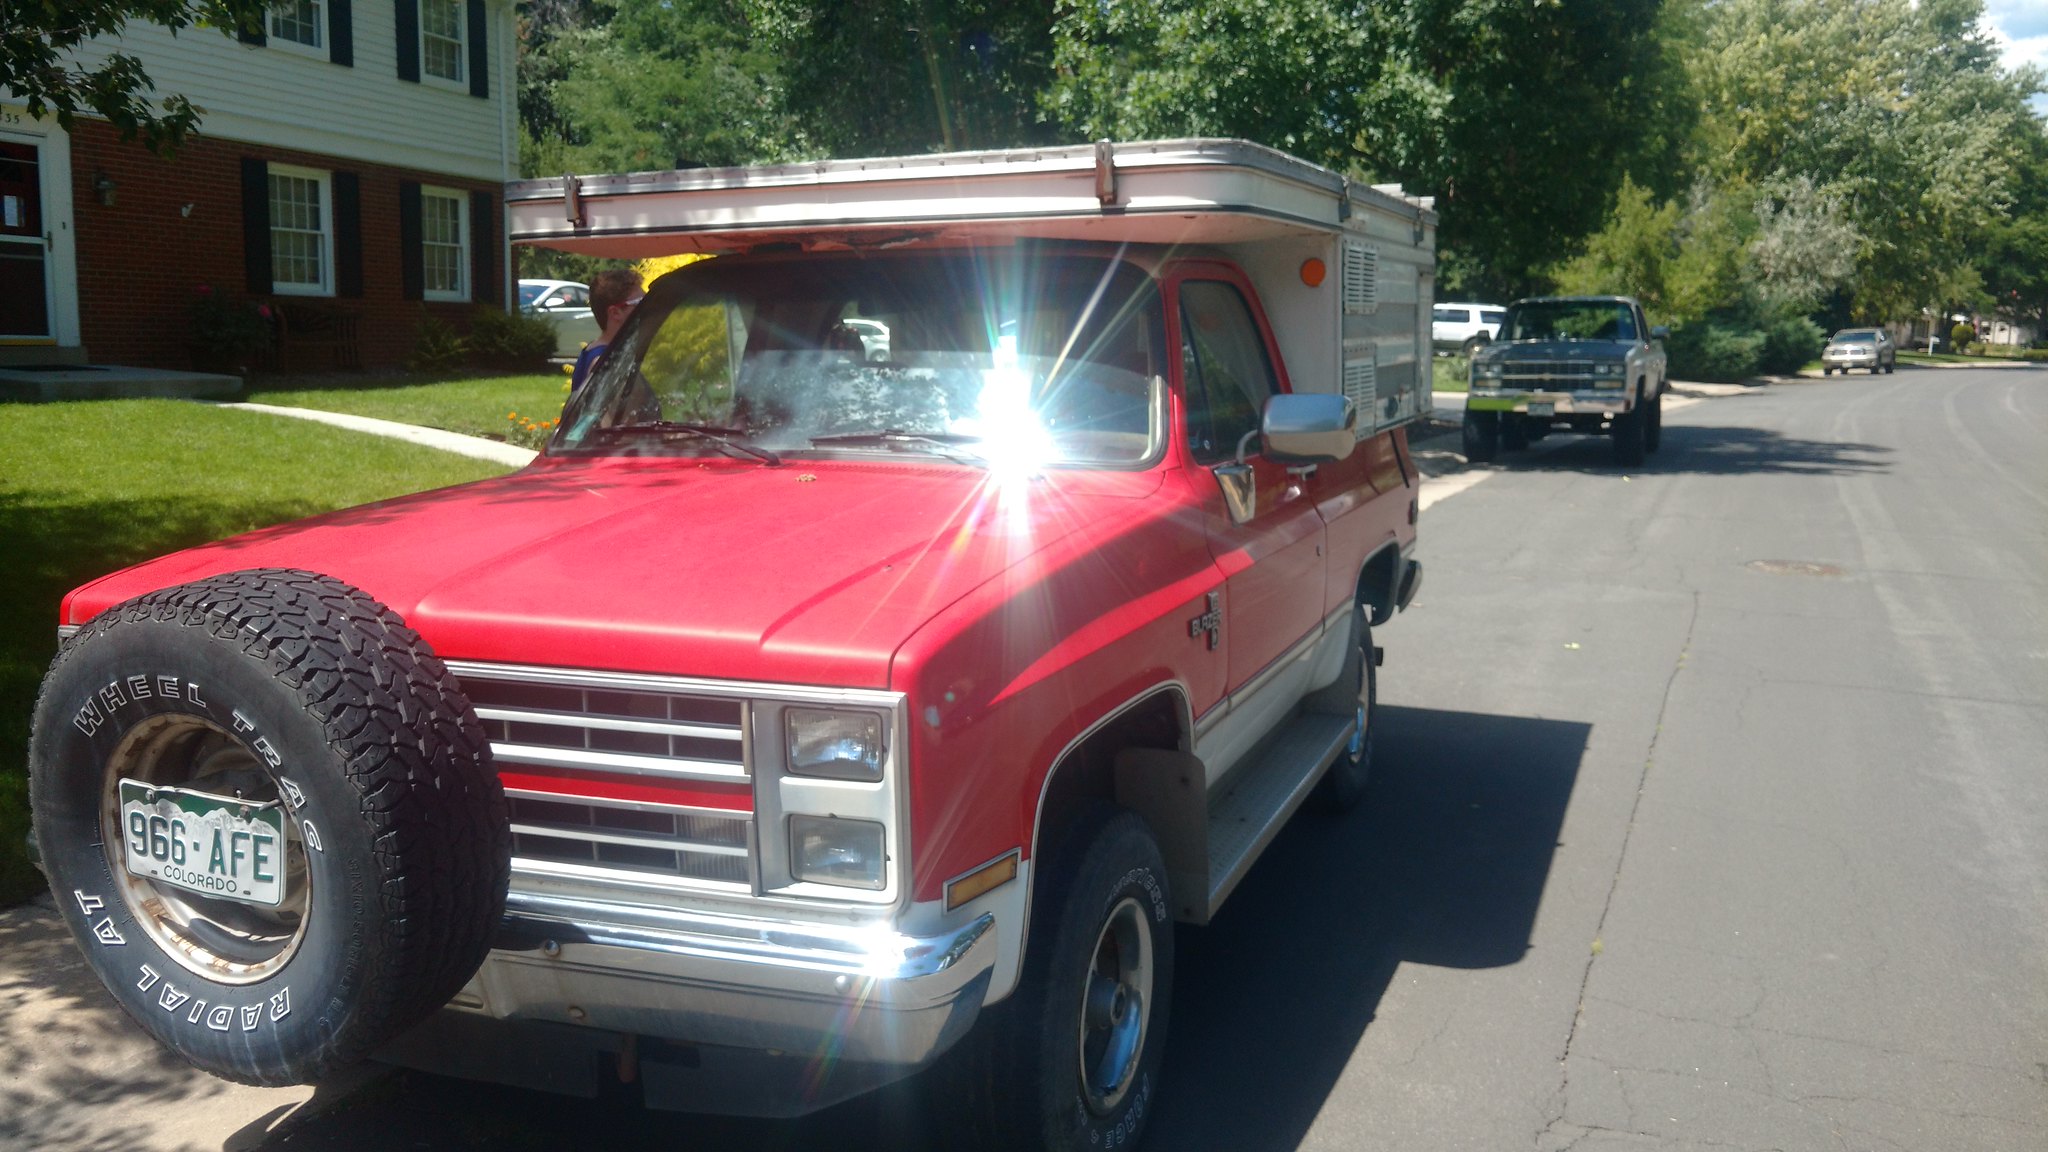 IMG_20170813_130235603 by Rob Zulian, on Flickr
Pretty clean inside, but the carpet is going out, the shag on the walls is going away as well as the dingy curtains. 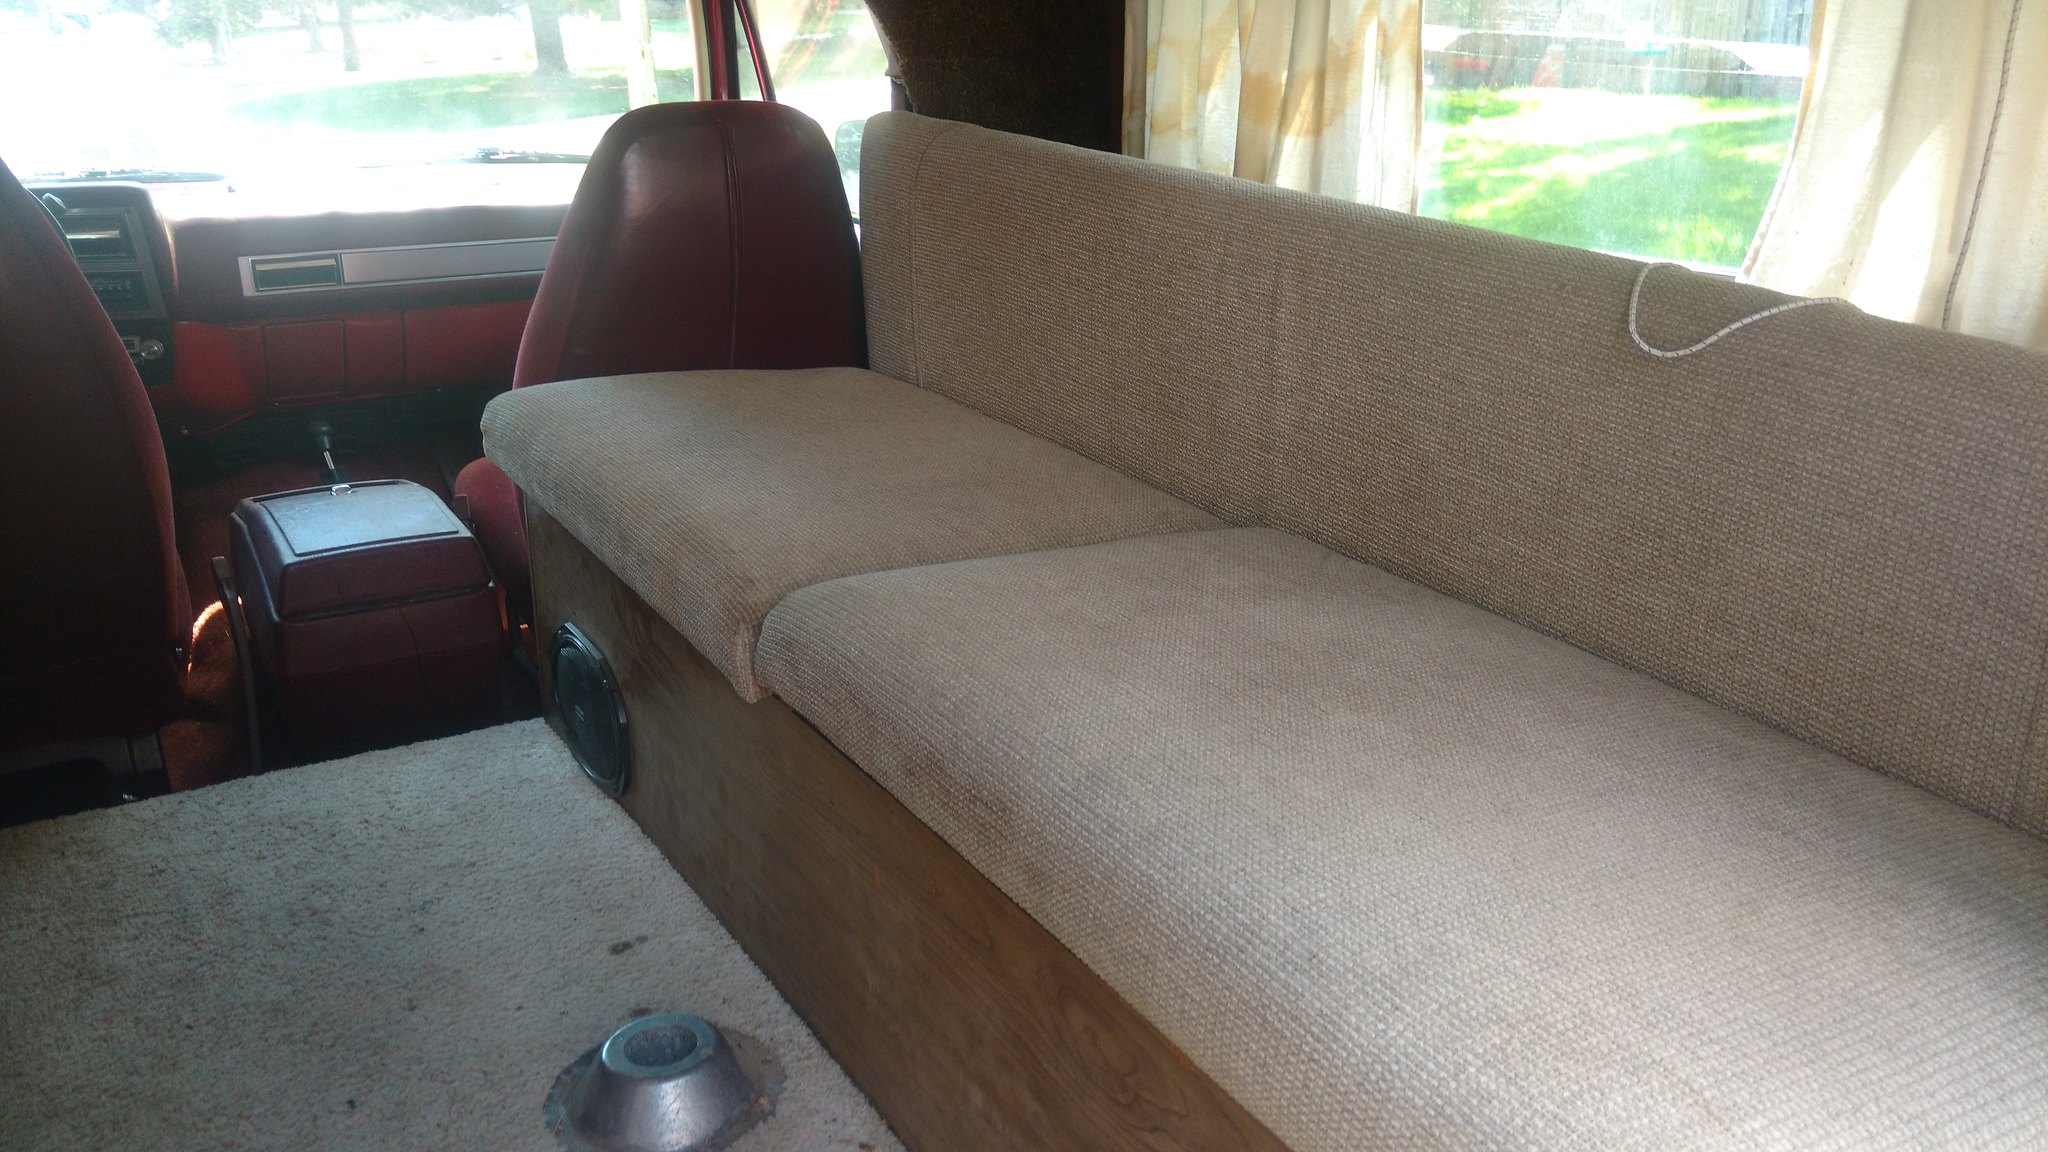 IMG_20170813_130447811 by Rob Zulian, on Flickr
Plenty of room for activities!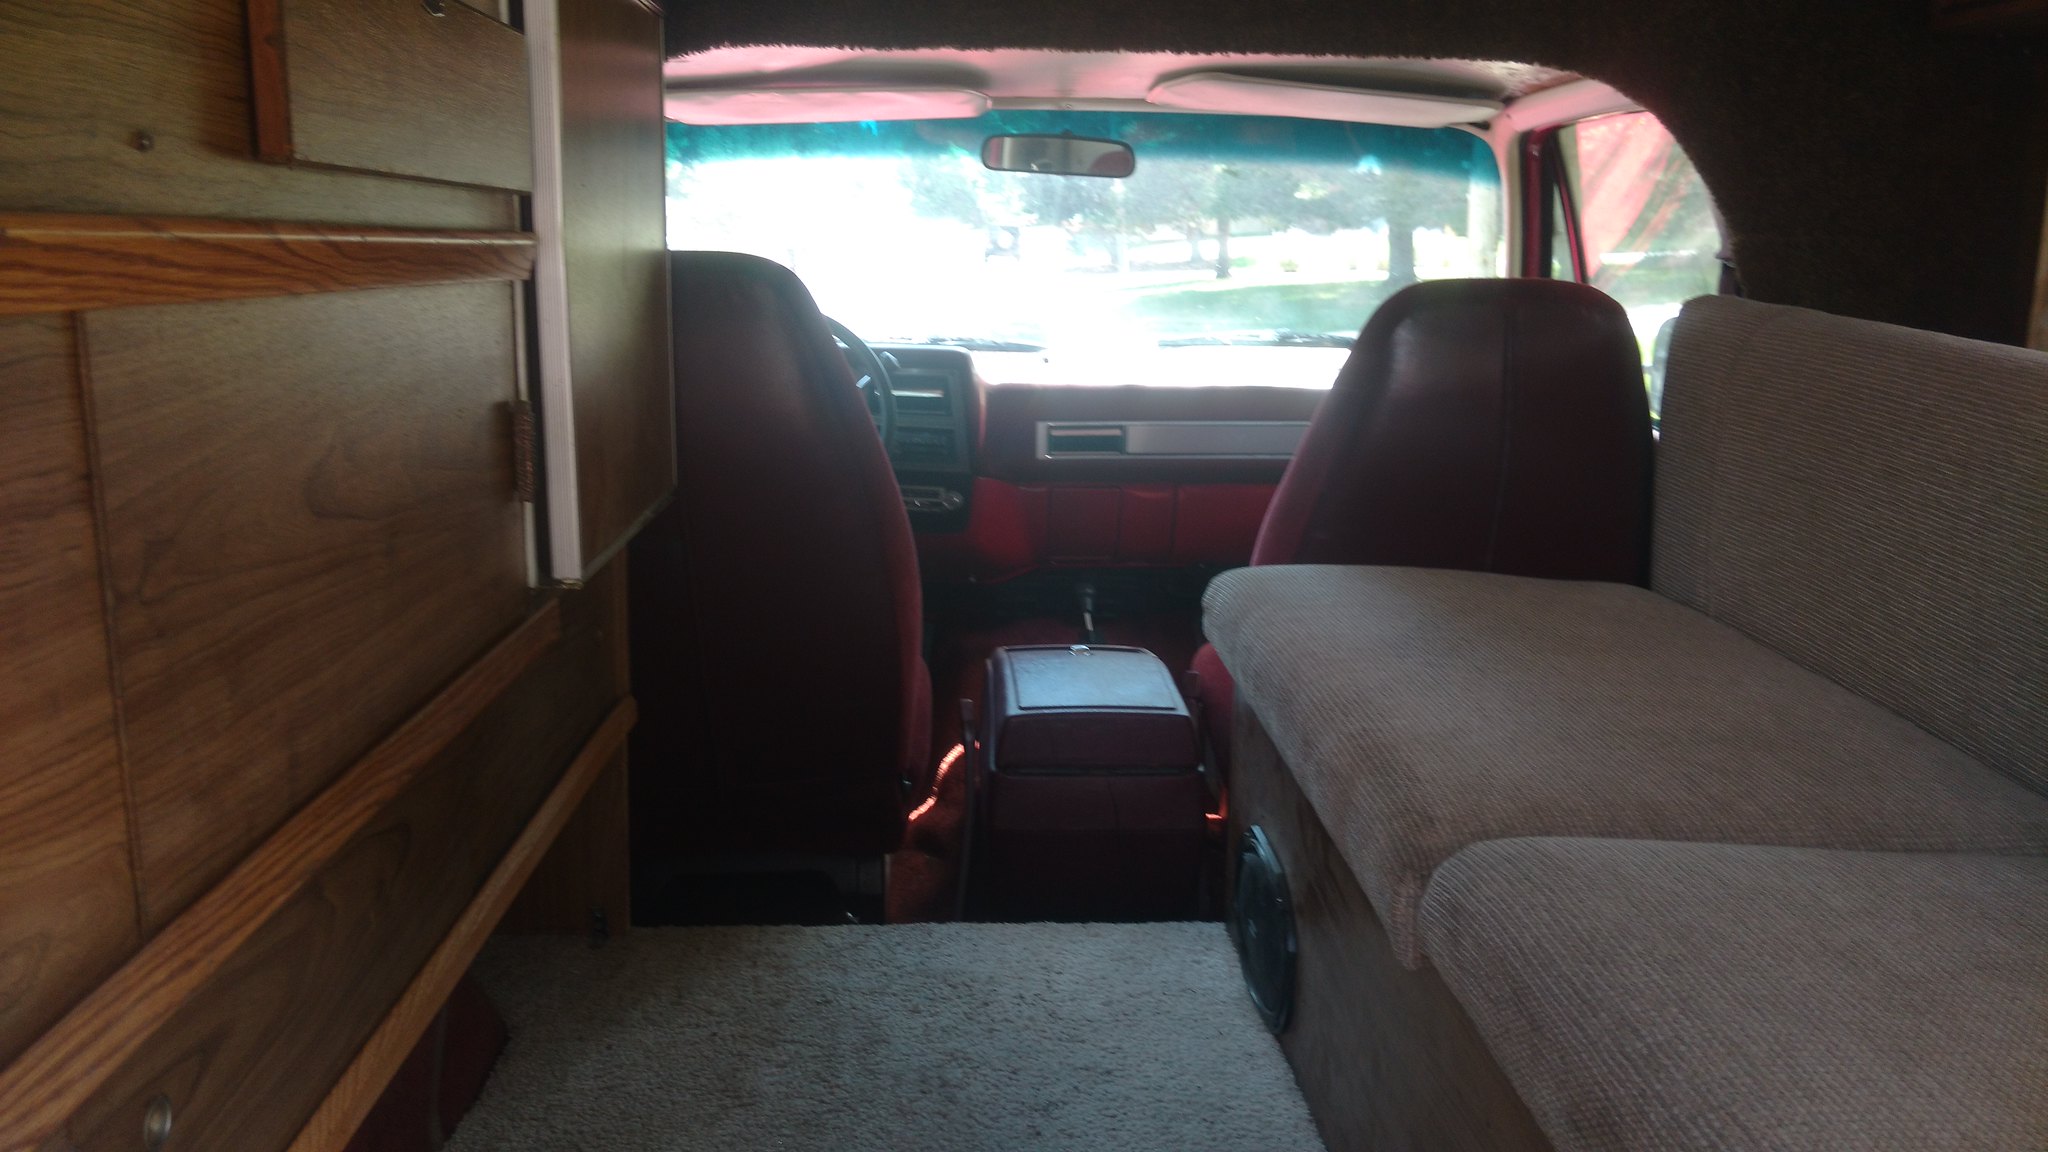 IMG_20170813_130452836 by Rob Zulian, on Flickr
The resident engineer checking out the donor. (aka Dad)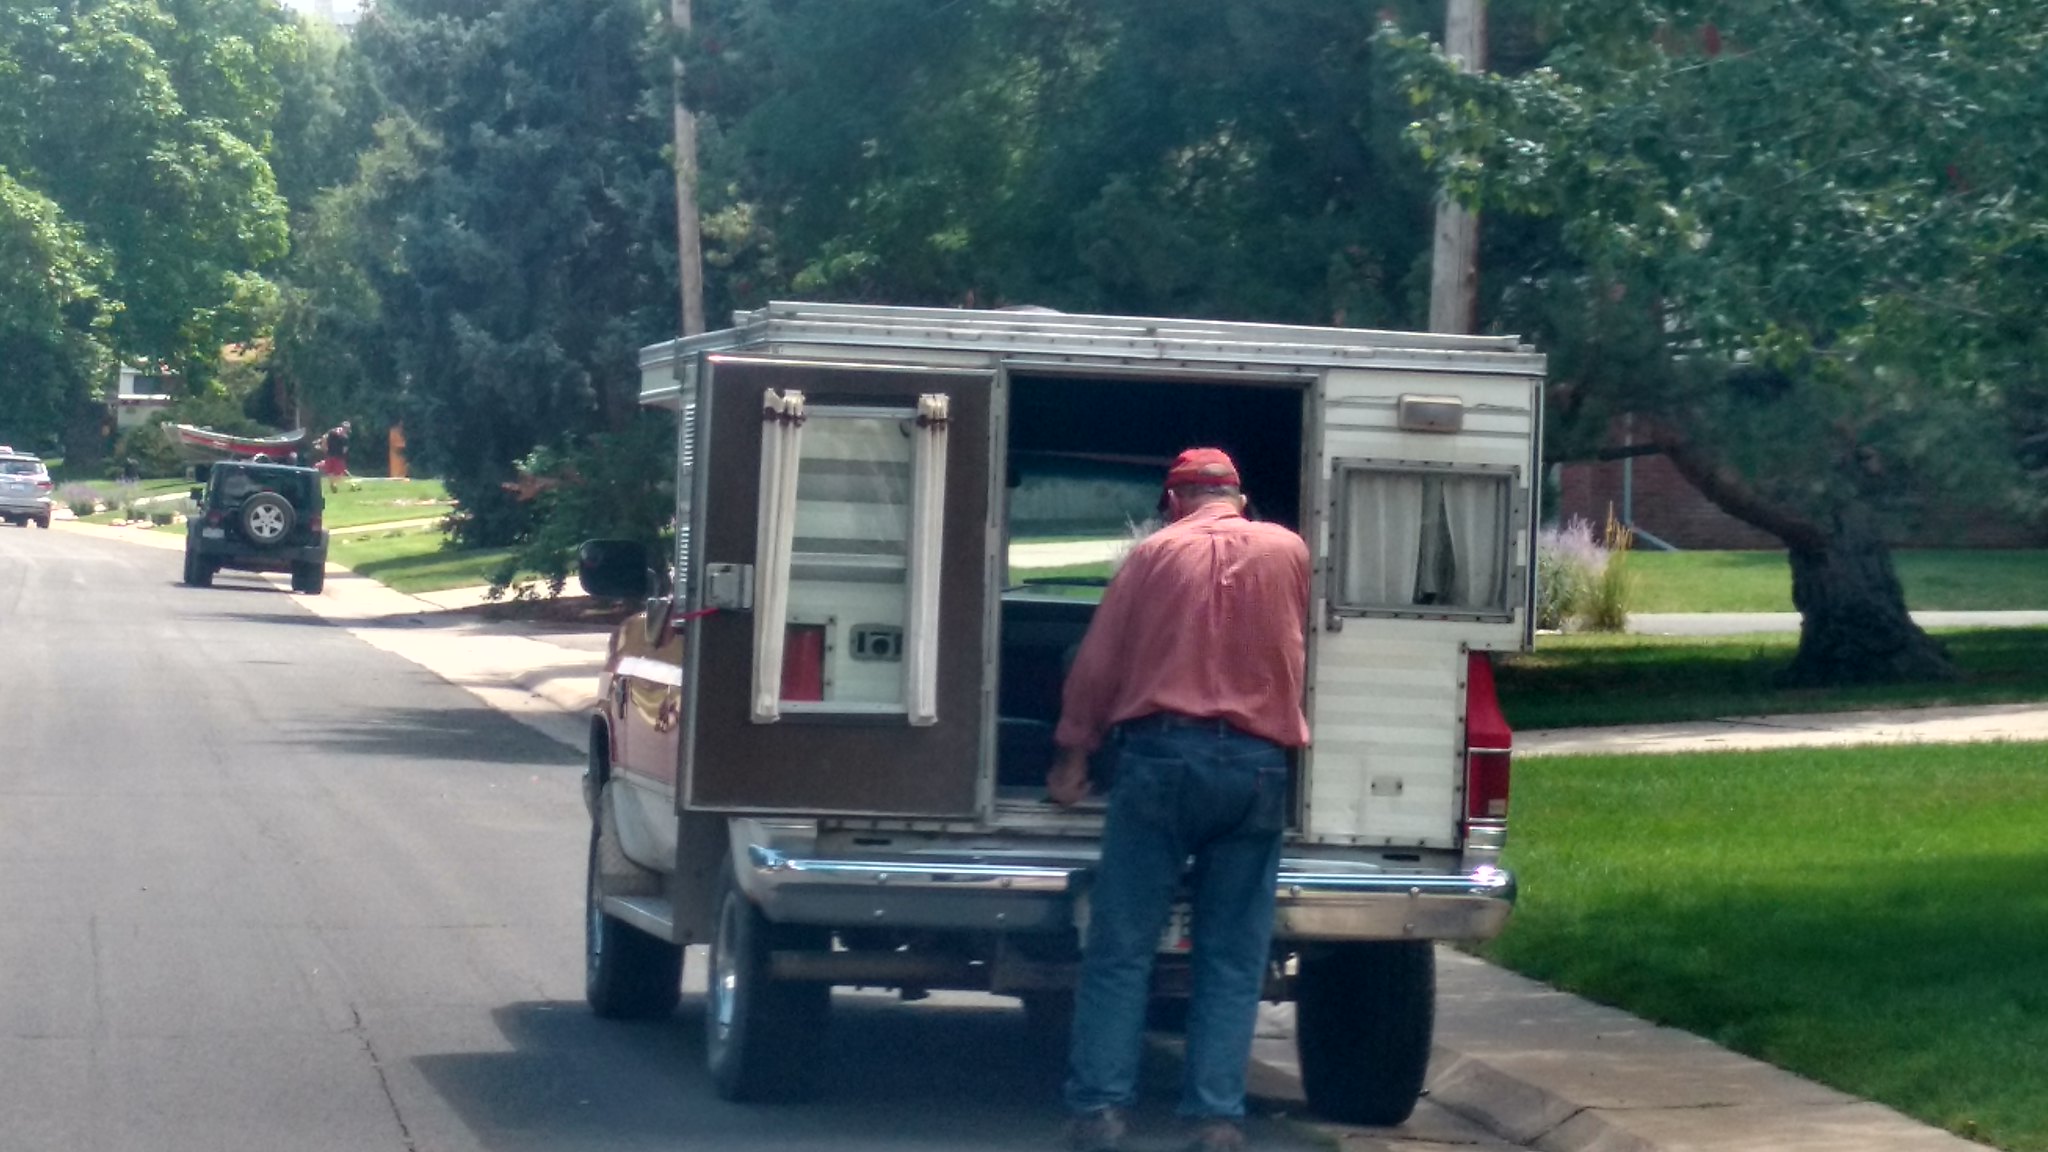 IMG_20170813_131141147_HDR by Rob Zulian, on Flickr
This is where things would get interesting. We needed to figure out if the jacks had enough lifting height to get the camper high enough to reach my truck. The donor is stock all the way down to the tires. Mine is sitting on 35" tires and 4" worth of lift. It was quickly found that the camper jacks just barely reached the stock Blazer, so some technical jenga work was in order. Multiple chunks of wood to get the jacks up higher so we could get one truck out from under it and then crank it up and pull mine in under it.  IMG_20170813_133200019 by Rob Zulian, on Flickr
Just as we started lifting and looking for any missed bolts we realized there were two still clinging on for dear life. Front two on the drivers side. At first you can't see them, that is until you take a few screws out and slide the fridge out slightly. 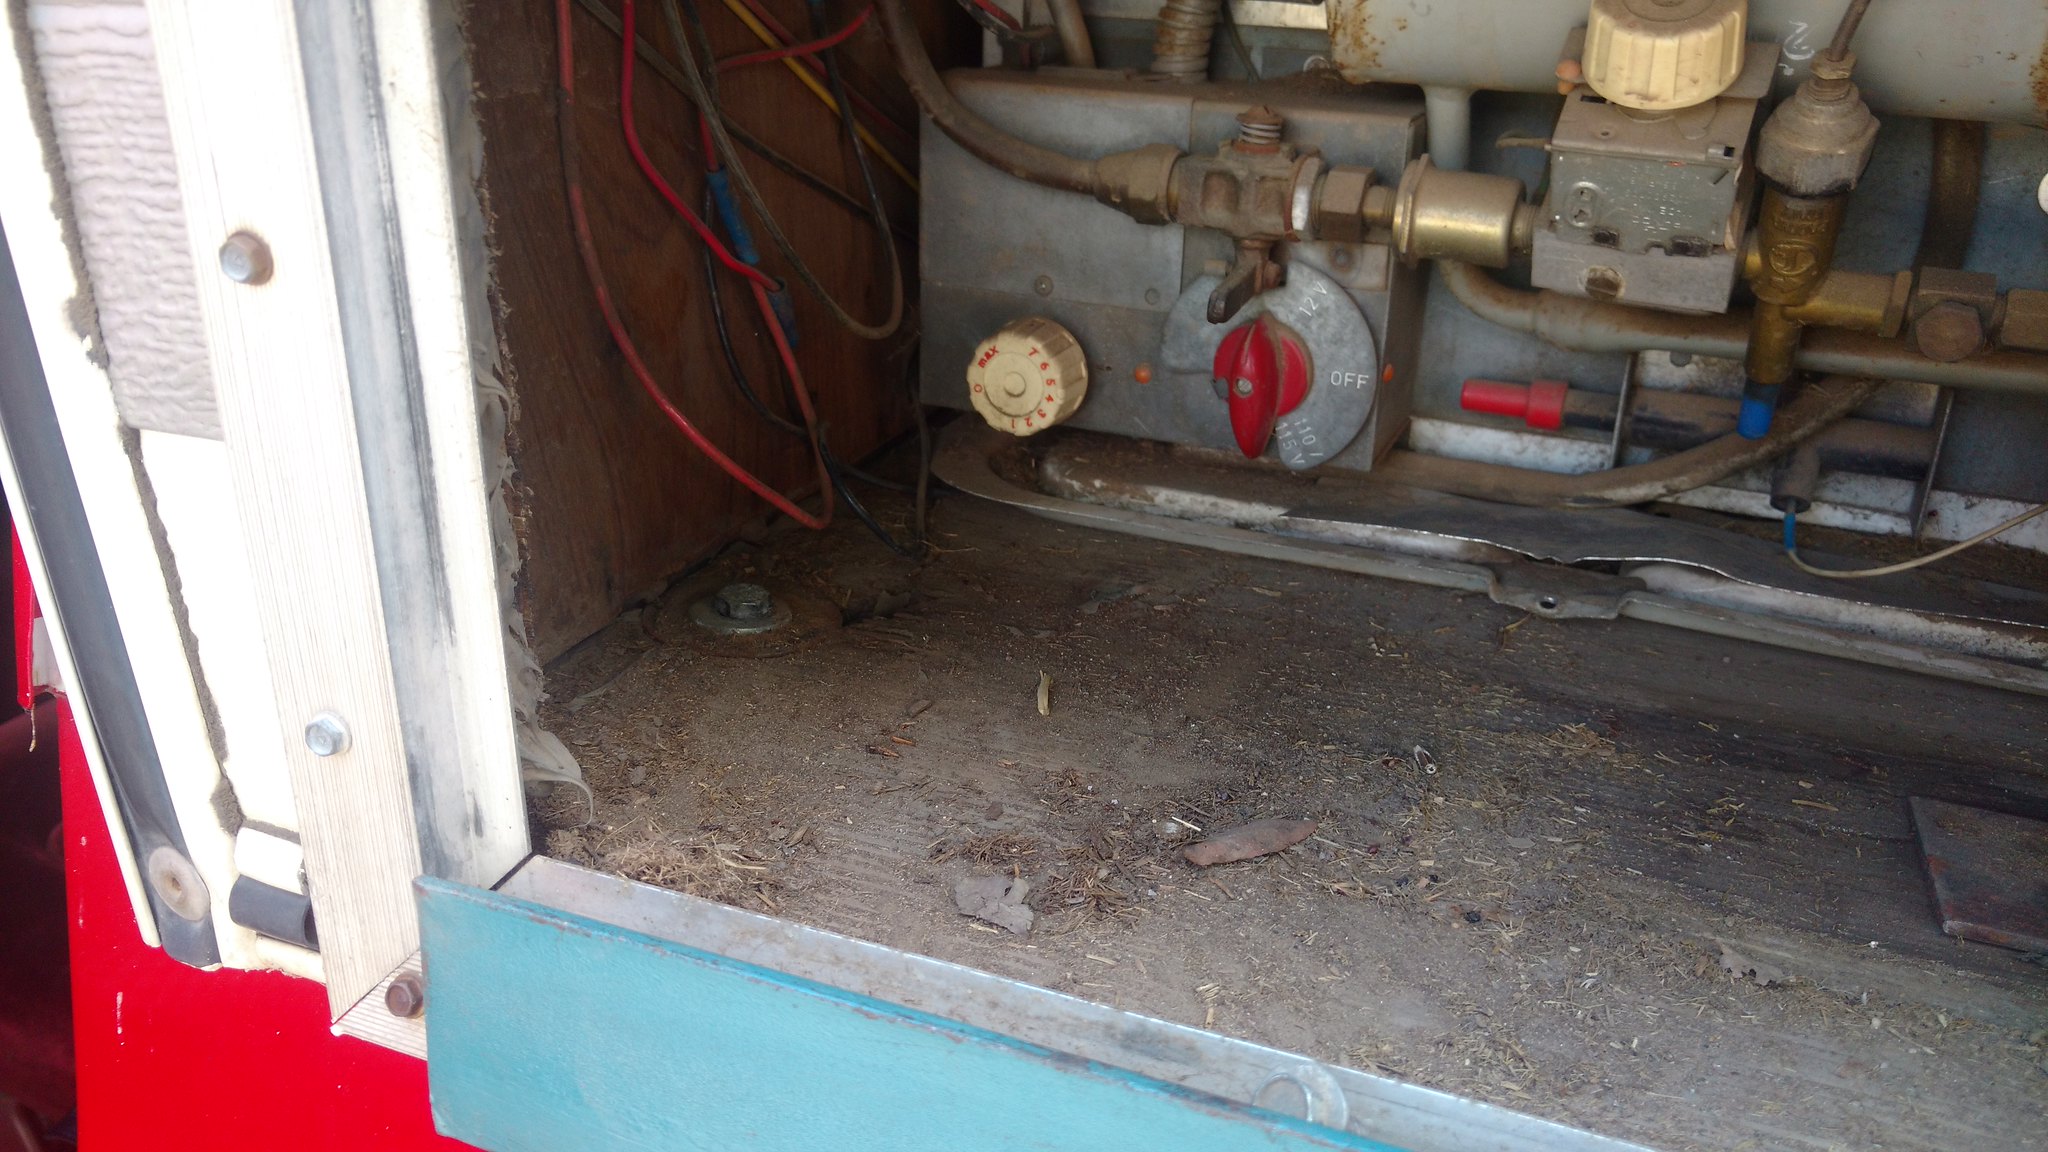 IMG_20170813_140710044 by Rob Zulian, on Flickr
This is where we ran into the biggest issue of the day. The most forward bolt had it's caged nut in the body strip out. I had tried to snap it loose with my 1/4" drive matco cordless impact but it just spun. His Blazer still had the interior side panels so the only way to see the bottom side of the bolt was to remove the ashtray, but we still couldn't get anything on it to hold it. So a sawzall was brought out to take the head off. We lost the better part of an hour screwing around with one bolt. 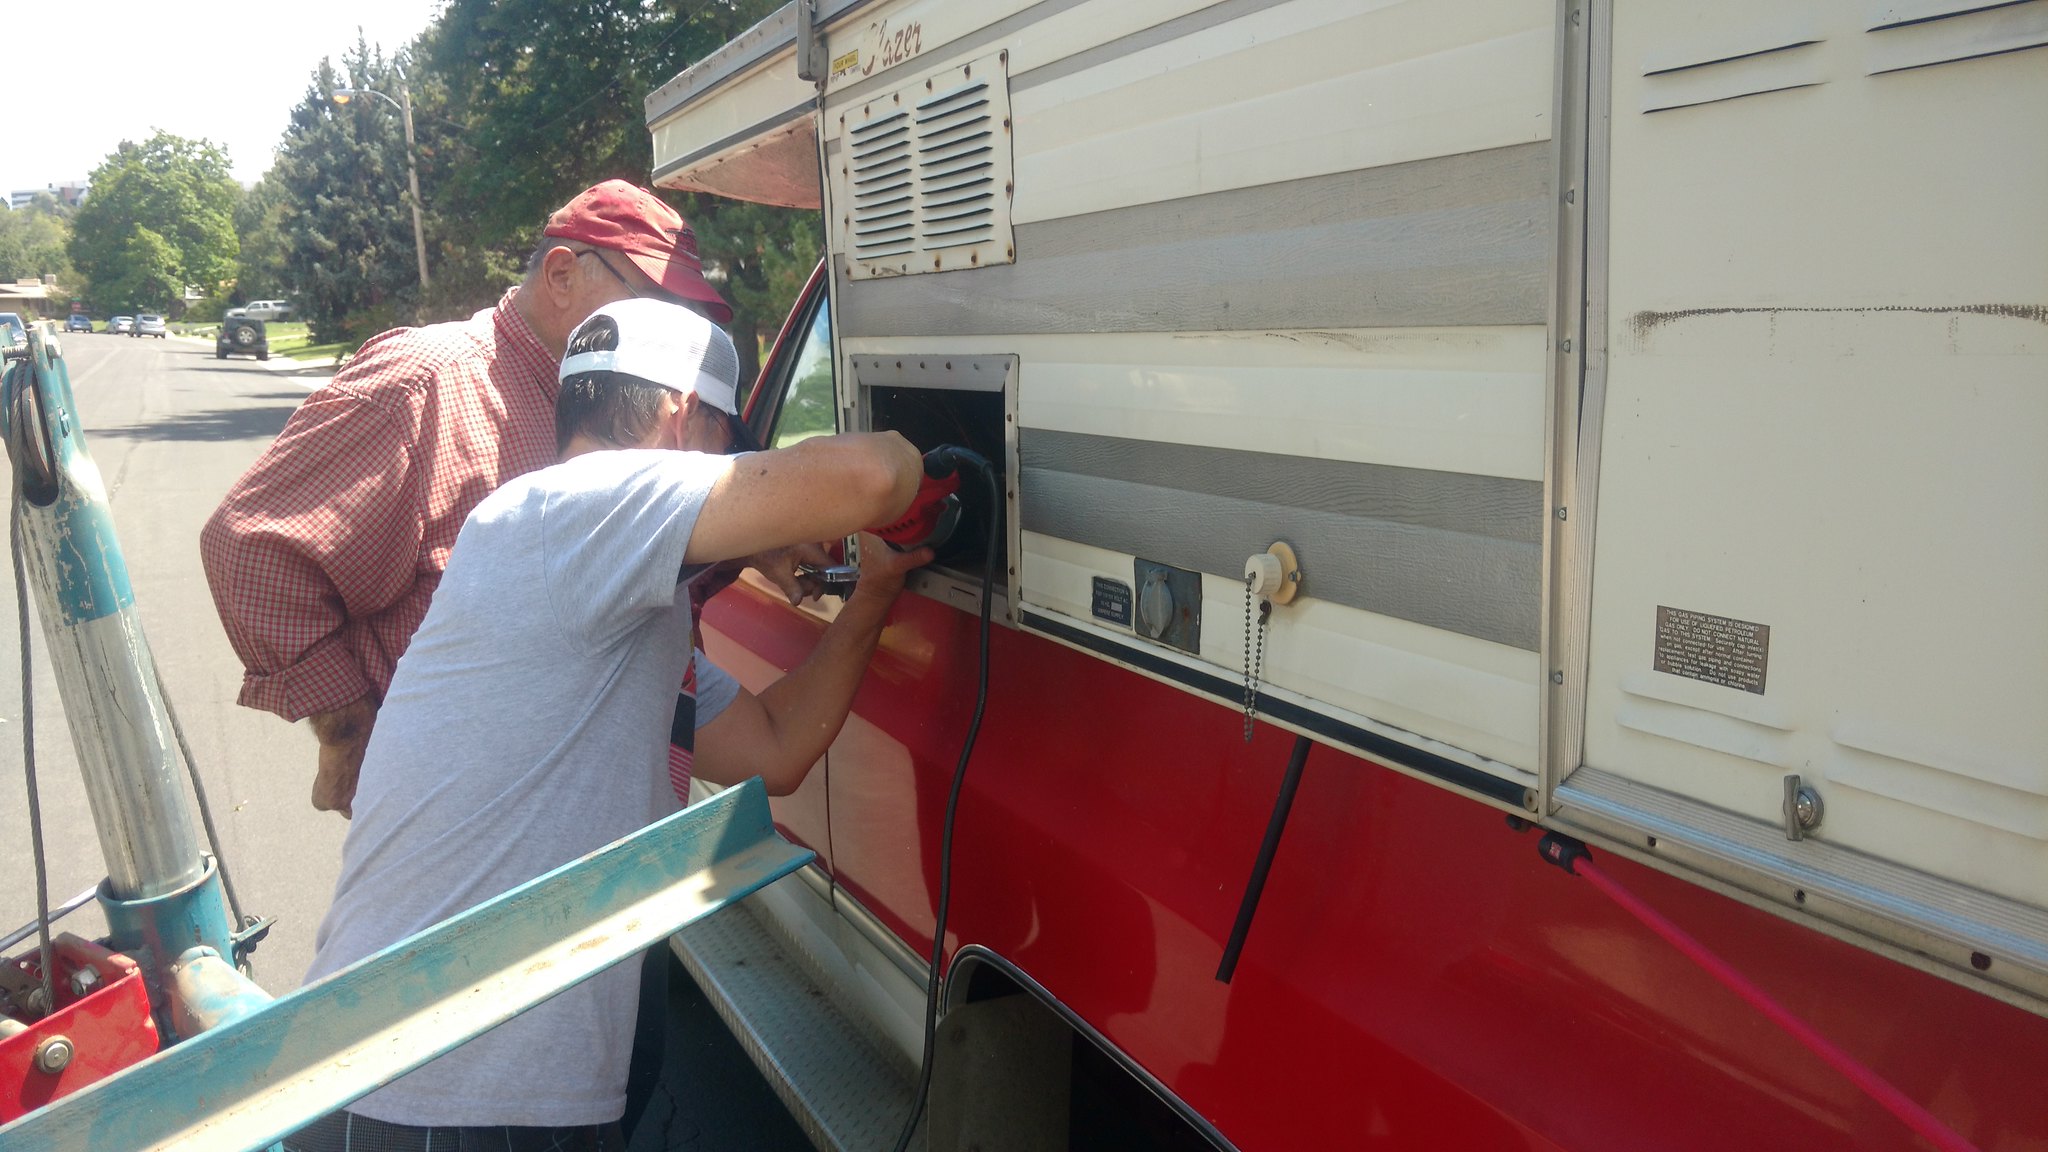 IMG_20170813_141908767 by Rob Zulian, on Flickr
Me goofing around taking pics while the guy gnaws away at the bolt.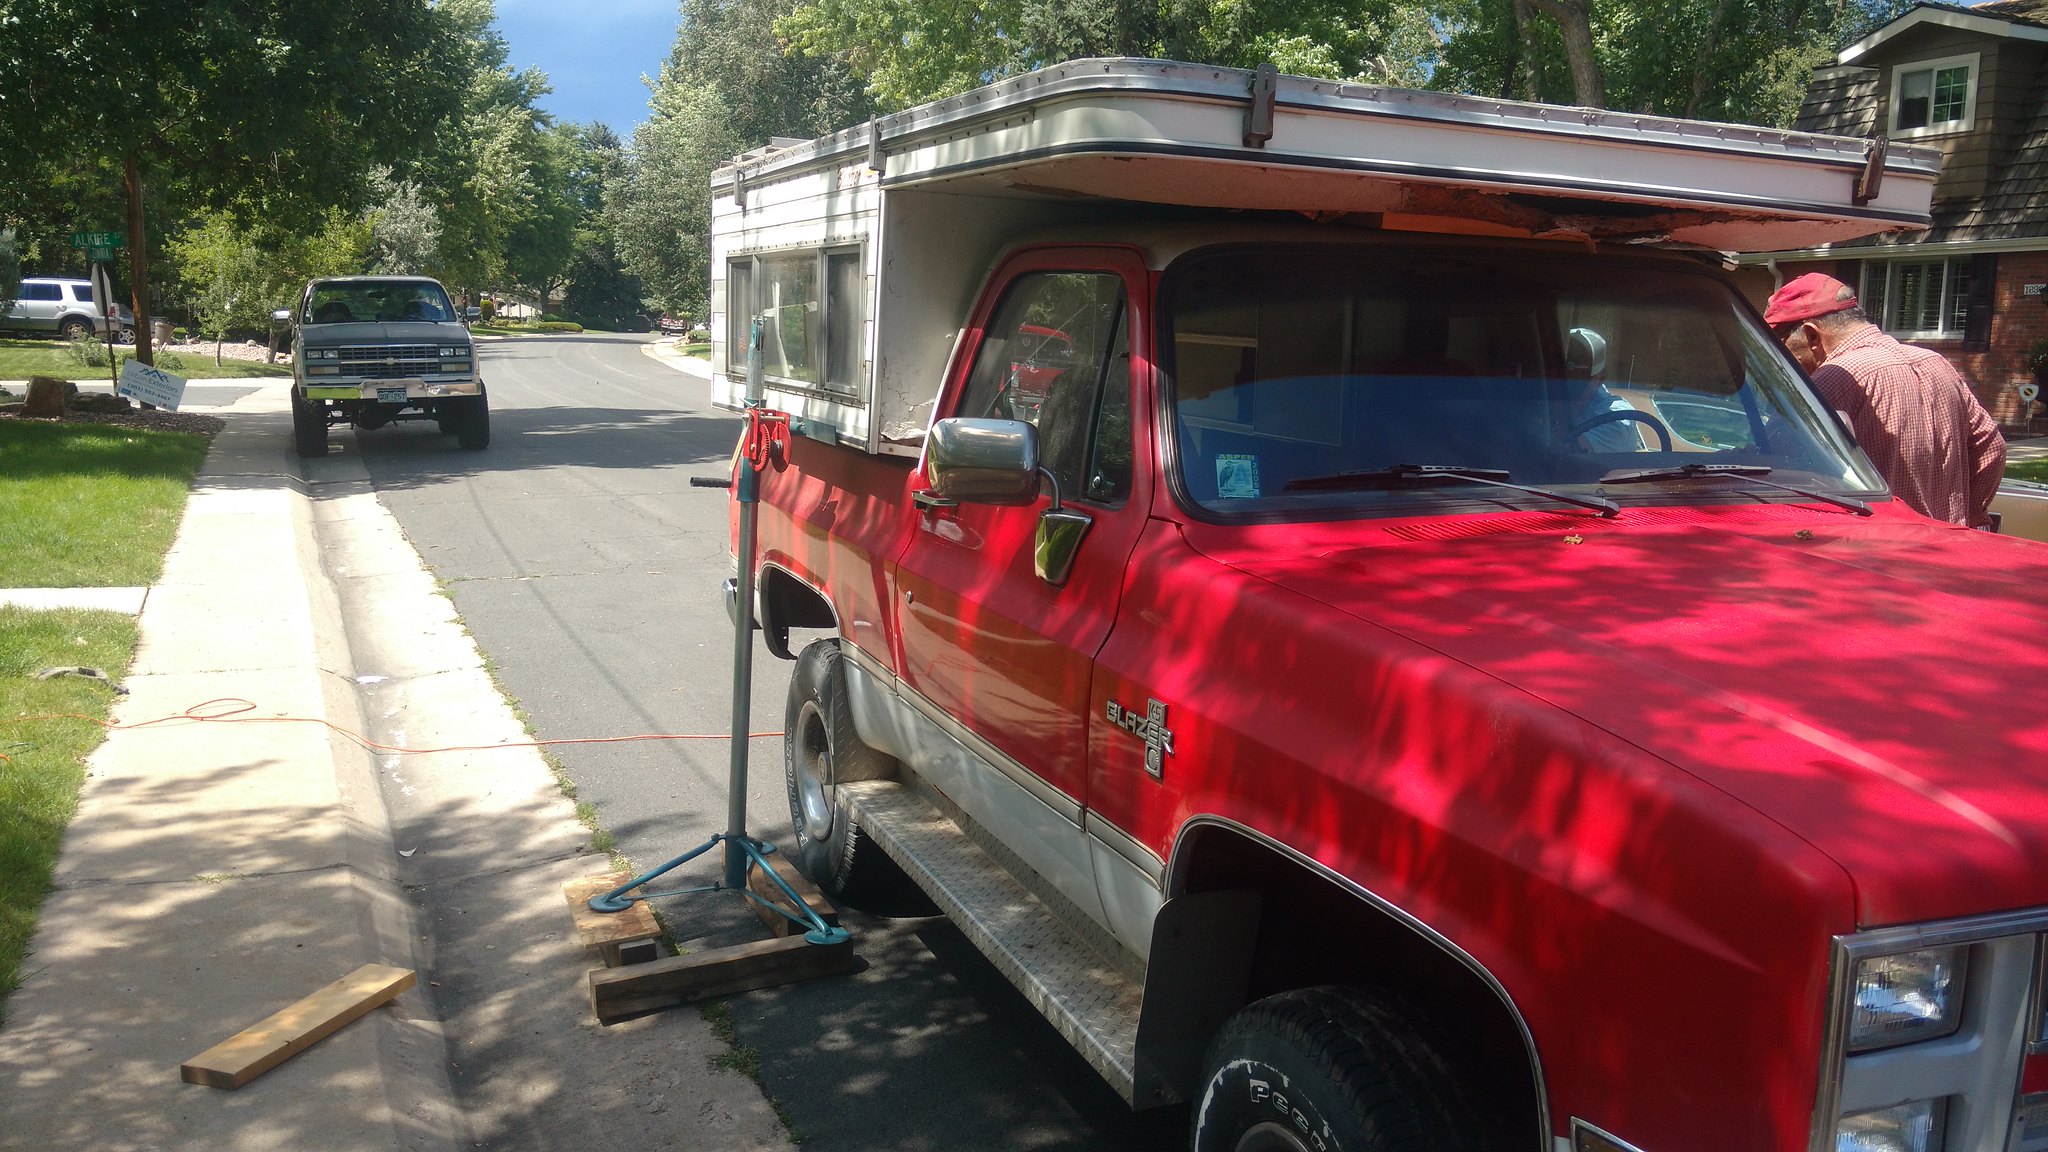 IMG_20170813_142008963 by Rob Zulian, on Flickr
It's off! We then had to remove the floor from the other blazer to set it into mine prior to dropping the camper on. 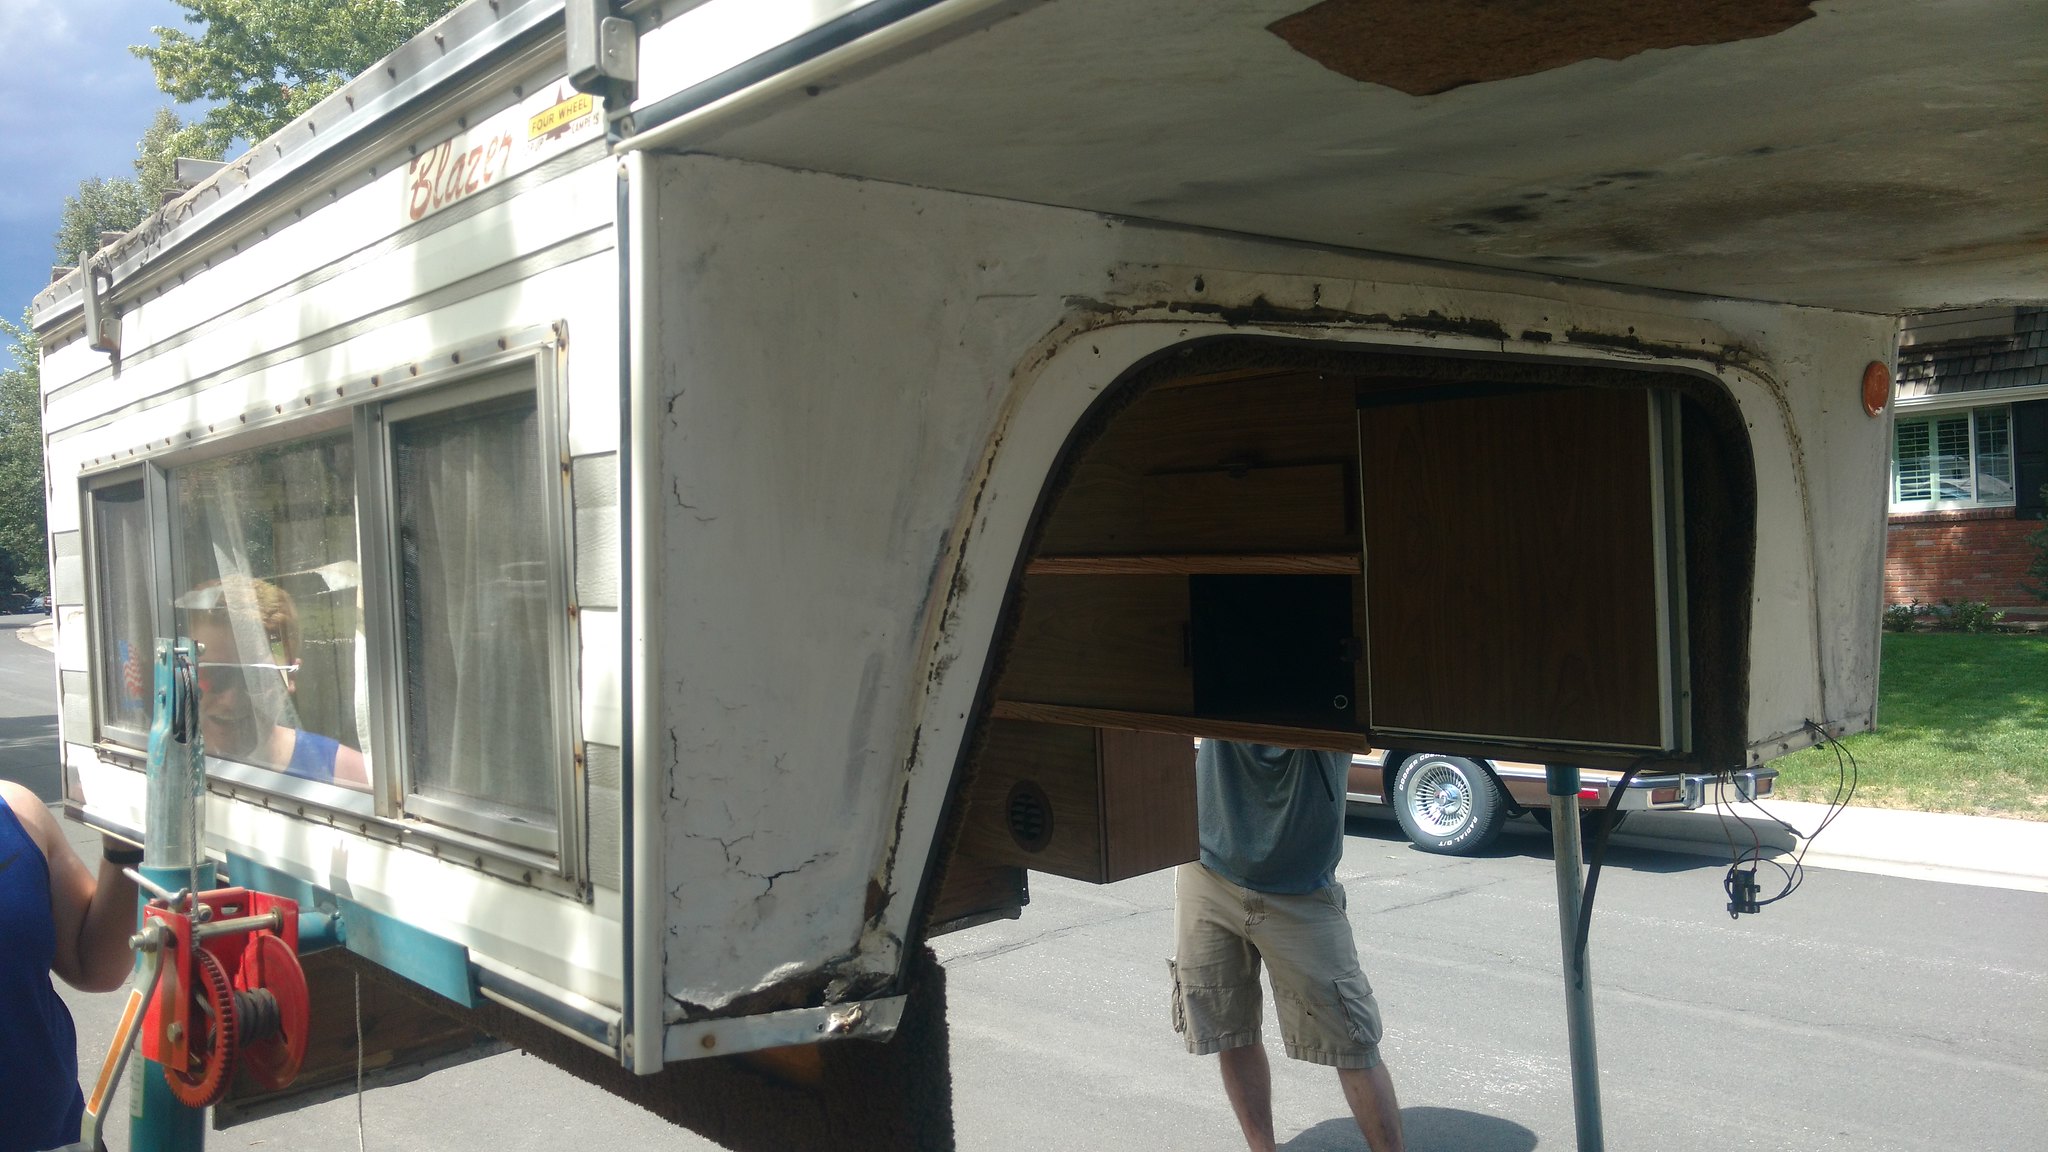 IMG_20170813_142906896 by Rob Zulian, on Flickr
After a nerve racking few minutes of backing up, re-aligning and backing up again we finally got it lined up to lower the jacks.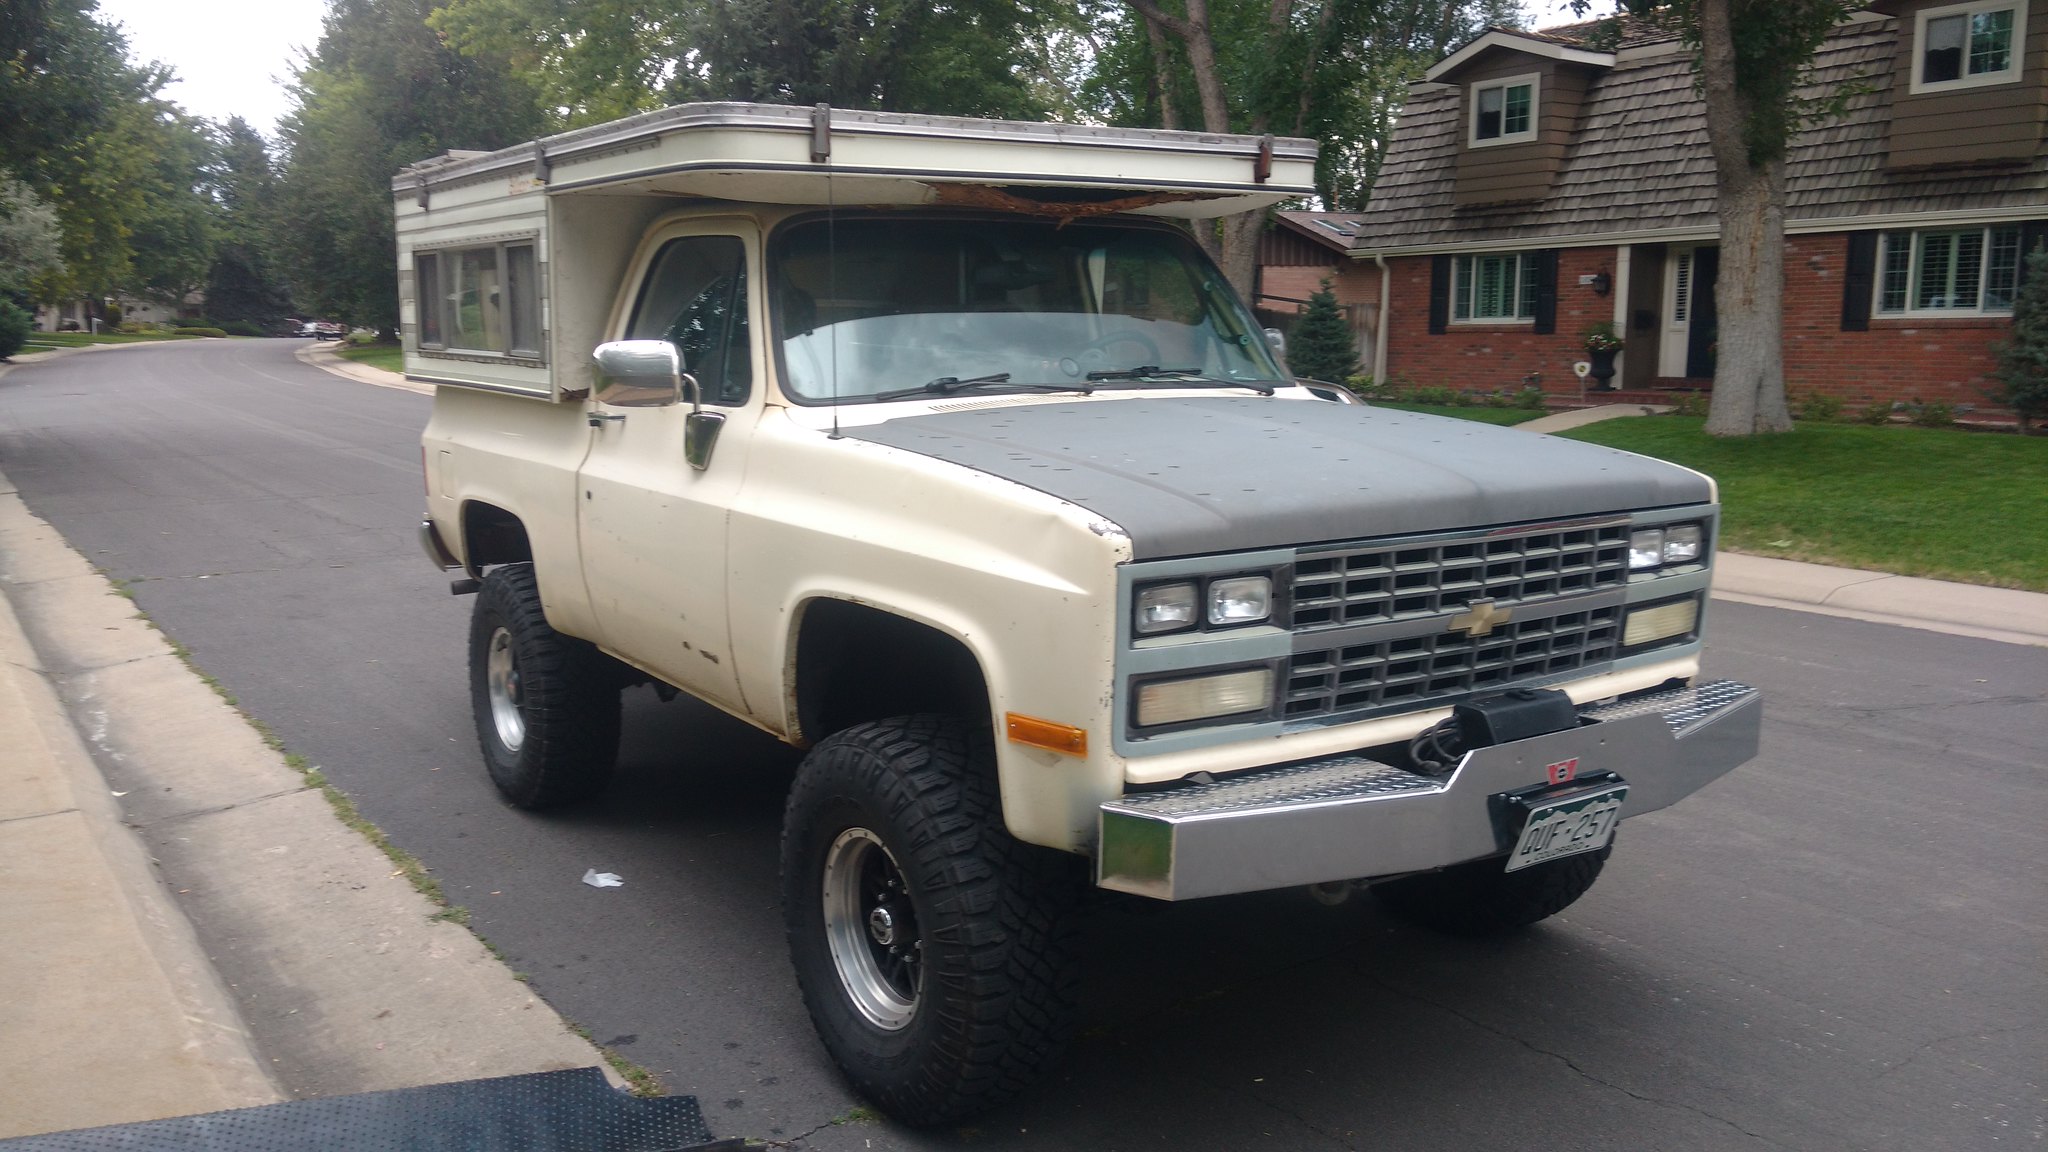 IMG_20170813_150719087 by Rob Zulian, on Flickr
Other side.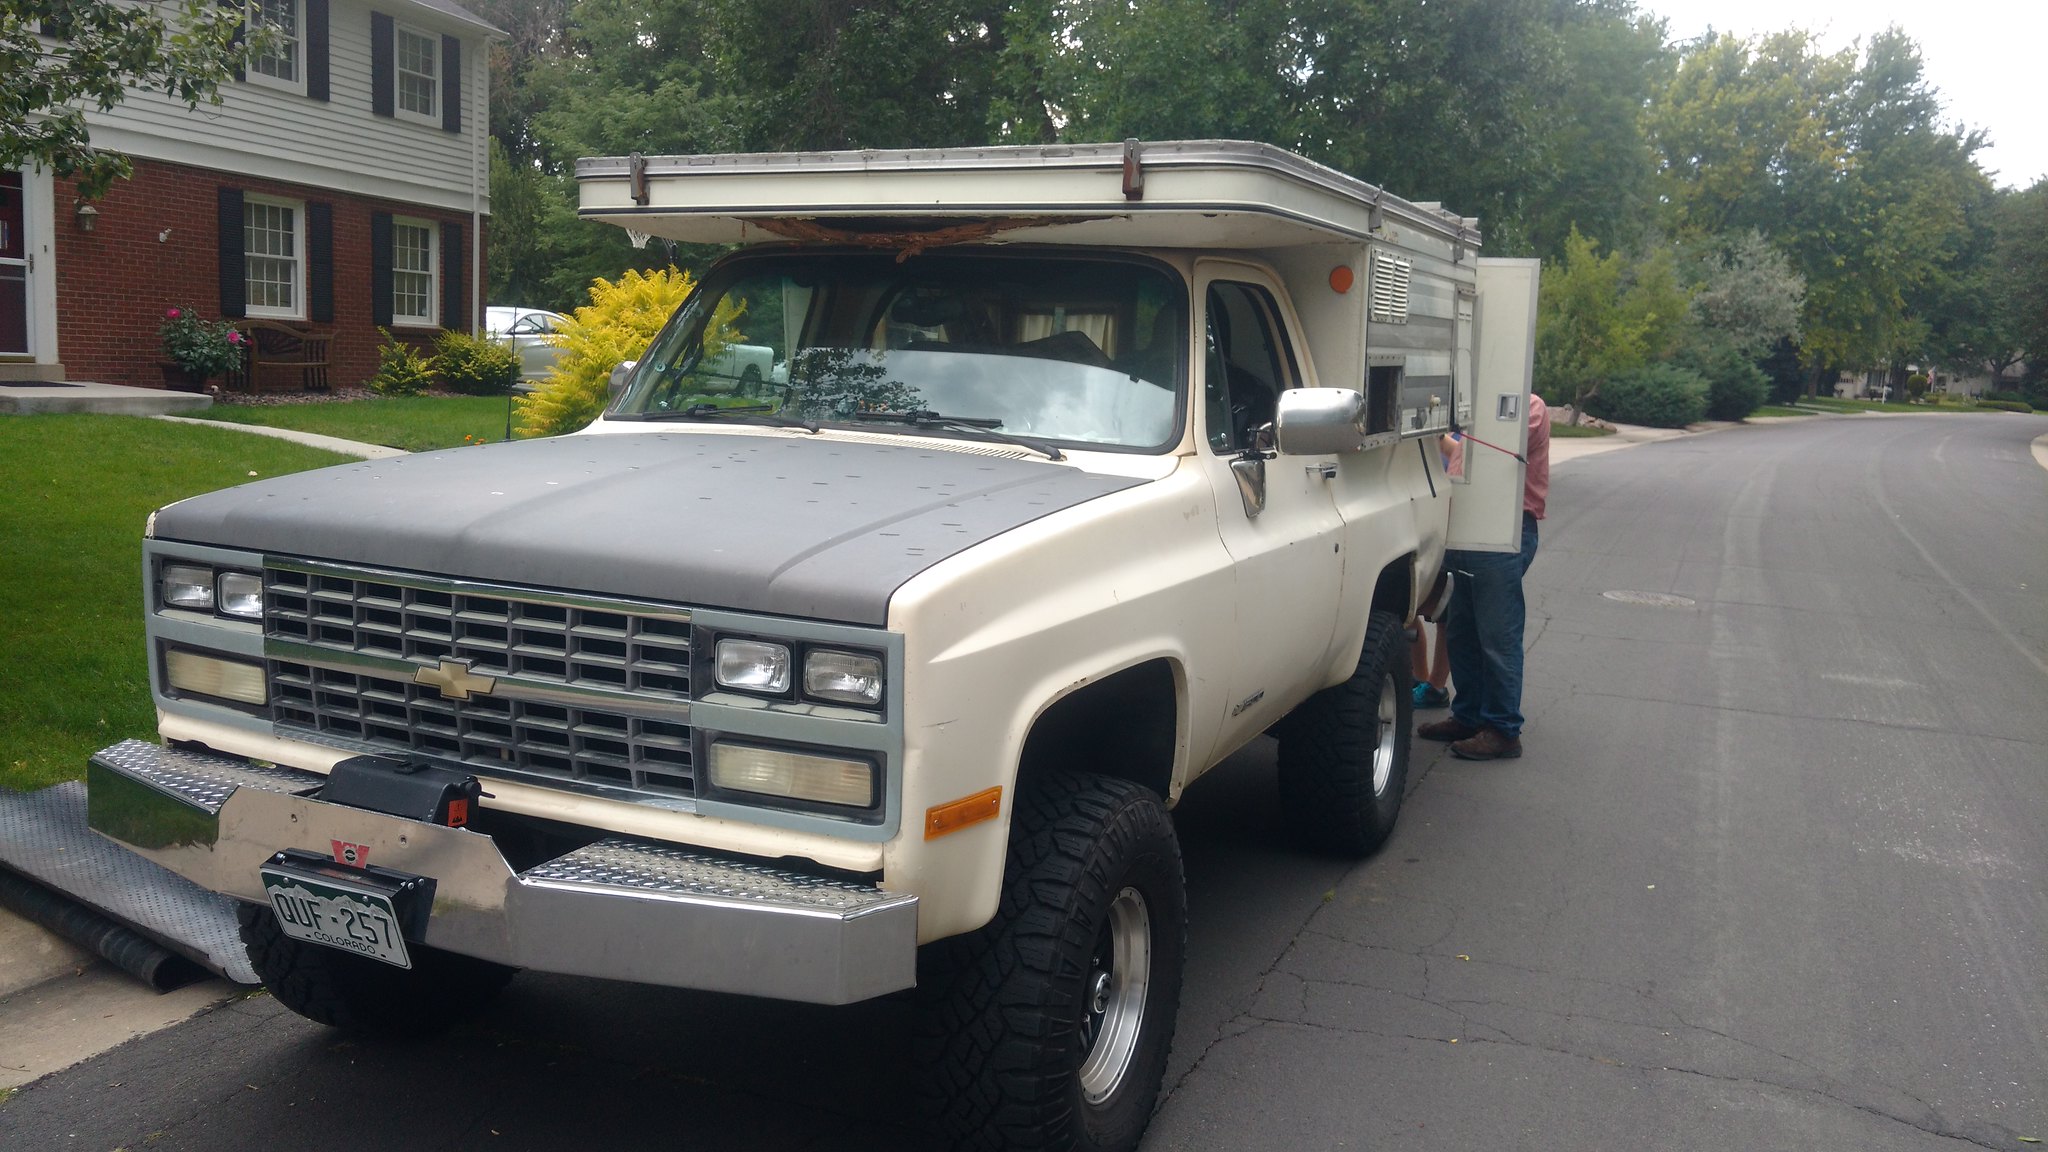 IMG_20170813_150733505 by Rob Zulian, on Flickr
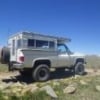
Back in Pueblo. This time at John's place. I was able to pop the top fully with both lifting panels. It's not as smooth to lift as Larry's is, since the lifting mechanisms are completely different, but it works. We will have to rebuild the front lift panels due to water damage. Top needs cleaned, but is free of rips and tears. 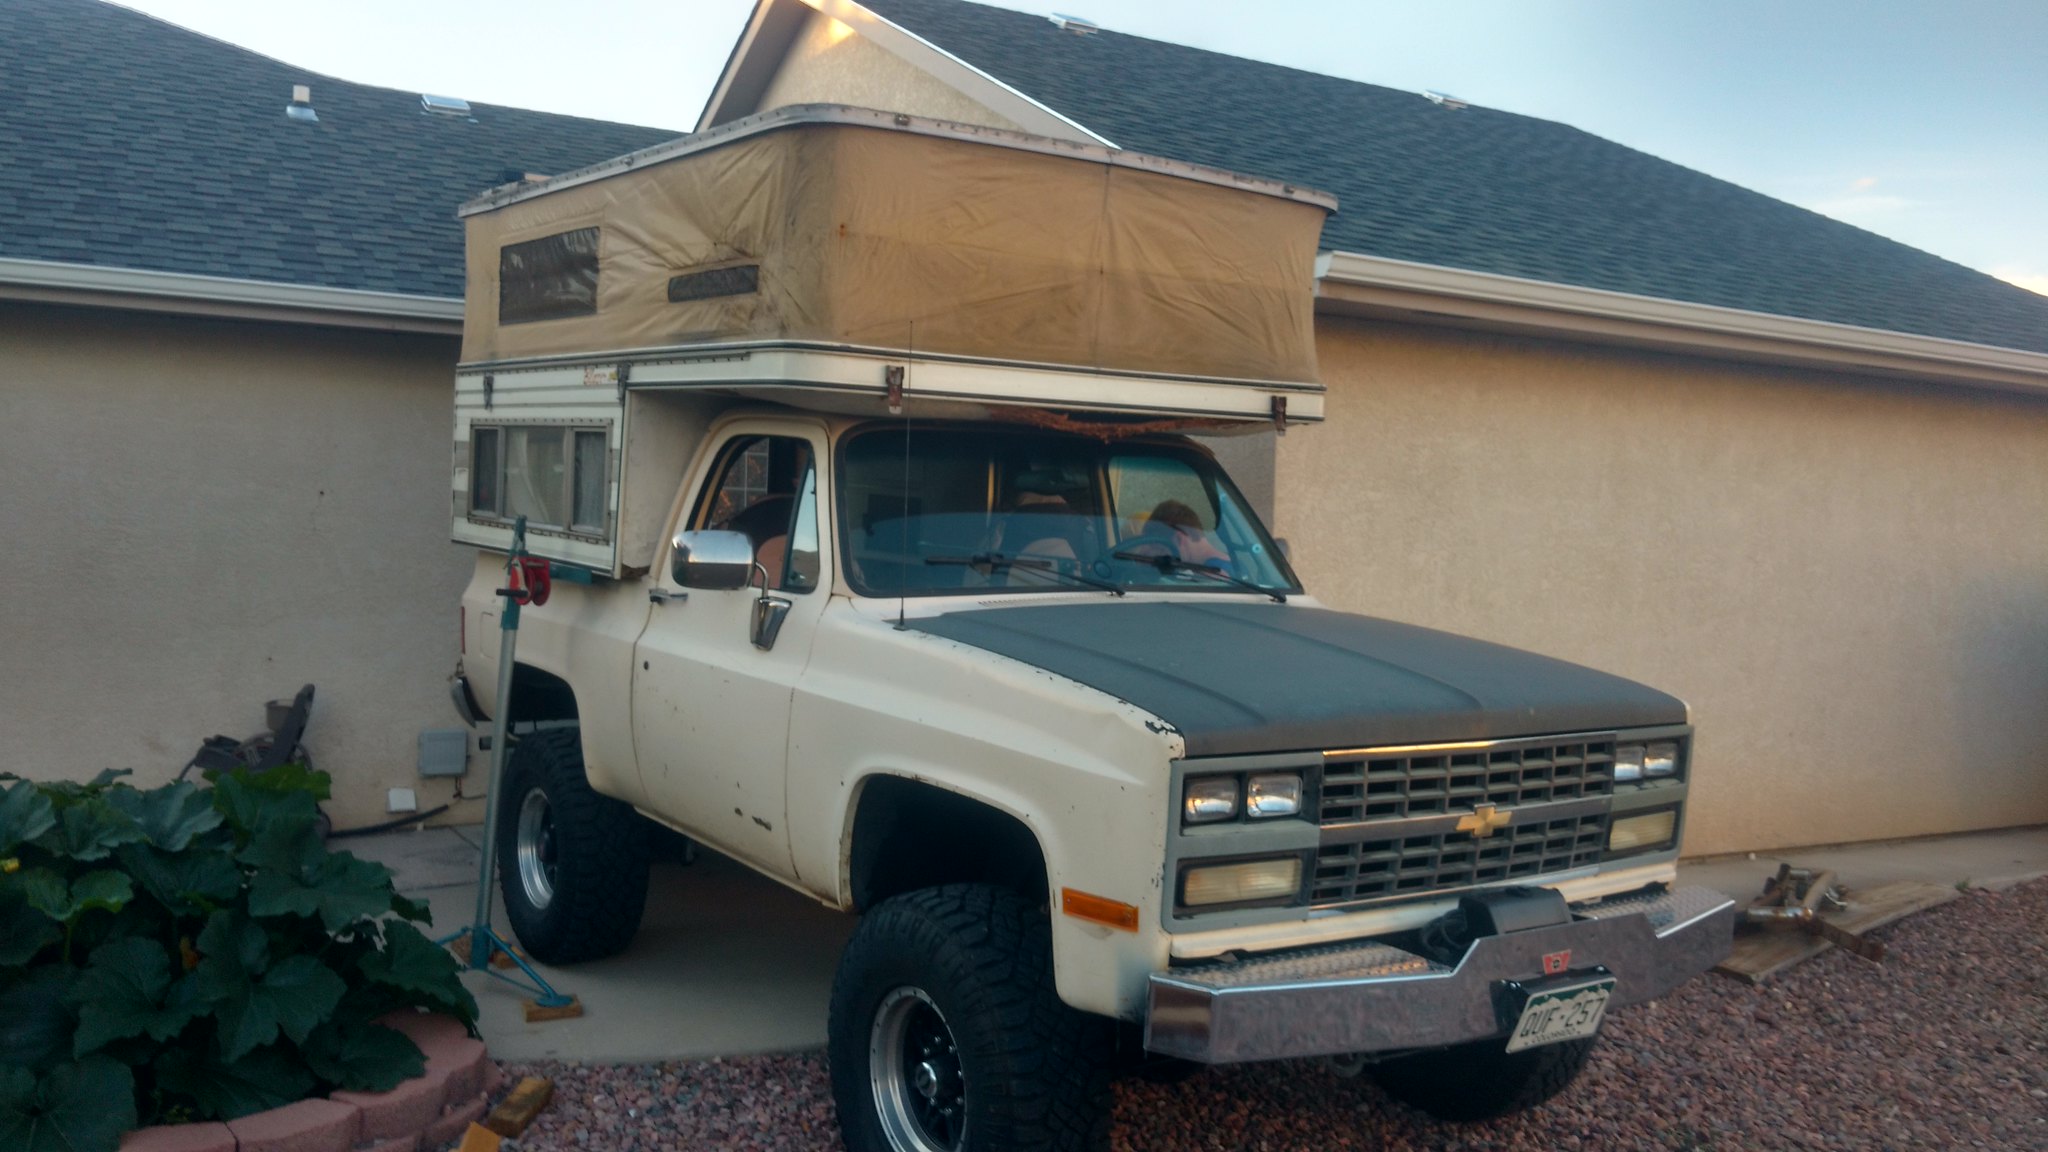 IMG_20170813_192341476_HDR by Rob Zulian, on Flickr
Other side.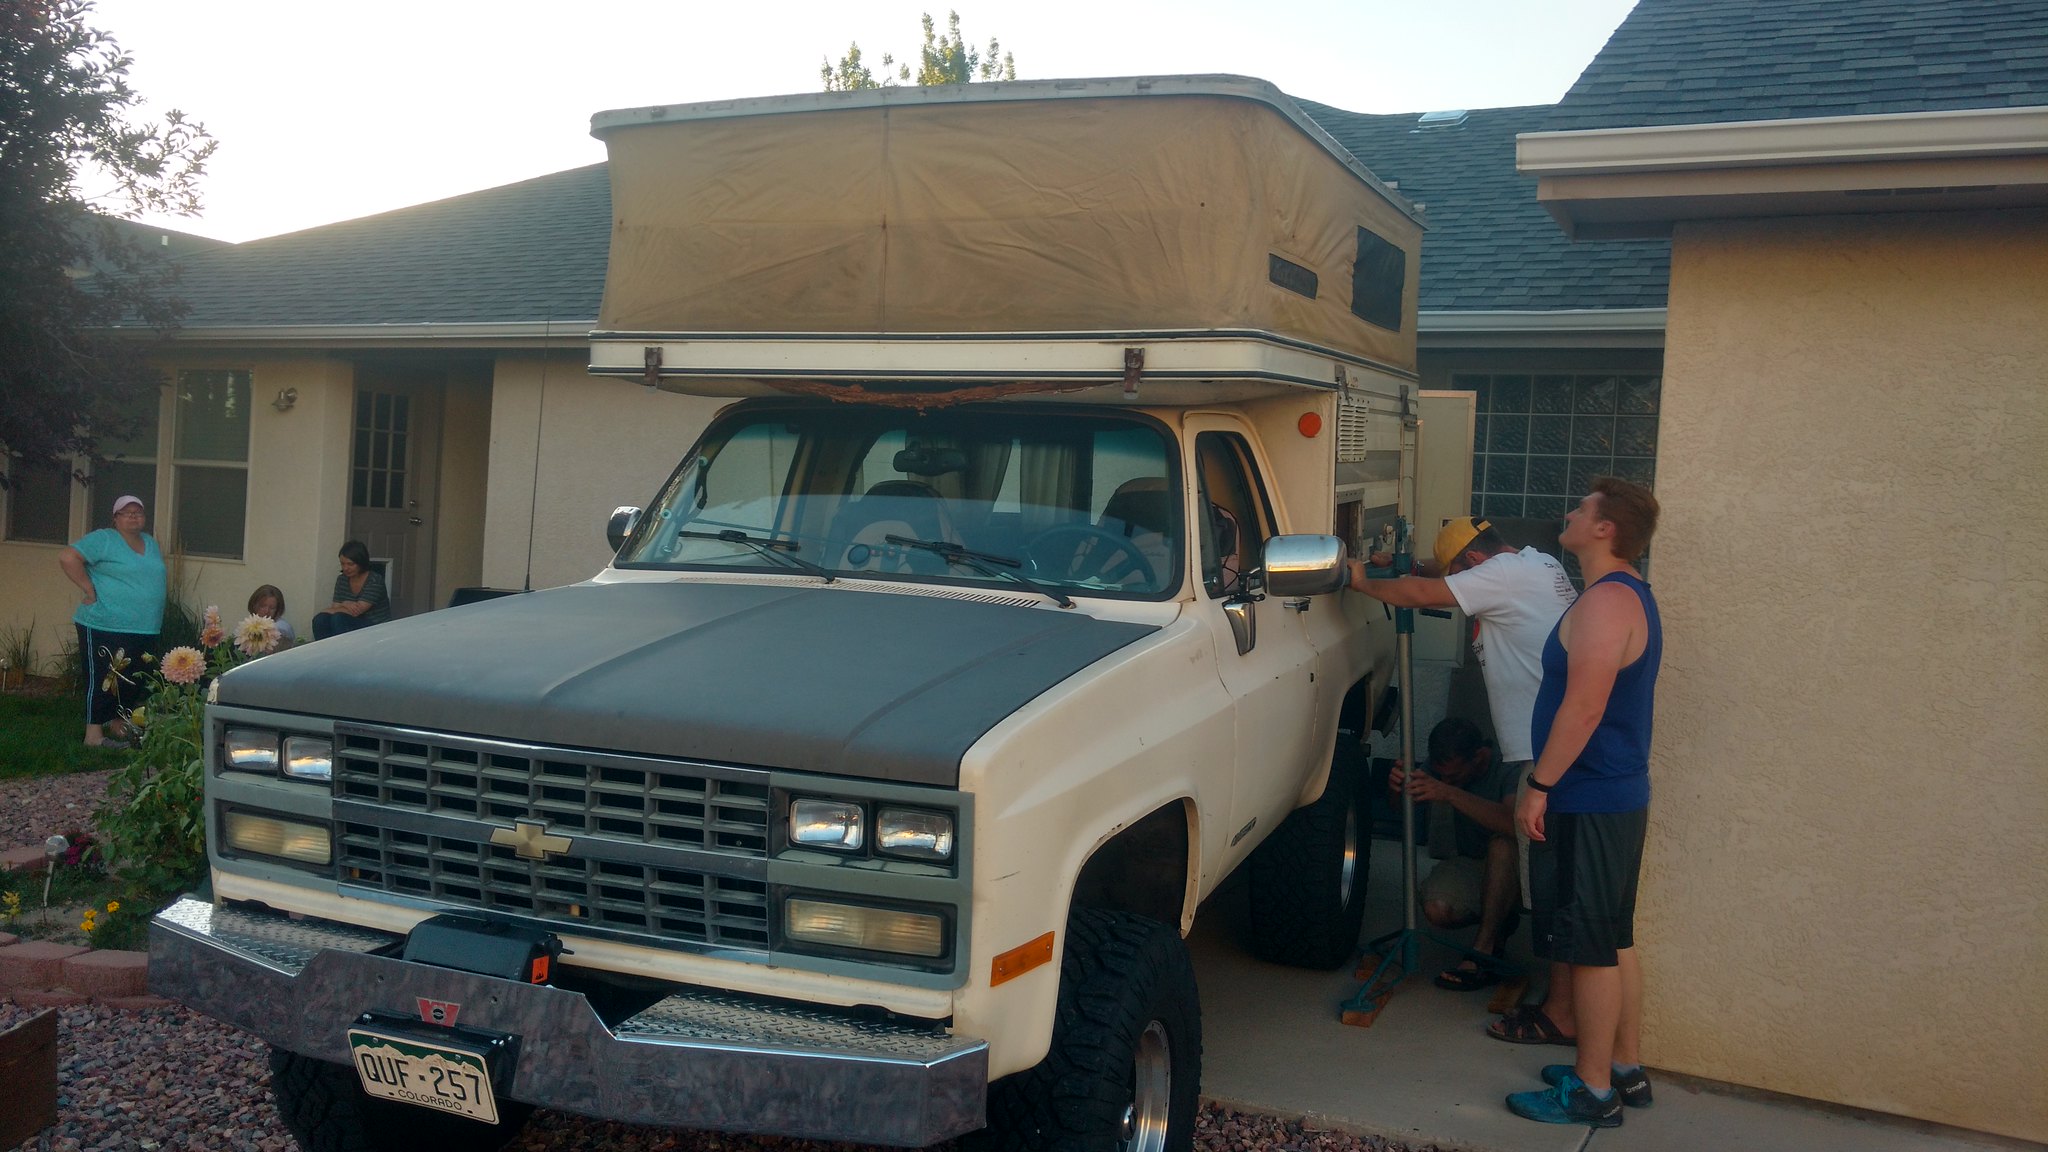 IMG_20170813_192354186_HDR by Rob Zulian, on Flickr
After some organized chaos getting the camper back off again, we dropped it down closer to the ground and could see all the issues with the roof that caused the damage. Screws loose, exposed and the vent that is blasted but covered with a chunk of tarp and tape are the main issues. No tears in the roof itself though. We got the stock top back on in the dark and called it a day.
The 2hour drive down was interesting. The hole in the front of the roof was gulping in more air than any part of the windows would let out. Anything past 65 mph caused the top to develop some lift I could see in the mirrors. So we kept it at 65. This will go away when the wood is replaced. I will say it didn't feel much different to drive with the camper on.
Now having the practice of removal and installation twice in one day some ideas have come to mind to fix for the better. One is a slight modification to the camper jacks to avoid the use of the blocks to gain the elevation needed to reach my lifted K5. One of my co-workers suggested to cut the pipe about a foot up from the base and fit it with a sleeve that fits over the existing pipe and attached with a pin or bolt. The sleeve at least a foot long with holes every couple of inches. The end of the pipe with the jack on it would have a matching hole at the new bottom that would allow it to fit into the sleeve and allow the height to be adjustable by fitting a pin through the assembly at a specific level.
Another modification to the camper itself will be how the it mounts to the cab. The way the guy had it mounted only has the forward wall of the camper butting up to the back edge of the top. No camper tape or seal of any type was used. This is a major source of a leak if you were to be driving in a rainstorm for sure with water being forced into this area. The stock top fits down into a channel just ahead of the edge the camper is poorly sealing too. By the camper only butting up to it, the channel is exposed and where the dome light wiring comes down to the bedrail is a perfect spot for water to wick down into the interior. Thats no Bueno in my book. You can't cut the opening wider on the camper front wall as that would shift the camper forward the width of the wood you use. This means the rear wall with the door would be not able to fit correctly to the rear body with the gate off. I'm thinking of adding a section that would bolt to the front wall of the camper that has the exact shape of the channel that would allow two things to happen. One, the stock seal could be used in the channel to seal the area off. Second, it would allow a solid point to attach the camper too through to the stock body/top bolt holes that already exist. I'm not keen on the camper attaching to the body with only 4 1/4" diameter bolts per side. The frontal area is getting a lot of force pushing on it when traveling at highway speed, it could be seen the faster I drove. I could see the gap between the cab and the front of the camper grow when I got above 65 mph. If I backed off it settled down.
Me and my buddies that are helping me with this have a few other ideas while we are here. The stock base for the bench seat is again nothing but particle board with cheesy "L" brackets joining them. It's going to be rebuilt with marine grade plywood. We will be testing the propane appliances to check operation while we are here. I've been warned by the 3 way fridge being the jack of all trades and master of none, meaning it's pretty horrible on any type of power source, 12v-110v-propane. The budget won't allow a complete gutting and replacement, but I'm not against a more modern 12v off road type fridge with a nice low amp draw. problem is finding a place to stuff one that isn't in the way.
I'm going wheeling this coming weekend so it should be one of the last trips sleeping on the ground. We may get started tearing down in the next couple of weekends after that.